10 Steps to Save Your Rotting Cactus
If you're noticing black tissue or a foul odor coming from your cactus, it's clear your plant is struggling with rot. Start by carefully removing it from its pot and inspecting the roots and stem for any signs of damage. Using sterilized tools, you'll need to cut away the affected areas until you reach healthy tissue. But this is just the beginning – what comes next in preparing fresh soil and adjusting your care routine is essential for its recovery. Are you ready to take the next steps to save your cactus?
Identify Signs of Rot
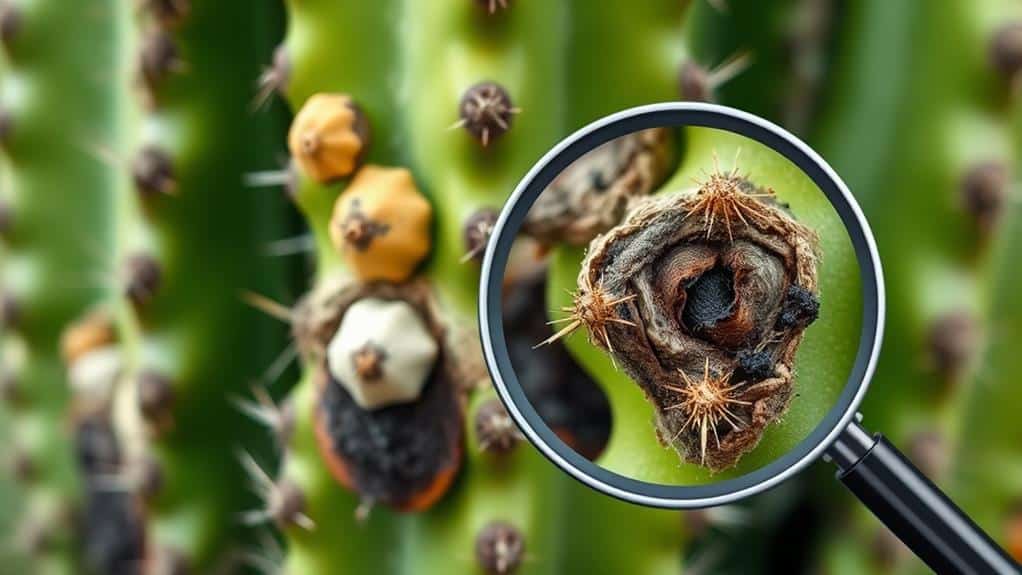
When trying to save your cactus, the first essential step is to identify signs of rot. You need to look out for soggy, black or brown tissue, which indicates decay and could point to a bacterial infection. A mushy texture and discoloration on the surface are common indicators of stem rot.
If your cactus has wilting and drooping stems, it might be suffering from root rot. Another clear sign of rotting is a foul odor coming from your cactus. This smell often means the tissues are decaying. Early symptoms of root rot include yellowing and sagging tops.
However, if you notice corky growth at the base, don't worry—it's usually just normal aging. Environmental factors can also contribute to rot. High humidity, poor drainage, and the presence of pests increase the risk.
Make sure your cactus is in an environment with good air circulation and proper drainage to prevent these issues.
Remove Cactus From Pot
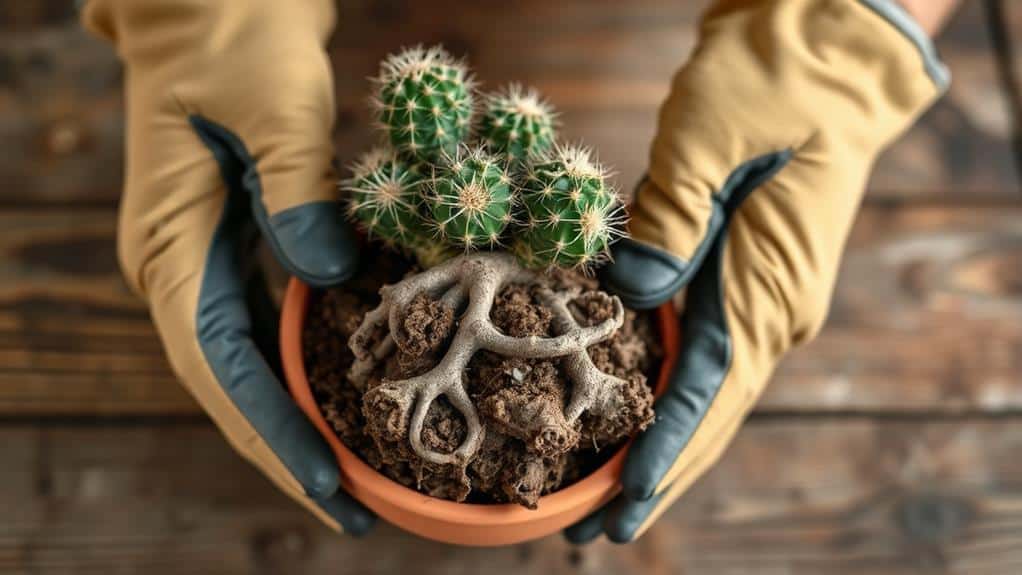
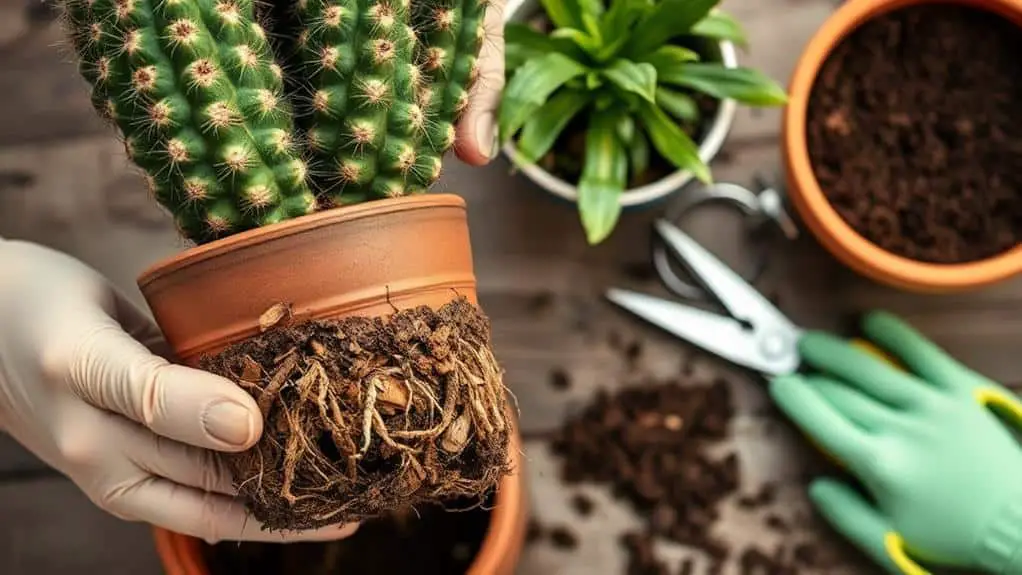
Gently removing your cactus from its pot is a critical step in addressing any signs of rot. Start by wearing gloves to protect your hands from spines and maintain hygiene.
Carefully grasp the base of the cactus and try to pull it out without damaging the stems or roots. If the cactus is stuck, tap the pot gently or use a clean knife to loosen the soil around the edges.
Once the cactus is free, place it on a clean surface to begin evaluating the damage. This step is essential for dealing with root rot. Look for any signs of rot, like a mushy texture or foul odor. These are indications that parts of the cactus may need to be removed to save the plant.
Being gentle during this process is key. You don't want to cause any more harm to an already struggling cactus.
Remember, your goal is to carefully remove the cactus from the pot while preserving as much of the healthy root system as possible. Taking your time and being patient will make a big difference in the health of your cactus.
Now, you're ready to move on to inspecting the roots and stem.
Inspect Roots and Stem
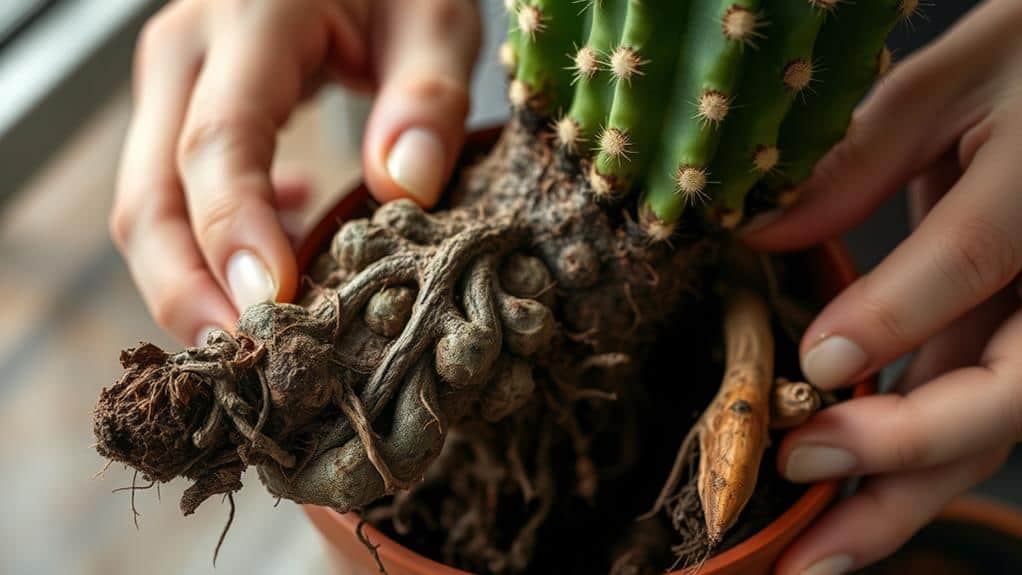
Now that your cactus is out of the pot, it's time to inspect the roots and stem for rot.
Look for any signs of discoloration or mushy texture, as healthy roots should be firm and white.
If you find brown or black areas, especially if they're mushy or smelly, you'll need to cut those parts away using sterilized tools.
Identify Rot Indicators
Cactus health hinges on your ability to spot rot indicators early, particularly in the roots and stem. When dealing with a rotting cactus, early detection is essential. Start by inspecting the roots. Look for mushy or discolored sections, which are telltale signs of root rot. A foul odor often accompanies these symptoms, so use your nose as well as your eyes. The stem is another significant area to examine. Signs of stem rot include a mushy texture and discoloration, typically starting from the top or base of the cactus.
Check for wilting or sagging tops. These can signal root rot and overall distress in the plant. Be mindful of any corky growth at the base. While this can be normal for older cacti, monitor it for unusual changes.
Regular inspection is essential. By acting promptly, you can prevent further damage and improve your cactus's chances of recovery.
| Indicator | Description | Action Needed |
|---|---|---|
| Root Mushiness | Mushy, discolored roots, foul smell | Inspect and prune affected areas |
| Stem Discoloration | Mushy texture, discoloration | Remove damaged parts |
| Wilting Tops | Sagging or wilting tops | Check for underlying root or stem issues |
Early detection gives your cactus the best shot at bouncing back.
Assess Damage Extent
Start by carefully unpotting your cactus to examine the roots and stem. Gently remove the cactus from its pot, making sure not to damage it further.
Inspect the roots first. Look for mushy or discolored areas, as these are clear signs of rot. Healthy roots should be firm and white. If you find mushy sections, your cactus is dealing with root rot.
Next, examine the stem for any signs of rot. Check for soft, discolored sections or a foul odor. These are indications of stem rot. Make sure to look at both the top and base of the cactus, since rot can start in either location.
Also, inspect for any physical damage or wounds on the stem, as these could have allowed pathogens to enter and cause rot.
Document what you find. Note any mushy textures, discolored areas, or foul smells. This information will help you decide on the next steps for treatment.
Ensuring your cactus is in suitable cactus soil can also prevent future rot. By thoroughly evaluating the damage, you'll be better prepared to save your cactus and help it thrive once again.
Cut Away Rotten Sections
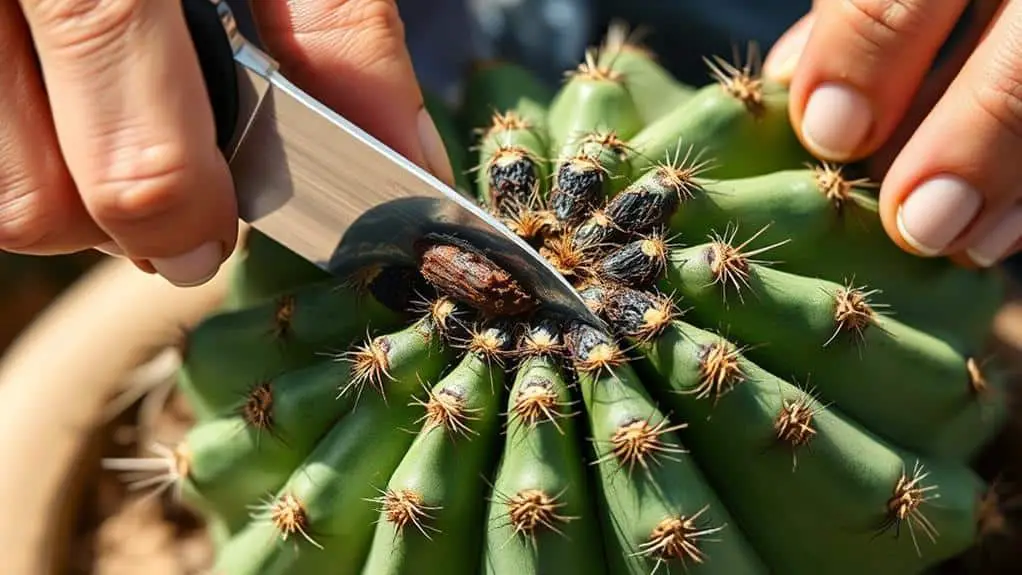
To cut away rotten sections of your cactus, start by sterilizing your cutting tools with rubbing alcohol.
Carefully remove any black or brown areas using a sharp knife or pruning shears, and make sure all affected parts are gone.
After you're done, let the cut surfaces dry for 24-48 hours before repotting to keep your cactus healthy.
Sterilize Cutting Tools
Ensuring the health of your cactus begins with sterilizing your cutting tools to prevent the spread of pathogens. Dirty tools can introduce harmful bacteria and fungi into your cactus, making the problem worse. To sterilize cutting tools, you can wipe them with rubbing alcohol or heat them over a flame until they're red hot. Let them cool before use.
Next, inspect your cactus for signs of rot, focusing on discolored or mushy areas. Cut away all affected tissue, aiming to reach healthy, firm tissue. Make sure your cuts are clean and precise to minimize damage and promote quicker healing.
Here's a quick guide to sterilize cutting tools:
| Step | Method |
|---|---|
| 1 | Wipe tools with alcohol |
| 2 | Heat tools over a flame |
| 3 | Let tools cool down |
| 4 | Inspect tools for cleanliness |
| 5 | Repeat if necessary |
After cutting away the rot, allow the cut surfaces to dry and callus for 24-48 hours before re-potting. This drying time helps reduce the risk of further infection. Remember, keeping your tools clean and making precise cuts are vital steps to saving your cactus. You've got this!
Identify Affected Areas
Begin by closely examining your cactus for any signs of rot, such as discolored patches, mushy textures, or foul odors. These indicators suggest that portions of your cactus are decaying and need immediate attention.
- Identify the Rotten Areas: Look for brown or black sections on your cactus. These discolored parts are likely mushy and could have a foul smell. Focus on the roots as well, especially if the stems are wilting or drooping.
- Cut Away the Rot: Use sterilized tools, like a sharp knife or pruning shears, to carefully remove all the black or brown sections. Make sure you cut away all visibly rotting tissue to prevent further decay. Be precise and thorough.
- Inspect and Clean: After removing the rot, dispose of the affected parts immediately. Clean your tools thoroughly to avoid spreading any pathogens to the healthy parts of your cactus.
Once you've cut away the rotten sections, your cactus will have a better chance of recovering.
Ensure Clean Cuts
When you're cutting away the rotten sections of your cactus, it's vital to guarantee your cuts are clean and precise. Start by using a sharp knife or pruning shears that have been sterilized. This step is important because it prevents introducing new pathogens to your already stressed cactus.
Inspect the cactus thoroughly. Look for all the areas affected by rot and cut them away until you reach healthy, firm tissue. Healthy tissue is usually white or light green, which is a good sign that your cactus can still be saved. Aim for clean, straight cuts rather than jagged ones. Clean cuts help the plant heal more effectively and reduce the risk of further infection.
After you've removed the rotten sections, it's necessary to let the cut surfaces dry and callus. Leave the cactus in a dry, shaded area for about 24-48 hours. This drying period helps to prevent further rot when you repot your cactus.
Sterilize Tools
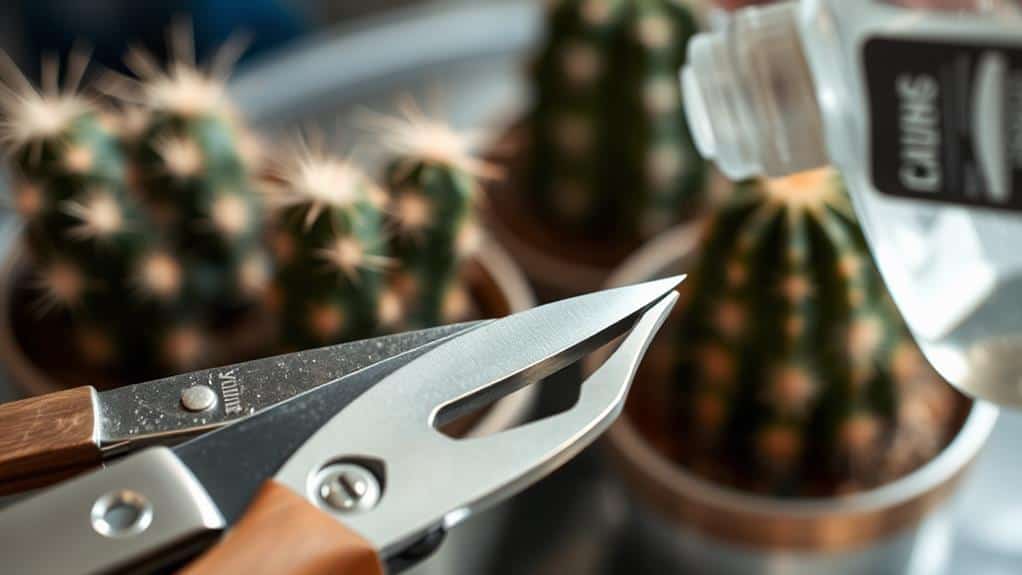
Keeping your cactus healthy starts with properly sterilizing your tools. This vital step minimizes the risk of introducing harmful pathogens to your already vulnerable plant.
Here's how you can guarantee your tools are safe to use:
- Prepare Your Solution: Use either rubbing alcohol or a bleach solution to sterilize tools. Soak your cutting tools in the solution for at least 10 minutes. This time allows the disinfectant to thoroughly clean all surfaces.
- Wipe the Blades: After soaking, remove your tools and wipe the blades with a clean cloth. This step removes any excess solution and guarantees your cuts won't be contaminated with leftover chemicals.
- Prevent Cross-Contamination: Consider using a separate pair of tools for different plants. This practice prevents the spread of diseases between species, keeping your entire garden healthier.
Regularly check and clean your tools after each use. This habit maintains their sterility for future gardening tasks.
Remember, a clean tool is a safe tool. Taking these steps not only helps save your rotting cactus but also promotes overall plant health.
Allow Cuts to Dry
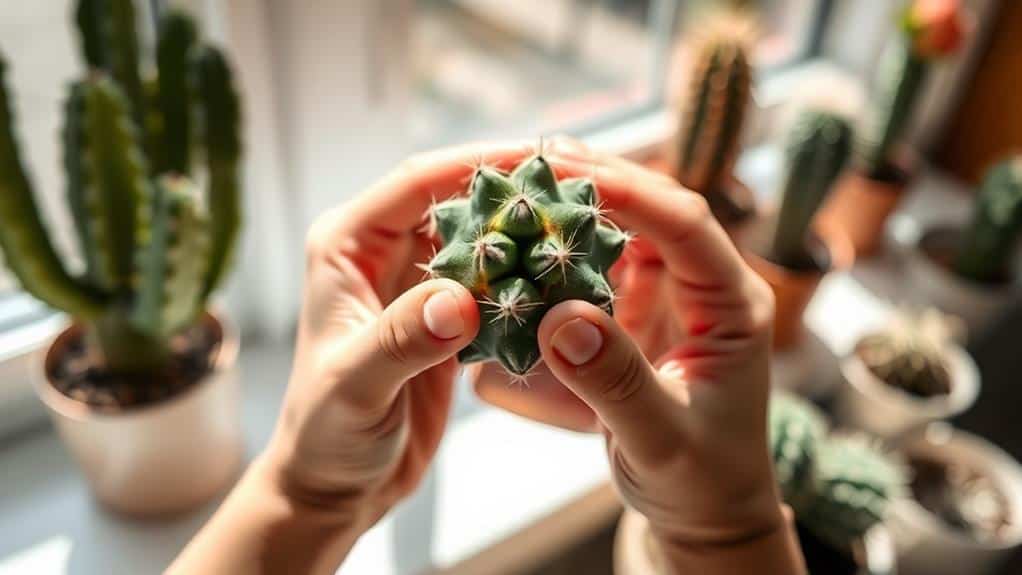
After trimming away the rotting sections of your cactus, it's vital to let the cut surfaces dry to form a protective callus. This step helps prevent further rot and keeps your cactus healthy. You should allow cuts to dry for about 24-48 hours, though this period can vary.
For thin-stemmed cacti, a week is often enough, while thicker-stemmed varieties might need several months.
Place your cactus in a dry, well-ventilated area during this time. Good airflow speeds up the callusing process, which is important for healing.
Avoid putting the cactus in direct sunlight, as this can cause further damage to the freshly cut areas. Instead, choose a spot with indirect light.
Don't water your cactus right after cutting. It might be tempting, but watering too soon can introduce pathogens and cause more rot.
Wait until you see new growth; this is a sign that your cactus is ready to be repotted and watered again.
Prepare Fresh Soil Mix
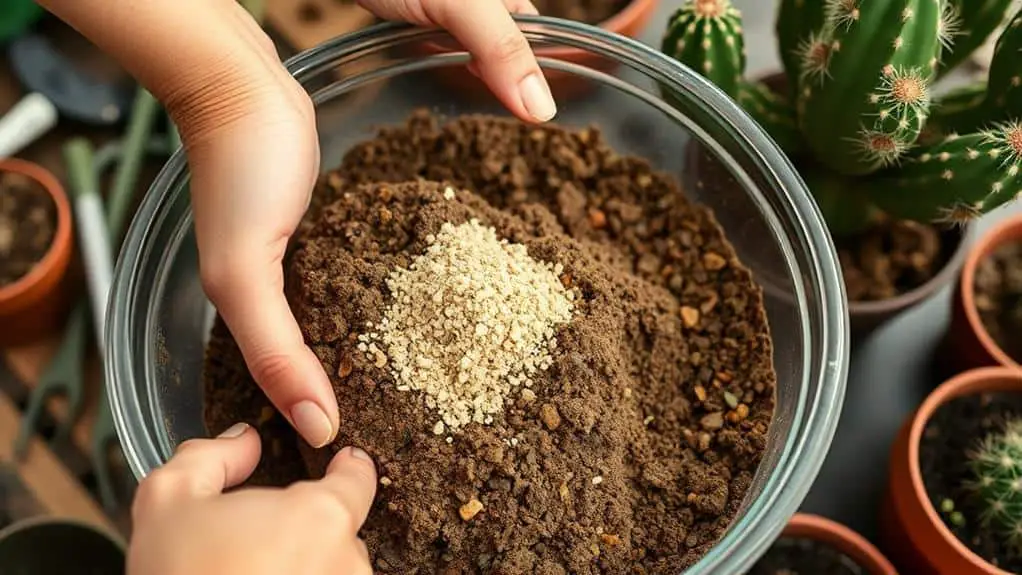
Preparing a fresh soil mix is vital for the health of your cactus. To begin, gather a well-draining soil mix specifically designed for cacti. This mix should include 1 part peat, 2 parts garden soil, and 2 parts coarse sand. This combination guarantees proper aeration and drainage, which are essential for your cactus's well-being.
For even better results, consider adding perlite or pumice to the soil mix. These materials help enhance drainage and prevent the soil from becoming compacted, reducing the risk of water retention and rot.
Here's a simple guide to follow:
- Mix Ingredients: In a clean workspace, combine 1 part peat, 2 parts garden soil, and 2 parts coarse sand.
- Enhance Drainage: Add perlite or pumice to the mix for improved drainage.
- Check Pot: Verify your pot has drainage holes at the bottom to allow excess water to escape.
Avoid using regular potting soil, as it retains too much moisture and can increase the risk of rot.
Repot Cactus Carefully
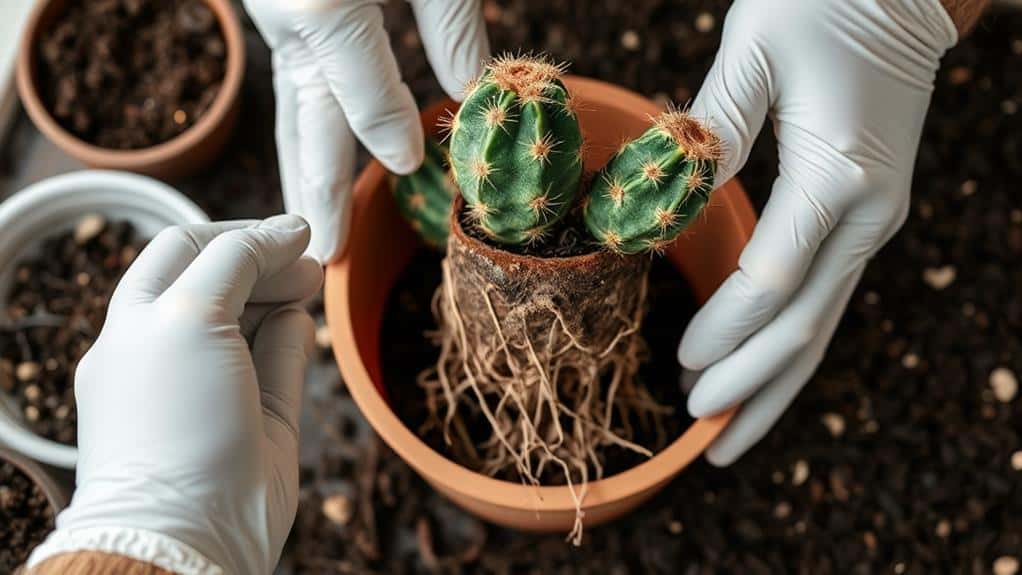
When repotting your cactus, start by gently removing it from its current pot to inspect the roots for any signs of rot. Be cautious not to damage the healthy parts of the plant.
Carefully use sterilized tools to trim away any rotten or mushy roots, making sure you leave only healthy tissue behind.
Next, prepare a new pot with a well-draining cactus potting mix. An ideal blend is 1 part peat, 2 parts garden soil, and 2 parts coarse sand. This mix helps guarantee your cactus won't sit in water, which can cause further rot.
After trimming, let the cut surfaces of the cactus dry and callus for 24-48 hours. This step is essential to prevent additional rotting when you repot cactus carefully.
Once the cactus is completely dry and the cuts have callused, place it in the new soil. Be gentle and make sure the roots are spread out evenly to encourage healthy growth.
After repotting, avoid watering the cactus for at least a week. This break allows the roots to settle and encourages new growth.
Adjust Watering Practices
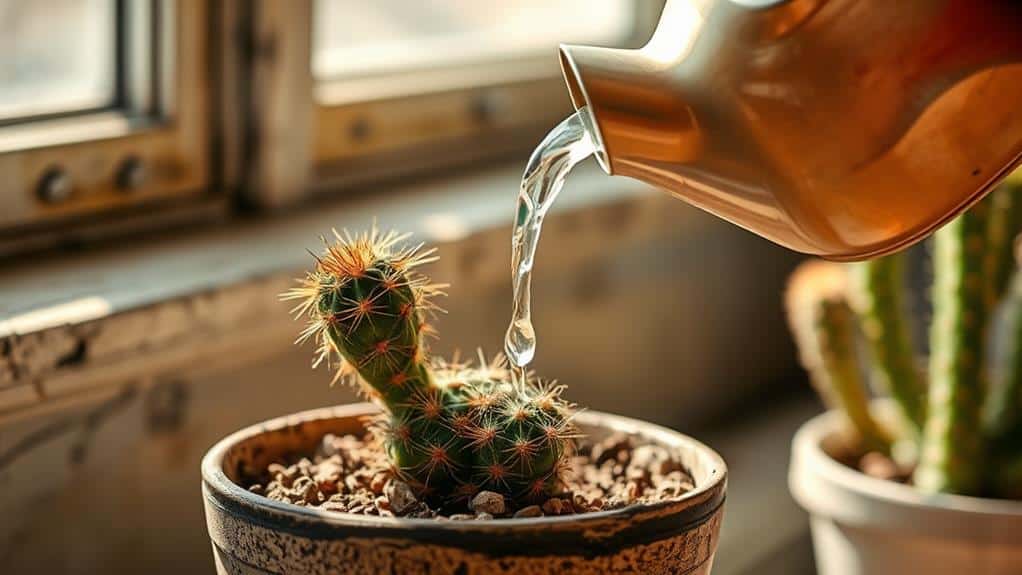
When adjusting your watering practices, make sure to water your cactus only when the soil is completely dry, using a finger test or moisture meter to check.
Choose pots with drainage holes to avoid standing water and root rot.
During hot months, indoor cacti may need weekly watering, but remember to reduce this during cooler months.
Soil Moisture Monitoring
Monitoring soil moisture is essential to guaranteeing the health of your cactus. When your cactus's soil is completely dry, it's time to water. Here's how you can effectively monitor soil moisture to keep your cactus thriving:
- Finger Test: Insert your finger about an inch deep into the soil. If it feels dry, it's time to water. This simple test helps you avoid overwatering and guarantees the cactus gets the moisture it needs.
- Moisture Meter: For more precise readings, invest in a moisture meter. This handy tool provides accurate soil moisture levels, protecting your cactus from potential root rot caused by overwatering.
- Proper Drainage: Always guarantee your cactus pot has drainage holes. Proper drainage prevents water from accumulating at the bottom, which is a primary cause of root rot.
Proper Watering Frequency
Understanding soil moisture is just one part of the equation; adjusting your watering frequency is equally important. Cacti thrive when you water them only after the soil is completely dry. Typically, this means watering every 2-4 weeks during the growing season. Use the finger test or a moisture meter to check that the top inch of soil is dry before adding water.
During hot months, your indoor cactus might need a weekly drink, but be careful not to overdo it. For outdoor cacti, wait until the soil is bone dry and there's no rain in the forecast. This prevents root rot and promotes a healthy plant.
In the winter months, or when your cactus is dormant, reduce watering considerably. Cooler temperatures and less light mean your cactus needs less water. Remember, it's better to underwater than overwater.
Good drainage is essential. Make sure your cactus pot has drainage holes to let excess water escape. This prevents standing water, which can lead to rot.
Drainage and Pot Selection
Selecting the right pot can make all the difference in keeping your cactus healthy. First, choose a pot with drainage holes. This prevents water from accumulating and causing rot.
You'll also want to use a well-draining soil mix specifically designed for cacti. A good mix typically consists of peat, garden soil, and coarse sand in a 1:2:2 ratio.
The size of the pot is also essential. An overly large pot can retain too much moisture, increasing the risk of rot. Here's a simple guide to help you:
- Pick a pot with drainage holes: This guarantees water can escape and not drown your cactus.
- Use the correct soil mix: Combine peat, garden soil, and coarse sand in a 1:2:2 ratio for ideal drainage.
- Choose the right pot size: Avoid large pots to prevent excess moisture retention.
Allowing the top inch of soil to dry out completely before watering is another key practice. This helps prevent overwatering and promotes healthy root development.
Consider using terracotta pots, which are porous and allow better airflow and moisture evaporation compared to plastic pots. By following these steps, you'll give your cactus the best chance to thrive.
Monitor and Maintain Health
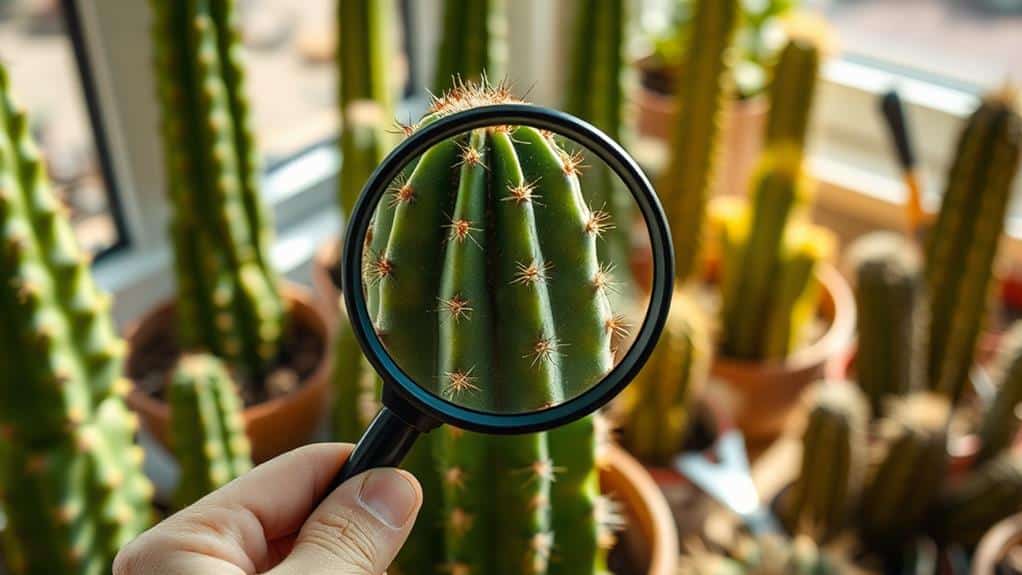
How can you guarantee your cactus stays healthy and vibrant? Start by regularly inspecting your cactus. Monitor for signs of pests, disease, or stress. Look for discoloration, wilting, or a mushy texture. Catching these issues early can make a big difference.
Focus on the healthy parts of your cactus to see how they change over time.
Maintaining a consistent watering schedule is essential. Let the soil dry out completely between waterings. Typically, this means watering every 2-4 weeks during the growing season. Overwatering is a common mistake that can lead to root rot.
Lighting is another key factor. Your cactus needs bright, indirect sunlight for several hours each day. This helps promote healthy growth. If you notice your cactus stretching or becoming pale, it might need more light.
Using the right potting mix and containers also helps. Choose a well-draining cactus mix and pots with drainage holes to prevent water buildup. This encourages healthy root development.
Frequently Asked Questions
How Can I Save a Cactus That Is Rotting?
Inspect your cactus for rot signs like mushiness or foul odor. Cut away affected parts with sterilized tools. Let cuts dry for 24-48 hours, then repot in fresh soil. Don't water for a week. Monitor closely.
Can a Mushy Cactus Be Saved?
Yes, you can save a mushy cactus. Carefully inspect it, remove rotten parts with sterilized tools, let it dry for 24-48 hours, and repot it in well-draining soil. Avoid watering for at least a week.
How Do You Save a Damaged Cactus?
You can save a damaged cactus by cutting away the rotted parts with sterilized tools, letting the cuts dry, and repotting in well-draining soil. Water sparingly and provide bright indirect sunlight to encourage recovery.
How Do You Save a Waterlogged Cactus?
First, remove the cactus from its pot and check the roots for rot. Cut away rotten parts with sterilized tools, let the cuts dry, then repot in well-draining soil. Don't water for a week to aid recovery.
Conclusion
You've got this! Saving your cactus might seem tough, but by following these steps, you'll give it the best chance to recover. Just remember to check for rot, use sterilized tools, and repot in fresh soil. Keep an eye on watering, light, and any signs of stress or pests. With patience and care, your cactus can bounce back stronger than ever. Keep nurturing it, and soon you'll see the rewards of your hard work. Happy gardening!

