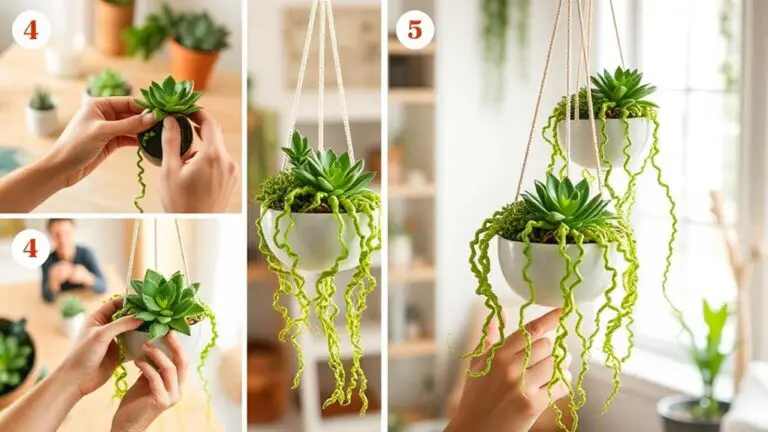
7 Steps to Mastering Water Propagation for Succulents
If you're looking to expand your succulent collection through water propagation, you'll want to follow a systematic approach to guarantee success. Start by choosing healthy cuttings and allowing them to callus properly before any water touches them. The next steps involve preparing your vessel and monitoring the water to maintain ideal conditions. You'll need to keep an eye on root development and know the right time to transplant into soil. Curious about how to navigate each phase effectively? Let's break down each step to make certain you're on the path to thriving new succulents.
Select Healthy Cuttings
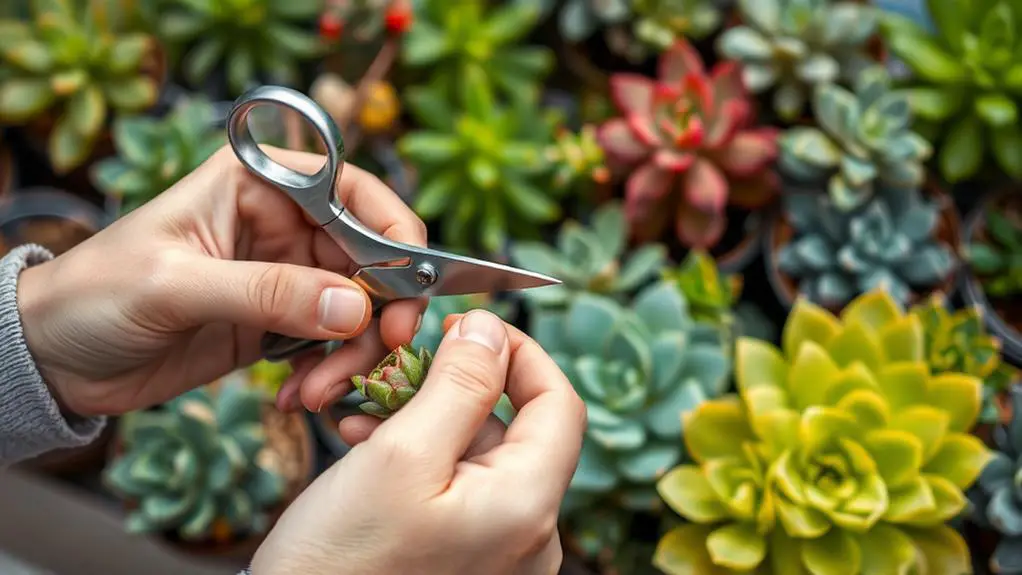
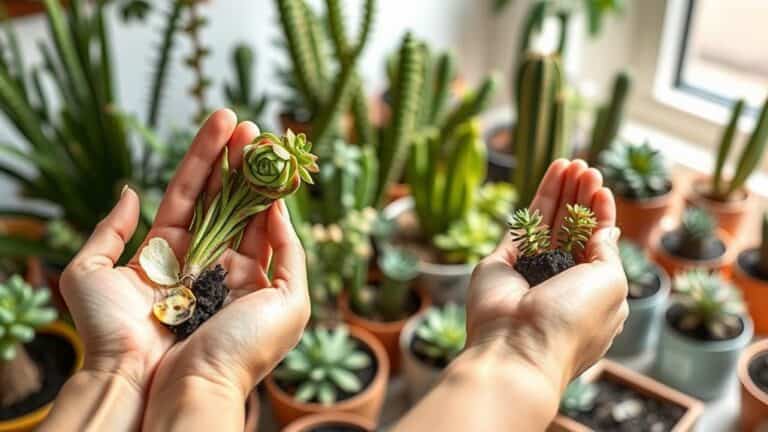
Selecting healthy cuttings is vital for successful water propagation of succulents. To start, always choose cuttings from healthy, non-blooming succulents. This increases the chances of your propagation method working well. Look for mature stems or leaves that show vibrant color and are free from pests or disease. A succulent cutting with these qualities has a much better chance of developing strong roots.
When you select a stem cutting, make sure to cut just below a node. This is significant because roots will grow more effectively from this spot. After cutting, remove some of the lower leaves. This exposes the stem and helps prevent rot when you place the cutting in water.
Timing is also essential. Selecting your cuttings during spring or summer guarantees that they grow under the best conditions. These seasons provide the right environment for vigorous growth, making it easier for your cuttings to develop healthy roots.
Allow Callusing
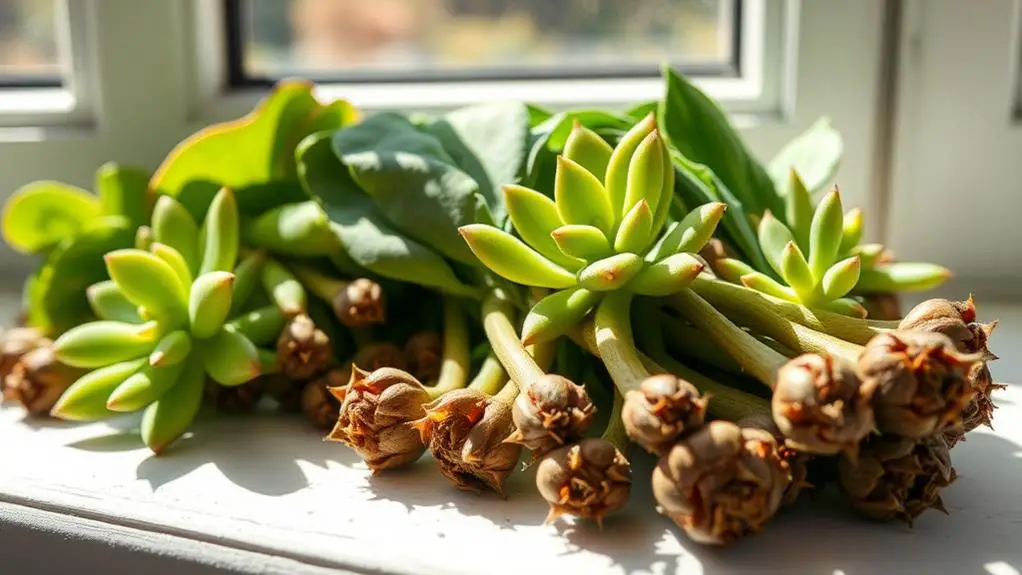
Before placing your succulent cuttings in water, it's essential to allow them to callus.
For stem cuttings, you'll need to wait 2-3 days, while leaf cuttings require about 5-7 days.
Look for a dry cut surface without fresh growth to know they're ready; this helps prevent rot and increases your chances of successful rooting.
Importance of Callusing
Understanding the importance of callusing is essential for anyone looking to master water propagation for succulents. Callusing your cuttings helps prevent rot and disease by forming a protective layer over the cut surface. This layer minimizes moisture loss and promotes healthy root development when the cutting is placed in water.
Allowing cuttings to callus for 2-3 days before introducing them to water is vital. During this time, the cut area will dry and harden, creating a barrier against pathogens. Larger cuts might need more time, especially in humid environments where the process can slow down, so dry conditions are more favorable.
Signs that a cutting has properly callused include a dry, hardened surface with no visible moisture. If you skip this step, the cuttings are more likely to rot, leading to a higher failure rate in your propagation efforts.
Here's a handy table to summarize the key points:
| Step | Importance | Outcome |
|---|---|---|
| Allowing callusing | Prevents rot and disease | Healthier root development |
| Favorable conditions | Dry, less humid environments | Faster callusing process |
| Properly callused cuttings | Dry, hardened surface | Ready for water propagation |
Proper Callusing Duration
When you're working on water propagation for succulents, it's vital to allow your cuttings to callus for the right amount of time. The callusing process helps prevent rot by drying out the cut surface and forming a protective layer. For stem cuttings, allow them to callus for 2-3 days. Leaf cuttings need a bit more time, around 5-7 days. This drying period is critical to guarantee your cuttings are healed before placing them in water.
In humid climates, the callusing duration may take longer due to slower drying rates compared to drier environments. Keep an eye on your cuttings and adjust the time as needed. Larger cuts may also require more time, so be patient and monitor closely. You want to see the absence of moisture or fresh growth at the cut site. These signs indicate that your cutting is ready for propagation in water.
Taking these steps seriously will set you up for success. Proper callusing guarantees a healthier start for your succulent cuttings in water. By following these guidelines, you'll be well on your way to mastering water propagation for your succulents.
Identifying Callus Readiness
Recognizing when your succulent cuttings are ready for water propagation hinges on identifying callus readiness. Callusing is the vital step where the cut end of your succulent cutting forms a protective layer. This layer prevents rot once you place the cutting in water. Typically, callusing takes 2 to 7 days, depending on your climate and the size of the cut.
To propagate succulents in water successfully, you need to look for signs of readiness. The cut end should be dry and hardened, showing that the moisture has been absorbed. Larger or thicker cuttings might take longer, so keep an eye on them. Smaller cuttings, however, callus faster, but they still need careful observation.
In humid environments, callusing can slow down, so monitoring for moisture is essential. Too much moisture can lead to fungal growth, which you definitely want to avoid.
Once the callusing is complete and the cut end is dry and firm, your succulent is ready for water propagation.
Being patient and attentive during this stage minimizes the risk of rot. By ensuring proper callusing, you'll give your succulent the best chance to thrive in its new watery home.
Prepare Your Vessel
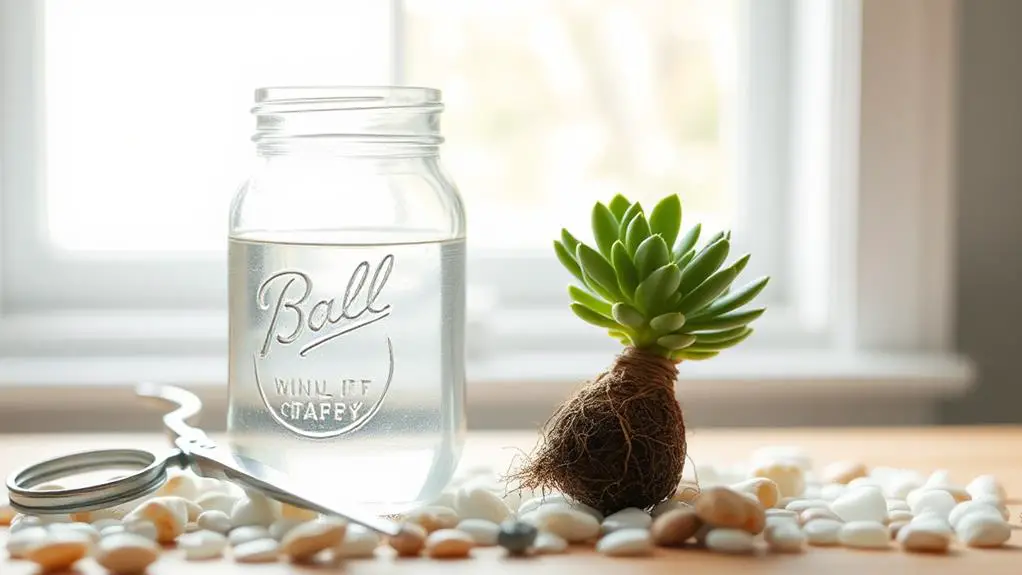
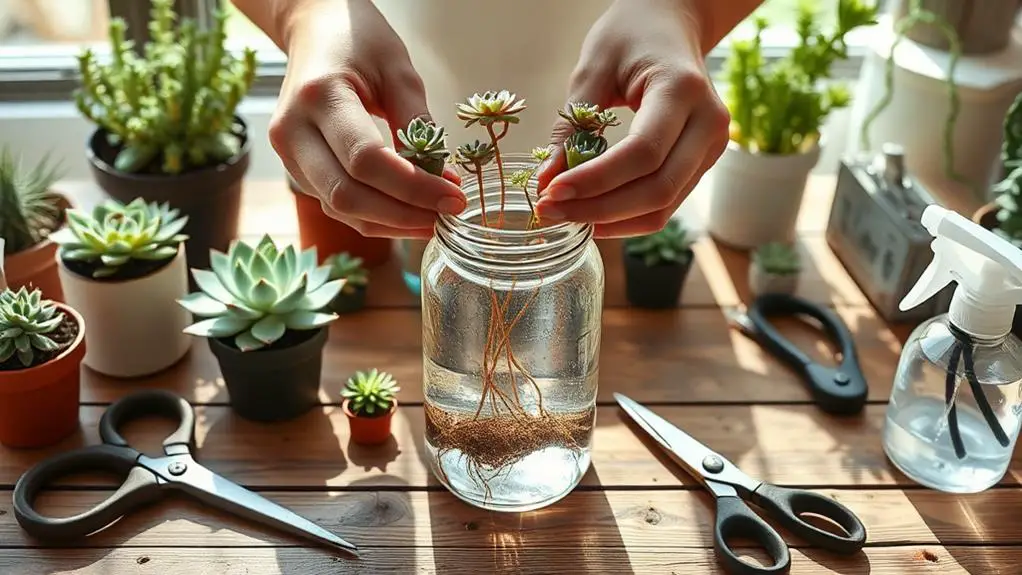
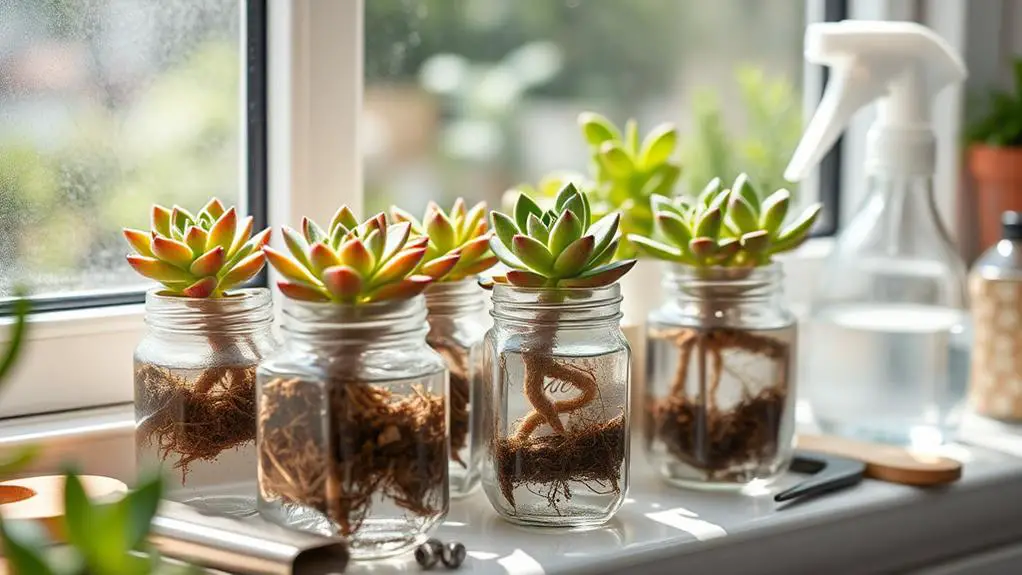
To get started with water propagation for your succulents, select a clear glass jar or vessel. This allows you to see the roots as they grow. Make certain the jar has a narrow neck if you're propagating succulent leaves. This will help keep the leaves above the water, preventing rot.
Next, fill the jar with clean, distilled water. It's important to fill it about one-third to halfway full. This guarantees your cuttings get enough hydration without being fully submerged, which is vital when propagating succulents in water.
To create a mini greenhouse effect, cover the top with plastic wrap. Poke small holes in the wrap for ventilation and to insert the cuttings. This setup helps retain moisture and supports healthy growth.
Regular maintenance is key. Change the water every one to two weeks. Fresh water prevents stagnation and algae growth, which can harm your plants.
Keeping the water clean guarantees a healthier environment for root development. By following these steps, you'll be well on your way to successfully propagating succulents in water and enjoying the process of watching your new plants thrive.
Submerge the Stem
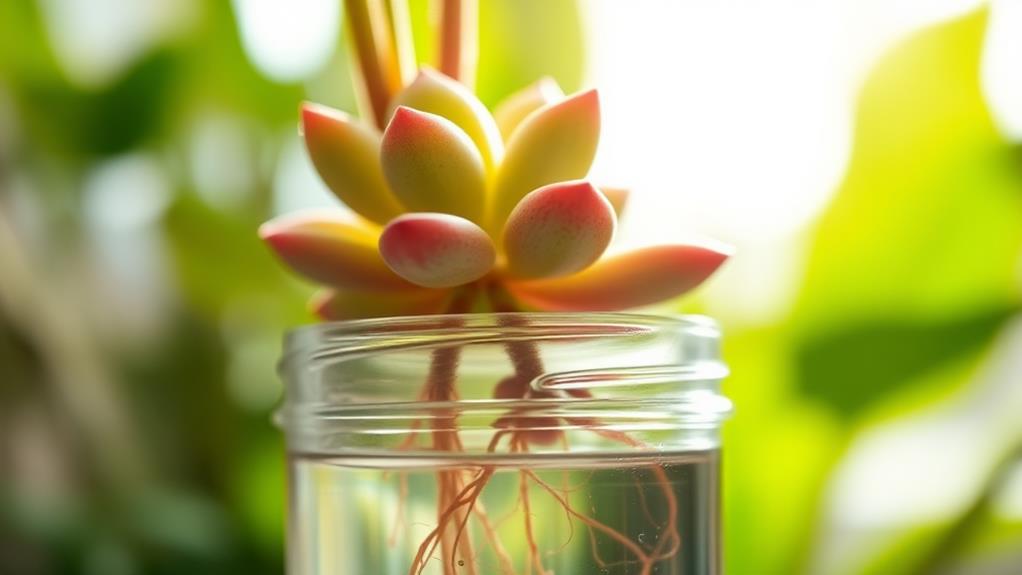
Submerging the stem is a crucial step in water propagation for succulents. When you submerge the stem, make sure only the cut end is in the water while keeping the leaves above water to prevent rot.
Use a clear jar, which will make it easier to see the root growth as it happens. This visibility is crucial for monitoring progress effectively.
Position the jar in a bright spot with indirect light. Direct sunlight can overheat the water and harm your succulent plants. Indirect light encourages healthy root growth without the risk of overheating.
Don't forget to change the water weekly. Fresh water helps prevent stagnation, which can lead to algae growth and unhealthy roots.
Aim to keep the submerged portion of the stem around 1/2 to 1 inch in water. Too much water can cause moisture-related issues, so it's critical to get this right.
Monitor Root Growth
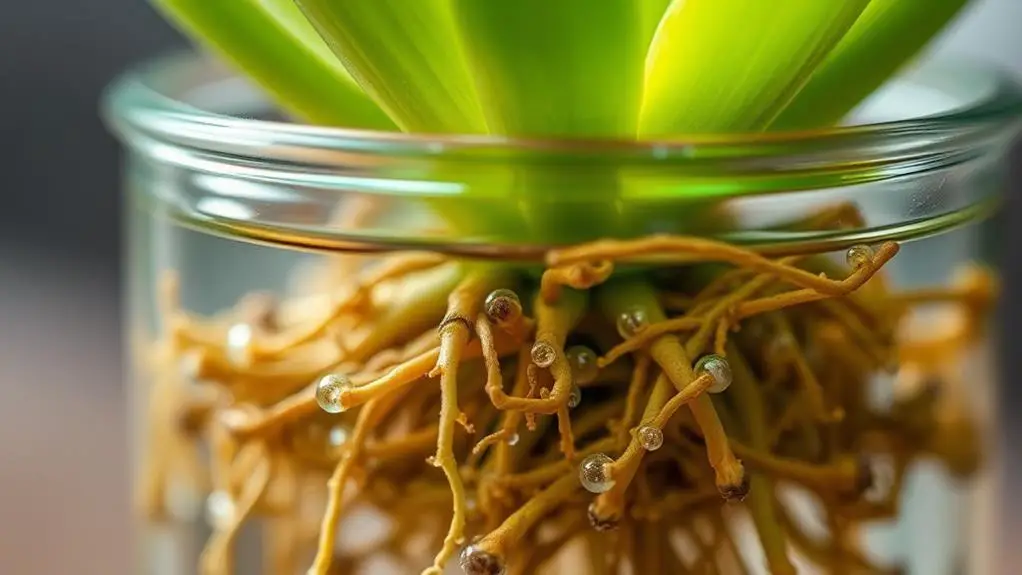
Keep an eye on your succulent cuttings by using a clear container, which lets you easily spot root growth within 2-4 weeks.
Make sure to change the water weekly to prevent algae and keep the roots healthy.
As you monitor, look for white, firm roots, signaling that your cuttings are ready for transplanting.
Clear Container Benefits
Why should you consider clear containers for propagating succulents? Clear containers offer significant benefits when it comes to monitoring root development. They let you easily see the progress of your succulent cuttings without disturbing them. This visibility guarantees you can identify when roots are healthy and ready for transplanting, typically when they reach at least one inch in length.
Clear containers also help you keep an eye on the water level, making sure you don't overwater your plants. By observing the water clarity, you can tell when it's time to change it, which is essential for healthy propagation. Additionally, they allow you to spot any potential issues like algae growth or stagnant water, so you can act quickly to maintain ideal conditions.
Besides their functional benefits, clear containers add an aesthetic appeal to your indoor space, making the propagation process visually pleasing. Here's a quick reference table to summarize the benefits:
| Benefit | Description | Importance |
|---|---|---|
| Root development | Monitor roots without disturbing cuttings | Guarantees healthy growth |
| Water level | Easily check and adjust water level | Prevents overwatering |
| Healthy propagation | Spot issues like algae early | Promotes best conditions |
| Aesthetic appeal | Enhances indoor display | Adds beauty to your space |
| Clear visibility | See root growth and water clarity | Simplifies maintenance |
Using clear containers truly supports successful water propagation for your succulents!
Weekly Water Changes
To guarantee your succulents thrive during water propagation, it's important to change the water in your propagation jar weekly. This simple step prevents stagnation and reduces the risk of algae growth, which can harm the developing roots. Fresh water also provides essential oxygen to your submerged cuttings, promoting healthier root development.
Keep an eye on the water's clarity. If it appears cloudy or discolored before the weekly change, go ahead and replace it immediately. A clean environment is significant for your cuttings. During each water change, take the opportunity to monitor root growth. Roots generally start to develop within 2-4 weeks, so regular checks will help you track their progress.
Make sure the water level stays consistent. Only the stem or base of the cutting should be submerged, while the leaves remain above the waterline to prevent rot.
These weekly water changes are fundamental to successful propagation. By maintaining a clean, oxygen-rich environment, you're giving your succulent cuttings the best chance to develop strong, healthy roots.
Stick to this routine, and you'll soon see those roots flourish, leading to thriving plants ready for potting.
Transplant to Soil
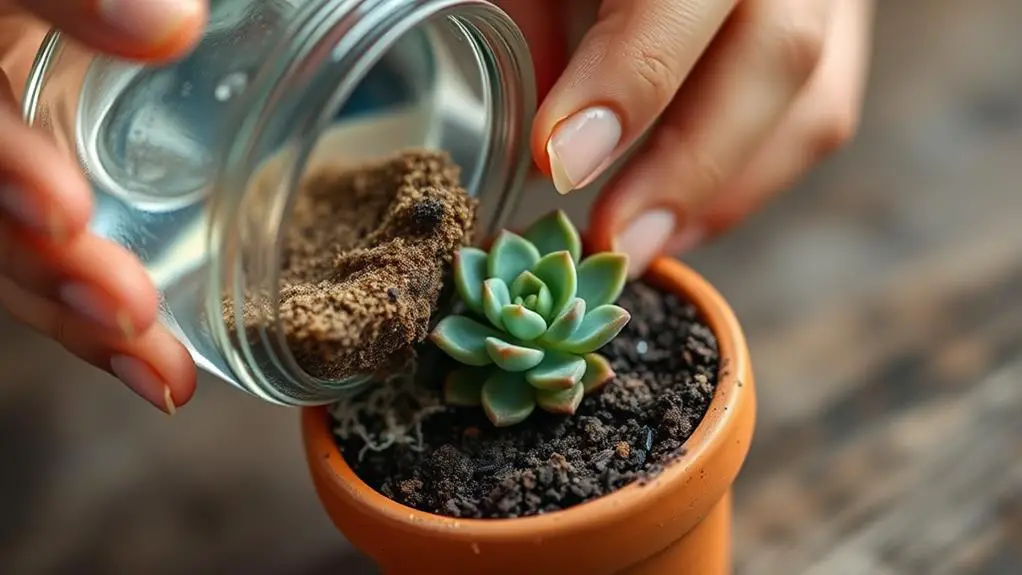
Transplanting your succulent cuttings to soil is an essential step in guaranteeing their long-term health. Once the roots of your succulent cuttings are at least one inch long, it's time to move them from water to soil. Start by allowing the roots to air-dry on a paper towel for 1-2 days. This helps prevent root rot when you transplant them.
Next, choose an unfertilized cactus soil. This type of soil is perfect because it provides the well-draining conditions succulents need. Gently place the cuttings into the soil, making sure the roots are covered but the leaves are above the surface. After transplanting, give your new plants bright, indirect light to help them acclimate without stressing their delicate roots.
Here's a quick guide to remember:
| Step | Action | Reason |
|---|---|---|
| Wait for roots | Guarantee roots are at least 1 inch long | Strong roots survive in soil |
| Air-dry roots | Let roots dry on a paper towel 1-2 days | Prevents rot in new soil |
| Use cactus soil | Select unfertilized cactus soil | Provides well-draining conditions |
| Provide light | Place in bright, indirect light | Helps acclimate without stress |
Establish a watering schedule by soaking the soil every two weeks once your succulents are established. This supports healthy growth and keeps your plants thriving.
Care for New Plants
Caring for your newly transplanted succulents is essential to guaranteeing they thrive. Start by providing bright, indirect sunlight. This helps the cutting grow roots without stressing or damaging the plant. Direct sunlight can be too harsh, so find a spot with filtered light.
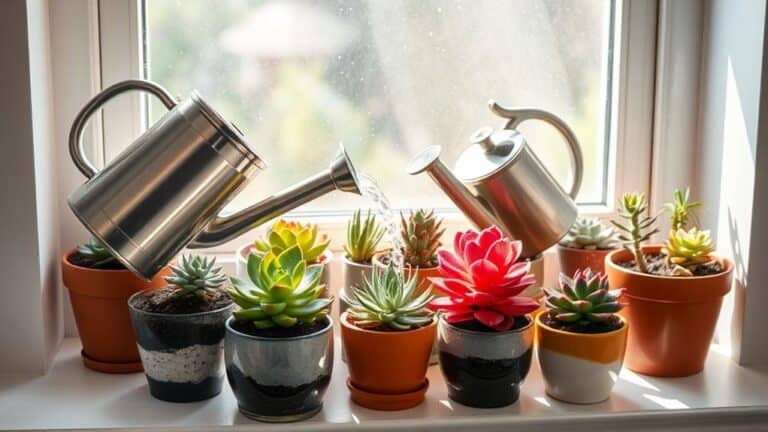
Next, establish a watering schedule. Water your new plants every two weeks, soaking the potting mix thoroughly. It's important to let the soil dry out between waterings. This prevents giving them too much water, which can lead to root rot.
Be vigilant for signs of overwatering, like yellowing leaves or a mushy texture. If you notice these symptoms, cut back on watering.
Avoid fertilizing your new plants for at least a month after transplanting. This allows them to settle into their new environment without added stress.
To promote a balanced shape, rotate your plants regularly. This guarantees they receive even light exposure and prevents them from growing leggy.
Frequently Asked Questions
How to Propagate Succulent Cuttings in Water?
Start by choosing healthy succulent cuttings and let them callus for a few days. Place the stem in water, changing it weekly. Once roots are an inch long, transplant into cactus soil.
Do Succulents Need to Callus Before Water Propagation?
Yes, you've got to let succulents callus before water propagation. This step prevents rot at the cut end by allowing the wound to heal properly. It typically takes 2-7 days, depending on the cut size and conditions.
Should Succulent Stems Touch Water When Propagating?
Yes, you should guarantee only the cut end of the succulent stem touches the water. Keep the leaves above the water level to prevent rot and decay. This helps roots develop properly within 2-4 weeks.
What Are the Steps to Propagate Succulents?
To propagate succulents, cut a healthy stem or leaf. Let it callus for a few days. Place it in water, ensuring only the cut end is submerged. Provide indirect light and transplant when roots are one inch long.
Conclusion
You've got this! By following these steps, you'll turn your succulent cuttings into healthy, thriving plants. Remember to pick strong cuttings, let them callus, and keep the cut end in clean water. Check on them every week, and when the roots are long enough, move them to well-draining soil. With a bit of care and patience, your new plants will flourish. Enjoy watching your succulent collection grow and feel proud of your gardening skills!

