7 Easy Steps to Create a Succulent Garden in an IKEA Cart
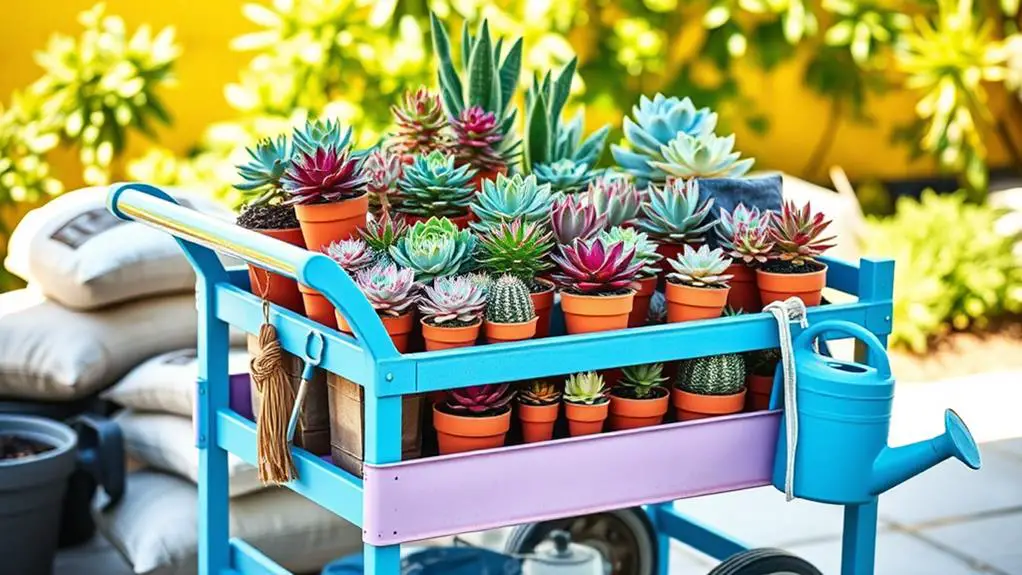
Transforming an IKEA RÅSKOG cart into a succulent garden is a straightforward project that can bring a touch of greenery to any space. You'll start by gathering essential materials like succulent soil and window screening for proper drainage. Once your cart is cleaned and assembled, the real fun begins: arranging your succulents by height and adding decorative elements like colorful pots and stones. But how do you guarantee your new garden thrives with minimal effort? Let's explore each step in detail to make this DIY project not just easy, but also successful.
Gather Your Materials
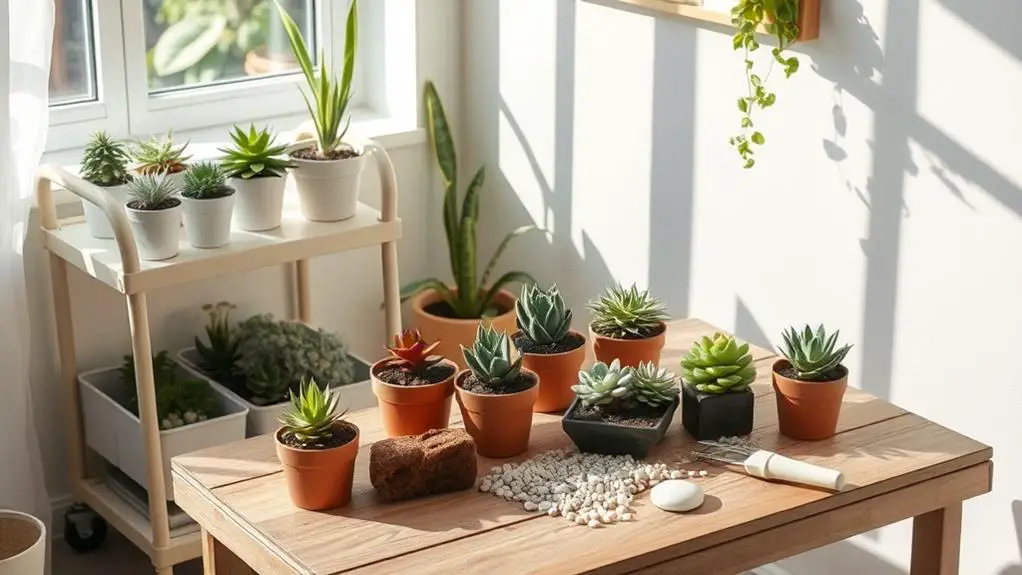
To kickstart your succulent garden in an IKEA cart, you'll need to gather a few essential materials. First, choose a sturdy Ikea cart, like the RÅSKOG model. It's perfect for holding your succulents and can be easily moved around as needed.
Next, get some window screening to line the cart's shelves. This will help keep the soil in place while allowing for proper drainage.
You'll also need succulent soil, which is specially designed for cacti and succulents. This type of soil guarantees your plants get the nutrients they need and helps with water drainage, which is vital for their health.
Along with the soil, pick up some sphagnum moss. Placing this on top of the soil not only looks nice but also helps retain moisture and prevents the soil from moving around.
Prepare the IKEA Cart
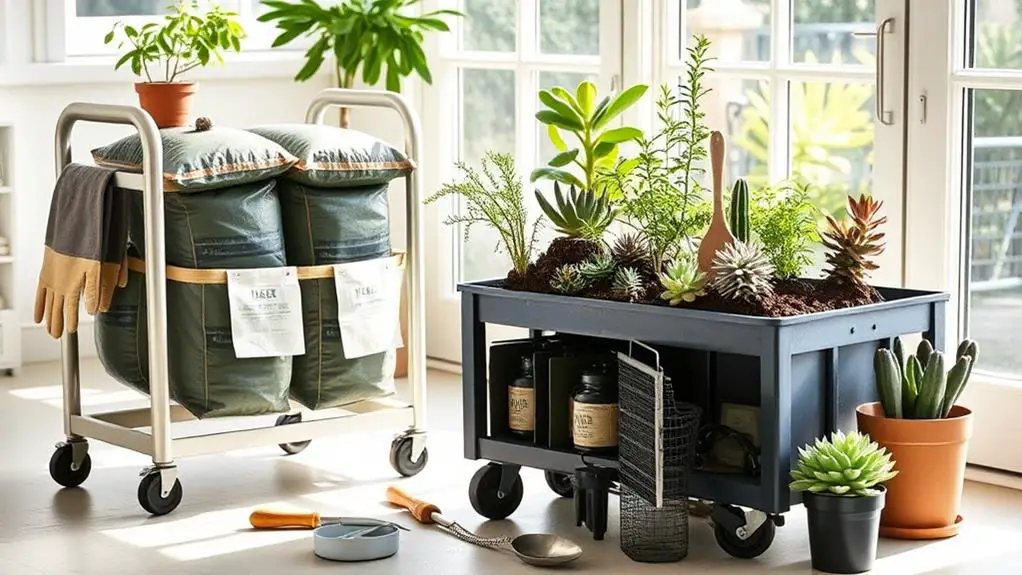
First, give your IKEA cart a good scrub to remove any dirt or residues that could harm your succulents.
Next, make sure water can drain properly by adding holes to the base if needed, and line the bottom with landscape fabric to keep the soil in place.
For extra drainage, add a layer of gravel or small stones before filling the cart with a succulent-friendly potting mix.
Clean and Assemble Cart
Before you start planting, thoroughly clean the IKEA cart to remove any residues or dust that could hinder plant growth or soil retention. Use a mild soap and water solution to wipe down all surfaces. Rinse well and let it dry completely. This step helps to guarantee a healthy environment for your succulents.
Next, assemble the cart completely. Follow the IKEA instructions carefully to make certain all parts are securely connected. This will provide stability and prevent complications when you start planting and moving the cart around.
Here are some essential tips to keep in mind:
- Verify all shelves are firmly attached.
- Double-check for any loose screws.
- Place the cart on a flat surface to confirm stability.
- Address any wobbles by tightening connections.
Taking these steps will give you a sturdy base for your succulent garden.
Remember, a well-assembled cart is vital for the success of your garden. Once the cart is cleaned and properly assembled, you're ready to move on to the next steps in creating your beautiful succulent garden.
Each stage builds on the last, so giving attention to these details now will pay off later. Happy gardening!
Ensure Proper Drainage
Ensuring proper drainage in your IKEA cart is essential for the health of your succulents. Start by cleaning the IKEA cart thoroughly to eliminate any residues that could harm your plants.
If your cart doesn't have pre-existing drainage holes, grab a drill and make several small holes in the base. This will allow excess water to escape, preventing soggy soil and root rot.
Next, line the bottom of the cart with landscape fabric. This step is vital because it keeps the soil in place while still allowing water to drain freely. You don't want your soil slipping through the holes you just drilled, right?
After that, add a layer of gravel or small stones. This layer acts as a barrier, improving drainage even further and ensuring that your succulents' roots don't sit in water.
Good drainage is paramount for succulents, as they prefer dry conditions.
Add Soil and Screening
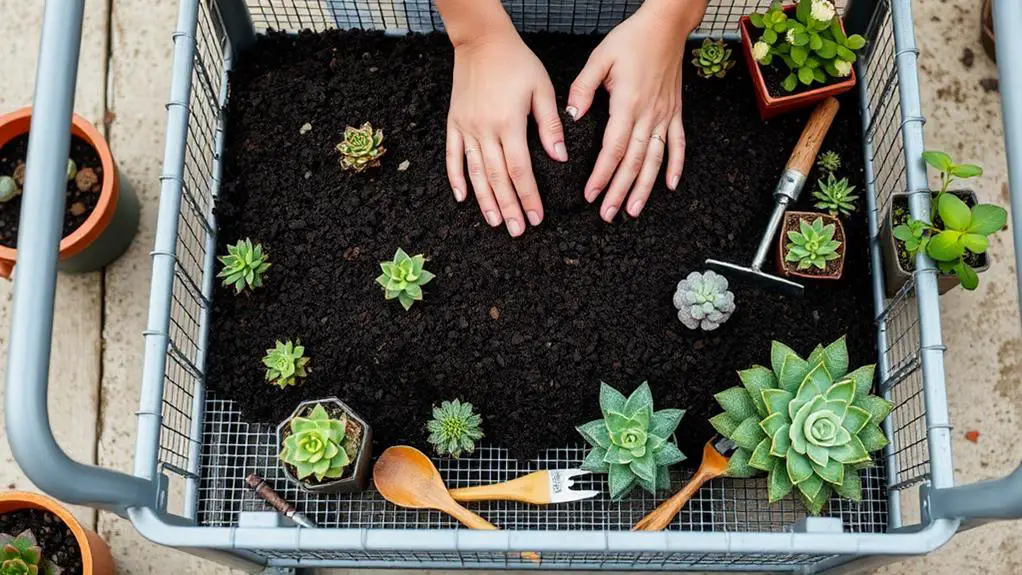
Although you're enthusiastic to plant, start by cutting the window screening to fit the dimensions of the IKEA cart's shelves. This essential step guarantees that the soil stays in place while allowing for proper drainage.
Secure the screening with staples or a strong adhesive to prevent soil from falling through during planting and cart movement.
Next, fill each shelf with succulent soil. Spread the soil evenly to create a stable base, which is vital for the succulents' growth. Succulent soil is specifically designed to provide the drainage these plants need.
After spreading the soil, moisten some sphagnum moss and add it on top. This helps retain moisture and gives the cart a neat appearance.
For a polished look:
- Cut window screening to the cart's shelf dimensions.
- Secure screening with staples or adhesive.
- Evenly spread succulent soil on each shelf.
- Moisten and add sphagnum moss on top of the soil.
Smoothing out the soil and moss guarantees everything stays put, reducing soil displacement when you move the cart for light or watering.
This preparation sets the stage for a beautiful display as you decorate with succulents, ensuring they thrive in their new mobile garden.
Plant Your Succulents
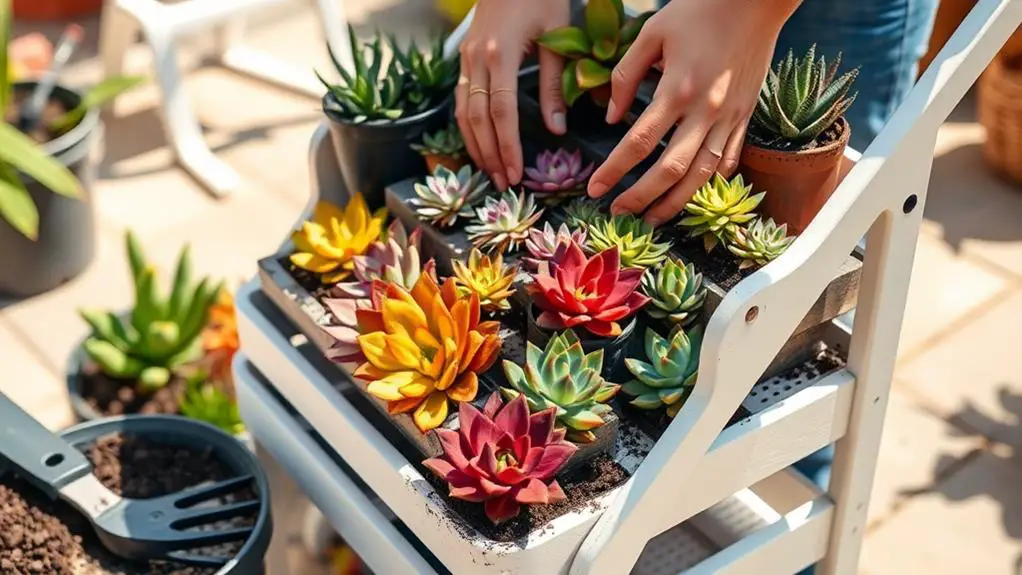
Ready to bring your succulent garden to life? Start by selecting a variety of succulents. Choose larger plants to create a balanced design and guarantee they have enough space to grow and breathe. Gently remove each succulent from its nursery pot, being careful not to damage the roots. Place them into the prepared IKEA cart, which should already be filled with succulent soil.
Position the taller succulents in the back and the shorter ones in the front. This layering effect will make your garden look more visually appealing. Once you've placed each plant, firmly pack the soil around the roots. This step is essential to eliminate air pockets and provide stability as the succulents grow.
Here's a quick reference table for you:
| Step | Action |
|---|---|
| 1. Select Succulents | Choose larger plants for balance |
| 2. Remove from Pots | Be gentle to avoid root damage |
| 3. Position Plants | Taller in back, shorter in front |
| 4. Pack Soil | Firmly around roots to eliminate air |
| 5. Water Lightly | Helps settle soil, avoid overwatering |
Arrange and Decorate
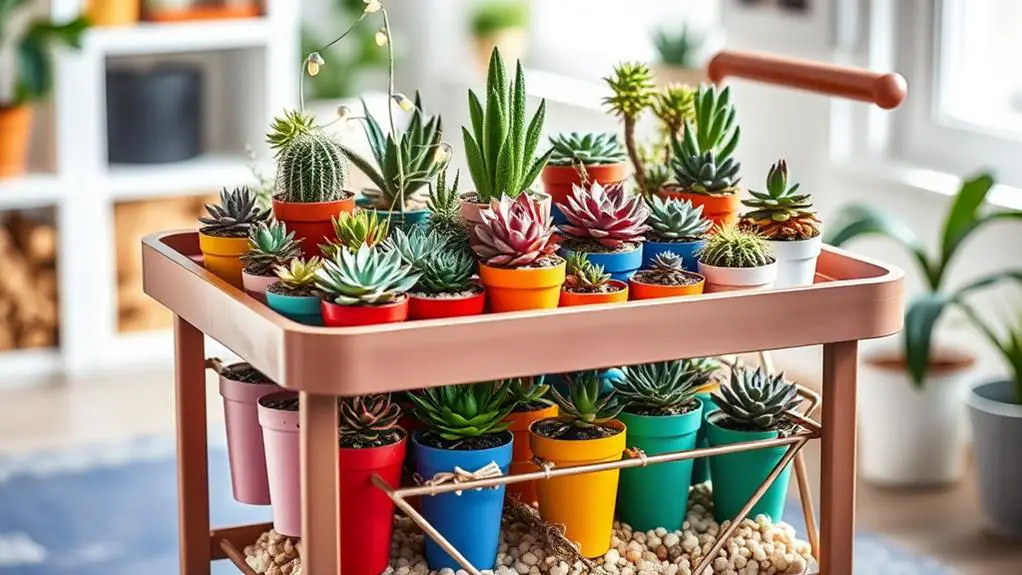
Arranging and decorating your succulent garden is where creativity truly shines. Start by playing with contrasting colors and textures of succulents. This will make your IKEA cart garden visually appealing and add depth to your design.
Space your succulents evenly to guarantee they've enough room to grow and allow for proper airflow. This prevents overcrowding and helps each plant thrive.
Add trailing succulents along the edges of the cart to create a cascading effect. This adds both depth and interest to your arrangement.
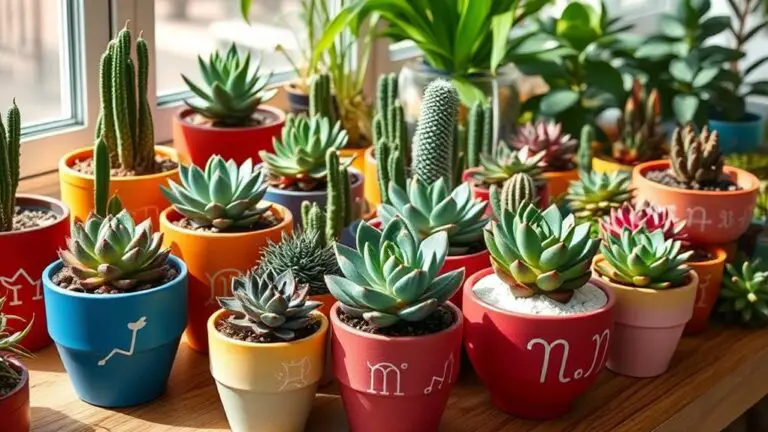
Enhance the visual appeal by using colorful pots or decorative stones around the base of your succulents. These elements can tie your theme together and make your garden pop.
For that extra touch, consider incorporating small decorative items that complement your plants. Think about adding:
- Cute figurines
- Decorative stones
- Miniature fairy garden accessories
- Small pieces of driftwood
These additions can create a unique focal point in your garden, making it truly one-of-a-kind.
Care and Maintenance Tips
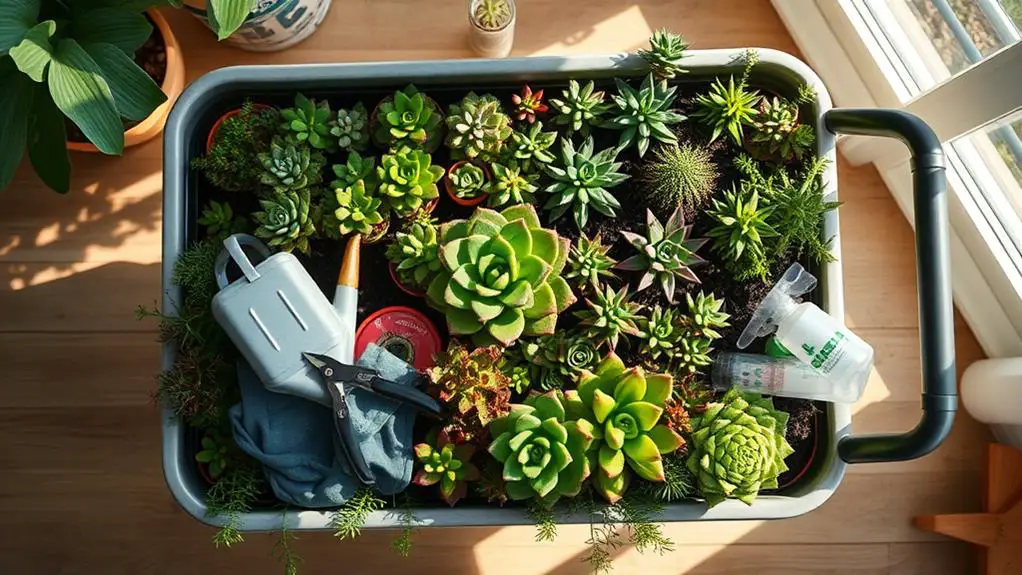
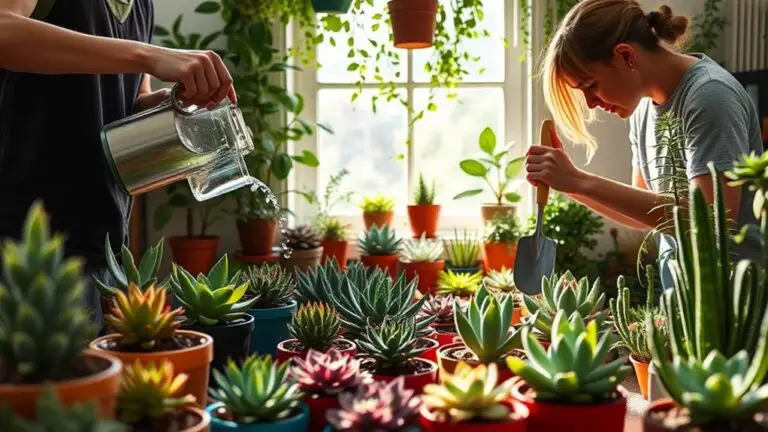
To keep your succulent garden thriving, proper care and maintenance are essential. First, water your succulents only when the soil is completely dry. This typically means every 1-3 weeks, depending on your home's temperature and humidity. Overwatering is a common problem killing indoor succulents, so be mindful.
Place your IKEA cart in a spot that gets 6-8 hours of bright, indirect sunlight daily. Succulents love light, but too much direct sunlight can scorch them. If natural light is scarce, consider using a grow light to help them flourish.
Fertilize sparingly. Use a diluted succulent fertilizer once during the growing season, which is spring and summer. This encourages growth without overfeeding, which can be harmful.
Inspect your succulent garden regularly for pests like mealybugs or aphids. If you spot any, treat them with insecticidal soap or neem oil. These pests can damage your plants if left unchecked.
Lastly, prune dead or damaged leaves to keep your garden looking neat and promote healthy growth. Use clean, sharp tools to make cuts to prevent infections.
Enjoy Your New Garden
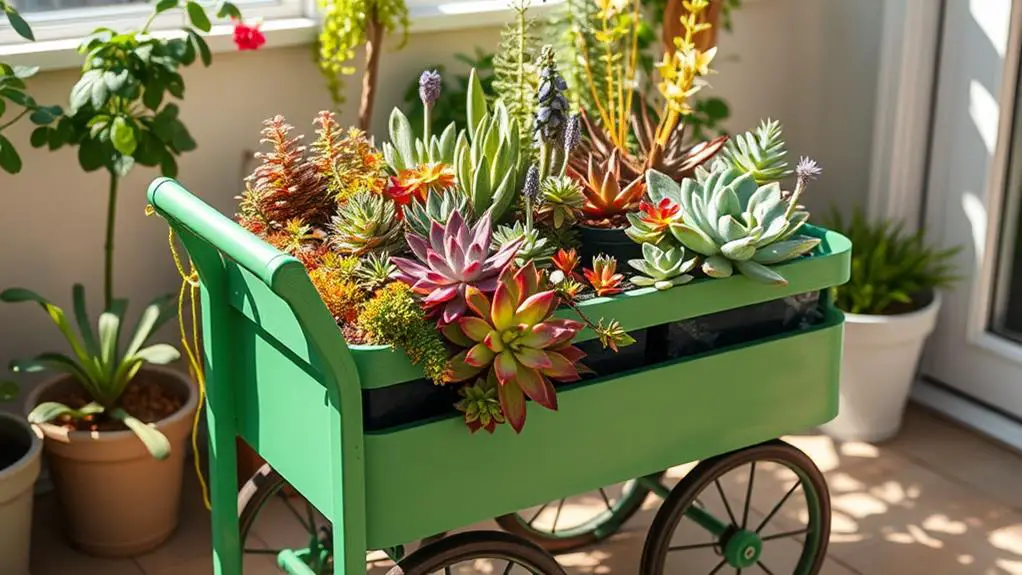
With your succulent garden now thriving in its IKEA cart, it's time to sit back and savor the fruits of your labor.
You've created a beautiful vertical garden that's not only a joy to look at, but also a reflection of your dedication and care.
Now, let's guarantee you can enjoy it to the fullest.
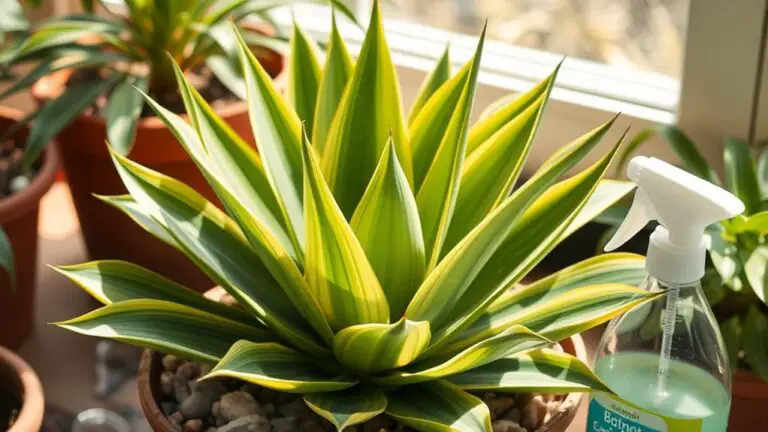
Regularly mist your succulents to keep their environment humid, especially if your home is dry. This will help them grow strong and healthy.
Remember to rotate your IKEA cart every few weeks. This simple step guarantees all your plants get equal sunlight, promoting even growth and a balanced look.
To keep your garden looking its best, monitor the soil moisture closely. Only water when the top inch of soil is dry to avoid overwatering and root rot.
Adding colorful pots and decorative elements can enhance the aesthetic appeal of your garden, making it even more delightful.
Don't forget to share your gardening journey on social media. Connecting with a community of plant enthusiasts can provide valuable tips and support for ongoing care and maintenance.
- Mist regularly for humidity
- Rotate cart for equal sunlight
- Monitor soil moisture
- Incorporate colorful pots and decorations
Enjoy your beautiful new vertical garden!
Frequently Asked Questions
How Do You Make a Simple Succulent Garden?
You can make a simple succulent garden by choosing a container with good drainage, filling it with succulent soil, arranging various succulents for visual appeal, and monitoring sunlight and water needs. Keep the soil dry between waterings.
How Do You Plant Succulents for Beginners?
Start by choosing succulents with similar needs. Use well-draining soil and space them to allow growth. Remove from nursery pots carefully, pack soil around roots, and water lightly when the soil is dry. Enjoy your succulent garden!
How Do You Plant Succulents in a Basket?
Start by choosing a basket with drainage holes. Line it with landscape fabric, then fill it with succulent potting mix. Arrange your succulents, balancing sizes and colors. Lightly water them after planting, ensuring soil dries between waterings.
How to Organize a Succulent Garden?
Organize a succulent garden by selecting compatible plants, spacing them evenly, and arranging taller ones in the back for airflow. Use contrasting colors and textures for visual appeal. Add pots or decorations on empty shelves for flexibility.
Conclusion
You've got all the steps you need to create your very own succulent garden in an IKEA cart. It's an easy and fun project that lets your creativity shine. Just remember to give your succulents the right amount of water and plenty of indirect sunlight. Before you know it, you'll have a beautiful, thriving garden to enjoy. So, gather your materials and get started. You can do this, and your new succulent garden will look amazing!

