Create a Succulent Propagation Mandala in 5 Steps
Creating a succulent propagation mandala is an artistic project that adds a touch of nature to your space and can be accomplished in just five straightforward steps. First, you'll need to gather your materials, including healthy succulent leaves and a well-draining container filled with cactus mix. Next, you'll prepare the leaves by detaching them and allowing them to dry. As you move forward, you'll arrange these leaves into a visually appealing circular pattern. Finally, daily misting and the right amount of sunlight will guarantee your mandala thrives. But how do you make sure each step is executed perfectly?
Gather Your Materials
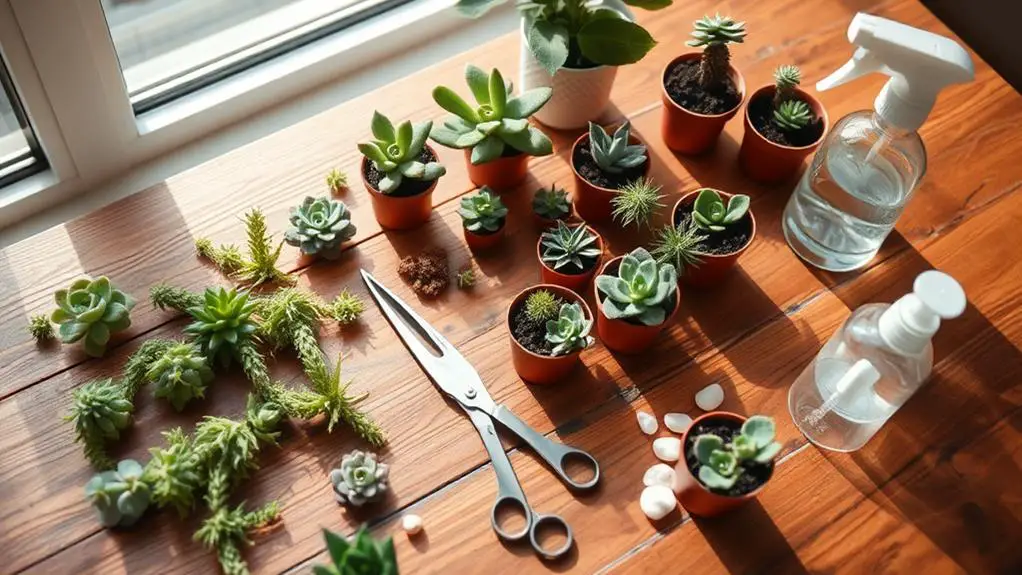
When preparing to create your succulent propagation mandala, start by gathering all necessary materials to guarantee a smooth process. First, collect a variety of healthy succulent leaves. Make certain they're free from damage for the best results.
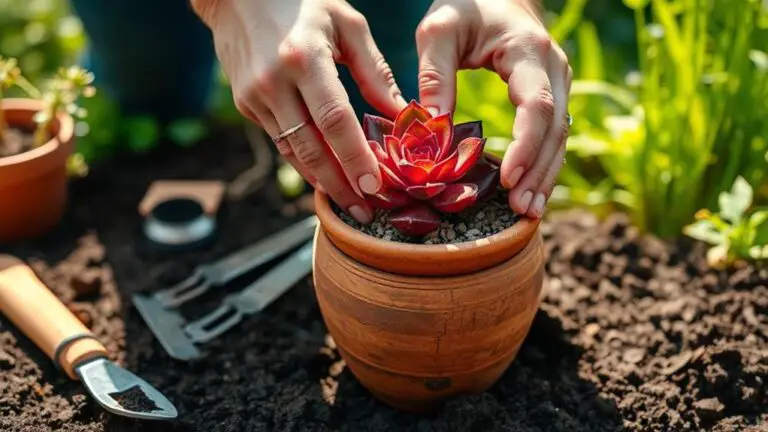
You'll want a sturdy container like a shallow dish, tray, or bowl. It's important that your container has drainage holes to prevent excess water from accumulating, which can harm your succulent leaves.
Next, choose well-draining soil. A mix like E.B. Stone Naturals Cactus Mix works great because it helps create an ideal growing environment. This soil will guarantee your succulent cuttings have the best chance to thrive.
For watering, a spray bottle is perfect. It allows you to control how much water you give your plants, which is essential for their growth.
If you want to make your propagation mandala even more special, consider adding decorative elements. Colorful rocks, seashells, or crystals can enhance the visual appeal and make your project more enjoyable.
These decorations aren't necessary, but they can make your creation unique. By gathering these materials, you're setting yourself up for a successful and beautiful succulent propagation mandala.
Prepare Your Leaves
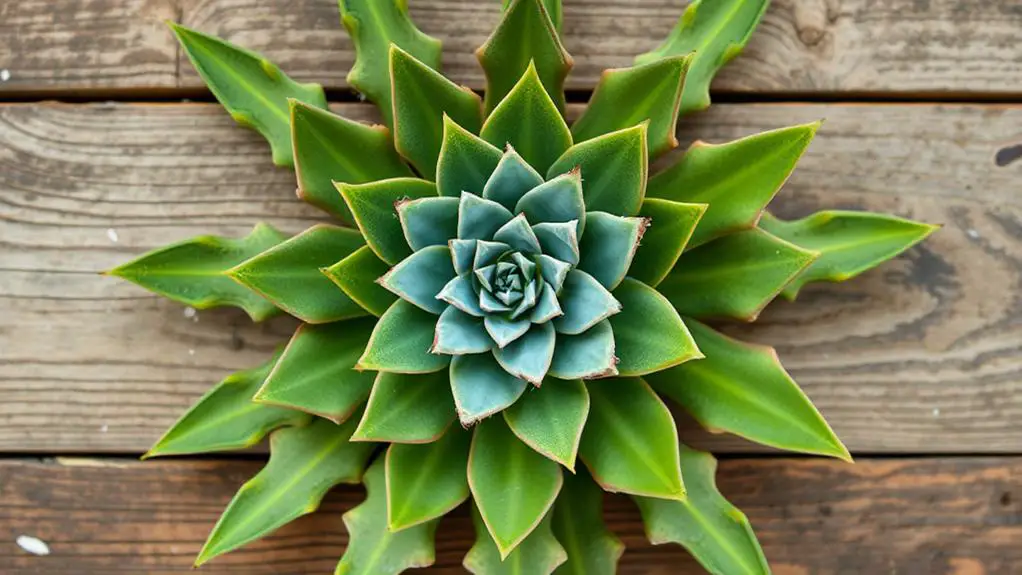
With all your materials in hand, it's time to prepare your succulent leaves for propagation. Start by gently twisting and removing each succulent leaf from the main plant. Make sure you get a clean break without damaging the stem. It's essential to select healthy leaves; avoid any that are damaged or diseased, as these won't propagate as well. Focus on the lower, older leaves because they're typically more mature and better suited for this process.
Once you've made your cuttings, let the leaves dry for 2-3 days in a shaded area. This drying period allows the leaves to form a callous, which helps prevent rot during rooting. Store them in a cool, dry place until you're ready to place them in the propagation tray. This guarantees they remain undamaged and in good condition.
Here's a quick table to summarize the steps:
| Step | Action | Purpose |
|---|---|---|
| Remove Leaves | Twist gently to detach | Guarantee full detachment without stem damage |
| Drying Period | Leave in shaded area for 2-3 days | Form callous to prevent rot |
| Storage | Store in cool, dry place | Keep leaves undamaged until propagation |
Now, your succulent leaves are ready for the next steps in their journey to becoming new plants!
Choose a Container
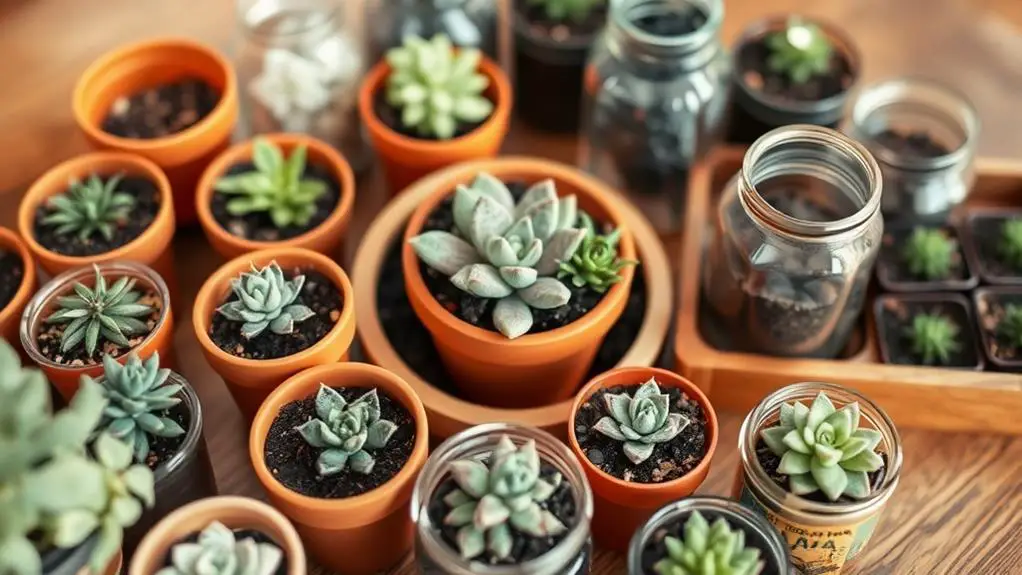
Selecting the right container is vital for a successful succulent propagation mandala. You'll want to choose a shallow and wide container to spread your succulent cuttings effectively. This allows each cutting enough space to grow without crowding.
Make certain your container has drainage holes. These holes are essential because they prevent excess water from accumulating, which can lead to root rot. If you don't have a container with drainage holes, you can easily drill some yourself.
Here are a few things to take into account when choosing your container:
- Reuse old pots or trays: This is a sustainable choice that reduces waste and gives your project a unique touch.
- Aesthetic appeal: Pick a container that looks good and complements your overall design. The right look will enhance the visual impact of your mandala.
- Sturdiness: Verify the container is strong enough to support the soil and growing plants while allowing proper airflow.
When you select a container, reflect on how it will hold the soil and support the succulent cuttings. A good container will make all the difference in helping your mandala thrive.
Arrange the Mandala
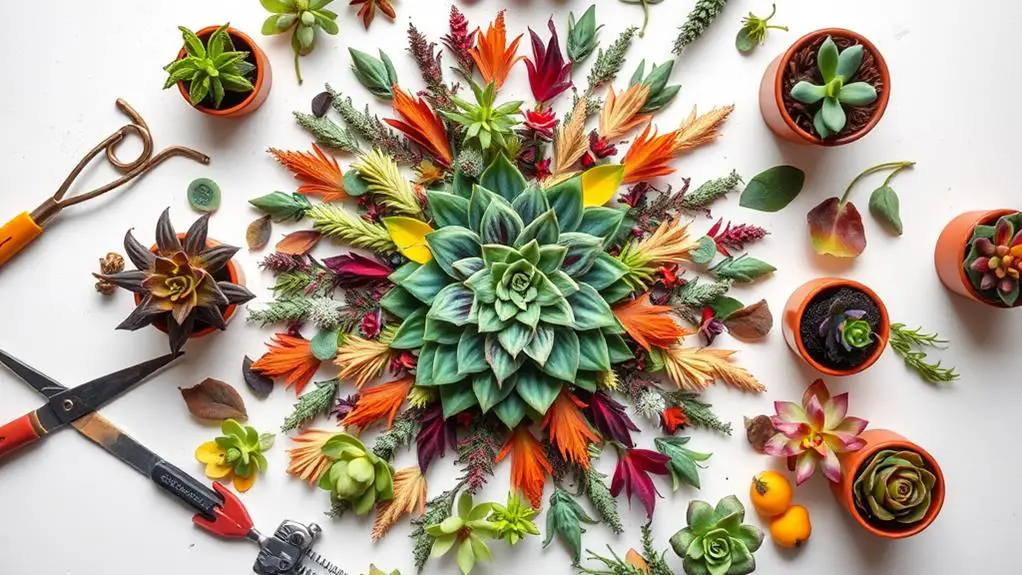
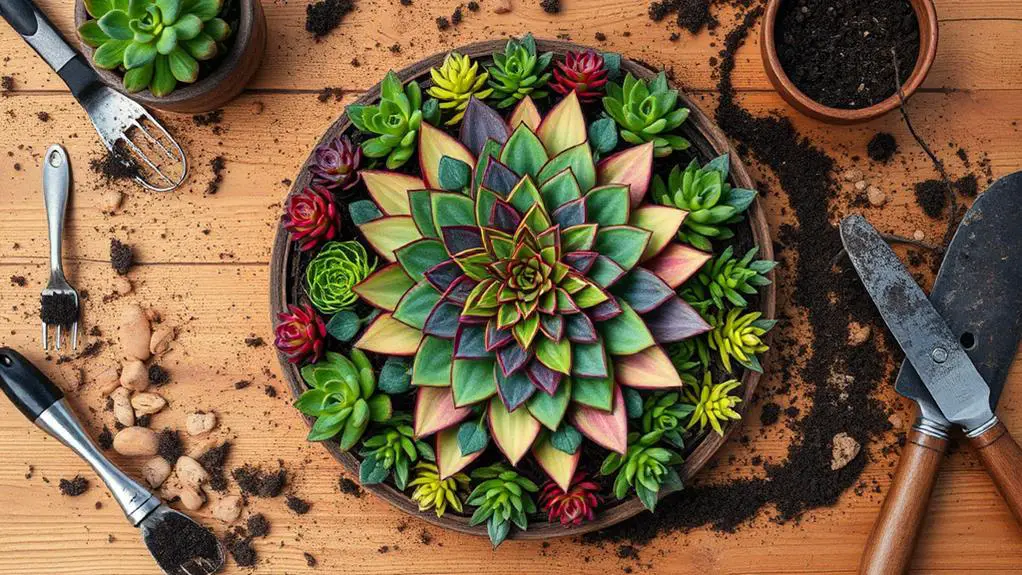
Arranging the mandala is where your creativity truly shines. Start by sorting your succulent leaves by color and size. This will help you create a balanced and visually appealing design. The possibilities are endless, so let your imagination guide you. Aim for a circular, symmetrical pattern; this will enhance the overall aesthetic and make your mandala look harmonious.
Take inspiration from previous designs if you need a spark of creativity. Remember, this is your mandala, so it should reflect your personal style. When you arrange the leaves, make certain there's enough space between each cutting. Proper spacing promotes airflow and helps minimize the risk of rot as the cuttings take root.
Here's a handy table to help you visualize your arrangement process:
| Step | Action |
|---|---|
| 1 | Sort leaves by color and size. |
| 2 | Arrange leaves in a circular pattern. |
| 3 | Guarantee proper spacing between leaves. |
Enjoy the artistic and meditative process of placing each succulent cutting. Take your time and have fun with it. You're not just arranging leaves; you're creating a living piece of art. Make sure the potting soil is evenly spread and ready to support your beautiful mandala.
Care and Maintenance
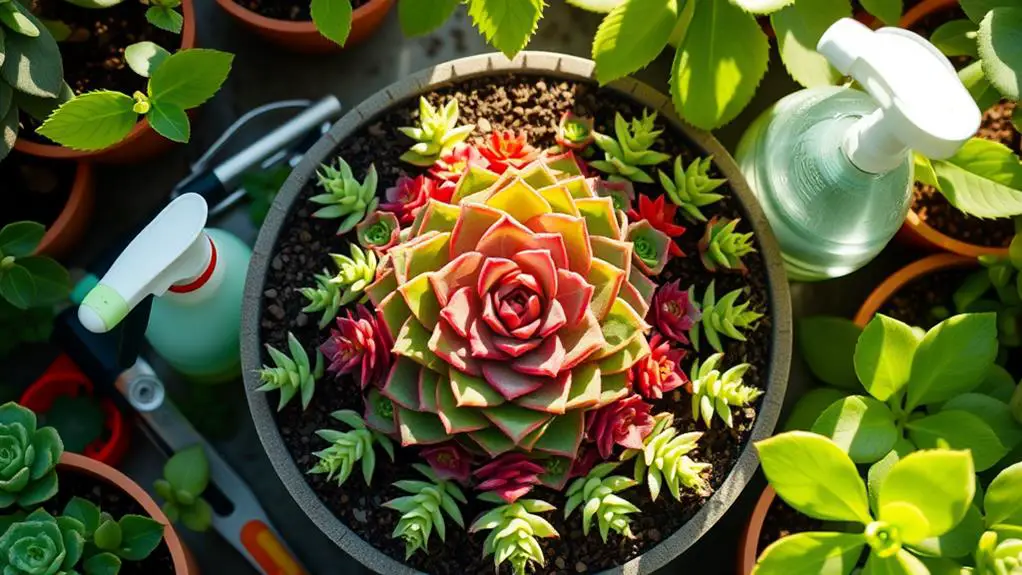
Caring for your succulent propagation mandala is essential to guarantee healthy growth and successful rooting. To make certain your cuttings thrive, you'll need to follow a few key steps.
First, water the succulent cuttings daily with a light mist. This keeps the soil moist but not soaked, as too much water can cause rot. Make sure to monitor soil moisture regularly. Only water when the soil feels completely dry to the touch. This helps prevent any excess moisture buildup, which is important for the health of your succulents.
Next, place your propagation mandala in an area that receives bright indirect sunlight. This promotes healthy growth without the risk of scorching the leaves. Direct sunlight can be too intense and may harm your cuttings.
Lastly, be patient and observe your cuttings for signs of root development. This process can take several weeks to months, depending on the type of succulent and the environment. During this time, keep an eye out for any cuttings that appear transparent, mushy, or shriveled. If you notice these signs, discard any cuttings that show such indicators of unsuccessful propagation or decay.
- Mist cuttings daily
- Monitor soil moisture
- Provide bright, indirect sunlight
Frequently Asked Questions
What Are the Steps to Propagate Succulents?
First, twist off healthy leaves. Let them dry for 2-3 days. Fill a tray with well-draining mix, then place leaves on top. Mist regularly. After roots develop, either leave them or transplant into small containers.
How Do You Propagate a Succulent Coin?
To propagate a succulent coin, twist and remove leaves from the stem, let them dry for 2-3 days, place them on well-draining soil, mist lightly, and keep in indirect sunlight. Be patient and monitor for roots.
How Do You Make Succulent Arrangements From Cuttings?
To make succulent arrangements from cuttings, start by selecting healthy leaves. Let them dry for a few days. Plant them in well-draining soil, arranging them in your desired design. Mist lightly and provide indirect sunlight.
Can You Put Succulent Cuttings Straight Into Soil?
You can put succulent cuttings straight into soil, but it's not ideal. Let them callus for 2-3 days first to prevent rot. Use well-draining soil and avoid excessive moisture to guarantee healthy root development and growth.
Conclusion
You've created a beautiful succulent propagation mandala. With daily misting and bright, indirect sunlight, your cuttings will thrive. Be patient; it takes time for new roots to grow. Keep an eye on them, and don't hesitate to adjust their placement if needed. Remember, gardening is about learning and enjoying the process. You've got this! Your mandala will soon be a stunning display of your hard work and creativity. Enjoy watching your succulents flourish!

