Top 10 Easiest Succulents to Propagate at Home
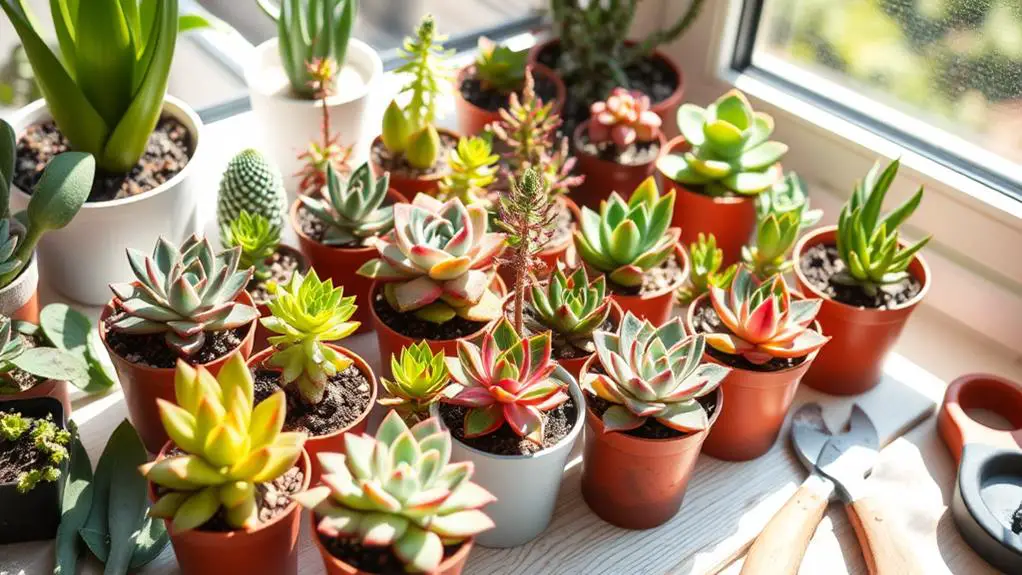
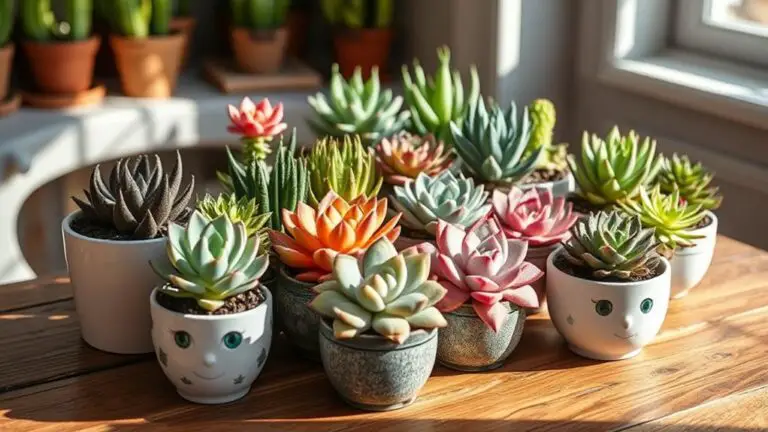
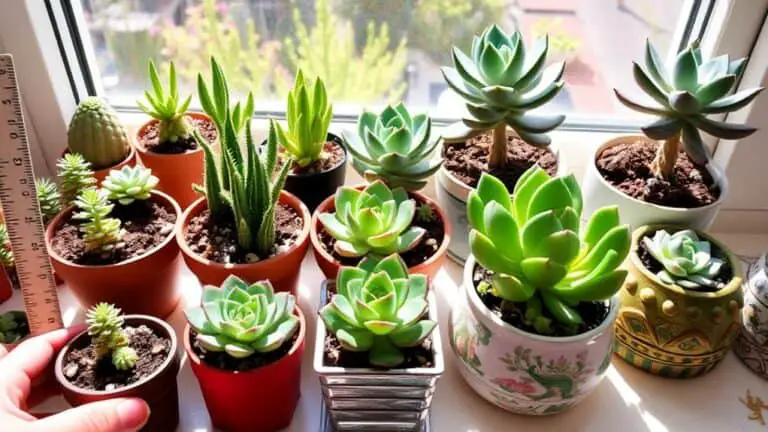
If you've ever thought about expanding your succulent collection with minimal fuss, you're in luck. Some succulents, like Echeveria Lola and the Jade Plant, are remarkably easy to propagate at home. Using simple methods such as leaf cuttings, stem cuttings, or offsets, you can multiply these resilient plants with ease. They thrive in bright, indirect light and well-draining soil, making them perfect for beginners. But which other succulents should you consider, and what specific steps guarantee success? Let's explore the top contenders and their unique propagation techniques.
Echeveria Lola
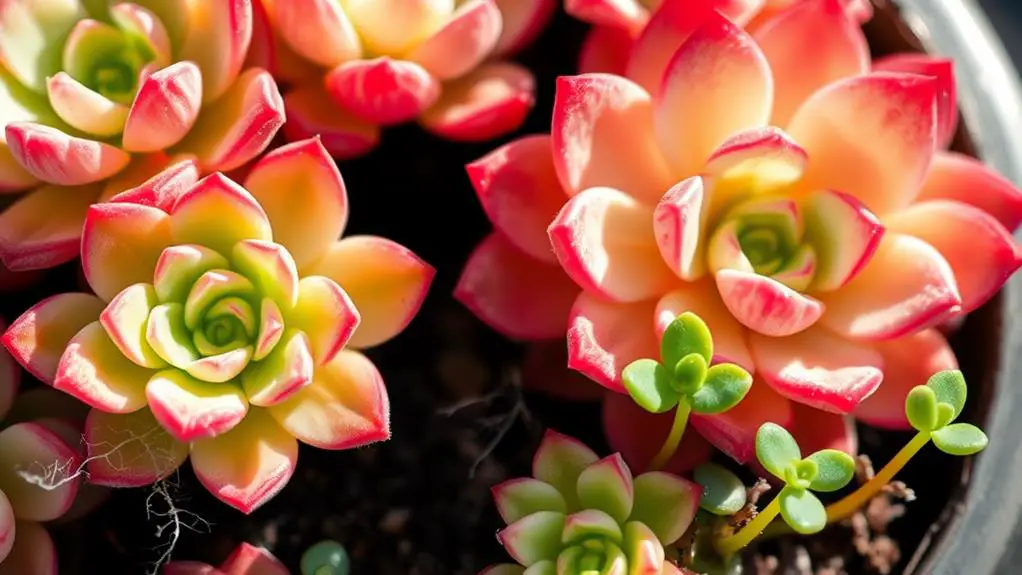
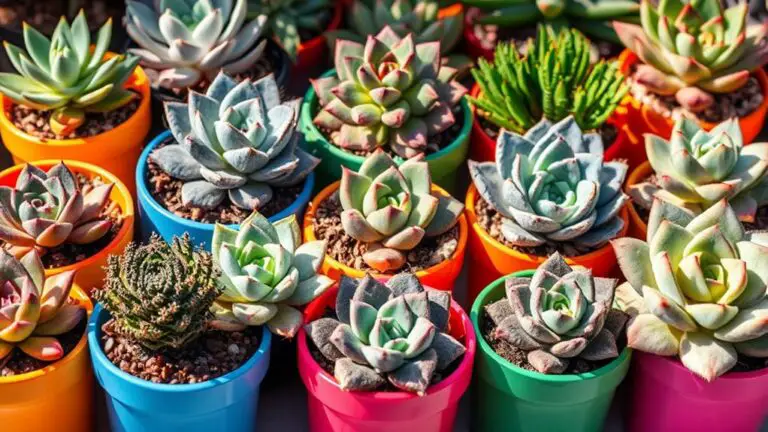
Echeveria Lola, with its perfectly round rosettes and iridescent pearly pink foliage, is a favorite among succulent enthusiasts. If you're looking to expand your succulent collection, this plant is a great choice.
Echeveria Lola is easy to propagate from leaf cuttings, making it ideal for beginners. Simply pluck a healthy leaf from the rosette, let it callous over for a day or two, and place it on well-draining soil. Soon, you'll notice new plants sprouting from the leaf cuttings.
To give your Echeveria Lola the best chance to thrive, make sure it's in well-draining soil. This prevents water from sitting around the roots, which can cause rot.
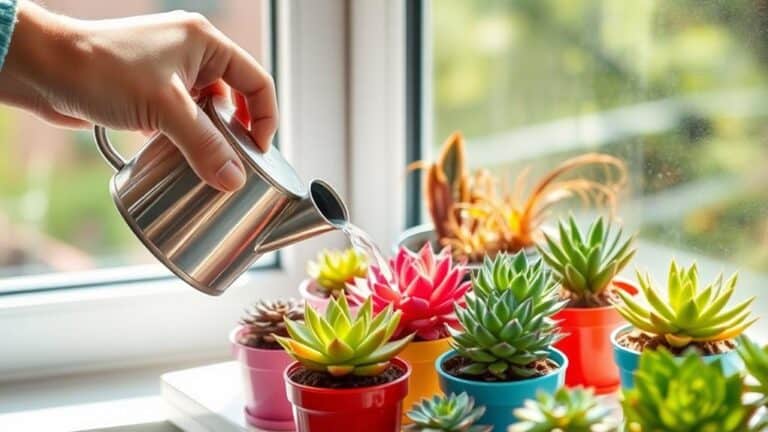
Echeveria loves bright, indirect light. So, place your plant near a sunny window, but avoid direct sunlight as it can scorch the leaves. Regularly monitoring your plant's watering schedule is important too. Let the soil dry out completely between waterings to keep your Echeveria happy and healthy.
With minimal care, Echeveria Lola can adapt to various indoor environments. By following these simple steps, you'll soon have a thriving collection of these stunning succulents.
Happy gardening!
Jade Plant (Crassula Ovata)
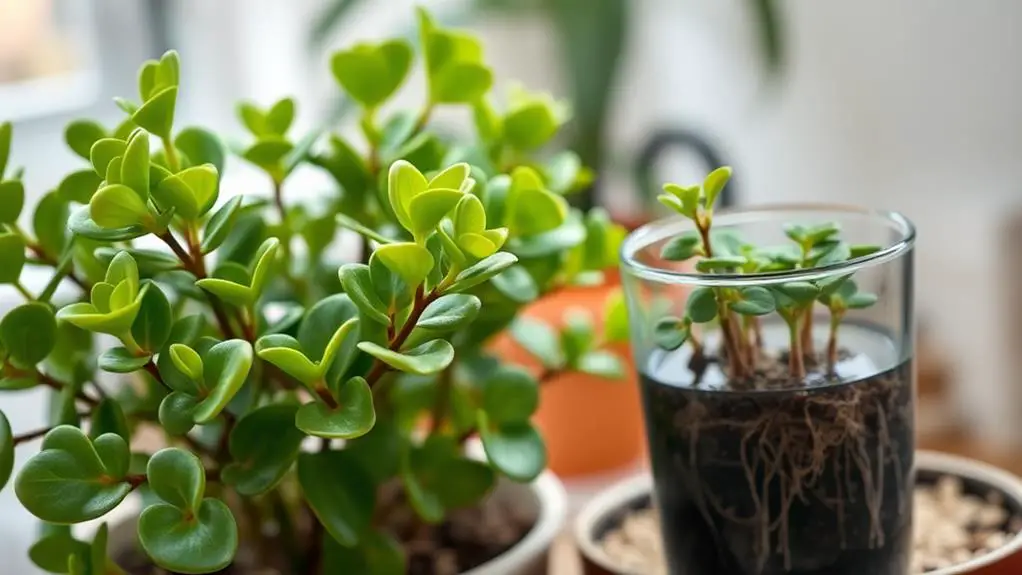
Propagating a Jade Plant (Crassula Ovata) is a breeze, especially when you use the stem cutting technique.
Just let the cuttings callous for a few days, then place them in well-draining soil and keep them in bright, indirect light.
Remember to water sparingly and let the soil dry out completely between waterings to avoid common issues like rot.
Stem Cutting Technique
When it comes to propagating the Jade Plant (Crassula Ovata), the stem cutting technique is both straightforward and effective. To start, you'll need to take stem cuttings that are at least 3-4 inches long from a healthy parent plant. This succulent makes propagation easy with a little care.
First, allow the cut end of the stem to callous over for a few days. This step is essential because it prevents rot when you place the cutting in well-draining succulent soil.
Once the end has calloused, you can plant the cutting in the soil. Be sure to use soil that's specifically designed for succulents to provide the best environment for root development.
Place the cutting in bright, indirect light. Direct sunlight can scorch the tender cutting, so keep it out of the sun's harsh rays.
Water the cutting sparingly, letting the soil dry out completely between waterings. Overwatering can lead to root rot, which you definitely want to avoid.
Within a few weeks, you should see roots beginning to develop. Once they're established, you can care for your new plant just like a mature Jade Plant.
With patience and proper care, you'll successfully propagate your succulent.
Ideal Growth Conditions
With your new Jade Plant cutting successfully rooted, it's important to understand the ideal growth conditions to secure its continued health and vigor.
First, make sure you're using succulent soil. A mix specifically designed for cacti and succulents will provide the well-draining soil Jade Plants need. This prevents water from sitting at the roots, which can lead to rot.
Place your Jade Plant in a spot with bright indirect light. Direct sunlight might scorch the leaves, while too little light can stunt its growth. A sunny windowsill with filtered light works perfectly.
Ideal temperatures for your Jade Plant range from 60°F to 75°F during the day. Cooler nights are fine and can even promote healthy growth.
When it comes to watering, remember to water sparingly. Let the soil dry out completely between waterings. Overwatering is one of the most common mistakes, so always check the soil moisture first.
Lastly, spring and early summer are part of the Jade Plant's active growing season. During this time, it's more likely to thrive and grow robustly.
Common Propagation Issues**
One of the most common issues you might face when propagating a Jade Plant is root rot. To avoid this, don't overwater your cuttings. Make certain to let them callous for a few days before planting in well-draining soil. This step is essential to prevent overwatering and guarantee healthy root development.
Another thing to watch for is light. Jade Plants love bright, indirect light. If you place your cuttings in direct sunlight, their leaves can scorch. On the flip side, insufficient light can slow down the rooting process, so aim for a spot with plenty of indirect sunlight.
Humidity levels also play a big role. High humidity can lead to mold growth on your cuttings, which can stop them from rooting. Keep an eye on the humidity and make adjustments as needed.
Always use a sharp, clean tool for cuttings to prevent infections. Dirty tools can introduce pests and diseases, which stress the cuttings and hinder their growth.
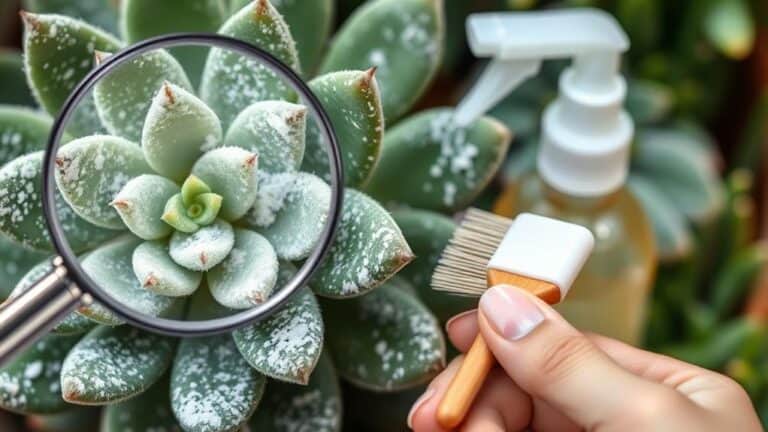
Speaking of pests, watch out for mealybugs and aphids. Regularly checking your cuttings will help you catch any issues early and keep your Jade Plant healthy.
Jelly Bean Plant (Sedum Rubrotinctum)
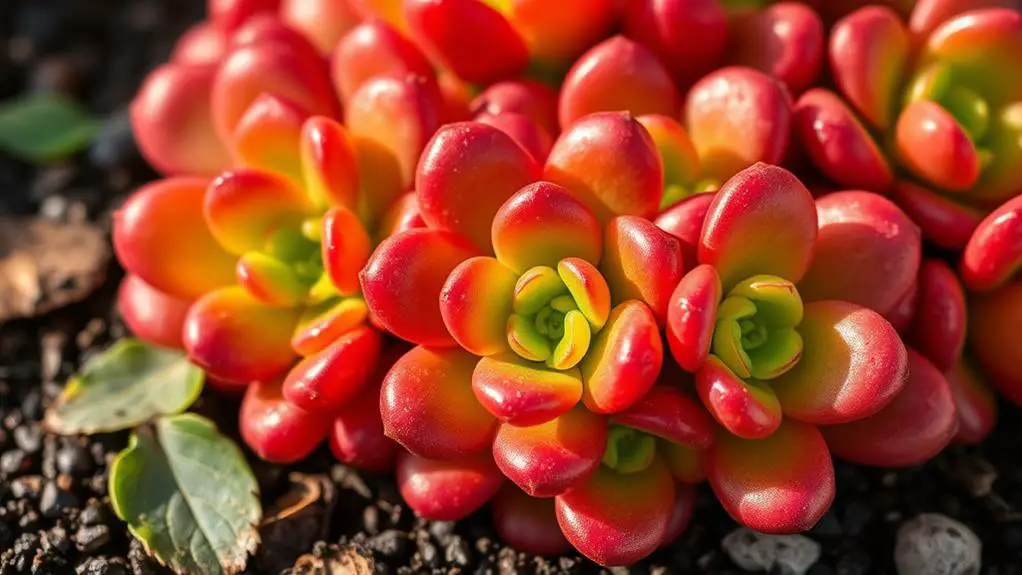
A delightful addition to any succulent collection, the Jelly Bean Plant (Sedum rubrotinctum) stands out with its unique, jelly bean-shaped leaves that turn from green to bright red under full sun. This hardy and fast-growing succulent is perfect for both container and rock gardens, making it a versatile choice for any home gardener.
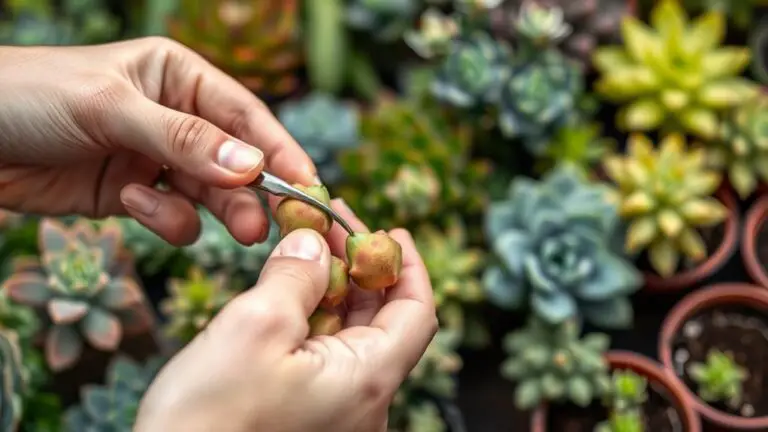
One of the best things about the jelly bean plant is how easy it's to propagate. If you're looking to propagate succulents, this plant is an excellent choice. Its leaves twist off effortlessly and can root quickly when placed in moist, well-draining soil. This ease of propagation makes it an ideal plant for beginners who might be new to succulent propagation.
The Sedum rubrotinctum thrives with minimal care once established. It adapts well to various growing conditions, so you don't need to worry too much about it once it's settled.
Just ascertain it gets plenty of sunlight to enjoy that lovely bright red color on its leaves. With its resilience and adaptability, the jelly bean plant is a fantastic and rewarding succulent to add to your collection.
Aloe Vera
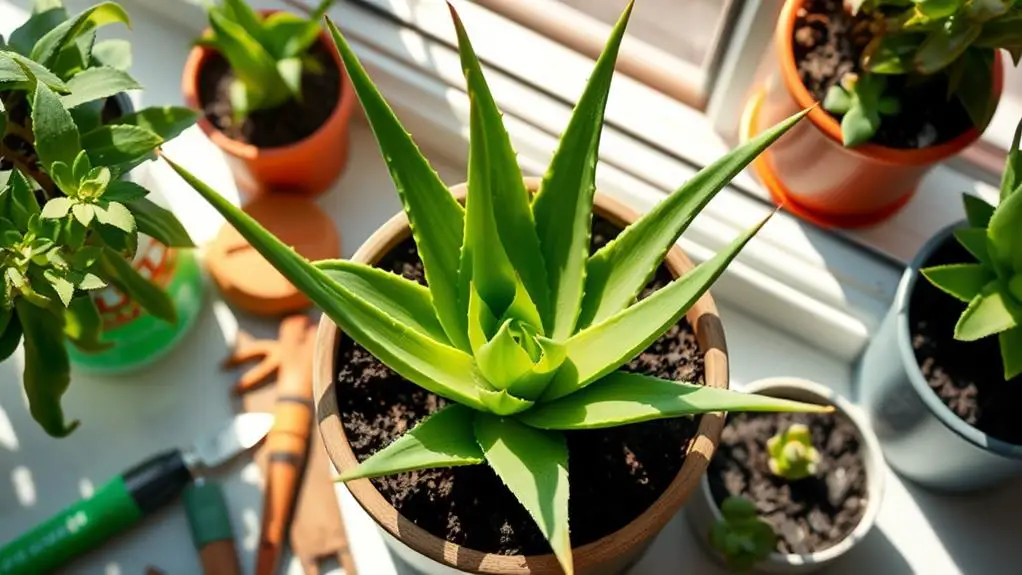
Aloe Vera is a great choice if you're looking to propagate a succulent at home.
Start by gently separating the offsets, or pups, from the parent plant, making sure they've some roots attached.
Plant them in well-draining soil, place them in bright, indirect sunlight, and remember to water sparingly to avoid root rot.
Offset Separation Tips
Separating Aloe Vera pups, also known as offsets, is a straightforward process that can help you expand your succulent collection.
First, make certain the offsets are at least 3-4 inches tall and have developed their own roots. This increases your chances of successful propagation. Using clean, sharp scissors or a knife, carefully cut the pups from the base of the mother plant. Be gentle to avoid damaging the roots of either plant.
Once you've separated the pups, allow them to callous for a day or two before planting them. This step helps prevent rot.
Choose a pot with well-draining succulent soil for replanting. Place the offsets into the soil, making sure their roots are well-covered but not too deep.
When it comes to watering, be sparing. Water the newly planted pups lightly, then wait until the soil is completely dry before watering again. This encourages the roots to establish themselves in their new environment.
Over time, you'll see your offsets grow into healthy, mature Aloe Vera plants, ready to produce their own pups. Following these steps guarantees you'll have a thriving Aloe Vera family in no time.
Optimal Soil Conditions
Ensuring the right soil conditions is essential for the health of your Aloe Vera plants. To provide the ideal soil conditions, you should use well-draining soil, such as a cactus mix. This type of soil prevents root rot and promotes healthy growth, ensuring your Aloe Vera thrives.
To create the best environment for your plant, follow these steps:
- Choose the Right Soil Mix: Look for a cactus mix or create your own by combining regular potting soil with perlite or sand. This enhances drainage and aeration, vital for healthy root development.
- Monitor Soil pH: Aim for a pH level between 6.0 and 7.0. This range is slightly acidic to neutral, perfect for Aloe Vera.
- Use Pots with Drainage Holes: Always use containers with drainage holes. This allows excess water to escape, preventing waterlogged conditions that can damage your plant.
Watering and Light Needs**
When caring for your Aloe Vera, understanding its watering and light needs is crucial for healthy growth.
Aloe Vera plants prefer well-draining soil and should be watered sparingly. Make certain the top inch of soil dries out completely between waterings to prevent root rot. During the growing season, which is spring and summer, you should water your Aloe Vera every 2-3 weeks. In the dormant season, fall and winter, reduce watering to once a month.
For light, Aloe Vera thrives in bright, indirect sunlight. Placing it near a south or west-facing window is ideal. However, be careful to protect it from harsh, direct sunlight as this can scorch its leaves.
If you notice your Aloe Vera growing tall and thin, it's a sign it needs more light. On the other hand, Aloe Vera can adapt to lower light conditions, but it may not be as vigorous.
Maintaining a consistent temperature between 60°F to 80°F (15°C to 27°C) will further support your Aloe Vera's growth and propagation success.
Zebra Plant (Haworthia Attenuata)
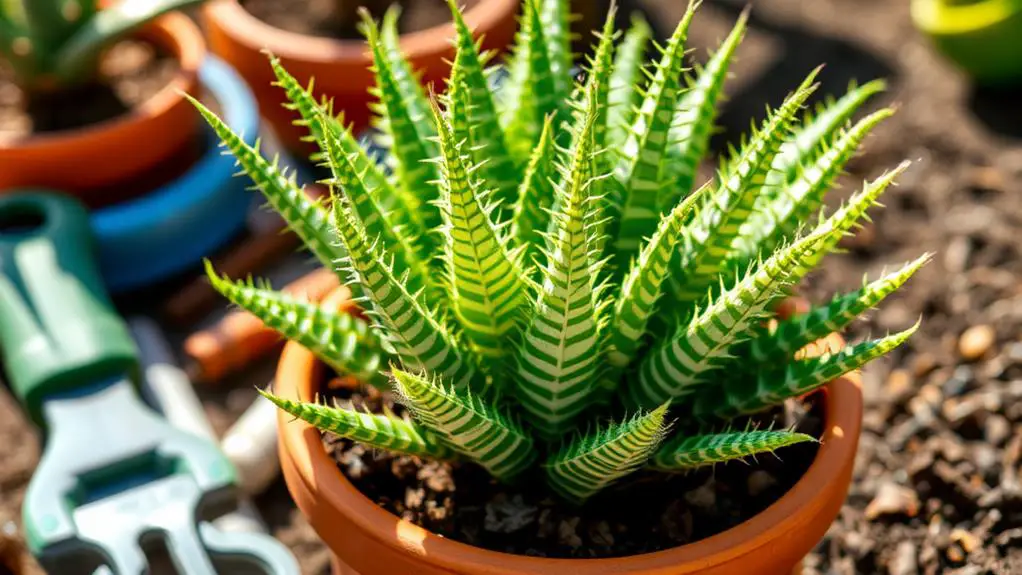
The Zebra Plant (Haworthia Attenuata) is a striking addition to any succulent collection with its distinctive white-striped leaves that mimic a zebra's pattern.
This charming succulent isn't just beautiful but also incredibly easy to propagate, making it perfect for beginners. You'll love how minimal care it needs while still adding a touch of nature to your space.
Haworthia Attenuata is easily propagated through offsets, which are small plants that grow from the base of the parent plant.
Here's how you can do it:
- Locate the Offsets: Look for tiny offsets around the base of the parent plant. They're ready to be separated when they've a few leaves of their own.
- Gently Remove and Plant: Carefully detach the offsets, making sure to keep the roots intact. Plant them in well-draining soil.
- Provide Bright Indirect Light: Place your new plants in an area with bright, indirect light to help them thrive.
This succulent thrives in well-draining soil and needs bright, indirect light.
Regular watering is essential, but let the soil dry out between waterings to avoid root rot.
With its resilience, adaptability, and minimal care requirements, the Zebra Plant is perfect for anyone looking to start propagating succulents at home.
Kiwi Aeonium
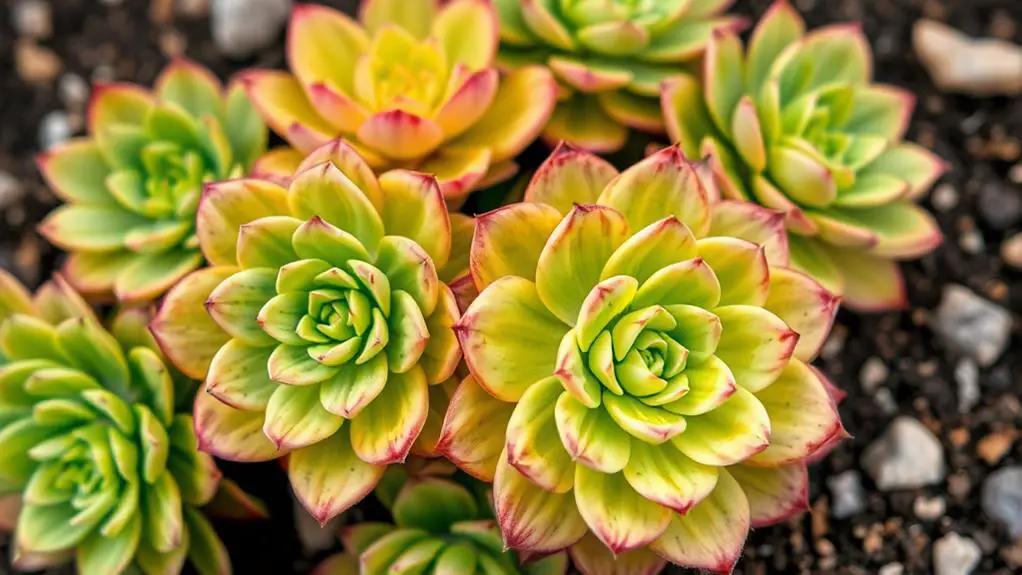
If you're looking for a succulent that's both vibrant and straightforward to propagate, Kiwi Aeonium (Aeonium Kiwi) is a fantastic choice. Its green and yellow rosettes, which change color with light exposure, make it a stunning addition to any collection.
To propagate Kiwi Aeonium, start by taking stem cuttings. Let the cut end callous for a few days. This step is essential to prevent rot when you plant it later.
Once calloused, plant your cutting in well-draining soil. This type of soil helps prevent water from pooling around the roots, which can cause rot.
When it comes to light, Kiwi Aeonium thrives in bright indirect light. This means placing it near a window where it gets plenty of sunlight without being scorched.
Remember to practice moderate watering—let the soil dry out between waterings. Too much water can quickly lead to rot.
Kiwi Aeonium also loves temperatures between 60°F and 80°F, making it great for both indoor and outdoor settings.
One of the best parts? It grows relatively quickly and often produces new offsets. These offsets can be separated and propagated, helping you expand your succulent collection effortlessly.
Bear Paw (Cotyledon Tomentosa)
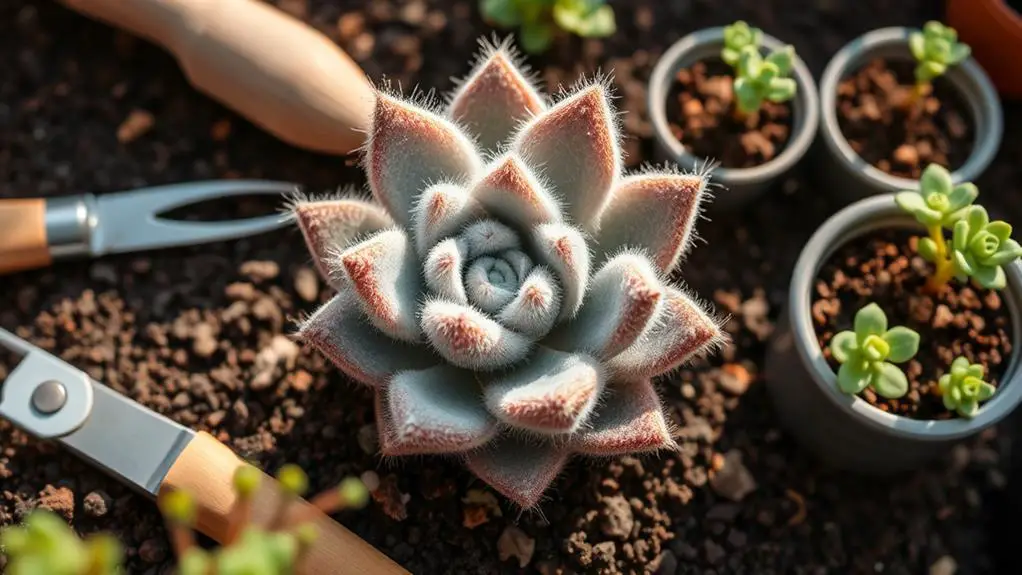
Bear Paw (Cotyledon Tomentosa) is a standout among succulents, known for its fuzzy, paw-shaped leaves that give it a unique and charming appearance. If you're looking to expand your succulent collection, bear paw is a great choice because it can be easily propagated.
To propagate bear paw, you have two main methods: leaf cuttings and stem cuttings.
- Allow the cuttings to callous over for a few days before planting them in well-draining soil. This helps prevent rot.
- Place the cuttings in well-draining soil and give them bright, indirect light. This is essential for their growth.
- Bear paw also produces offsets, or "pups," around its base. You can separate these and replant them for more bear paw plants.
Bear paw thrives in bright, indirect light and prefers to dry out between waterings. This makes it a low-maintenance choice for both beginners and experienced gardeners.
Each step is simple and straightforward, ensuring you won't feel overwhelmed. By following these easy propagation methods, you'll be able to enjoy these charming succulents in no time.
Happy gardening!
Hens and Chicks (Sempervivum)
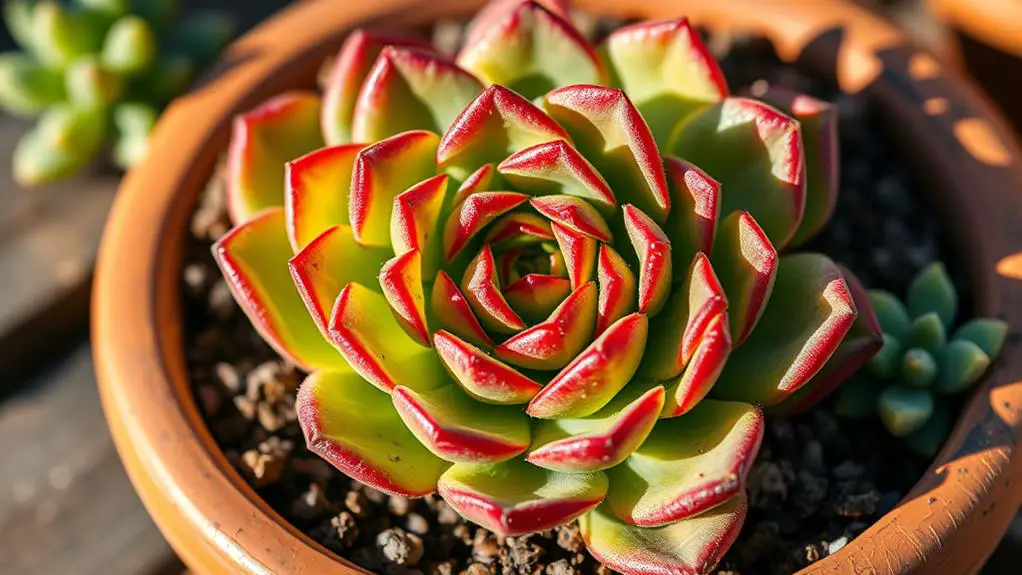
Looking for an easy-to-propagate succulent that's also visually striking? Try Hens and Chicks (Sempervivum). These charming plants are perfect for beginners and seasoned gardeners alike. Known for their unique rosette shapes and vibrant colors, they brighten up any space with minimal effort.
One of the best things about Hens and Chicks is their ability to produce numerous offsets, or "chicks." These smaller plants grow around the mother plant and are super easy to detach. Just gently pull them away and replant them in suitable soil. This makes propagation a breeze and guarantees rapid propagation of new plants.
Hens and Chicks thrive in various environments, including poor soil. They're resilient to drought and can withstand cold temperatures, making them incredibly easy to care for. You won't have to worry much about their well-being, as they adapt well to different conditions.
When you propagate these succulents, the offsets root quickly and establish themselves fast. This means you'll have a thriving succulent garden in no time.
With their ease of care and rapid propagation, Hens and Chicks are a fantastic addition to your home garden. Give them a try and watch your succulent collection grow effortlessly!
String of Pearls
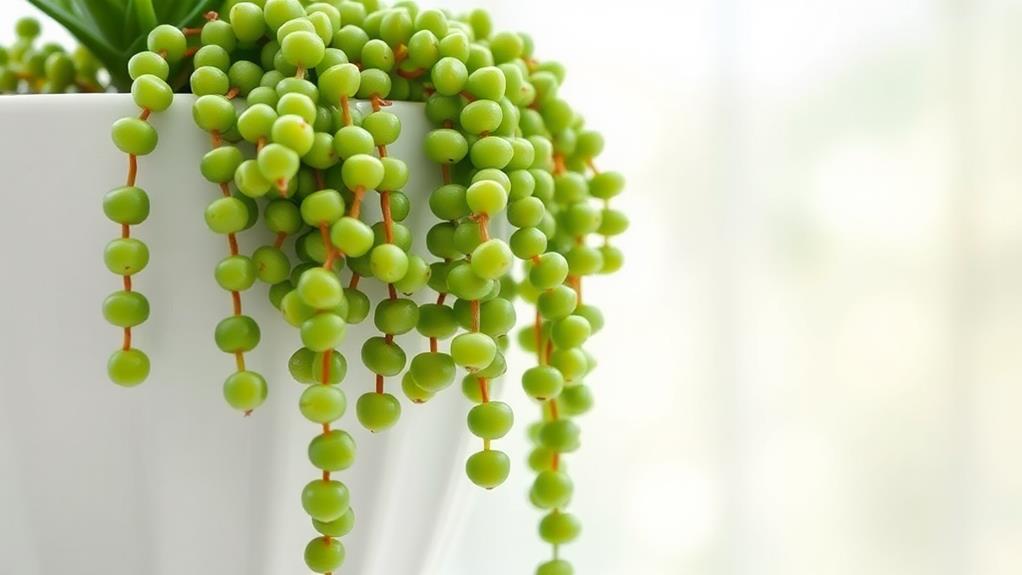
String of Pearls (Senecio rowleyanus) stands out with its distinctive bead-like leaves that truly resemble tiny pearls, making it a favorite for hanging displays.
Propagating this unique succulent is a breeze, even if you're new to gardening. You can propagate from stem cuttings without needing rooting hormone. Just follow these steps to guarantee success:
- Cut a Healthy Stem: Choose a healthy vine, and snip a few inches off. Make sure the stem has several "pearls."
- Let It Callous: Allow the cuttings to callous for a few days. This step is essential because it prevents rot and encourages root development.
- Plant in Well-Draining Soil: Place the calloused cuttings in well-draining soil. This type of soil guarantees excess water doesn't stay around the roots, which can cause rot.
Once planted, make sure your String of Pearls gets bright indirect sunlight.
It doesn't need much water—minimal watering is best to keep it healthy. Overwatering is a common mistake, so let the soil dry out between waterings.
With these simple steps, you'll soon have a thriving, trailing succulent that's both beautiful and easy to care for.
Ghost Plant (Graptopetalum Paraguayense)
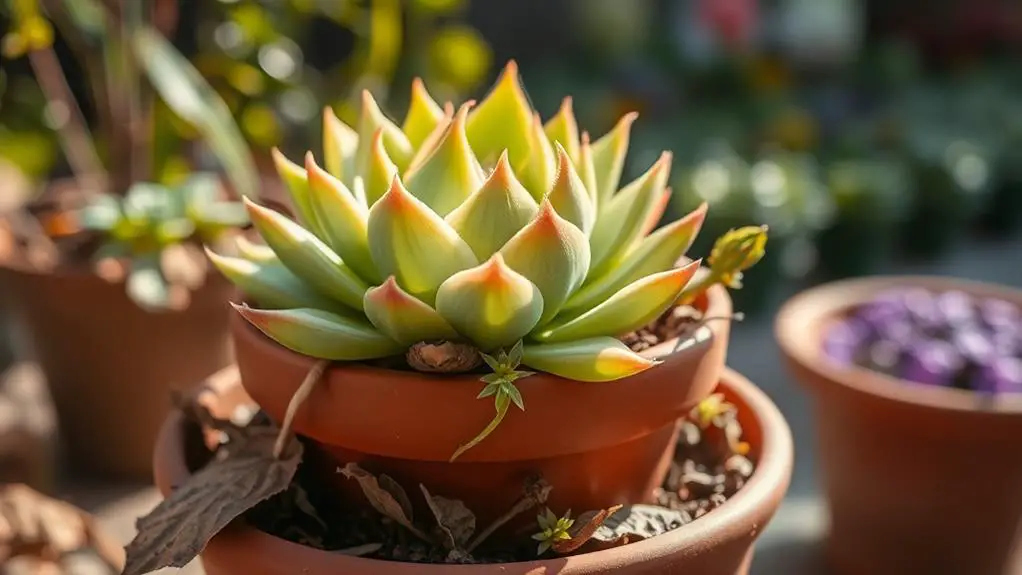
You'll love how easy it's to propagate the Ghost Plant (Graptopetalum paraguayense) through leaf cuttings.
Just place a fallen leaf on well-draining soil, and it'll start rooting in no time.
This succulent thrives in bright, indirect light, but it can also handle full sun, making it perfect for both your indoor and outdoor gardens.
Leaf-Cutting Propagation Success
When it comes to propagating succulents, the Ghost Plant (Graptopetalum paraguayense) stands out for its simplicity and success rate. This plant is one of the easiest succulents to propagate, especially using leaf propagation. All you need to do is gently twist off a healthy leaf from the stem. Then, let it callous for a few days before placing it on well-draining soil.
To help you succeed, follow these steps:
- Bright, Indirect Light: Position your leaf cutting in a spot with bright, indirect light. This light level helps new roots form and prevents rot.
- Water Sparingly: After planting, water sparingly. Wait until the soil is completely dry before adding water again to avoid overwatering.
- Patience for New Growth: Be patient. New roots and baby plants usually appear within a few weeks, making it a rewarding process.
With these steps, you'll see new growth emerging from your leaf cuttings, confirming a high success rate.
Optimal Growing Conditions**
Growing Ghost Plants (Graptopetalum paraguayense) successfully hinges on providing them with the right conditions. To start, you need to guarantee they get bright indirect sunlight. This type of light not only enhances their lovely colors but also keeps their growth robust. If you place them in direct sunlight for too long, they might get sunburned, so a spot near a window with filtered light works best.
Next, focus on the soil. Ghost Plants prefer well-draining soil, like a cactus mix. This is vital because it prevents root rot and keeps the roots healthy. Overwatering is a common mistake, so always allow the soil to dry out completely between waterings. This way, you avoid soggy roots, which can lead to rot.
Temperature is another key factor. Ghost Plants thrive in temperatures ranging from 60°F to 80°F. This makes them versatile for both indoor and outdoor settings.
When it comes to propagation, Ghost Plants are easy to multiply. Using the leaf-cutting propagation method, you'll find they root quickly in the right conditions. Just place the cuttings on well-draining soil and give them bright indirect sunlight.
With these ideal growing conditions, your Ghost Plants will flourish.
Frequently Asked Questions
What Is the Easiest Succulent to Propagate?
The easiest succulent to propagate is the Jelly Bean Plant. Just twist off a leaf and place it in well-draining soil. You'll see new plants sprout quickly, making it perfect for beginners.
Why Is It Illegal to Propagate Some Succulents?
It's illegal to propagate some succulents because they're classified as endangered or threatened species. Laws protect them from over-exploitation and guarantee their survival. Ignoring these regulations can lead to fines, penalties, and ecological harm.
What Is the Best Succulent for Beginners?
You should start with Echeveria Lola. It's highly recommended for beginners due to its high success rate in propagation from leaf cuttings and its beautiful round rosettes. You'll find it easy and rewarding to grow.
What Is the Easiest Succulent to Grow Indoors?
The easiest succulent to grow indoors is Echeveria Lola. You'll love its resilience in low-light conditions. Just give it minimal water and watch it thrive. It's perfect for beginners and adds a lovely touch to your space.
Conclusion
With these top 10 succulents, you'll find propagating plants at home is easier than you think. Just follow the simple steps, and soon you'll have a thriving succulent collection. Remember to give them bright, indirect light and well-draining soil. Don't worry if you're new to this; these plants are tough and forgiving. You've got this! Enjoy the beauty and confidence that come with growing your own succulents. Happy gardening!

