General Guide to Sedum Care: 10 Essential Tips
If you're looking to cultivate sedum, there are some key tips you'll want to keep in mind to guarantee your plants thrive. Starting with the right planting time and soil type can make a huge difference, but that's just the beginning. You'll also need to take into account how much sunlight your sedum needs, and the best watering practices to avoid common issues like root rot. Want to discover the most popular sedum varieties and learn about winter care strategies? Let's explore how you can create a vibrant, low-maintenance garden with these hardy plants.
Planting Time and Soil
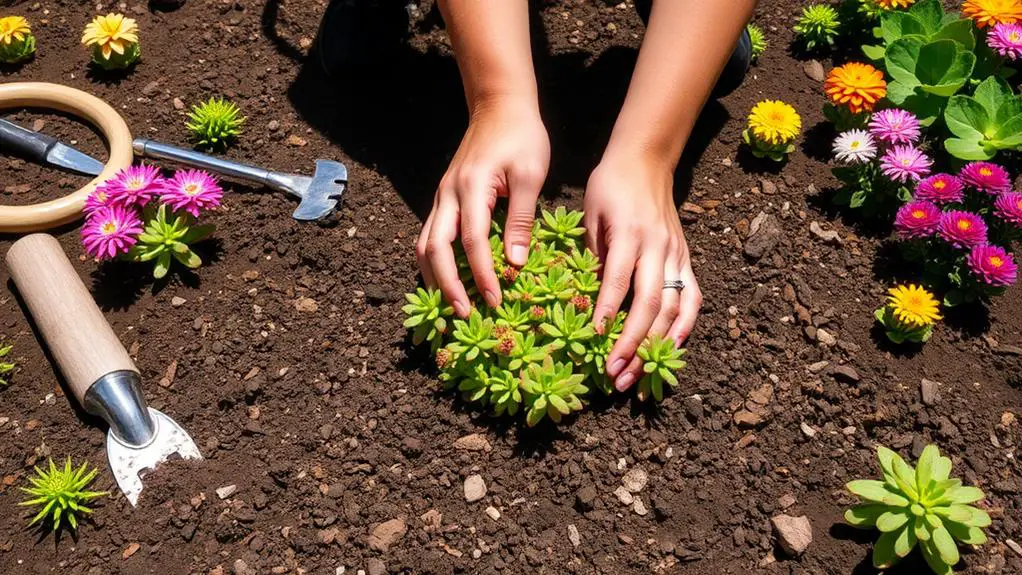
The best time to plant sedum is in the spring, right after the last frost and before the intense summer heat sets in. This timing guarantees your sedum gets a strong start during the ideal growing season.
When you're ready to plant, focus on the soil. Sedum thrives in well-drained, loose, loamy, sandy, or gravelly soils. Avoid heavy, wet clay, as it can lead to root rot and fungal diseases.
Though sedum can handle nutrient-poor soil, avoid overly rich soil. Rich soil can cause your plants to get leggy and weak. Balance is key.
Space your sedum plants 12-18 inches apart. This guarantees they've enough room for airflow and growth. When planting, make sure the roots are covered, but don't bury the stems.
Initially, regular watering is necessary until your sedum plants are established. Once they're settled, they become low-maintenance and drought-tolerant. Their thick succulent leaves help them retain water, making them ideal for less frequent watering.
Planting sedum isn't hard, and with the right timing and soil, you'll see them flourish. Just remember these simple tips, and you'll have a thriving sedum garden in no time.
Sunlight Needs
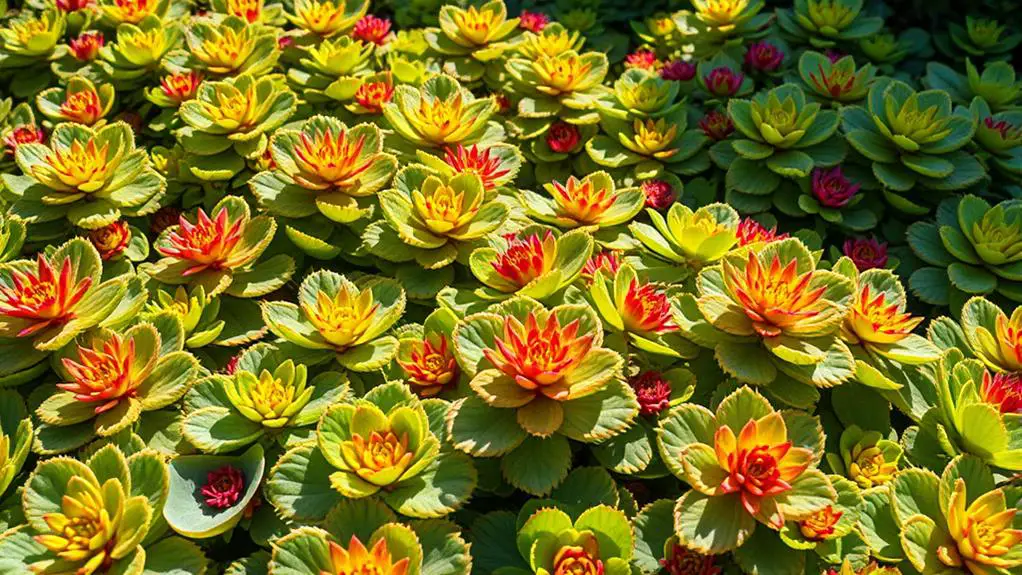
After planting your sedum in the right soil, focus on providing the proper sunlight. Sedum thrives in full sun, needing at least 6 hours of direct sunlight each day to grow well and bloom beautifully. The more sunlight your sedum gets, the healthier and more vibrant it will be.
While some sedum varieties can tolerate partial shade, this often leads to weaker plants with fewer flowers. If your sedum isn't getting enough sunlight, it might become leggy and stop blooming. In this case, consider moving it to a sunnier spot in your garden.
Morning or late afternoon sun is best for sedum, as it helps avoid the damage caused by harsh midday sunlight.
However, in extremely hot and dry climates, your sedum might suffer from heat stress. Providing some afternoon shade can protect it from sun damage and keep it healthy.
Efficient Watering
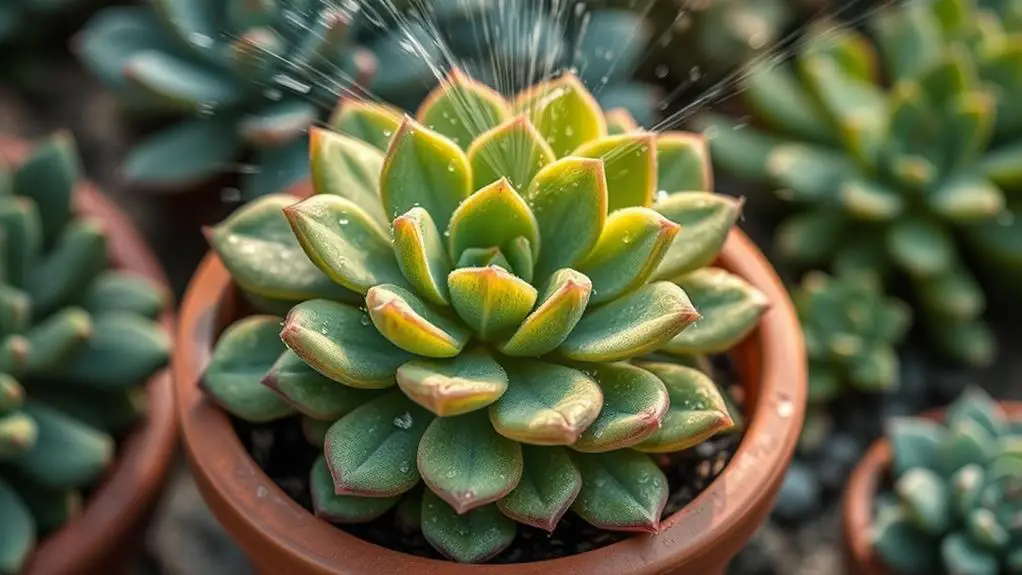
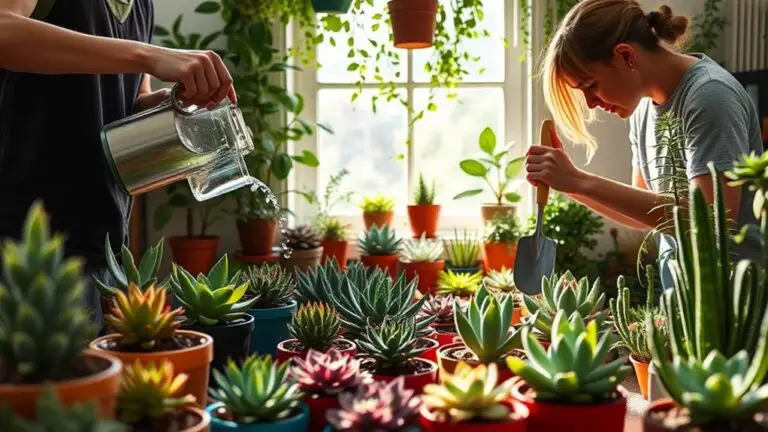
To keep your Sedums healthy and prevent root rot, water them thoroughly only when the top 1-2 inches of soil are completely dry.
New plants need weekly watering during their first year, but established ones require much less.
Use a single-hole watering can or bottom-watering method to target the base and keep the leaves dry, reducing the risk of diseases.
Proper Watering Frequency
Caring for sedum plants efficiently hinges on understanding their unique watering needs. During the first year, water your sedum plants weekly, making certain the soil is completely dry before re-watering. This helps prevent root rot. Once established, sedums require minimal supplemental watering due to their drought tolerance. Typically, you'll need to water them only during prolonged dry spells.
Always check the top 1-2 inches of soil for dryness before you water. Overwatering can cause yellowing leaves and leaf drop. When you do water, avoid getting the leaves and stems wet to minimize the risk of fungal diseases; focus on watering the soil directly. During the dormant winter months, reduce watering considerably, and only provide moisture if the soil is completely dry to prevent winter rot.
Here's a quick reference guide for watering your sedum plants:
| Stage | Frequency | Key Considerations |
|---|---|---|
| First Year | Weekly | Ensure soil is completely dry before watering |
| Established | During dry spells | Check top 1-2 inches of soil for dryness |
| Dormant Winter Months | Rarely | Only water if soil is completely dry |
| During Growth Periods | As needed | Avoid wetting leaves and stems |
| After Establishment | Minimal supplemental watering | Ensure drought tolerance is maintained |
Preventing Root Rot
Root rot is a common nemesis for sedum plants, but you can easily prevent it with efficient watering techniques. Start by ensuring your sedum is planted in well-draining soil. A cactus or succulent mix works great because it lets excess moisture escape, keeping roots from becoming soggy.
Overwatering is a primary cause of root rot, so you should only water your sedum when the top 1-2 inches of soil are completely dry. Using a single-hole watering can helps you target the soil directly, avoiding wet leaves and stems, which can lead to fungal diseases.
Regularly monitor your plants for yellowing leaves; this could be a sign of overwatering and potential root rot. Incorporate materials like perlite or grit into the soil mix to enhance drainage and reduce moisture retention around the roots.
It's important to keep an eye on the soil's condition. If it stays wet for too long, the roots can rot. By following these tips, you can maintain healthy sedum plants and prevent root rot. Remember, efficient watering and good drainage are your best defenses against this common issue.
Popular Sedum Varieties
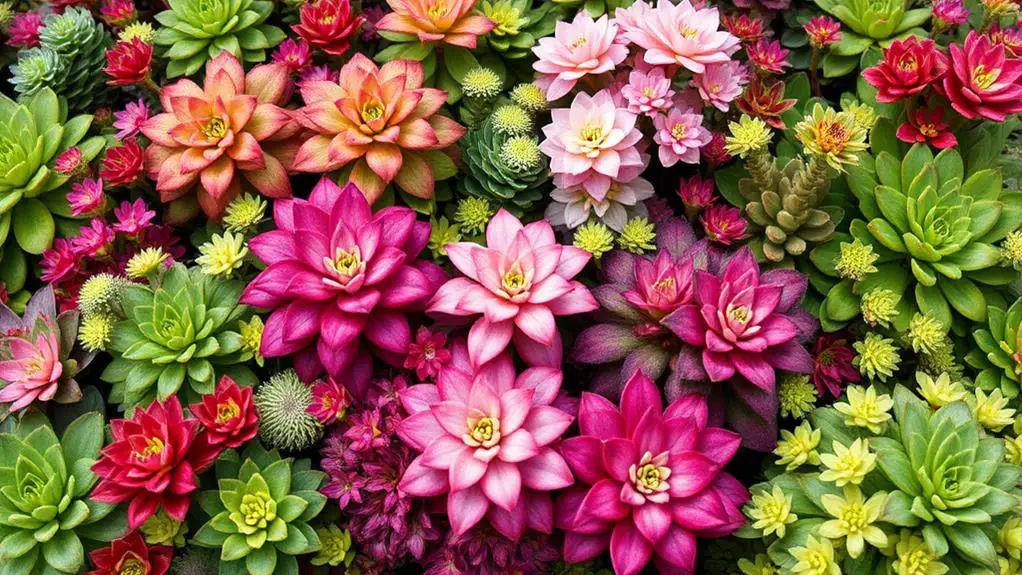
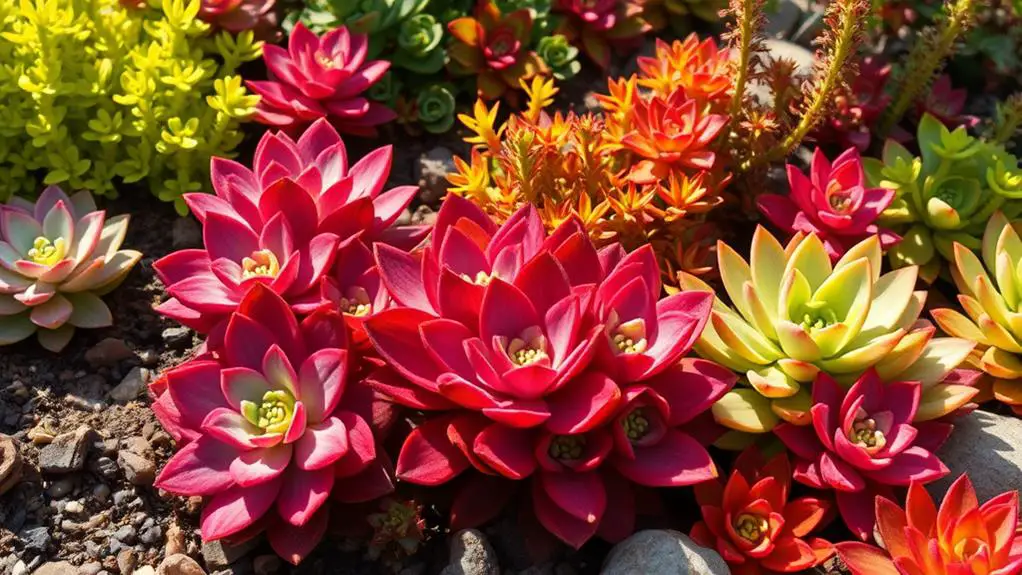
When it comes to adding a splash of color and texture to your garden, popular Sedum varieties offer a delightful range of options. The Sedum genus includes many stunning plants that are easy to care for and thrive in various conditions.
Here are some favorites to examine:
- Hylotelephium Autumn Joy: This variety features stunning pink to red blooms in the fall, making it perfect for late-season color.
- Sedum rupestre Angelina: Known for its bright yellow flowers and vibrant golden foliage, this low-growing ground cover thrives in poor soils and drought conditions.
- Sedum morganianum Burrito: Commonly called Burros Tail, it's characterized by trailing stems covered in rounded, succulent leaves, producing pink/red flowers in mid-summer.
- Hylotelephium spectabile Brilliant: Boasting true pink flowers and sturdy stems, this variety is ideal for border plantings and attracts pollinators.
- Sedum lineare Variegated: A compact variety with pale green leaves edged in cream, it's perfect for ground cover and requires minimal maintenance and water.
These popular Sedum varieties can add vibrant colors and unique textures to your garden, making it a more inviting and lively space.
Whether you need ground cover or trailing stems, there's a Sedum variety that will meet your gardening needs.
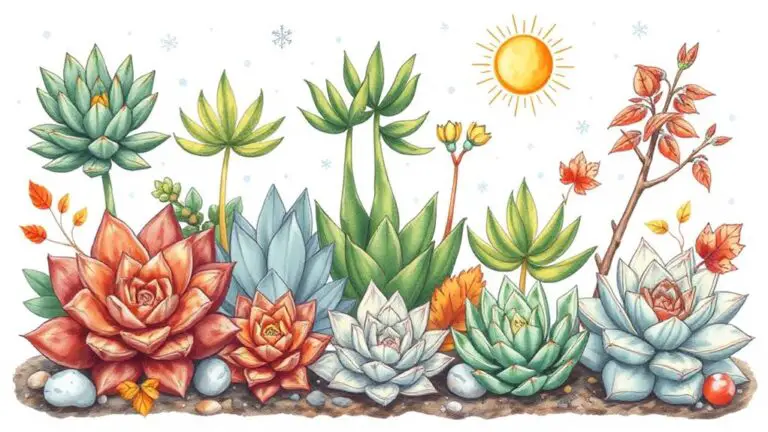
Winter Care Tips
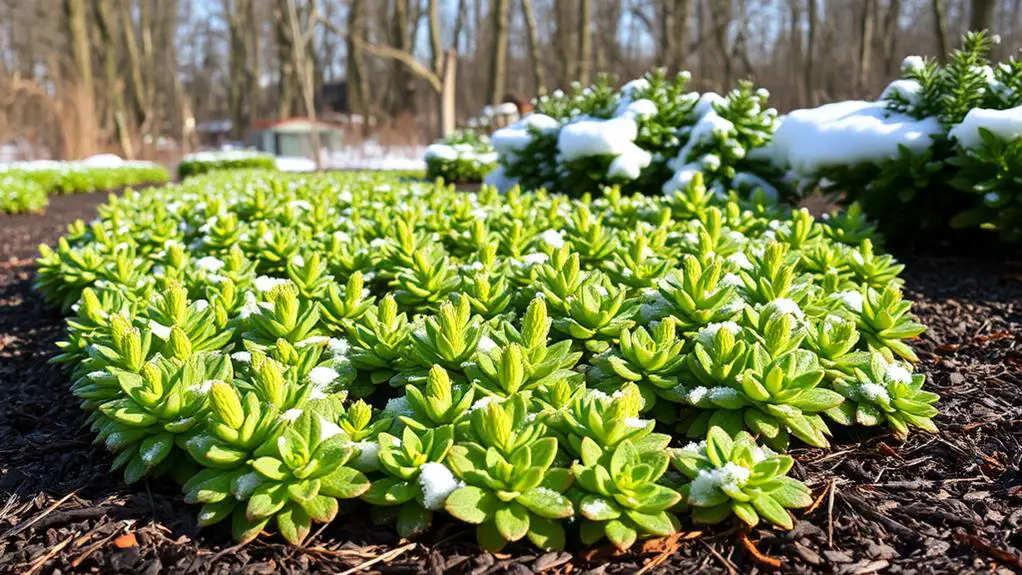
Winter care for your Sedum plants is essential to guarantee they thrive through the colder months and emerge healthy in the spring.
Start by wrapping potted sedum in burlap and bubble wrap to insulate against freezing temperatures. This prevents root damage, a common issue in winter.
Sedum is hardy, but in harsh climates, it still needs minimal protection. If you live in a colder region, consider moving your pots indoors or to a sheltered area. This extra step can make a big difference in their survival.
Also, make certain your sedum has sharp drainage. Waterlogged soil can lead to root rot, which is especially problematic during winter.
During dormancy, watering should be minimal. Only water if the soil is completely dry. Excess moisture can harm your sedum.
Keep an eye out for yellowing leaves, which might signal overwatering or insufficient light.
Pests and Diseases
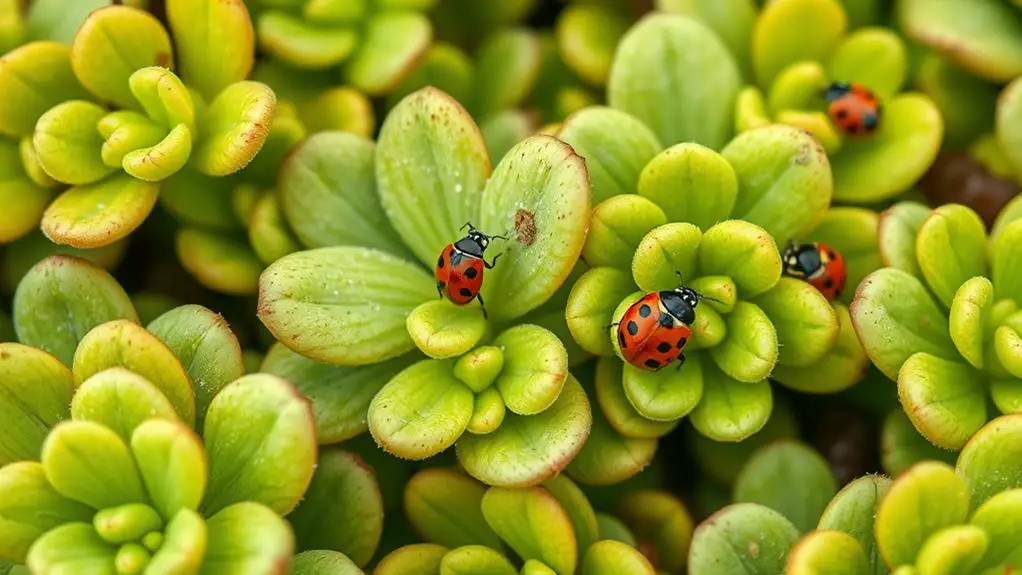
Even though Sedum plants are pretty tough, you should still watch out for mealybugs and aphids, which can sometimes show up.
Regularly check your plants to catch these pests early, and use insecticidal soap or just pick them off by hand if you spot any.
To keep your Sedum healthy and disease-free, make sure the soil drains well and don't overwater, as root rot is the main issue you'll face.
Common Sedum Pests
Sedum, known for its hardy nature, can still fall victim to common pests like mealybugs and aphids, which can cause significant leaf damage if left unchecked.
These pests can quickly spread, leading your sedum to suffer from yellowing leaves and stunted growth. Monitoring signs of distress in your plants is essential. Keep an eye out for these pesky invaders and take action immediately.
To keep your sedum healthy, remember these key tips:
- Inspect regularly: Look for common pests such as mealybugs and aphids on your plants.
- Avoid overwatering: Too much moisture can lead to root rot and attract pests.
- Ensure good air circulation: Proper spacing can prevent fungal diseases and discourage pests.
- Use insecticidal soap: This organic solution can help control minor infestations without harming your plants.
- Manually remove pests: Sometimes, the best approach is simply picking off visible bugs by hand.
Disease Prevention Tips
Keeping your sedum plants healthy and disease-free involves a few straightforward but essential steps. Start by regularly inspecting your plants for pests like mealybugs and aphids. Early detection is important for managing and preventing infestations before they get out of hand. Use organic pest control methods, such as insecticidal soap, to tackle these pests without harming beneficial insects or the plants themselves.
Proper soil drainage is critical to prevent root rot. Avoid overwatering, as sedum plants prefer drier conditions. Too much water can lead to root rot, which is a major cause of plant decline. Make sure that your sedum has good airflow around it to reduce the risk of fungal diseases like gray mold, which thrive in humid environments.
Finally, make it a habit to clean up debris and spent blooms around your sedum. This helps minimize disease risk and improves overall plant health and appearance. Here's a quick summary to keep handy:
| Tip | Benefit |
|---|---|
| Regular inspections | Early detection of pests and disease |
| Organic pest control methods | Safe and effective pest management |
| Proper soil drainage | Prevention of root rot |
| Maintain airflow | Reduction of fungal diseases |
| Clean up debris | Improved plant health and appearance |
Propagation Methods
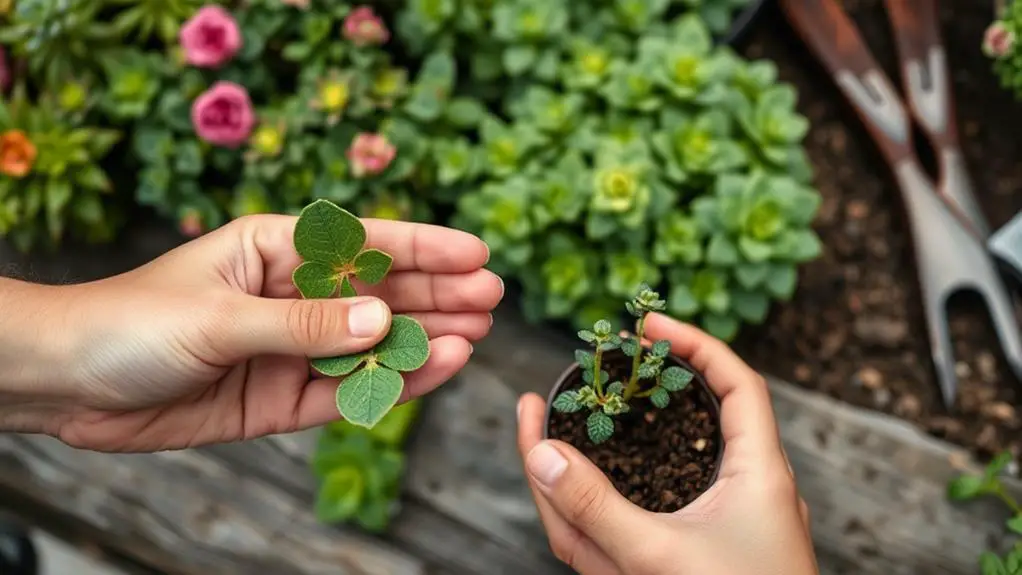
Propagation methods for sedum offer a variety of straightforward options to expand your garden. Whether you prefer stem cuttings, leaf propagation, or division propagation, each method is simple and effective.
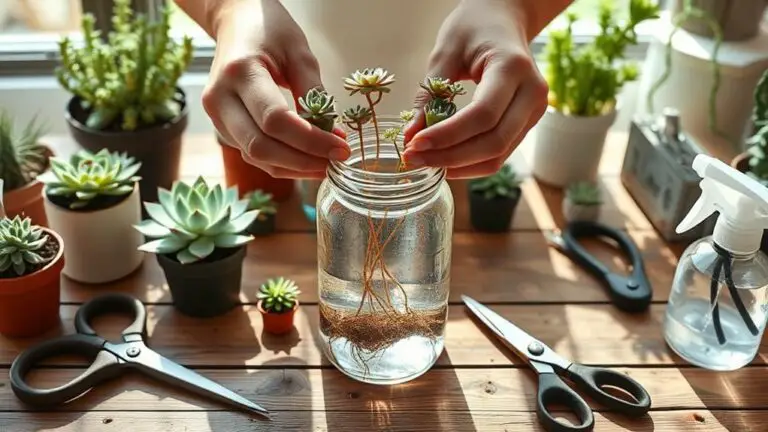
Start with stem cuttings by cutting healthy stems about 3 to 4 inches long in the spring. Let them callous for 2 to 3 days before planting in well-draining soil to prevent rot and encourage root development.
Avoid over-saturation by watering only after 2 to 3 days, or when the soil is dry.
If you choose leaf propagation, it's just as easy. Gently remove a leaf and let it callous for a few days. Place it in soil and watch for root growth.
Be patient and water sparingly.
For division propagation, use mature sedum plants. In spring or fall, carefully remove the root ball and separate the plant into sections, ensuring each has sufficient roots.
Replant the sections promptly.
Here's why you'll love propagating sedum:
- Easy and rewarding
- Expands your garden quickly
- Minimal tools needed
- Low-maintenance process
- Perfect for beginners
Soil and Ph Preferences
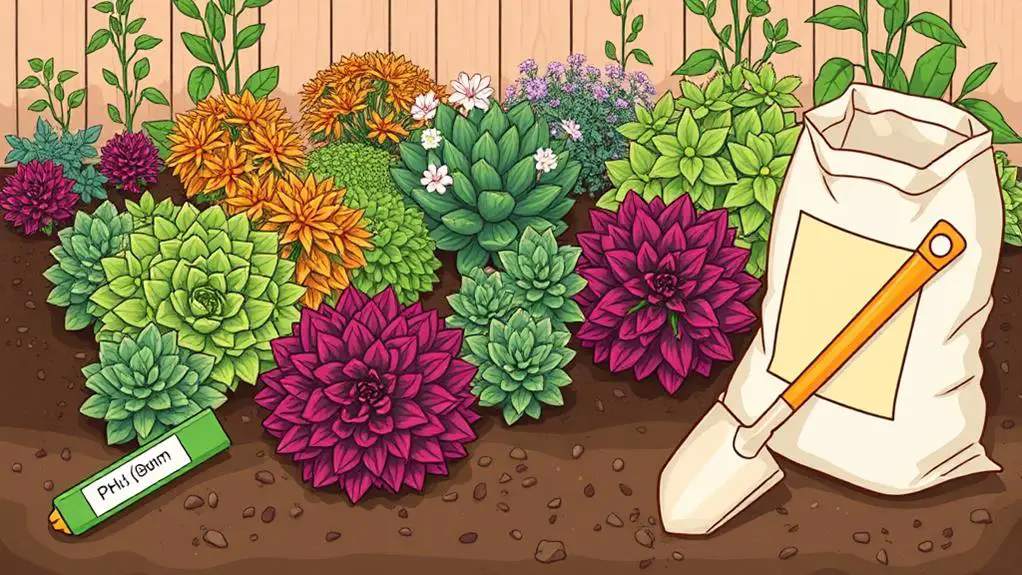
After successfully propagating your sedum, it's important to understand the ideal soil and pH preferences to assure robust growth.
Sedum thrives in well-draining soil that prevents water from sitting around the roots. A good mix for this purpose is gardening soil combined with sand and perlite. This combination assures the soil is coarse-textured, which helps avoid root rot, a common issue with sedum if the soil retains too much moisture.
Aim for a soil pH that's slightly acidic to neutral, specifically between 6.0 and 7.0. This pH range supports the healthiest growth for your sedum.
While sedum can tolerate nutrient-poor soil, be cautious with soil that's too rich in nutrients, as it can result in leggy growth and weak stems. Heavy or compacted soils are a no-go because they hold moisture and can suffocate the roots.
To keep your sedum happy, consider regular top-dressing with fresh soil. This practice replenishes nutrients without the need for heavy fertilization, which sedums generally don't require.
Maintenance Practices
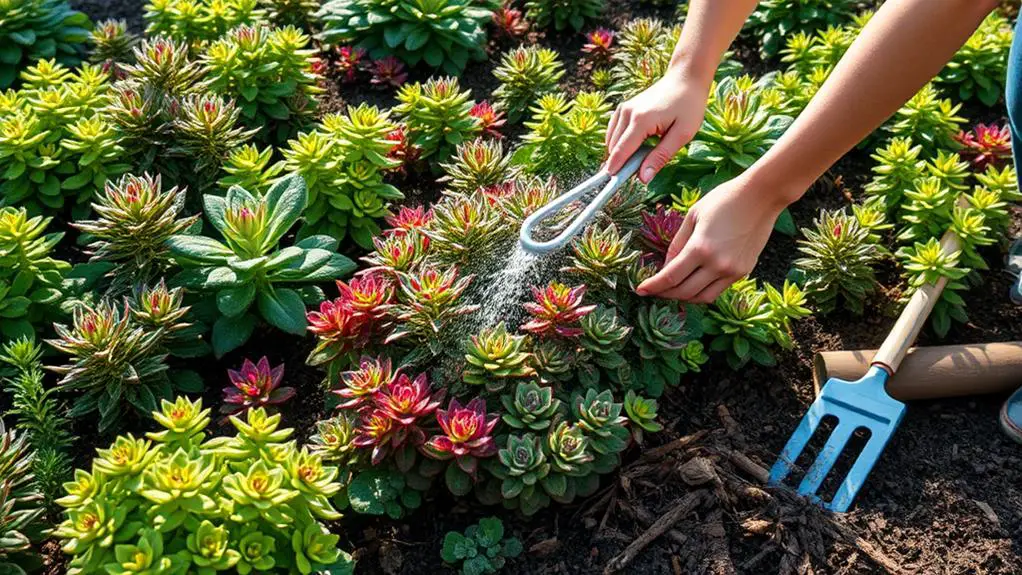
Maintaining your sedum doesn't have to be a chore if you follow a few key practices. With the right care, your sedum will thrive and reward you with its vibrant beauty. Here are some essential maintenance tips to keep your sedum in top shape:
- Minimal fertilization: Apply compost once a year during the growing season. This supports healthy growth without making the plant leggy.
- Monitor for pests: Keep an eye out for mealybugs and aphids. Early detection helps you prevent infestations and maintain plant health.
- Pruning: Regularly trim dead or damaged leaves. This enhances the plant's appearance and promotes robust growth and better airflow.
- Sunlight exposure: Rotate your potted sedum occasionally. This guarantees even sunlight exposure, preventing leggy growth and encouraging uniform development.
- Water sparingly: Allow the soil to dry out completely between watering sessions. Avoid watering the leaves to reduce the risk of fungal diseases.
Benefits and Uses
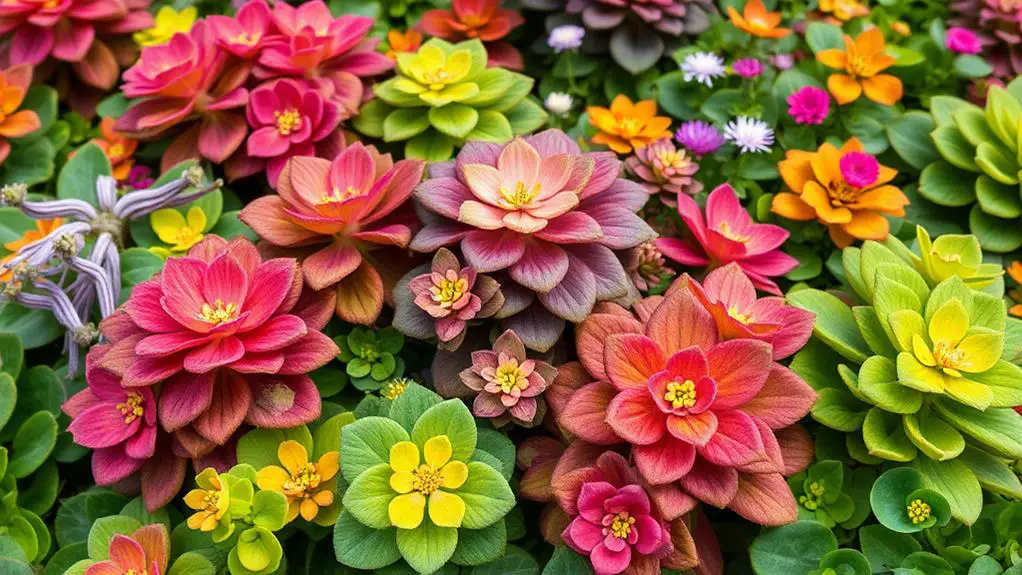
When you choose sedum for your garden, you're not only adding beauty but also attracting pollinators like bees and butterflies.
These plants are incredibly drought-resistant, making them perfect for low-water landscaping and eco-friendly green roofs.
Pollinator Attraction
Attracting pollinators to your garden with Sedum plants offers numerous benefits and uses. Sedum species, with their vibrant blooms, are perfect for creating pollinator gardens. These star-shaped flowers serve as a valuable nectar source, drawing in bees and butterflies.
One of the best parts? Many Sedum varieties bloom from late summer to early fall, just when other plants have finished flowering, ensuring a continuous food supply for pollinators.
By adding Sedum to your landscaping, you support local ecosystems and promote biodiversity. These plants are resilient and adaptable, making them ideal even in urban areas where natural habitats might be scarce.
Here's why you'll love having Sedum in your garden:
- Boosts biodiversity: Helps various pollinator species thrive.
- Supports local ecosystems: Provides essential food and habitat for native insects.
- Enhances garden aesthetics: Bright, vibrant blooms add beauty to your garden.
- Culinary applications: Some sedum varieties are edible, adding a unique twist to your meals.
- Low maintenance: Their resilient nature means less work for you.
Planting Sedum not only beautifies your space but also plays a significant role in supporting pollinators. It's a win-win for you and the environment!
Drought Resistance**
Sedum plants not only attract pollinators but also shine in their ability to withstand dry conditions. Thanks to their thick leaves that store water, sedums can endure long periods of drought without wilting. This makes them perfect for low-maintenance gardens, especially in arid regions. Sedum thrives in nutrient-poor and dry soils, allowing you to enjoy a vibrant garden without much effort.
Here's a quick look at how sedum's drought resistance works:
| Feature | Benefit |
|---|---|
| Thick leaves | Efficient water storage |
| Well-draining soil | Prevents root rot, promotes healthy growth |
| Crassulacean acid metabolism (CAM) | Reduces evaporation, maximizes water use |
| Thrives in nutrient-poor soil | Ideal for low-maintenance landscaping |
| Vibrant blooms | Adds beauty even in dry conditions |
Sedums prefer well-draining soil, which prevents root rot and guarantees healthy growth even in extreme conditions. Varieties like Hylotelephium Autumn Joy showcase vibrant blooms, adding a splash of color to your garden despite limited water availability. The CAM process utilized by sedums allows them to efficiently use water, minimizing evaporation and maximizing survival. With these traits, sedums are a reliable and attractive choice for any garden needing resilient, drought-resistant plants.
Frequently Asked Questions
How Do You Keep Sedum Looking Good?
To keep Sedum looking good, guarantee it gets at least 6 hours of sunlight daily, water only when soil is dry, prune regularly, apply compost sparingly, and monitor for pests. This promotes healthy growth and vibrant appearance.
How Do I Care for My Sedum?
You need to give your Sedum at least 6 hours of sunlight daily, water only when the top soil is dry, plant in well-draining soil, fertilize sparingly, and watch for pests to keep them healthy.
How Do You Make Sedum Bushy?
To make sedum bushy, regularly pinch back the tips of the stems, guarantee it gets at least 6 hours of sunlight daily, fertilize sparingly, water properly, and prune dead leaves. This encourages dense, healthy growth.
How Do I Make My Sedum Grow Better?
To make your sedum grow better, guarantee it gets at least 6 hours of sunlight daily, plant it in well-draining soil, water thoroughly but infrequently, fertilize sparingly, and regularly prune dead leaves. Monitor for pests.
Conclusion
You've got all the tips you need to care for your sedum plants. Just remember to give them well-draining soil, plenty of sunlight, and be mindful of your watering. With minimal effort, you can enjoy these hardy, vibrant plants that are perfect for any garden. Don't forget to prune and protect them in winter. Following these simple steps, you'll have healthy, beautiful sedums that attract pollinators and brighten your garden. Happy gardening!

