10 Steps to Treat Root Rot in Your Succulents
Treating root rot in your succulents can seem intimidating, but it's manageable if you follow a structured approach. First, you'll need to recognize the telltale signs, like yellowing leaves or a funky odor. Once you've identified the problem, it's essential to act swiftly by inspecting the roots and removing any affected parts. But that's just the beginning—there's more to ensuring your succulent's full recovery and preventing future issues. Want to learn the detailed steps and make sure your plants thrive? Let's go through the essential actions you need to take.
Recognize Symptoms of Root Rot
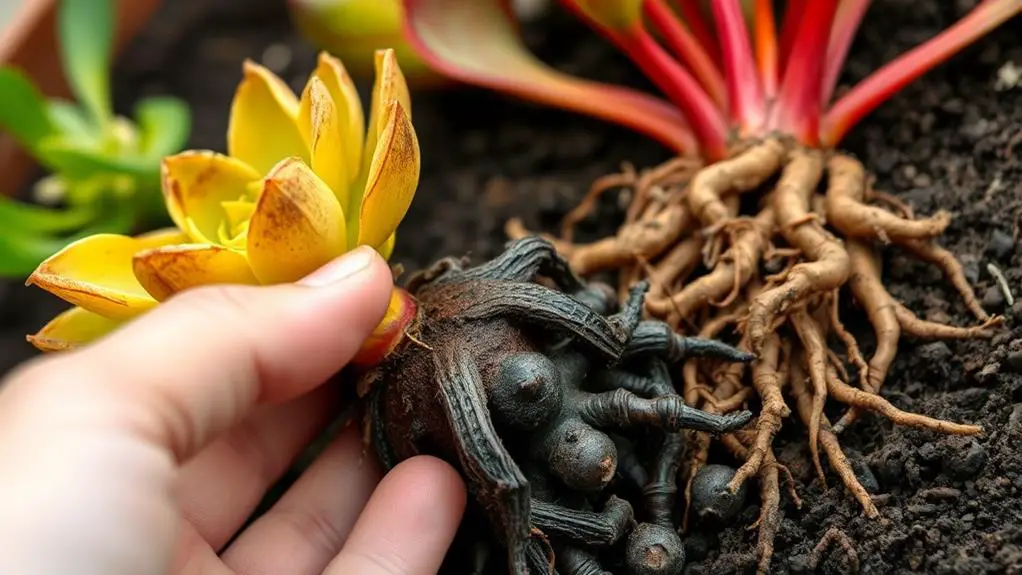
Understanding the symptoms of root rot is essential for the health of your succulents. You'll want to watch for yellowing leaves that droop and fall off easily. This can indicate distress in the plant, often a sign of root rot.
Additionally, if you notice a foul odor coming from the soil, it usually suggests decay in the root zone. This smell is a strong indicator that your succulent's roots are rotting.
Healthy roots should be white or light brown. If you see dark brown or black roots, it's a warning sign of root rot. These discolored roots aren't able to absorb water and nutrients efficiently.
Also, keep an eye out for soft or mushy stems near the base of the plant. This can signal advanced stages of root rot, which needs immediate attention to save your succulent.
Stunted growth or sudden wilting are other signs of root rot. If your succulent isn't growing as it should or suddenly wilts, check the roots.
Catching these symptoms early helps you take action before the damage becomes severe. Remember, healthy roots lead to thriving succulents.
Inspect the Roots
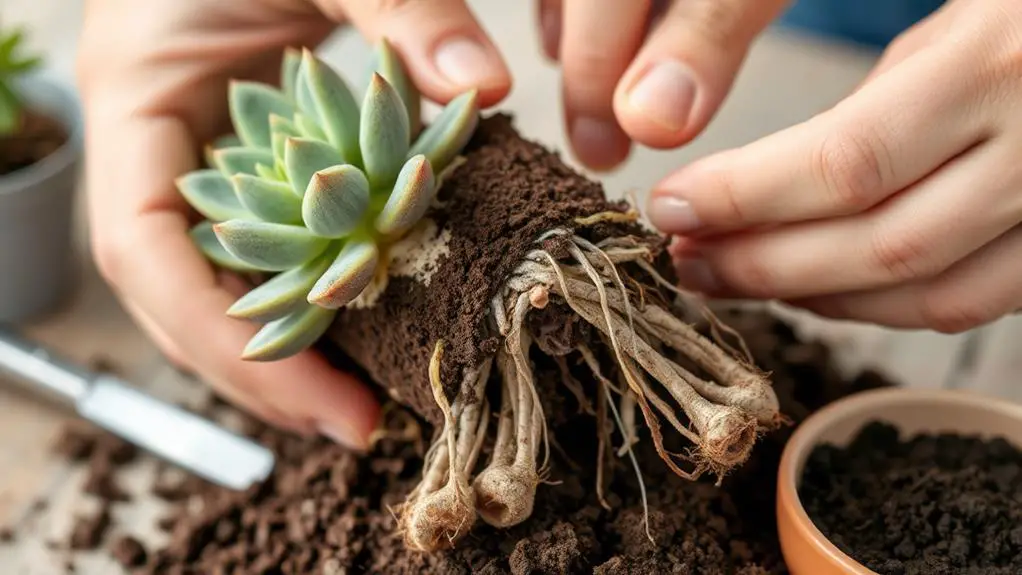
Start by gently taking your succulent out of its pot, being careful not to harm the roots.
Look closely at the roots for any dark brown or black spots, which are signs of rot.
Healthy roots should be firm and white, while rotten ones will feel mushy or squishy.
Identifying Root Health
Regularly inspecting your succulent's roots is essential for maintaining its health. To start, check the roots to identify any sign of root rot. Healthy roots should be firm and white. If you notice dark brown or black roots, that's a clear indication of infection. Mushy or soft roots also signal trouble.
Pay attention to your succulent's leaves. Yellowing or wilting leaves can be a distress signal, hinting at potential root issues. If you spot these signs, it's time to dig a bit deeper—literally. Gently remove the plant from its pot and examine the roots carefully. Look for the healthy roots we mentioned earlier.
Another red flag is persistently wet soil. Overwatering is a common cause of root rot, so make sure the soil is well-draining. If the soil feels consistently soggy, root health might be compromised.
A foul odor coming from the soil is another giveaway. This smell usually indicates decay below the surface, so an immediate root inspection is necessary.
Recognizing Root Damage
After identifying potential signs of root health issues in your succulent, the next step is to recognize actual root damage. Start by gently removing your succulent from its pot.
Carefully inspect the root system for any signs of rotting roots. Healthy roots are usually white or light brown and feel firm. In contrast, rotten roots will appear dark brown or black and feel mushy to the touch.
As you examine the roots, also take a moment to sniff around the root zone. A foul odor is a strong indicator of decay and root rot. Recognizing root damage early can make a huge difference in saving your plant.
Pay close attention to the overall health of your succulent. Yellowing leaves, stunted growth, or wilting are all signs that something might be wrong beneath the soil.
Regularly check the moisture level and condition of the soil. Overly wet soil can lead to root suffocation and rot, so it's vital to guarantee proper drainage.
Remove Affected Roots
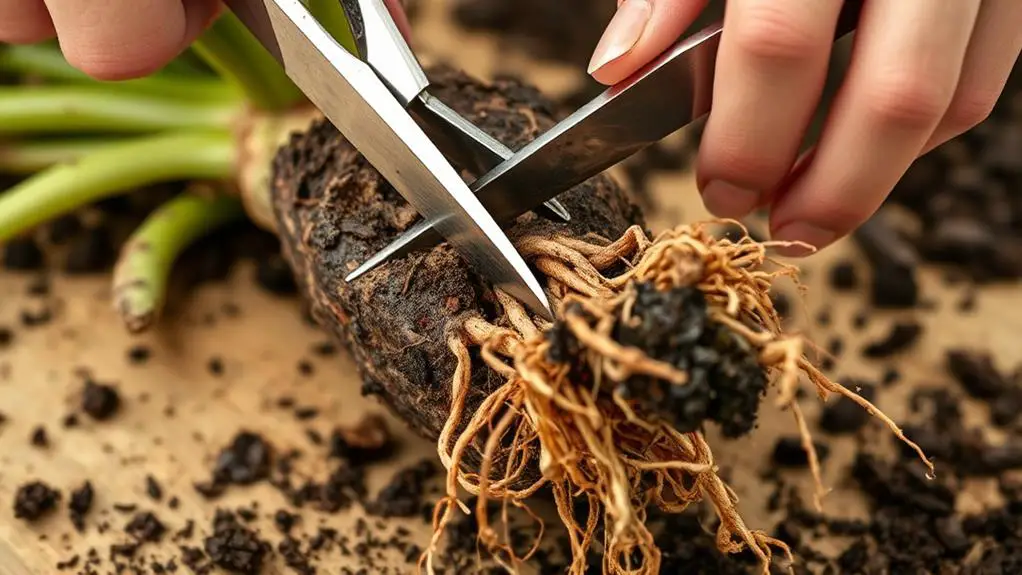
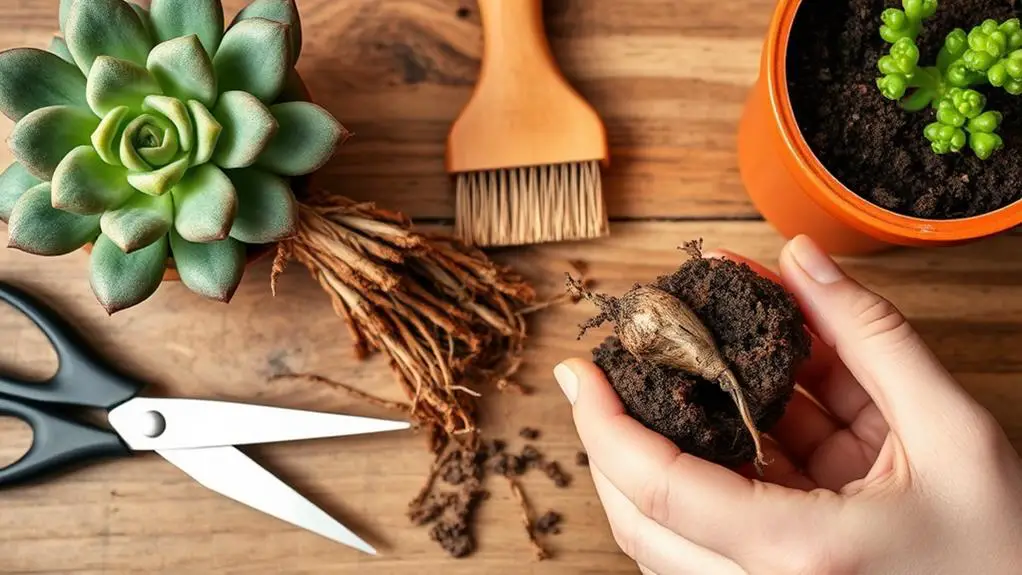
Carefully take your succulent out of its pot so you can inspect the roots for any signs of rot.
Use sterilized scissors to cut away any dark brown or black roots, trimming a few centimeters above the infected areas.
Rinse the healthy roots under water to wash off soil residue and pathogens, then let them air dry for a couple of days before replanting.
Inspect Root Health
Begin by gently removing your succulent from its pot so you can inspect the root system for signs of rot, such as black or mushy roots.
Carefully shake off the soil and look closely at the roots. Healthy roots should be firm and white, while rotting roots will appear dark and feel soft.
Next, use sterilized scissors to prune away any infected roots.
Make your cuts a few centimeters above the darkened area to guarantee only healthy tissue remains.
Don't rush this step; thoroughness is key to giving your plant the best chance at recovery.
After trimming, rinse the remaining roots under running water to remove any leftover soil and potential pathogens.
This helps prevent future infections.
Once cleaned, let the roots air dry for a couple of days.
This drying period allows the cuts to form a callous, which helps prevent further decay.
Sterilize Cutting Tools
Before you engage in removing the affected roots, it's vital to sterilize your cutting tools to prevent introducing new pathogens that could worsen the root rot.
Sterilizing cutting tools is an important step. You'll want to use either rubbing alcohol or a bleach solution to thoroughly disinfect your scissors or pruning shears. This guarantees that no harmful bacteria or fungi are transferred to your succulent's already infected area.
After soaking your tools in the disinfectant, make certain they're clean and dry. Any leftover moisture can contribute to further rot.
It's also significant to sterilize your tools between each cut if you're treating multiple succulents. This prevents cross-contamination of pathogens from one plant to another.
Allow your sterilized tools to air dry for a few moments before using them on your succulent. This helps guarantee maximum effectiveness.
Taking the time to properly sterilize your tools might feel like an extra step, but it's worth it. This careful preparation can make a big difference in saving your succulents from root rot and keeping them healthy.
Promote Root Healing**
After confirming your cutting tools are sterilized and ready, it's time to address the infected roots directly. Carefully inspect the root system of your rotting succulents. Look for any dark brown or black roots, as these are clear indicators of rot. Using your sterilized scissors, prune away these affected roots, making sure to cut a few centimeters above the infected area to guarantee healthy tissue remains.
Once you've removed the rotten roots, dispose of them immediately to prevent any potential spread of pathogens. Next, rinse the remaining healthy roots under running water to wash away any lingering soil residue. This step helps reduce the risk of further infection.
| Step | Description |
|---|---|
| Inspect | Identify dark brown or black roots indicating rot |
| Prune | Cut affected roots a few centimeters above the rot |
| Rinse | Wash healthy roots under running water |
Allow the cut roots to callous for a couple of days. This drying period is essential for promoting root healing and preventing new infections. When the roots have calloused, repot the plant in fresh, well-draining soil. This new environment will support the succulent's recovery and growth.
Clean and Dry the Succulent
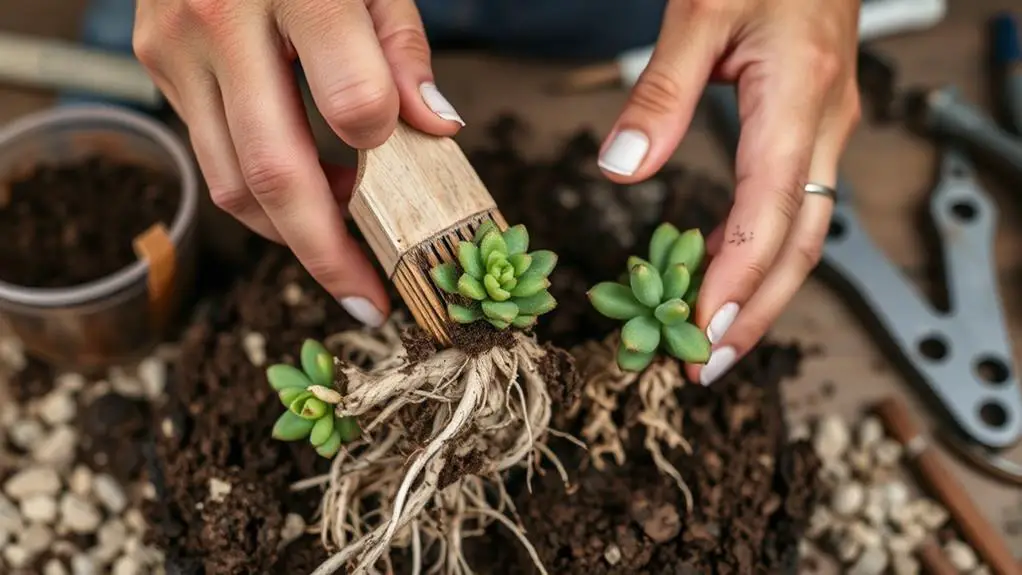
To tackle root rot effectively, start by carefully removing the succulent from its pot to inspect the roots for any black or mushy areas.
It's vital to identify and address these rotten roots promptly. Next, rinse the roots gently under running water to remove any soil residue and reveal the extent of the damage.
Once the roots are clean, you can begin trimming off the rotten parts. Use sterilized scissors to carefully cut away any dark, mushy roots. This step is essential to prevent further decay and encourage healthy growth.
After you've trimmed the roots, allow the succulent to air dry in a warm, dry location for a couple of days.
This drying period lets any cut areas callous over, which helps protect the plant from further rot. During this time, make certain the succulent is in a well-ventilated area to avoid excess moisture buildup.
Here's a quick recap:
- Remove the succulent from its pot and inspect the roots.
- Rinse the roots gently under running water.
- Trim away any dark, mushy roots with sterilized scissors.
- Let the succulent air dry in a warm, dry spot for a couple of days.
- Make sure good ventilation to prevent excess moisture.
Choose Well-Draining Soil
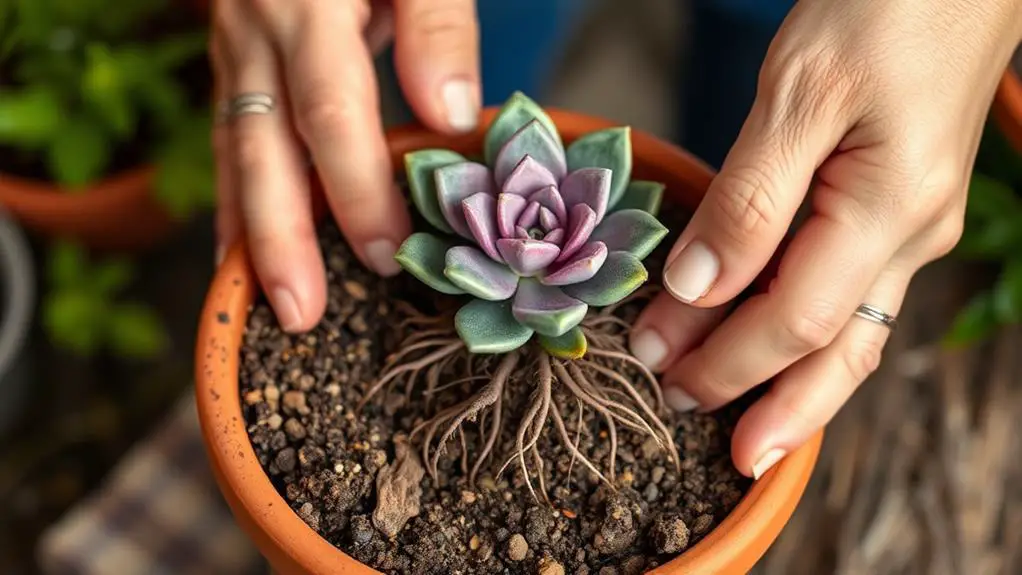
Once your succulent's roots are clean and dry, the next step is to choose well-draining soil to replant it. This is vital to prevent excess water from causing root rot again. Well-draining soil usually includes components like perlite, sand, or pumice. These materials help aeration and guarantee that the soil doesn't stay too wet.
To create a good mix, use 50% potting soil and 50% perlite or sand. This combination provides an excellent balance for your succulent. Avoid using regular garden soil because it retains too much moisture, which can lead to root rot. It's also important to check the pH level of your soil; it should be between 6.0 and 7.0 for ideal succulent health.
Here's an emotional table to guide your soil choices:
| Soil Component | Why It's Important | How It Helps |
|---|---|---|
| Perlite | Enhances aeration | Prevents excess water |
| Sand | Improves drainage | Reduces root rot risk |
| Pumice | Lightens soil mix | Increases air flow |
Select a Proper Pot
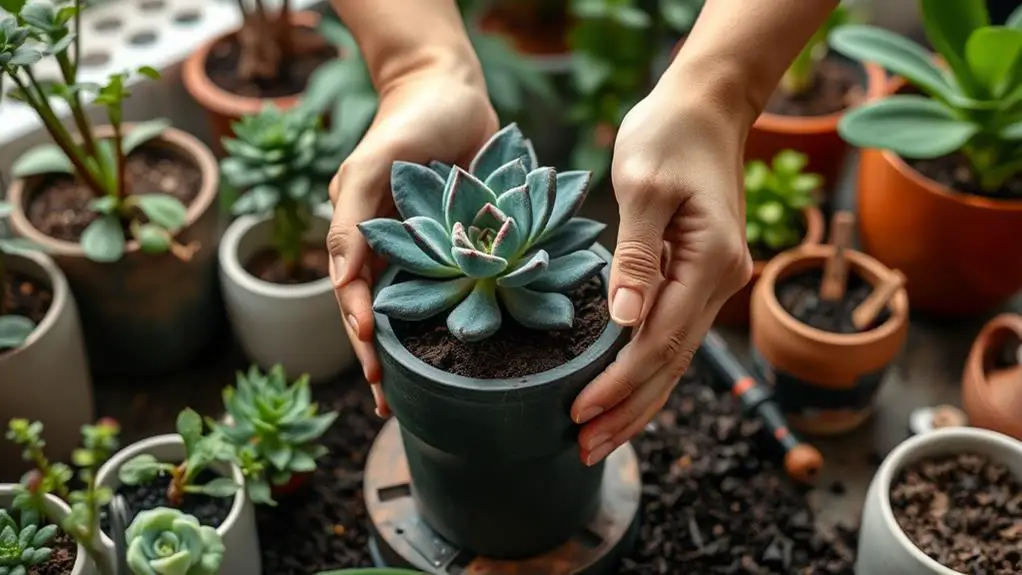
When choosing a pot for your succulent, make sure it has drainage holes at the bottom to let excess water escape and avoid root rot.
Pick a pot made of materials like terracotta or ceramic, as they help wick moisture away from the soil.
It's also important to select a pot that's slightly larger than the root system, giving your succulent room to grow without being overcrowded.
Drainage Hole Necessity
Selecting a pot with drainage holes is essential for preventing root rot in succulents. Without proper drainage, water can get trapped in the soil, leading to waterlogged roots and eventually, root rot. This simple feature allows excess water to escape, ensuring your succulent's roots stay healthy and receive adequate sunlight.
Here are some key points to remember:
- Prevents Waterlogging: Drainage holes let extra water escape, keeping the soil from becoming too wet.
- Promotes Healthy Roots: Adequate drainage prevents stagnant water, which can suffocate roots and lead to fungal infections.
- Supports Root Growth: A slightly larger pot with drainage holes gives roots more room to grow and spread.
- Improves Airflow: Pots with drainage holes, especially those made from terracotta or ceramic, help wick away moisture and allow better airflow.
- Enhances Plant Health: Ensuring your pot has drainage holes greatly boosts your succulent's chances of thriving.
Pot Material Choices
Choosing the right pot material is vital for maintaining your succulent's health. Different pot material choices can greatly impact how well your plant thrives and avoids root rot.
Terracotta pots are a great option because they're porous, allowing for better air circulation and moisture evaporation. This helps prevent the soil from staying too wet, which can lead to root rot.
If you prefer a lighter option, plastic pots work well too, but it's important to guarantee they've drainage holes. Without these holes, water can accumulate at the bottom, causing the roots to rot.
Ceramic pots with a glaze are another attractive choice. Just make sure they also have drainage holes to keep the soil at the right moisture level.
You should also think about how big the pot is compared to your succulent's root system. While this topic will be covered in more detail later, remember that a slightly larger pot helps avoid overcrowding, which can lead to poor drainage and increased moisture retention.
Avoid using decorative pots without drainage holes unless you plan to use them as cache pots. This way, any excess water can drain from the inner pot, keeping your succulent's roots healthy.
Size and Space
A well-fitting pot is vital for your succulent's health, giving it the room it needs to grow while preventing moisture buildup. To select the proper pot, you need to take into account both the size and the space it provides. Here's what you should keep in mind:
- Choose a pot slightly larger than the root system: This allows for growth without too much extra space that can retain moisture and cause root rot.
- Ensure the container has drainage holes: Proper drainage is essential to avoid water accumulation at the bottom, which can also lead to root rot.
- Select breathable materials like terracotta: These materials enhance airflow to the roots, reducing the risk of moisture retention.
- Avoid overly deep pots: Succulents prefer shallow soil, which promotes healthy root growth and proper drainage.
- Pick a pot that complements the succulent's size and growth habit: This helps maintain stability and support as the plant matures.
Make sure the container with drainage is appropriate for your succulent to prevent the rotting part of its roots.
Repot the Succulent
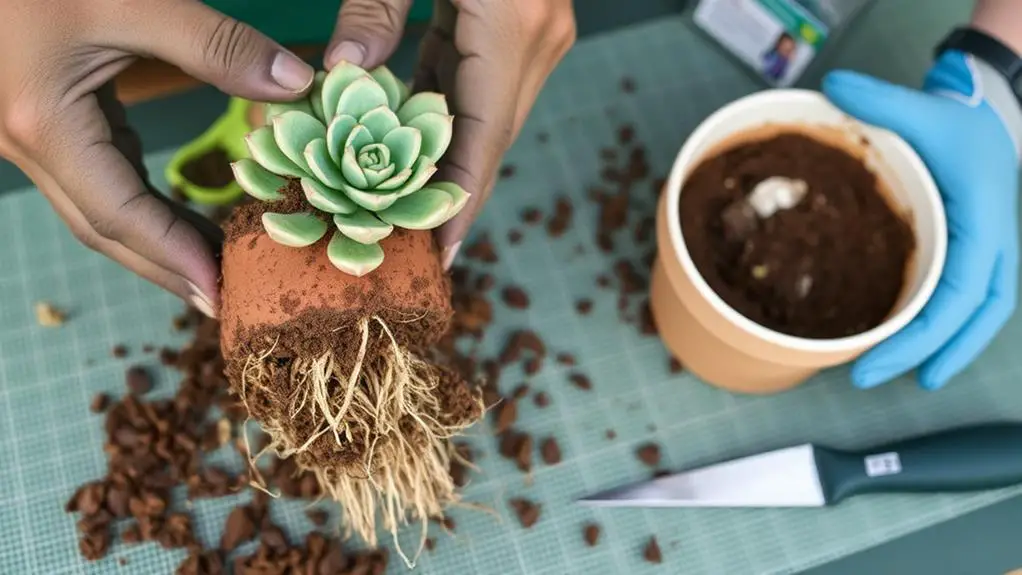
When dealing with root rot in your succulent, it is crucial to repot the plant to halt further damage and promote recovery. Start by gently removing your succulent from its original pot. Carefully tease apart any entangled roots to minimize stress. Choose a well-draining soil mix, ideally containing perlite or sand. This type of soil will promote healthy root growth and prevent future moisture retention.
Next, select a pot that is slightly larger than the root system and has drainage holes. This guarantees excess water can escape, preventing soggy conditions. Place your succulent in the new pot and fill it with the well-draining soil mix. After repotting, water the succulent sparingly. Make sure the soil dries completely before the next watering to avoid reintroducing moisture-related issues.
Here's a quick reference table for repotting your succulent:
| Step | Materials Needed | Key Tips |
|---|---|---|
| Remove from old pot | Old pot, succulent | Gently tease roots apart |
| Choose well-draining soil | Perlite or sand, soil | Promotes healthy root growth |
| Repot and water sparingly | New pot, well-draining soil | Guarantee soil dries completely |
Post-Repotting Care
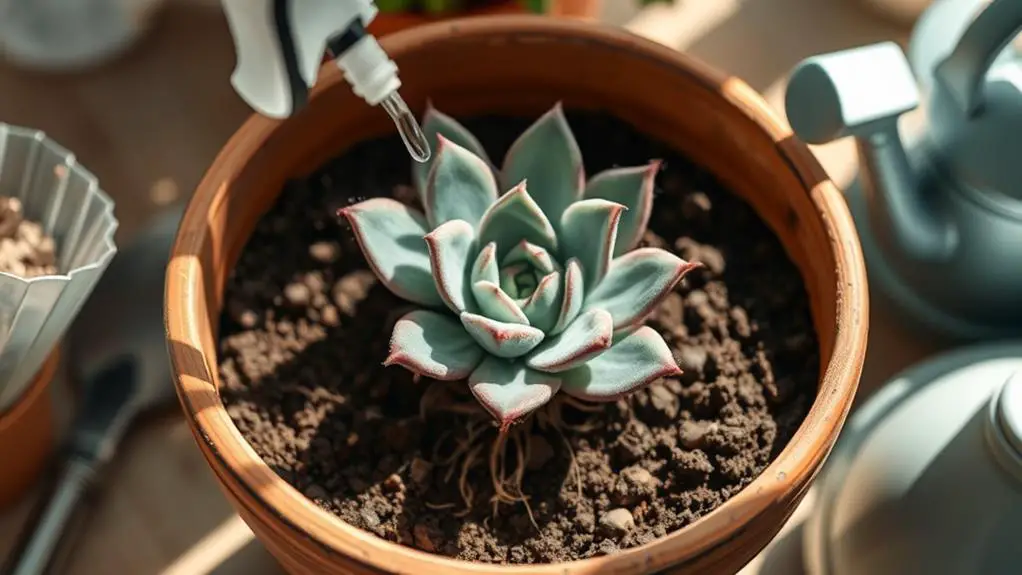
After repotting your succulent, it's essential to provide the right care to guarantee a smooth recovery.
Start by avoiding watering for at least a week. This allows the roots to heal and prevents any further moisture-related issues.
Place your succulent in a warm spot with bright, indirect light. Direct sunlight might scorch the leaves, so filtered light is best.
Next, monitor the soil moisture closely. Confirm it dries out completely before you water again. This helps prevent the conditions that caused root rot in the first place.
Here's a handy checklist to guide your post-repotting care:
- Avoid watering for at least one week to let the roots heal.
- Place in bright, indirect light to encourage recovery without scorching.
- Monitor the soil moisture and let it dry thoroughly before the next watering.
- Limit fertilization for the first month since the plant is in recovery.
- Regularly check for signs of stress or rot, like wilting leaves or foul odors.
Implement Watering Best Practices
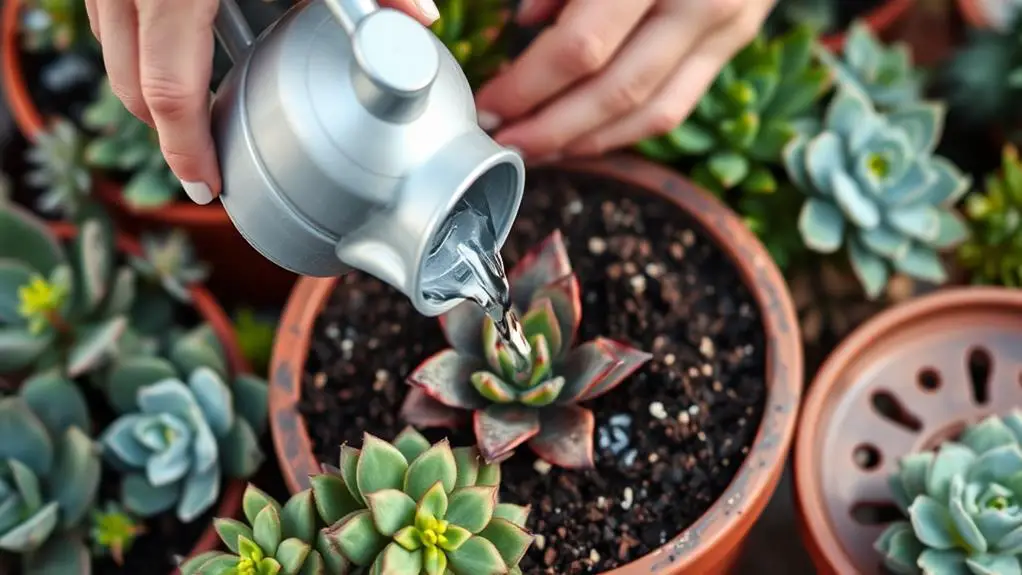
Implementing effective watering practices is essential to prevent root rot in succulents. Start by watering your succulents only when the top inch of soil feels completely dry. This usually means every 1-3 weeks, but it can vary based on the season and humidity levels. Using a soil moisture meter can help you accurately gauge moisture levels, making sure you avoid overwatering.
Choose well-draining soil, such as a mix containing perlite or pumice, to promote quick drying after watering. Additionally, make certain your pots have drainage holes to allow excess water to escape. This prevents water retention, which is a primary cause of root rot. Adjust your watering frequency based on the season, as succulents generally need less water during their dormant winter months.
Here's a handy table to summarize these watering best practices:
| Practice | Why It's Important |
|---|---|
| Water only when soil is dry | Prevents overwatering and root rot |
| Use a soil moisture meter | Makes sure accurate moisture levels |
| Choose well-draining soil | Promotes quick drying and healthy roots |
| Make certain pots have drainage holes | Prevents water retention and root rot |
| Adjust watering by season | Meets changing succulent needs |
| Water every 1-3 weeks | Balances hydration and dry soil |
Monitor and Adjust Care
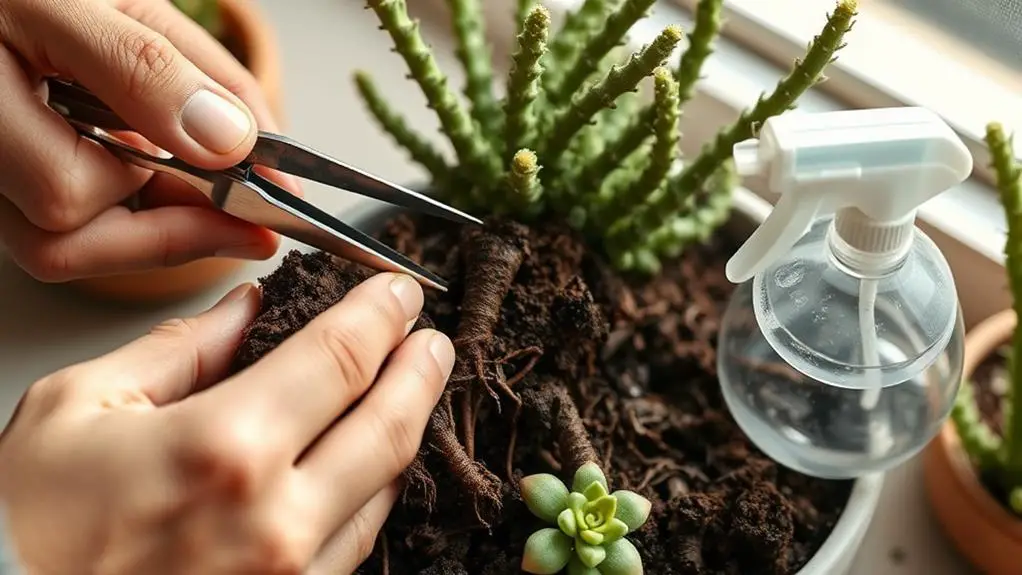
To keep your succulents thriving, regularly check the soil moisture levels by inserting your finger about an inch deep; if it feels damp, hold off on watering.
Monitoring soil moisture is crucial to prevent overwatering, which can lead to root rot. Adjust your watering schedule based on the season. During cooler months, succulents need less water because their growth slows down.
Keep an eye on the overall health of your plants. Look for signs of stress, such as wilting or yellowing leaves. These can indicate that you need to adjust your care routine.
Make certain your succulents are in a spot with good airflow and indirect sunlight. This helps prevent moisture retention and promotes healthy growth.
Here's a quick checklist to help you monitor and adjust care:
- Check soil moisture regularly and only water when dry.
- Adjust watering frequency based on the season.
- Look for signs of stress like wilting or yellowing leaves.
- Guarantee adequate airflow and indirect sunlight.
- Inspect for pests and diseases consistently.
Frequently Asked Questions
How to Fix Root Rot in Succulents?
To fix root rot in succulents, remove the plant, trim infected roots, and rinse the healthy ones. Let them dry, then repot in well-draining soil. Ascertain the pot has drainage holes and avoid watering for the first week.
How Do You Fix Root Rot Fast?
To fix root rot fast, take your succulent out of its pot, trim off mushy roots with sterilized scissors, rinse the healthy roots, let it dry for a few days, then repot in fresh, well-draining soil.
What Is the Best Treatment for Root Rot?
To treat root rot, remove the succulent from its pot, trim the affected roots with sterilized scissors, let them dry for a few days, and repot in well-draining soil. Avoid watering for a week and monitor stress signs.
Can You Bring a Plant Back From Root Rot?
Yes, you can bring a plant back from root rot if you act quickly. Remove it from its pot, trim the mushy roots, let the healthy ones dry, and repot in fresh soil. Monitor and adjust care accordingly.
Conclusion
You've got this! By following these steps, you'll help your succulents bounce back from root rot. Remember, being patient and observant is key. Keep an eye on your plants, and don't hesitate to adjust your care routine if needed. With a little time and effort, your succulents will thrive again. Happy gardening, and don't forget to enjoy the process of nurturing your green friends back to health!

