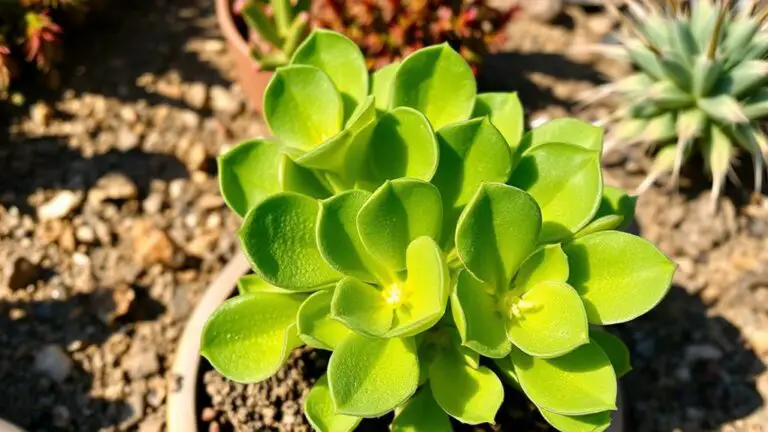
10 Steps to Repot Your Succulent Arrangement Successfully
Repotting your succulent arrangement might seem intimidating, but with the right steps, it can be straightforward and rewarding. You'll need to take into account the ideal time, typically early spring or fall, and gather essential materials like a new pot and a succulent soil mix. Begin by preparing your workspace and carefully removing the succulent from its current pot. But how do you inspect and trim the roots effectively without causing damage? Let's explore each step in detail to guarantee your succulents thrive in their new environment.
Optimal Repotting Time
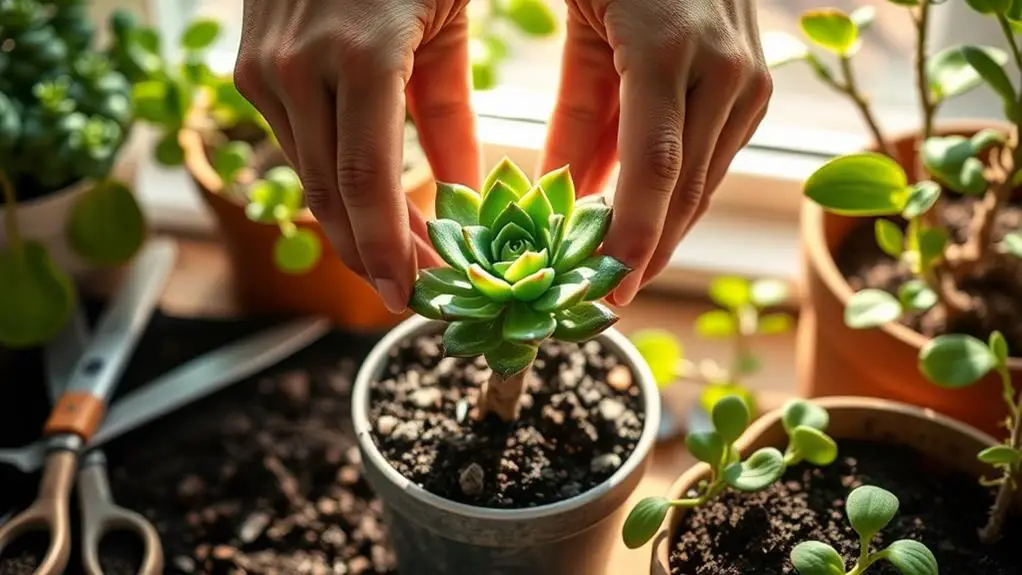
The ideal time to repot your succulents is during the early spring or early fall, just before their active growing seasons. This timing guarantees that your plants get the best start in their new pots.
If your succulents go dormant in the summer, it's best to repot them in the fall. Conversely, for those that rest in the winter, spring is your best repotting time. Avoid repotting during their flowering period because it can disrupt their blooming process.
When repotting succulents, it's vital to choose a period when they're gearing up for growth. This makes it easier for them to adapt to new soil and pots. Fresh soil that dries out properly helps prevent root rot and provides the right environment for healthy growth.
You'll know it's time to repot when you see roots growing out of drainage holes or if the soil dries out too quickly.
For newly purchased succulents in small plastic containers, repotting within two weeks is ideal. This gives your plants ample space and access to fresh, well-draining soil.
Recognizing Repotting Needs
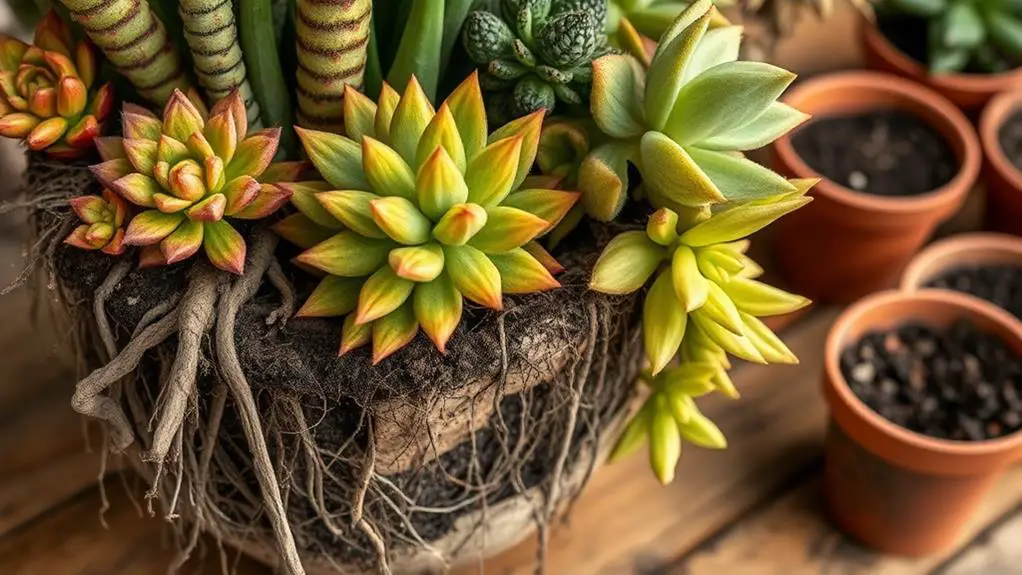
Understanding when to repot your succulents guarantees they remain healthy and vibrant. Look for signs that your succulent arrangement needs repotting. One clear sign is when you see roots growing out of the drainage holes. This indicates that the roots need more space.
Soil that dries out too quickly can also mean the succulents are root-bound and need a new home. If you notice that your succulents' growth has slowed or stopped, it might be because the pot is too small or the soil has lost its nutrients.
Newly purchased succulents often come in small plastic containers and should be repotted within two weeks. This helps promote their healthy growth.
Succulents also produce offsets or pups, and these need more space to thrive. Repotting will prevent overcrowding and allow each plant to flourish.
Additionally, if your succulent arrangement has been in the same pot for over five years, it's time for fresh soil and a larger pot. This guarantees continued health and growth.
Selecting the Right Pot
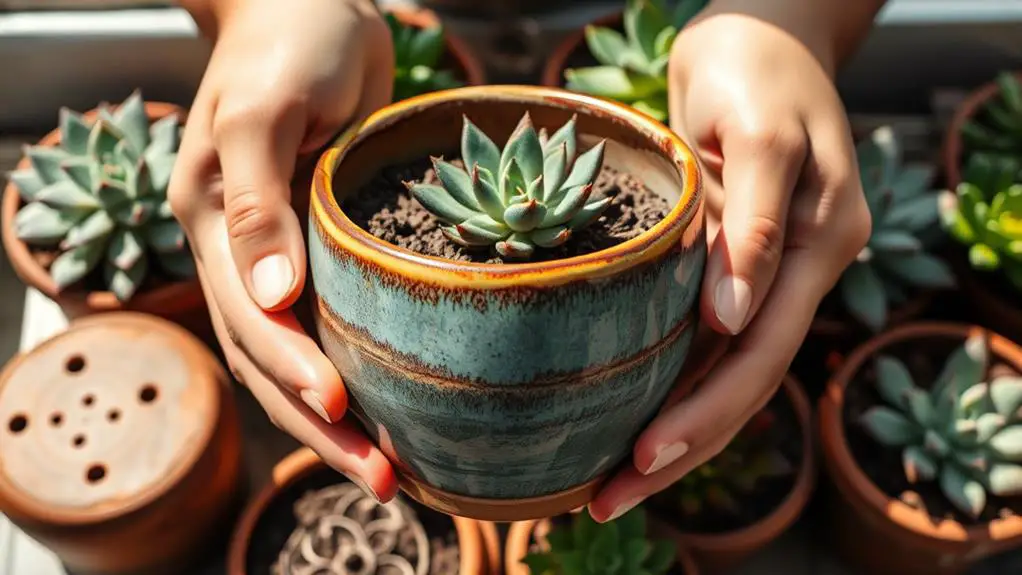
Choosing the right pot for your succulents is essential for their long-term health and growth. When selecting the right pot, start by choosing one that's at least 10% larger in diameter and height than your current pot. This extra space allows your succulents' roots to grow and gives room for more soil, which provides nutrients.
It's also important to make sure the new pot has drainage holes. These holes prevent water from sitting at the bottom, which can cause root rot. Without proper drainage, your succulents may suffer from too much moisture.
Here are some tips to help you make the best choice:
- Porous materials: Select a pot made from terracotta or ceramic. These materials help with air circulation and moisture regulation.
- Design and aesthetics: Pick a pot that matches your decor and complements your succulent arrangement. This makes your plants look even more beautiful.
- Avoid pots without drainage: Always steer clear of pots that lack proper drainage. Excess moisture can harm your succulents.
Choosing the Soil Mix
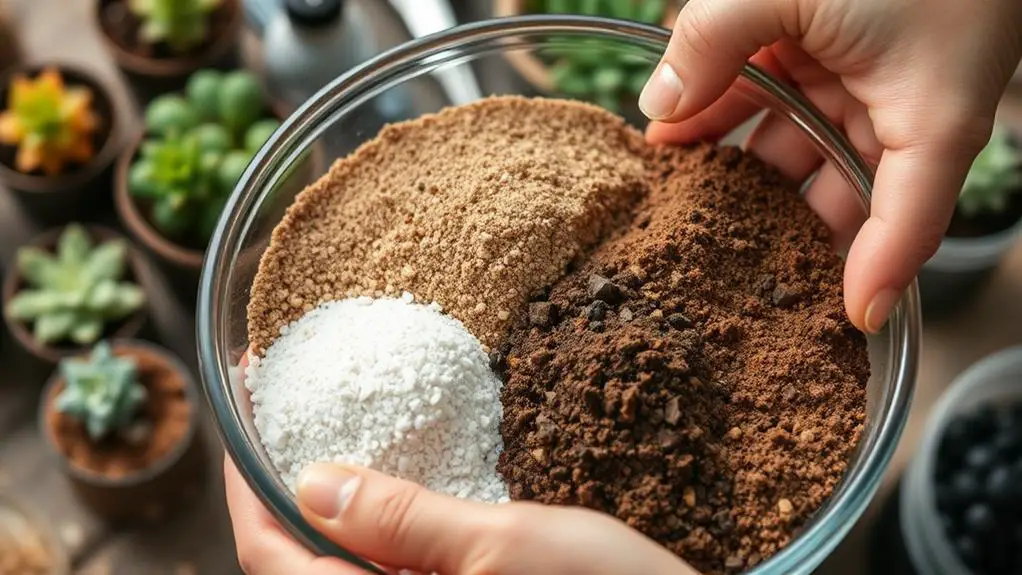
When repotting succulents, always prioritize selecting the right soil mix to secure their health and longevity. A specialized succulent potting mix is essential because it guarantees excellent drainage and aeration for the roots. Regular potting soil retains too much moisture, which can cause root rot, a common problem in succulents.
A well-draining soil mix typically includes 50-70% inorganic materials, such as perlite or coarse sand, and 30-50% organic matter for nutrients. This combination helps your succulents thrive by preventing water from pooling around their roots. If you're feeling creative, you can make your own mix by combining equal parts of potting soil, perlite, and sand. This DIY mix offers the perfect balance for succulent health.
To further improve drainage, you might add small stones or gravel to the bottom of the pot, especially if your arrangement includes multiple plants. This extra layer guarantees any excess water escapes quickly, keeping the roots dry and healthy.
| Material | Purpose |
|---|---|
| Potting soil | Provides organic nutrients |
| Perlite | Improves aeration and drainage |
| Coarse sand | Enhances drainage |
| Small stones | Adds extra drainage layer |
Preparing the Workspace
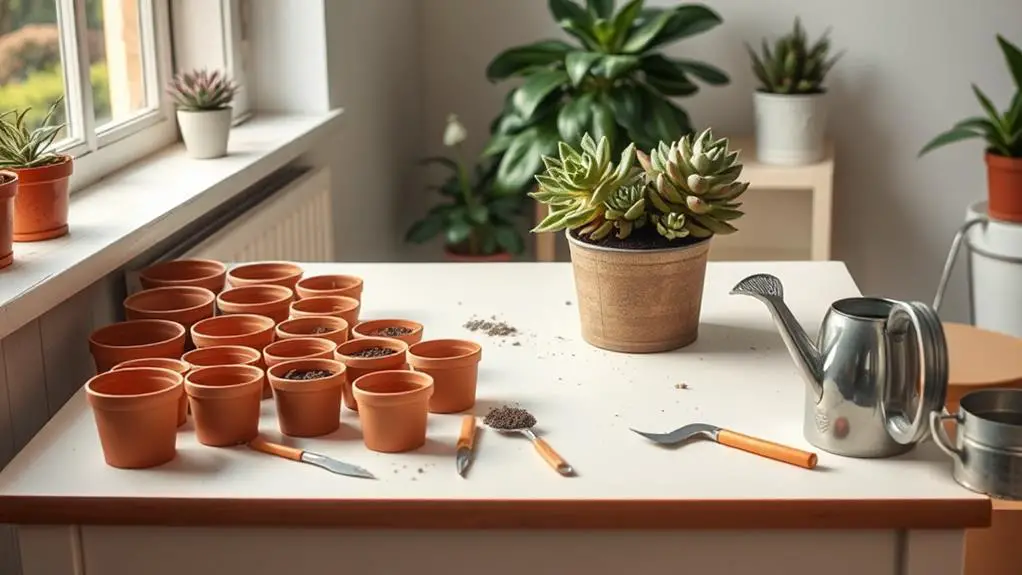
To start repotting your succulents, clear a flat, spacious surface where you can easily reach all your tools and materials.
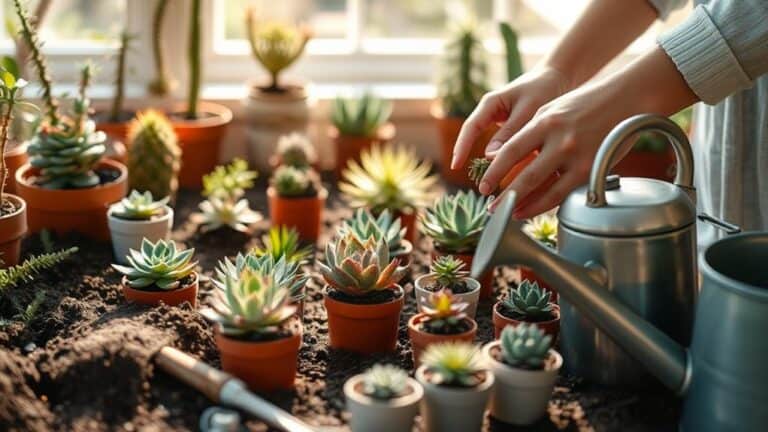
Gather everything you need, like a new pot with drainage holes, succulent potting mix, gloves, a trowel, and any decorative elements you want to add.
Lay down a tray or newspaper to catch soil spillage, making cleanup much easier.
Tools and Materials Needed
Repotting succulents successfully starts with gathering the right tools and materials. First, you'll need a few essential items to guarantee the process goes smoothly.
Having the correct tools and materials not only makes the task easier but also helps your succulents thrive in their new environment.
Start with a specialized succulent potting mix. This mix usually contains high amounts of perlite or pumice, which are vital for good drainage and aeration. Proper drainage prevents water accumulation and root rot, keeping your succulents healthy.
Here are the key items you'll need:
- Trowel and Pruning Shears: Use a trowel to transfer soil and sharp pruning shears for trimming roots.
- Gloves and Tray: Protect your hands with gloves and use a tray to catch any excess soil or debris, keeping your workspace tidy.
- Drainage Materials: Consider adding pebbles or charcoal at the bottom of the pot to enhance drainage.
Selecting New Pot
After gathering your tools and materials, it's time to select a new pot for your succulent. Choose a pot that's at least 10% larger than the current one. This extra space will help your succulent's roots grow and prevent overcrowding.
It's important that the new pot has drainage holes. These holes let excess water escape, keeping your succulent's roots healthy and preventing root rot. Without drainage, water can build up and harm your plant.
Pick a pot made from porous materials like terracotta or ceramic. These materials allow air to flow and help regulate the moisture in the soil. This keeps the environment just right for your succulent.
Before you start repotting, make sure your workspace is ready. Have your tools like a trowel and gloves nearby. Using a tray to catch soil spills can keep your area clean and organized.
Additionally, have a high-quality, well-draining succulent potting mix ready. This type of soil supports healthy growth and prevents water from lingering too long around the roots.
With the right pot and preparation, your succulent will thrive in its new home.
Soil and Drainage
Creating an ideal environment for your succulent starts with the right soil and drainage setup. The foundation of a successful repotting begins with selecting a high-quality succulent potting mix. This mix should include perlite or pumice, which helps retain moisture without waterlogging.
Avoid using regular potting soil, as it holds too much moisture and can suffocate your succulent's roots, leading to root rot.
Next, verify your new pot has drainage holes. These holes are essential for allowing excess water to escape, preventing it from sitting at the bottom and causing root rot. If the pot doesn't have drainage holes, you can drill some yourself or consider a different pot.
To further enhance drainage, add a layer of drainage material at the bottom of the pot. Small pebbles or charcoal work well for this purpose. This extra layer guarantees that water can flow freely and gives your succulent's roots room to breathe.
Before you start, prepare your workspace:
- Lay down protective coverings to catch any soil spills.
- Gather all your materials, including the potting mix and drainage materials.
- Keep tools like trowels or small shovels handy.
Removing the Succulent
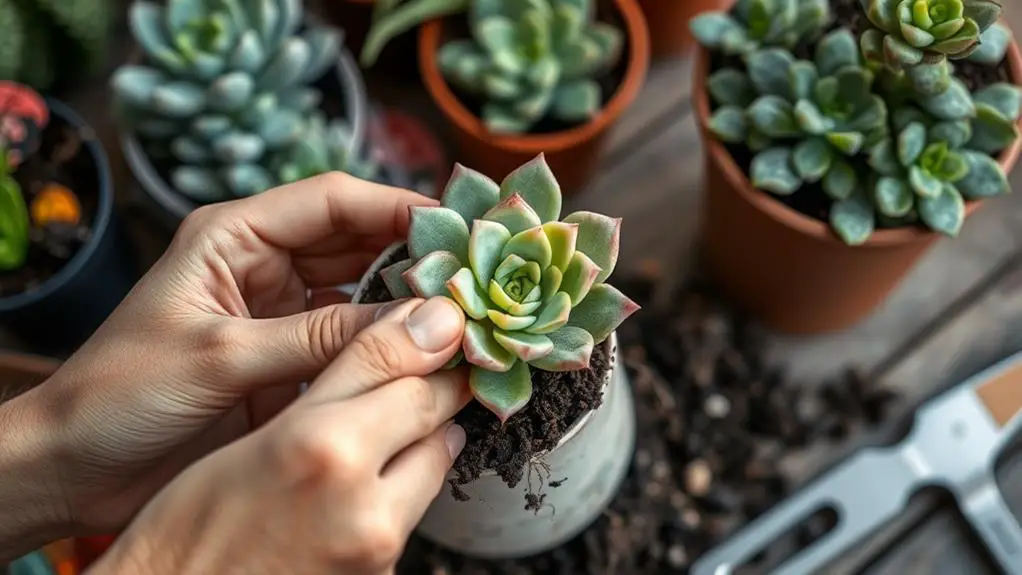
Start by preparing your tools, making sure you have a clean, sharp knife and sterilized pruning shears ready.
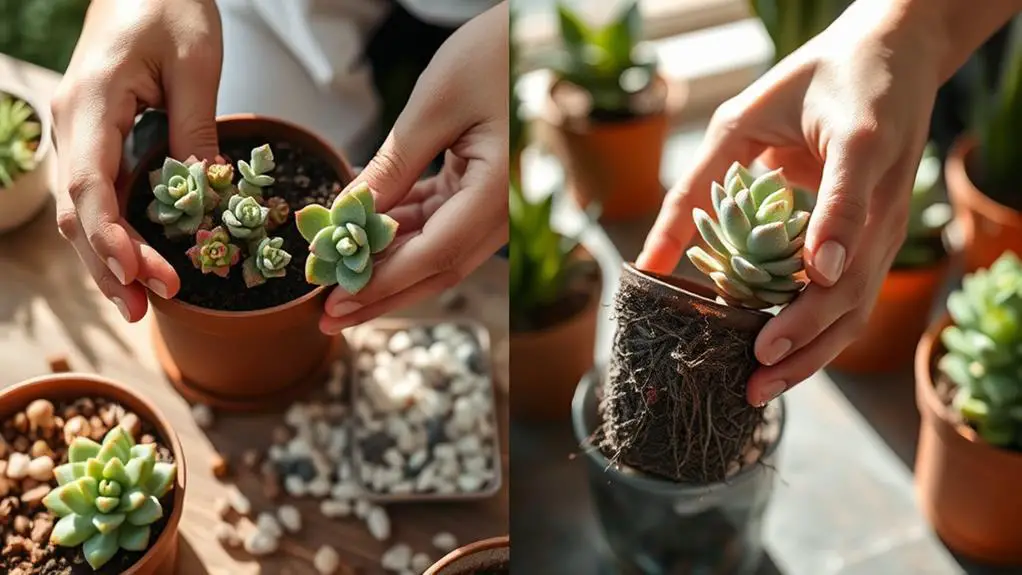
Gently tap the sides of the pot to loosen the soil and roots, and always handle the succulent by its base to avoid breaking any stems or leaves.
If the plant is stuck, carefully use the knife to cut away any roots clinging to the pot, ensuring you remove the succulent safely.
Preparing Your Tools
Before you remove your succulent from its current pot, gather all necessary tools to guarantee a smooth process.
Preparing your tools ahead of time will make the removal easier and protect your plant from unnecessary harm. Here's what you'll need:
- Clean, sharp pruning shears: These are essential for cutting any tangled or stuck roots without damaging the plant.
- A small trowel: This tool will help you pry out the root ball if the arrangement is tightly packed.
- Sterilized scissors: Use these to trim away any damaged or rotten roots after you remove the succulent.
First, water your succulent arrangement 1-2 days before repotting.
Moist soil is easier to work with and helps minimize root damage. Gently tap the sides of the pot to loosen the soil and roots. If the roots are tangled or stuck, use your pruning shears to cut them free.
Carefully grasp the base of the succulent and tilt the pot at an angle to encourage the plants to slide out smoothly.
Once out, inspect the roots for signs of rot or damage.
Trim any unhealthy roots with sterilized scissors. Now, your succulent is ready for its new home in fresh potting mix!
Loosening the Soil
Loosening the soil around your succulent is an essential step to guarantee it's removed without causing damage.
Start by gently tapping the sides of the pot. This helps to loosen the soil and detaches the succulent from the container without harming the roots. If the plant feels stuck, don't panic. Use a clean, sharp knife to carefully cut around the edges of the pot. Be cautious to avoid damaging the roots.
Once the soil is loosened, hold the base of the succulent firmly. This minimizes stress on the plant as you pull it out, preventing breaks in the stems or leaves.
If the roots are tightly bound together, gently tease them apart with your fingers or a small tool. This encourages healthy growth when you place the succulent in its new soil.
After removing the plant, inspect the roots closely. Trim away any dead or rotted roots. This step is significant for promoting healthy growth in the new pot.
Being meticulous now guarantees your succulent thrives in its new environment. Remember, a little patience and care go a long way in keeping your plant happy and healthy.
Handling With Care
After loosening the soil, it's time to handle your succulent with care to guarantee its safe removal. Gently tap the sides of the pot to loosen the soil and roots, making it easier to remove the succulent without damage.
Carefully grasp the base of the succulent, and then tilt the pot to slide it out. Avoid excessive pulling on the stems or leaves, as this can cause breakage.
If the plant is stuck, use a clean, sharp tool to carefully cut around the edges of the pot. This minimizes root disturbance and helps free the plant without causing harm.
During removal, inspect the roots for any signs of rot or damage. Trim away any unhealthy sections with clean shears to keep your plant healthy.
Remember these key points for handling with care:
- Handle by the base or root ball: Grasping the leaves or stems can cause stress and breakage.
- Use gentle taps and tilts: These actions help free the plant without damaging the roots.
- Inspect and trim roots: Check for rot or damage and use clean shears to trim unhealthy parts.
Inspecting and Cleaning Roots
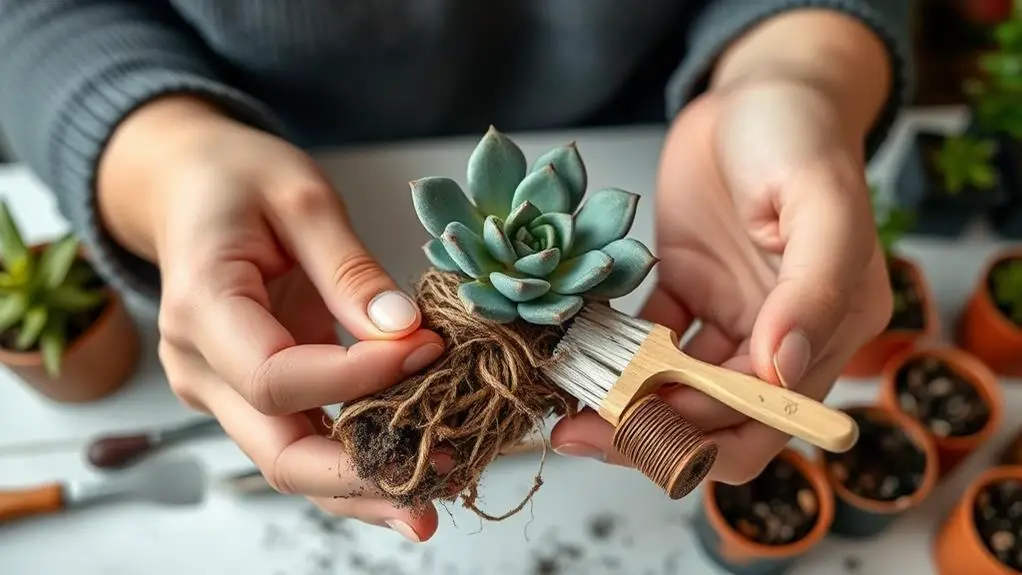
When you're ready to repot your succulent, start by carefully removing it from its current pot to avoid damaging the roots. Gently tap the sides of the pot and use a trowel to loosen the soil if necessary. This helps free the succulent without harming its delicate root system.
Next, it's time for inspecting the roots. Look for any signs of rot or damage, such as black, mushy roots. Trim these away with clean, sharp pruning shears to promote healthy growth. It's important to be thorough but gentle during this process to guarantee you don't harm the healthy roots.
After trimming, focus on cleaning the roots. Carefully brush off old soil to prevent soil-borne diseases from spreading to your succulent's new home. If you've washed the roots, let them dry for 3-5 days before repotting. This drying period helps prevent disease and encourages robust growth.
Verify the remaining roots are neither tangled nor broken. Untangled roots support proper growth and stability in the new pot.
Positioning in New Pot
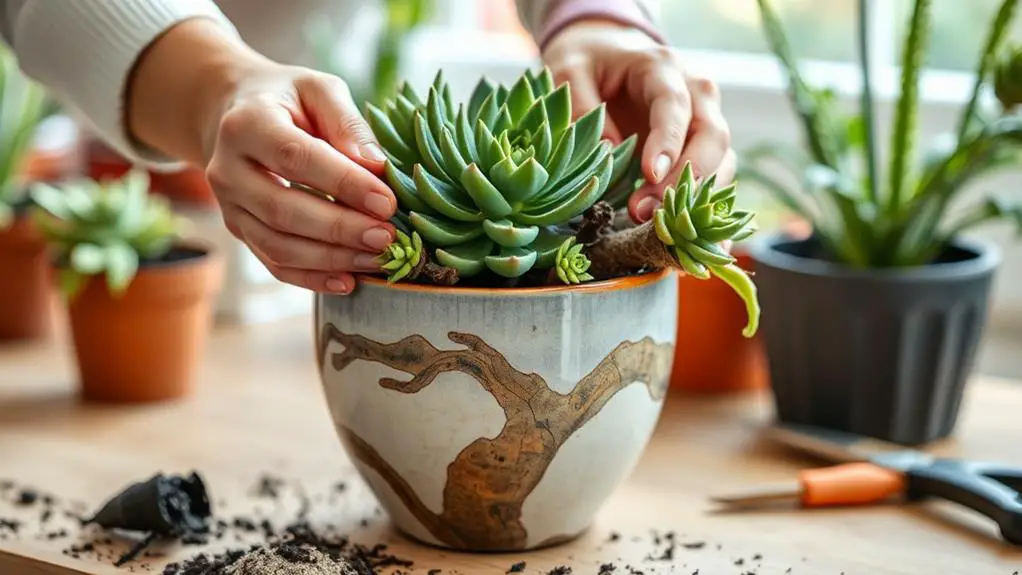
Positioning your succulent in its new pot requires a bit of patience and precision to guarantee its long-term health and growth. First, make sure the root system is centered in the pot and not crowded. This allows the roots to grow freely and keeps the plant stable.
Leave about 0.5 to 1.5 inches of space between each succulent, depending on their size, to confirm they've enough room to thrive.
As you position your succulents, cover the roots with fresh potting soil. Be careful not to bury the leaves, as this can cause rot and hinder their growth. Lightly pat down the soil around the roots to stabilize the plants, but don't compact it too much; good drainage is essential for healthy succulents.
If your arrangement includes different types of succulents, place the taller ones at the back and the shorter ones in the front. This creates a pleasing visual depth and allows each plant to get enough sunlight.
- Center the root system: Confirm the roots aren't crowded.
- Cover with fresh soil: Avoid burying leaves to prevent rot.
- Create visual depth: Taller plants at the back, shorter in front.
Watering After Repotting
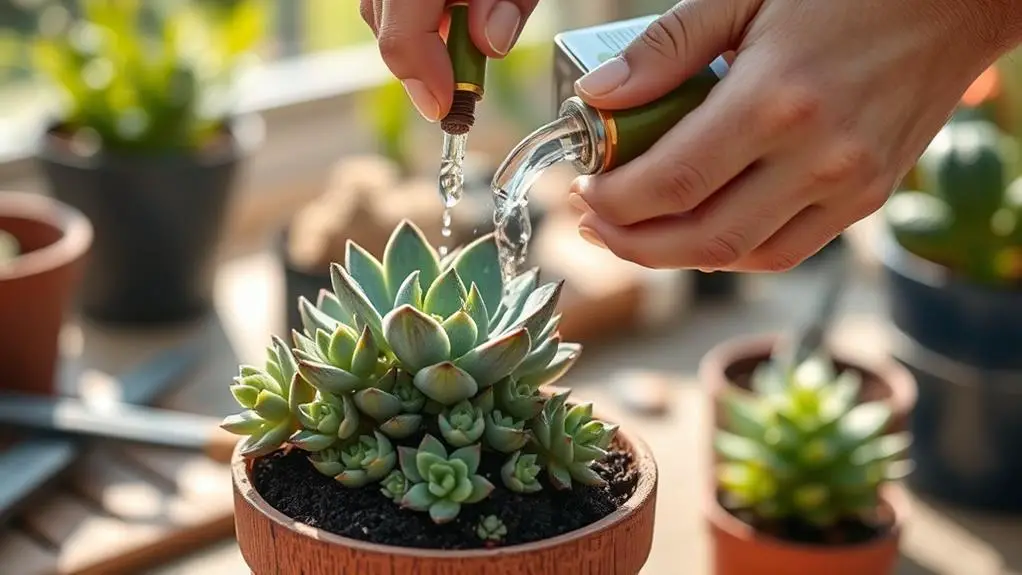
Repotting succulents involves more than just transferring them to a new pot; it also requires proper post-repotting care, especially when it comes to watering. After repotting, wait at least one week before watering your succulents. This gives the roots time to adjust to their new environment and helps prevent root rot.
When you do water them, make sure to water thoroughly. This will help settle the soil around the roots. Always verify that excess water drains out completely from the bottom of the pot. Succulents don't like to sit in water, as this can lead to root rot.
Keep a close eye on the moisture level in the soil. Only water when the top inch feels dry to the touch. Succulents prefer drier conditions between waterings. Overwatering is a common mistake, so watch for signs of stress like yellowing leaves or mushy stems. These can indicate that there's too much moisture in the soil.
If you washed the roots during repotting, make sure they dry well before you water them for the first time. This helps prevent disease and promotes healthy growth.
Following these steps will keep your succulents happy and thriving.
Post-Repotting Care
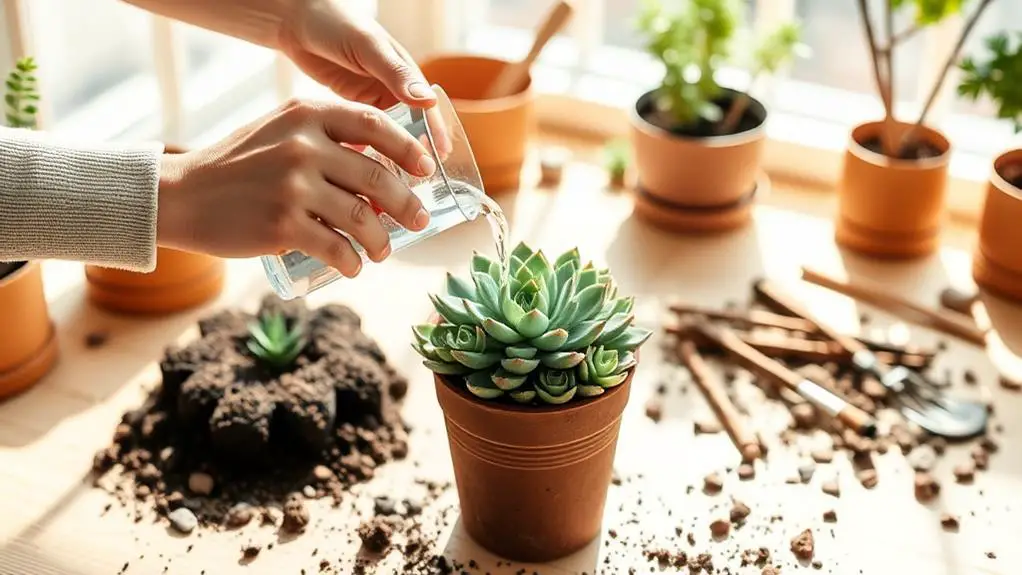
Post-repotting care is essential for guaranteeing your succulents thrive in their new environment.
First, you'll want to wait at least one week before watering your newly planted succulents. This waiting period allows the roots to adjust and reduces the risk of root rot.
Next, place your succulents in a shaded area for a few days. This helps them acclimate without the stress of direct sunlight, which can cause transplant shock.
Keep an eye on your plants for signs of stress, such as yellowing leaves or wilting. These can indicate transplant shock, and if you notice these signs, provide gentle care to help your plants recover.
Avoid fertilizing your succulents for the first few weeks after repotting. This gives the roots time to recover and adapt to the new potting mix without the added stress of extra nutrients.
Here are some quick tips to guarantee successful post-repotting care:
- Wait to water: Hold off watering your newly planted succulents for about a week.
- Shade them: Keep them in a shaded area initially to reduce stress.
- Avoid fertilizing: Hold off on fertilizing for a few weeks to let the roots settle.
Frequently Asked Questions
How to Repot a Succulent Arrangement?
Start by removing your succulents from their pot, untangling roots gently. Trim any damaged roots, choose a slightly larger pot with drainage holes, and use well-draining soil. Replant, water lightly, and let them adjust in shaded conditions.
How Do You Arrange Succulents Together?
Choose succulents with similar care needs. Place taller ones in the back, shorter ones in the front. Use a slightly larger container, mix textures and colors, and space them 0.5 to 1.5 inches apart for airflow.
Should You Break up Succulent Roots When Repotting?
Yes, you should break up succulent roots if they're tightly bound or entangled. Use clean pruning shears to trim damaged roots, and gently loosen slightly crowded roots with your fingers to promote healthier growth in the new pot.
How to Repot Succulents for Beginners?
Start by choosing a pot about 10% larger with drainage holes. Water the succulents 1-2 days before. Gently remove and inspect roots. Use fresh, well-draining soil in the new pot. Wait a week before watering.
Conclusion
You've got this! By following these steps, you'll guarantee your succulents thrive in their new home. Remember to be gentle with the roots, give them a week to adjust without water, and slowly reintroduce sunlight. Keep an eye on your plants for any signs of stress and hold off on fertilizing at first. With a bit of patience and care, your succulent arrangement will flourish, adding beauty and charm to your space. Happy gardening!

