10 Essential Steps to Grow and Care for Alocasia Plants
When you're looking to grow and care for Alocasia plants, understanding their specific needs can make all the difference. Start by selecting the right variety that suits your home's light and space conditions. From there, you'll need to provide bright, indirect light and choose well-draining, slightly acidic soil. Proper watering is essential—wait until the top inches are dry before you hydrate them. As you navigate through the steps, you'll also find out why maintaining temperatures between 60°F and 85°F and ensuring high humidity levels are important. Curious about the next steps?
Choose the Right Alocasia
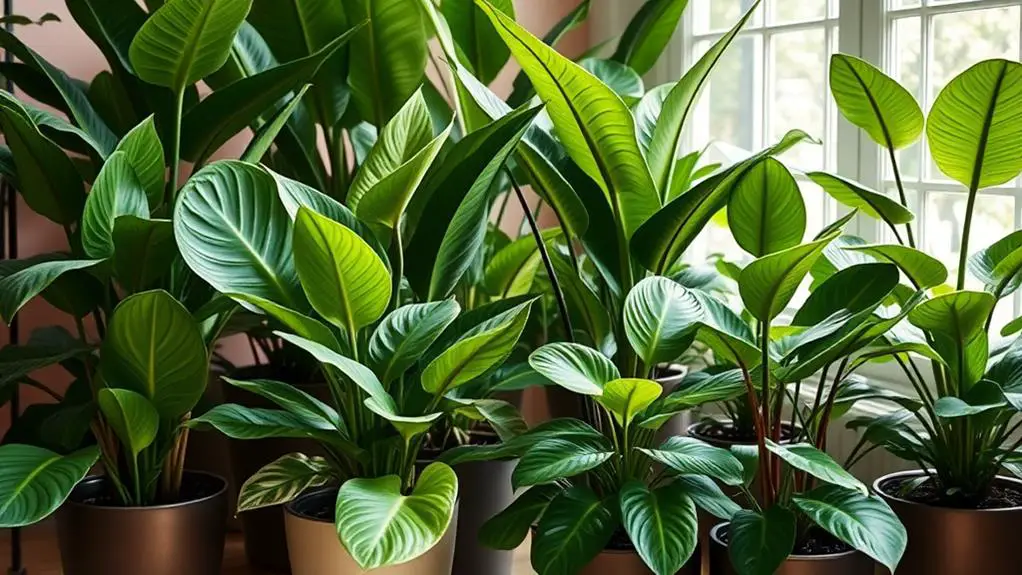
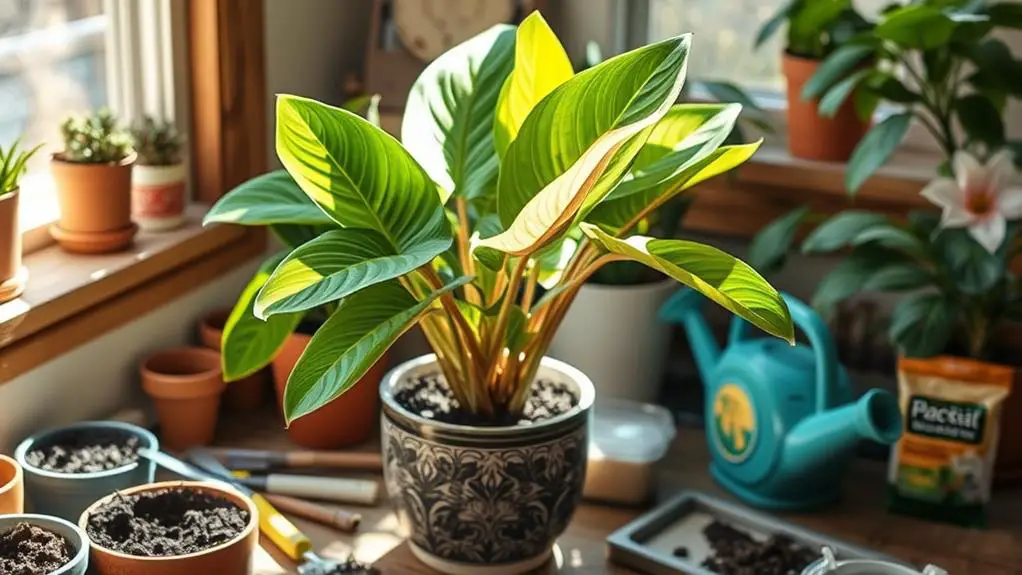
When choosing the right Alocasia, it's essential to take into account both your space and light conditions.
Varieties like Alocasia Polly are perfect for compact growth and have ruffled leaves, whereas Alocasia zebrina dazzles with its zebra-striped stems. Both are great for indoor settings.
Remember to choose a variety that matches your space and light conditions, since some thrive in bright indirect light, while others handle lower light levels.
Make sure your Alocasia has well-draining soil with perlite or orchid bark to prevent root rot.
Also, research the humidity and temperature needs; most Alocasias prefer high humidity (60%+) and temperatures between 65-85°F.
Place them safely away from pets and children due to their toxicity.
Provide Adequate Lighting
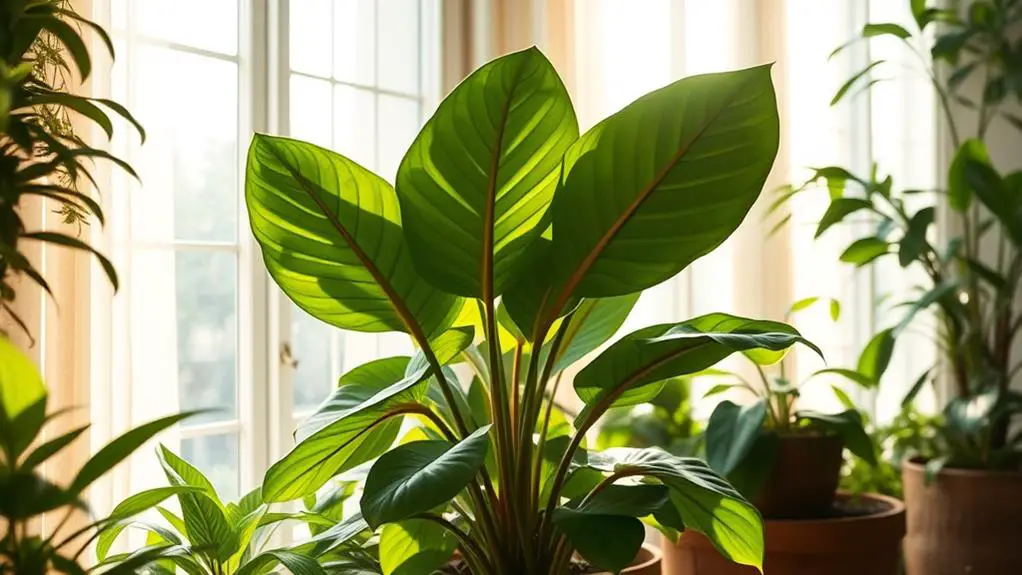
Why is proper lighting essential for your Alocasia plant? Alocasia plants need bright indirect light for peak growth. This type of light helps keep their leaves from scorching and encourages healthy development.
Try placing your plant near an eastern or western window to provide the right amount of light. Direct sunlight can harm their delicate leaves, so be cautious.
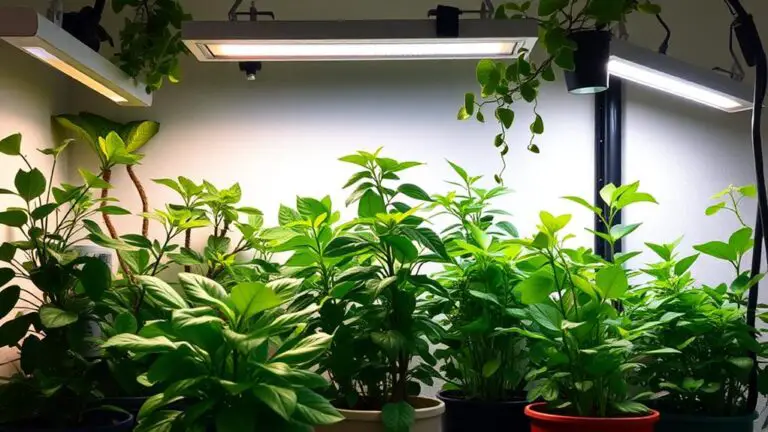
If natural light is limited, you can use a grow light to guarantee your Alocasia gets enough illumination. Remember, seasonal changes might affect light availability, so adjust your plant's placement accordingly.
Rotating the plant during watering helps achieve even growth and prevents it from leaning. With proper lighting, your Alocasia will thrive and stay beautiful.
Optimal Soil Selection
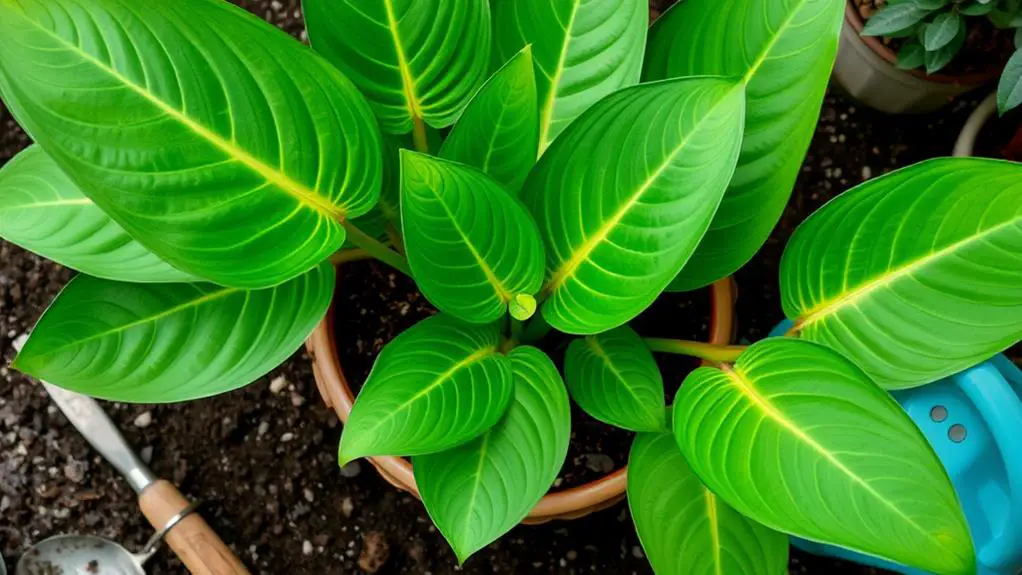
To keep your Alocasia thriving, it's important to choose the right soil.
Opt for a slightly acidic, well-draining mix, like a peat-based blend with added perlite or orchid bark, to guarantee good aeration and prevent root rot.
Avoid heavy, compact soils and always check for pot-bound conditions, repotting every 1-2 years for healthy growth.
Soil Type Preferences
Alocasia plants thrive best in slightly acidic, well-draining soil, with a pH range of 5.5 to 6.5 being ideal for their growth.
You should use a peat-based potting mix, enriched with perlite or orchid bark, to provide the right balance of aeration and moisture retention.
Avoid heavy, compacted soils that can hold too much water, as this can lead to root rot. Make sure the soil is loose and airy.
Regularly check the soil moisture levels, as Alocasia prefers even moisture but shouldn't be waterlogged.
Repotting every 1-2 years with fresh potting mix helps maintain soil nutrients and prevents your plant from becoming pot-bound.
This care will keep your Alocasia healthy and thriving.
Drainage and Aeration
Ensuring proper drainage and aeration is key to maintaining the health of your Alocasia plants. Start with a well-draining soil mix, such as a peat-based blend with perlite or orchid bark. This helps prevent root rot by allowing excess water to escape and air to circulate.
Make sure your pots have at least one drainage hole at the bottom. This is essential to avoid water buildup, which can lead to fungal infections. Also, consider adding a drainage layer, like aeration stones, at the bottom of the pot. This promotes even better airflow and drainage.
When repotting, choose a pot that's just 1-2 inches larger in diameter to support healthy root growth without retaining too much moisture.
Nutrient Requirements
A key aspect of nurturing Alocasia plants is providing them with the right nutrient-rich soil. These plants thrive in slightly acidic soil with a pH range of 5.5 to 6.5, ensuring ideal nutrient availability.
Use a well-draining potting mix, ideally a peat-based blend, to prevent water retention and root rot. To improve aeration and drainage, incorporate perlite or orchid bark into the mix.
During the growing season, enhance growth and leaf vibrancy by regularly using a balanced fertilizer. Maintaining consistent moisture levels in the soil is essential; keep it moist but not soggy.
This balance supports nutrient absorption and overall plant health, helping your Alocasia thrive. By paying attention to these details, you'll foster a happy, healthy plant.
Watering Guidelines
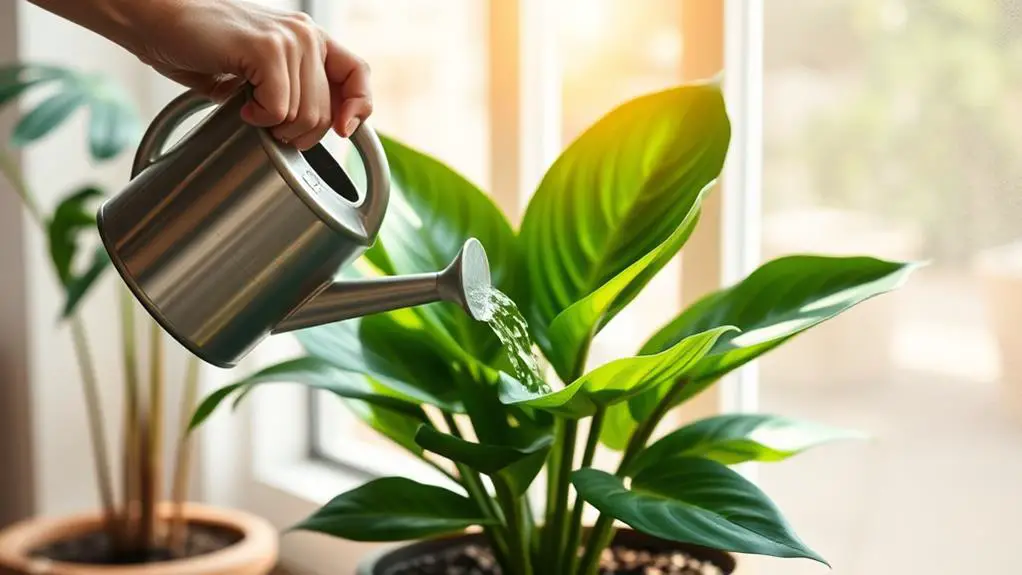
Proper hydration is essential for keeping your Alocasia healthy and vibrant. Follow these watering guidelines to guarantee your plant thrives.
Water your Alocasia when the top 2-3 inches of soil are dry; this helps prevent root rot by maintaining consistent moisture. Make sure your pot has drainage holes to avoid standing water, which can cause fungal infections and root decay.
During winter dormancy, reduce watering frequency, but don't let the soil dry out completely. For best results, use distilled or rainwater instead of tap water, which may contain harmful chemicals.
Alocasia loves high humidity, so mist the leaves or use a pebble tray to boost moisture around the plant. This careful attention helps keep your Alocasia flourishing.
Temperature and Humidity
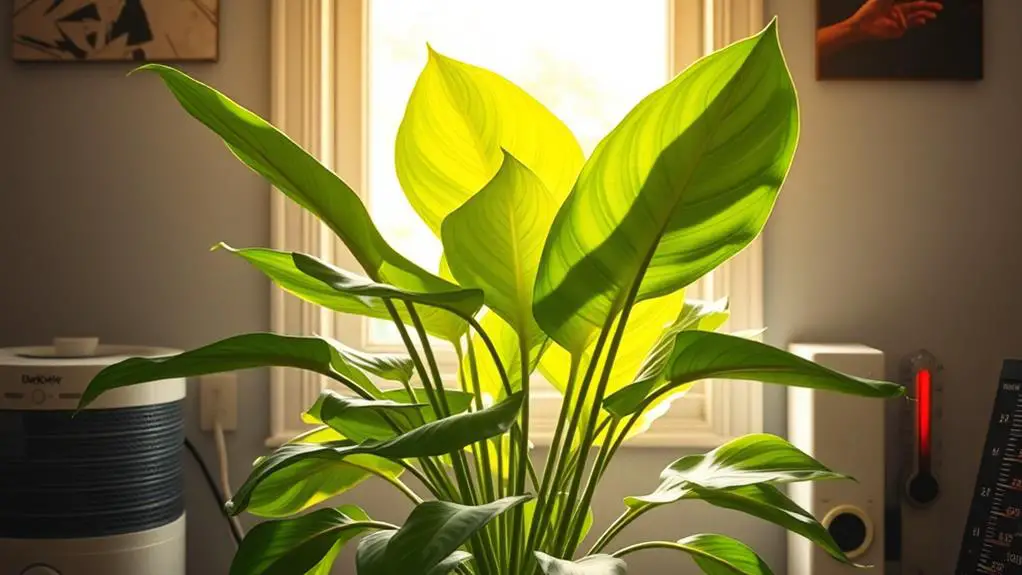
For your Alocasia to thrive, it's crucial to maintain the right temperature and humidity. Aim to keep the temperature between 60°F and 85°F, but the sweet spot is 70°F to 80°F.
Make sure to shield your plant from cold drafts and sudden temperature changes, as these can cause stress and damage.
Alocasia plants love high humidity, ideally between 60% and 80%. Dry air can lead to crispy leaf tips and yellowing edges.
You can use pebble trays, humidifiers, or mist the leaves regularly to maintain the needed humidity. Bathrooms and kitchens are great spots because they usually have higher humidity levels.
Keeping these conditions in mind will help your Alocasia flourish.
Fertilizing Schedule
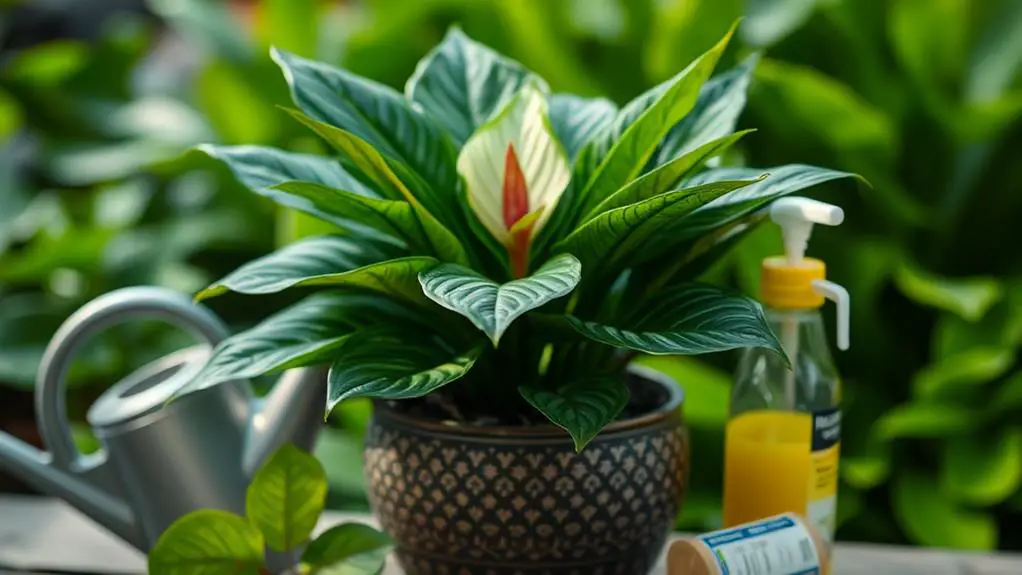
To keep your Alocasia plants thriving, you'll need to fertilize them once or twice a month during spring and summer using a balanced liquid fertilizer at half strength, like a 20-20-20 mix.
Make sure the soil is damp before you apply fertilizer to protect the roots.
Watch for yellowing leaves, as this might mean you need to adjust your fertilizing routine.
Frequency and Timing
When it comes to fertilizing your Alocasia plants, timing and frequency are key to guaranteeing robust growth and vibrant foliage.
During the growing season, which includes spring and summer, use a balanced, diluted liquid fertilizer like a 20-20-20 formula. Fertilize once or twice a month, and make certain the soil is damp before application to prevent root burn.
Keep an eye on the frequency of watering to guarantee the soil remains moist but not waterlogged. As fall and winter approach, stop fertilizing because your Alocasia will enter a dormant phase and won't need extra nutrients.
Watch for signs of nutrient deficiency, such as yellowing leaves, which may indicate you need to adjust your fertilization practices.
Types of Fertilizers
Understanding the types of fertilizers and a proper fertilizing schedule is essential for the health of your Alocasia plants.
During the growing season, from spring to early fall, use a balanced, diluted liquid fertilizer (20-20-20) monthly. This supports healthy growth. Organic fertilizers, like worm castings or fish emulsion, are great alternatives. They provide essential nutrients without the risk of chemical burns.
Make sure the soil is slightly damp before applying any fertilizer to prevent root burn and improve nutrient absorption.
Don't fertilize during the winter dormancy period, as the plants aren't actively growing. Monitor your Alocasia for signs of nutrient deficiency, like yellowing leaves, and adjust the schedule accordingly. This will keep your plants thriving.
Signs of Deficiency
Yellowing leaves, stunted growth, and poor overall vigor are common signs that your Alocasia plant might be suffering from nutrient deficiencies.
During the growing season, it's essential to follow proper fertilization practices. Feed your Alocasia monthly with a balanced, diluted liquid fertilizer to maintain vibrant foliage and healthy growth.
Keep an eye out for nutrient deficiency signs like leaf discoloration or unusual growth patterns. If you notice these, your plant might need extra feeding.
However, be cautious not to over-fertilize, as this can lead to salt buildup and leaf burn.
Remember, in the fall and winter months, your Alocasia enters dormancy and doesn't need fertilization.
Regularly check and adjust your practices to guarantee peak plant health.
Pruning Techniques
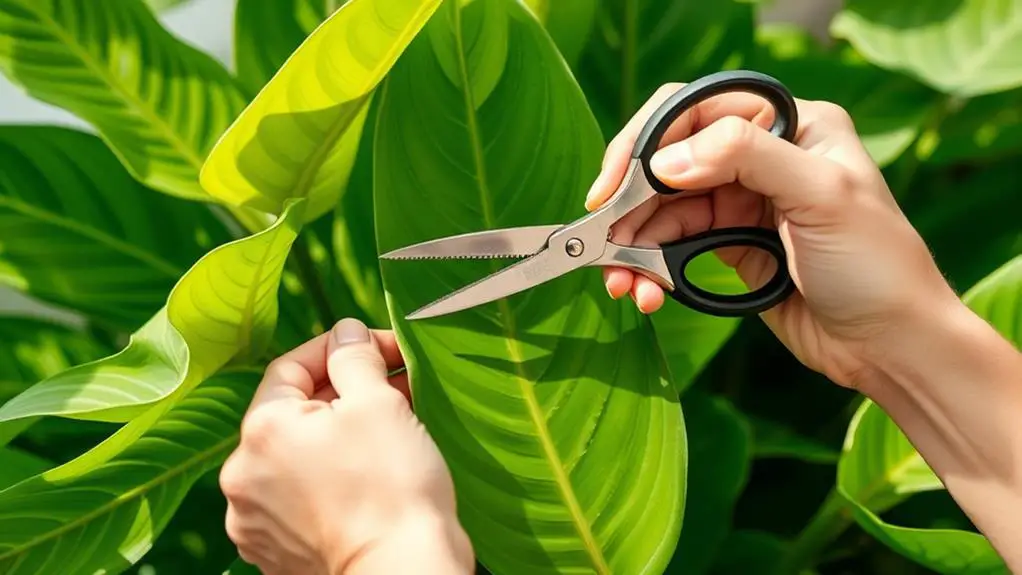
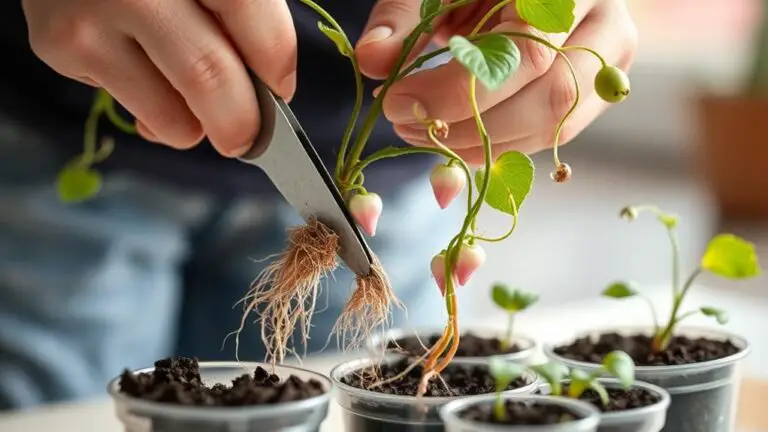
Pruning Alocasia plants is an essential practice that fosters healthy growth and enhances their visual appeal.
Start by using clean, sharp pruning shears or scissors to trim yellow or damaged leaves at the base of the petiole. This promotes healthy growth and keeps your plant looking its best.
Remember, it's best to prune during the growing season in spring or summer, when the plant is actively producing new growth.
Regularly inspect your Alocasia for pests, and remove any affected leaves to keep infestations from spreading.
After pruning, avoid fertilizing until new growth appears, allowing the plant time to recover.
These simple pruning techniques will guarantee your Alocasia stays vibrant and healthy.
Happy gardening!
Propagation Methods
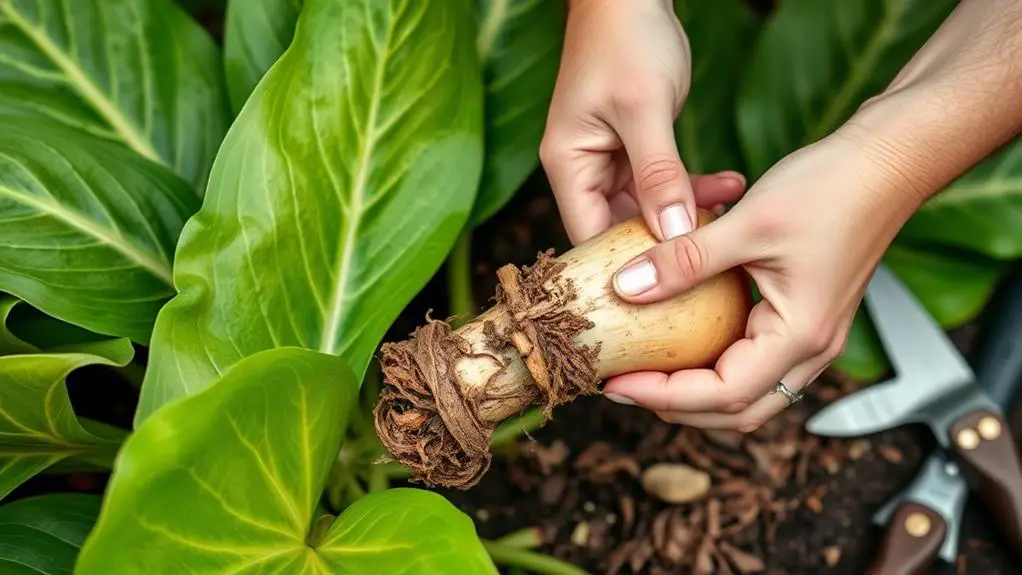
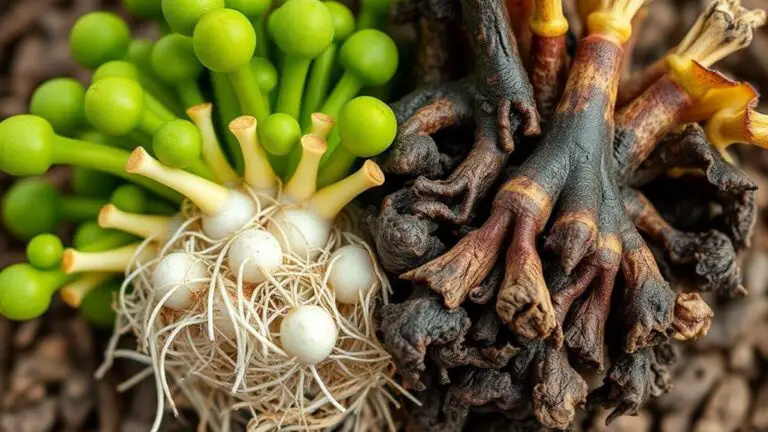
It's time to talk about propagating your Alocasia plants, and the best way to do this is through clump or rhizome division.
Start by gently taking the plant out of its pot, then pick root clumps that have at least one rhizome and healthy roots.
Once divided, pot the new rhizomes in well-draining soil, and remember to keep them warm and slightly moist until new growth appears.
Rhizome Division Tips
When it comes to propagating Alocasia plants, rhizome division is a highly effective method, especially if done during the spring when the plant's growth is most vigorous.
To get started, gently remove the plant from its pot and carefully separate the rhizomes, guaranteeing each piece has at least one healthy root and a growing point.
Follow these steps to guarantee success:
- Pot the new rhizomes in well-draining soil at the same depth they were before.
- Keep the newly potted rhizomes warm and moist, avoiding direct sunlight.
- Monitor the humidity around the plant to promote faster growth.
- Watch for new growth, which indicates successful propagation.
With these steps, you'll have thriving Alocasia plants in no time!
Clump Separation Guide
Separating clumps is a straightforward and effective way to propagate your Alocasia plants.
Start by gently removing the plant from its pot, taking care to disturb the roots as little as possible. Look for healthy clumps with plenty of rhizomes.
Use a clean, sharp tool to cut through the rhizomes, making sure each section has at least one leaf and roots attached.
Replant the divided clumps into a well-draining potting mix, keeping the rhizomes at the same depth as before.
Water the new divisions lightly and maintain warm, humid conditions.
Watch for new growth, which means you've successfully propagated your Alocasia.
This method helps your plant thrive while creating new ones to enjoy!
Pest and Disease Management
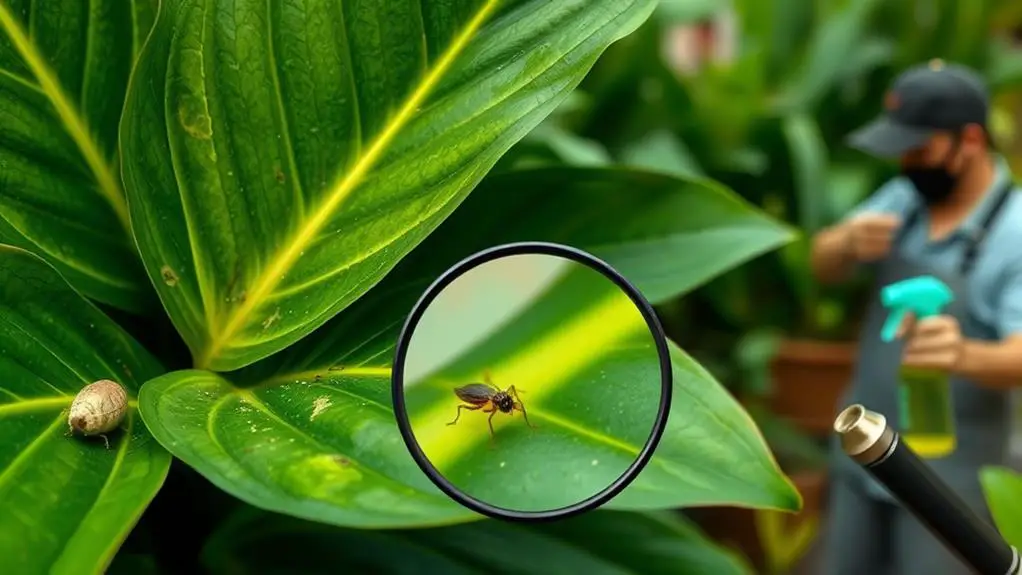
Effective pest and disease management is essential for keeping your Alocasia plants healthy and vibrant. Regularly inspect the undersides of leaves for pests like spider mites. Early detection can prevent infestations from spreading.
Maintain high humidity levels around your Alocasia plants because dry air can stress them and attract pests such as thrips. Overwatering can lead to root rot, so guarantee proper drainage and let the top inches of soil dry out before watering again.
Here's a quick guide to help you:
- Inspect leaves regularly to catch pests early.
- Maintain high humidity to keep your plant stress-free.
- Use organic insecticides like neem oil if infestations occur.
- Clean leaves with a damp cloth to remove dust and spot pests easily.
These steps will keep your Alocasia thriving!
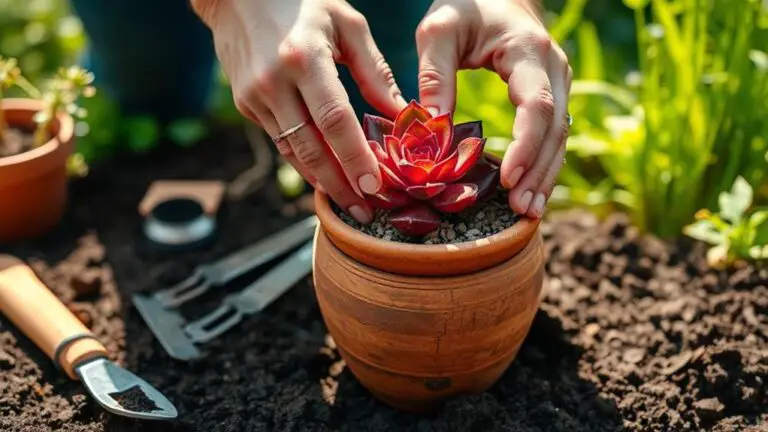
Repotting Tips
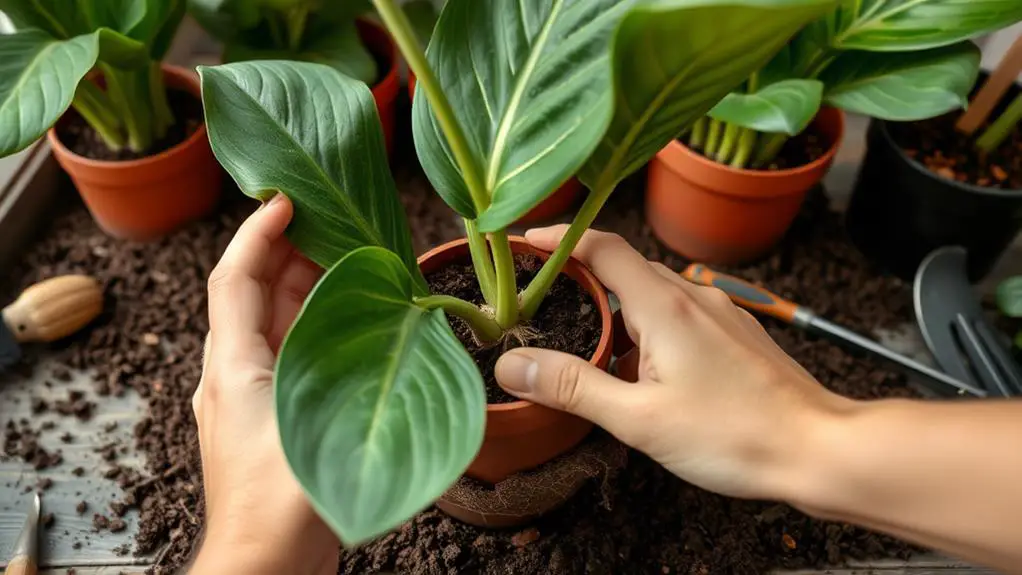
Repotting your Alocasia plants regularly is just as important as managing pests and diseases to keep them healthy. Aim to repot smaller varieties every 1-1.5 years and larger ones every 1.5-2 years.
Choose a pot that's 1-2 inches larger in diameter. Use fresh, well-draining potting soil, ideally a peat-based mix, to guarantee good aeration and moisture retention.
Gently remove the plant from its container and carefully divide any root clumps if you want to propagate. Confirm the new pot has ample drainage holes to prevent standing water and root rot.
Keep newly potted rhizomes warm and moist until new growth appears. Avoid excessive watering during this adjustment period. This will help your Alocasia thrive!
Frequently Asked Questions
How Do You Make Alocasia Happy?
To make your Alocasia happy, provide bright, indirect light, high humidity, and water when the topsoil's dry. Verify the pot drains well, fertilize during the growing season, and keep an eye out for pests.
How Often Should I Water an Alocasia?
You should water your Alocasia when the top 2-3 inches of soil are nearly dry. In spring and summer, usually once a week is good. In winter, reduce watering to every 2-3 weeks.
What Are the Tips for Growing Alocasia?
To grow Alocasia, provide bright indirect light, maintain 60-80% humidity, water when the top 2-3 inches of soil are dry, and use a balanced fertilizer during the growing season. Regularly check for pests and guarantee good air circulation.
Why Is Alocasia so Hard to Keep Alive?
Alocasia plants are hard to keep alive because they need high humidity, well-draining soil, and precise lighting. Overwatering can cause root rot, and they're toxic to pets and humans. Care routines must change seasonally.
Conclusion
You've got all the tools you need to grow a healthy Alocasia plant. Just follow these steps, and you'll see your plant thrive. Remember to choose the right variety, give it proper light, and keep the soil just right. Water when needed, maintain the right temperature and humidity, and don't forget to prune and watch for pests. With a bit of attention and care, your Alocasia will flourish beautifully. Happy gardening!

