5 Important Steps You Shouldn’t Miss When Repotting Succulents
When you're repotting succulents, missing any key steps can lead to problems down the line. First, it's vital to choose a pot with drainage holes and a size about 10% larger than the current one. Then, you'll need to prepare well-draining soil to prevent root rot. Gently removing the succulent without damaging the roots is another essential step. Centering the plant and covering its roots with soil comes next, but there's still one more important step you can't ignore. Curious about what it is and why it matters so much for your succulent's health? Let's explore further.
Timing and Frequency

Timing and frequency are essential when it comes to repotting succulents. Ideally, you should repot them in early spring or early fall, coinciding with their active growth periods for the best recovery.
Look for signs like roots growing out of drainage holes, soil drying out too quickly, or the plant leaning over. These indicate your succulent needs repotting. Newly purchased succulents often require repotting within two weeks due to cramped conditions.
Generally, repotting every two years works well, but adjust based on your plant's growth and size. Importantly, avoid repotting during the flowering phase to prevent disrupting the blooming process.
Paying attention to these details guarantees your succulents thrive and stay healthy.
Preparing Materials
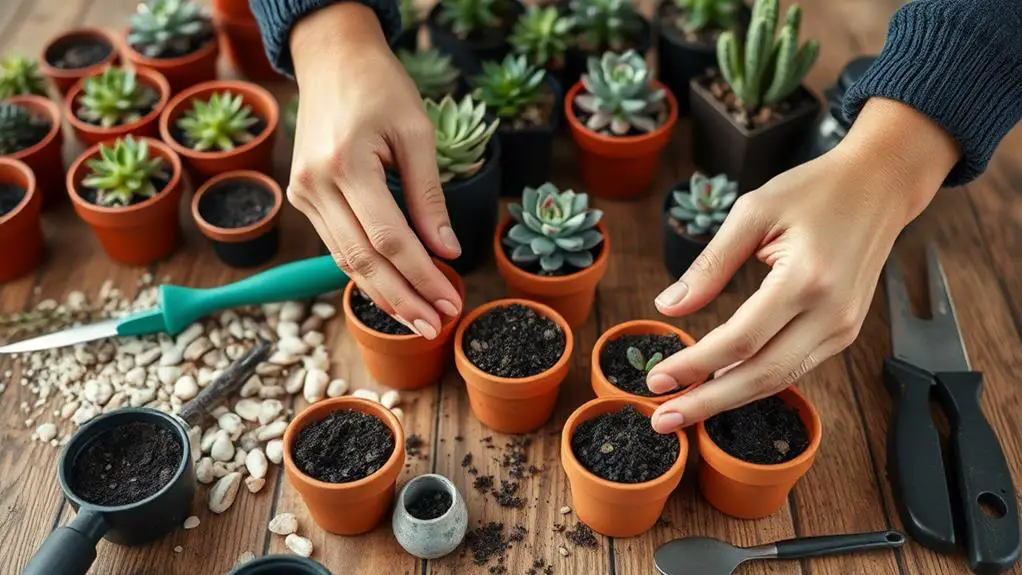
After understanding when to repot your succulents, let's focus on gathering the necessary materials for a successful repotting session.
First, choose a new pot that's at least 10% taller and wider than the old one, with proper drainage holes to avoid water retention.
Next, get some well-draining soil, like a cactus potting mix. This helps balance moisture and nutrients.
You'll also need tools like a trowel or small shovel to remove the succulent gently.
Don't forget coffee filters to cover the drainage holes; they keep soil in while letting excess water escape.
Water your succulent thoroughly 1-2 days before repotting to guarantee good hydration.
Removing the Succulent
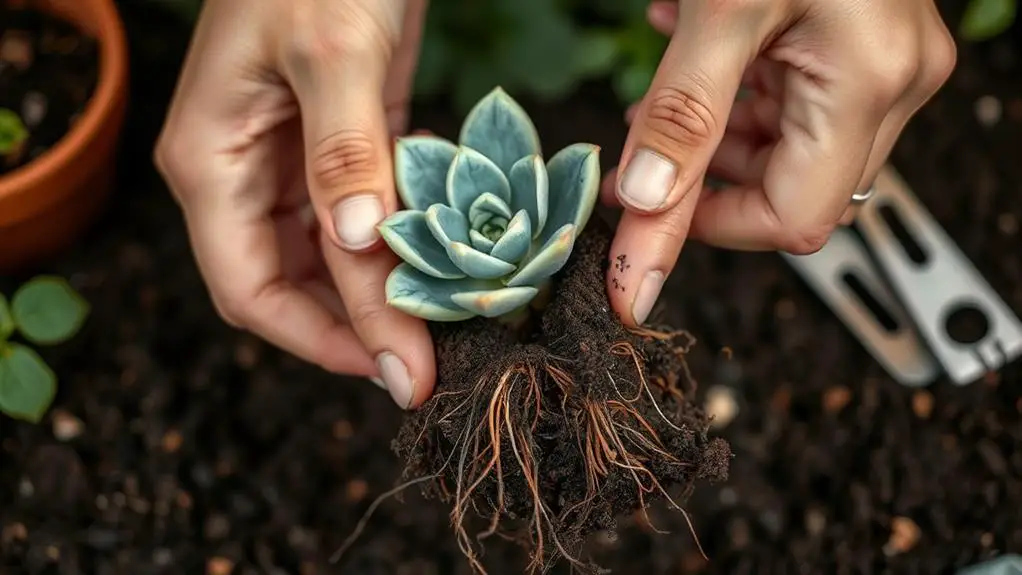
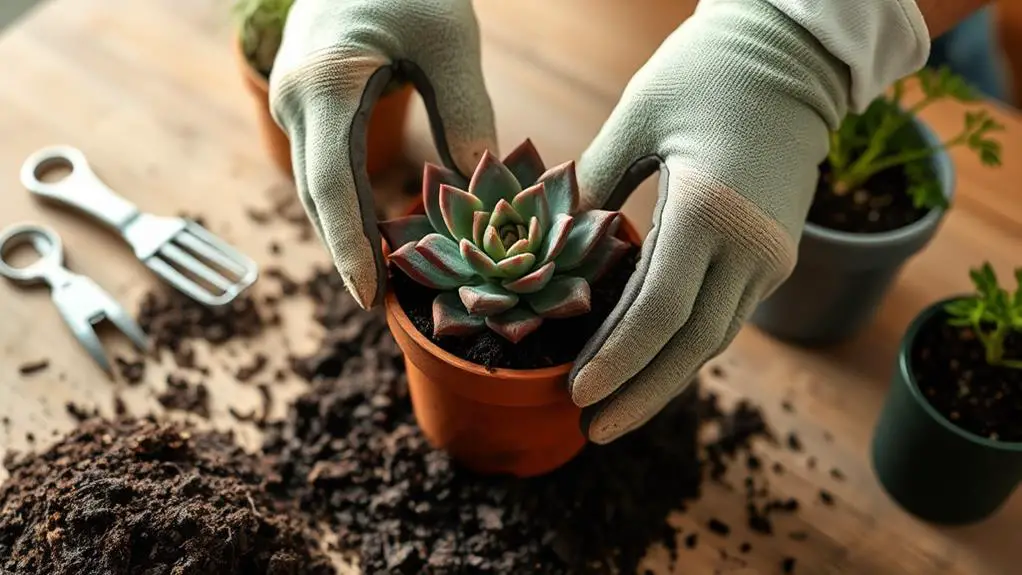
Gently coax your succulent out of its pot by tapping the sides and bottom to loosen the soil and roots.
If the plant feels stuck, use a small shovel to carefully break the seal around the edges. Always handle the succulent by its base or stem to avoid damaging its leaves.
If you're using a disposable plastic pot, consider cutting it away with sanitized tools to protect the root system.
Removing the succulent with as much of its root system as possible will help it adapt successfully to its new pot.
During the removal process, be patient and gentle to protect the plant.
With these steps, you'll guarantee a smooth and safe shift for your succulent.
Replanting Properly
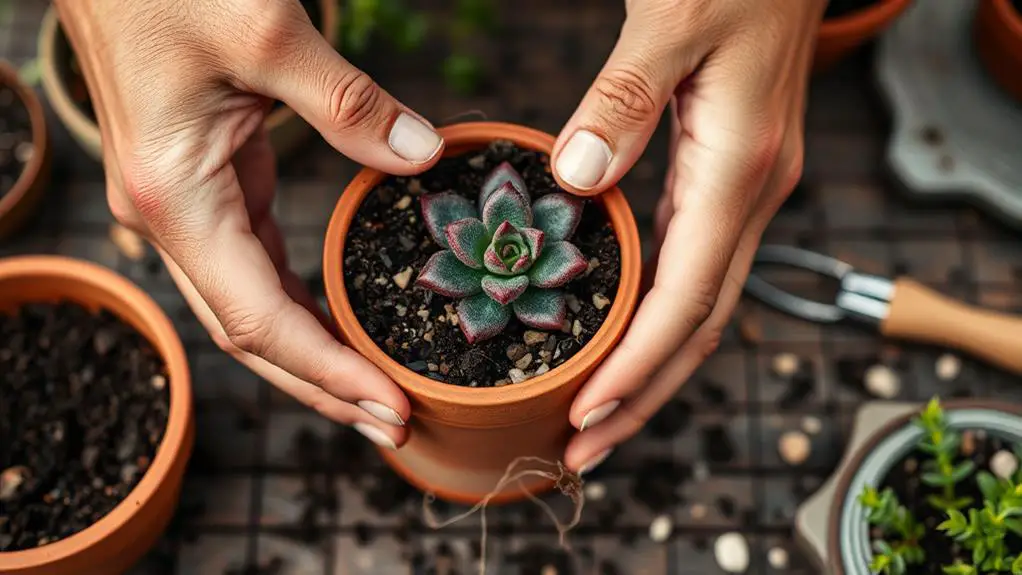
When it comes to replanting your succulent, start by ensuring you have a new pot that's at least 10% larger than the old one to give the roots room to grow. Use well-draining soil to prevent root rot. After removing the succulent, inspect the roots and brush off old soil. Allow the roots to dry for 3-5 days before replanting. Position your succulent in the center of the new pot, making sure the soil covers the roots completely.
| Step | Action |
|---|---|
| Select new pot | At least 10% larger |
| Use soil | Well-draining, porous mix |
| Inspect roots | Brush off old soil, dry for 3-5 days |
| Replant | Center of the new pot, cover roots |
Water the plant thoroughly after repotting and wait a week before the next watering.
Post-Repotting Care
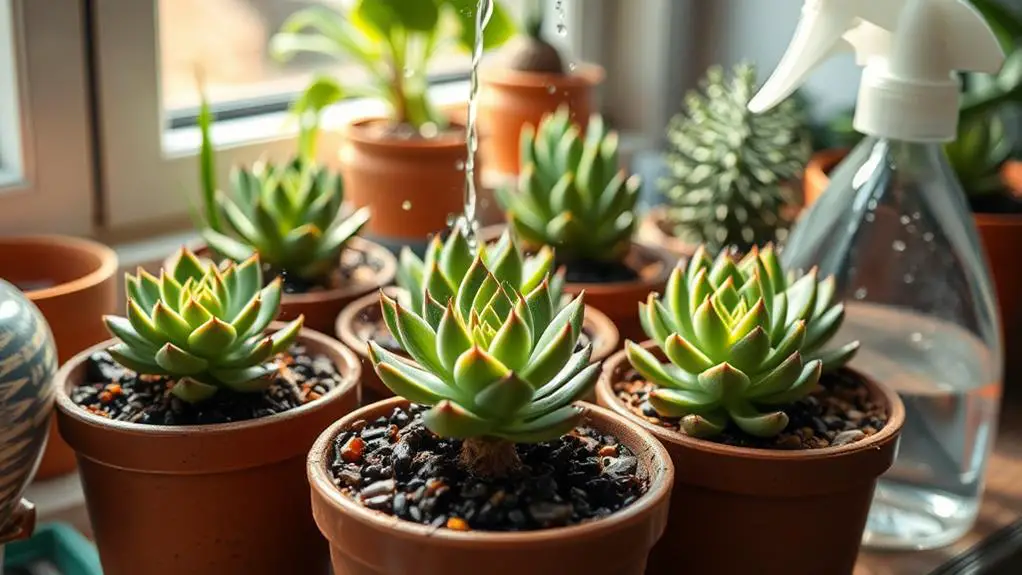
Once you've repotted your succulent, it's important to focus on post-repotting care to guarantee it thrives in its new environment.
First, avoid watering newly repotted succulents for at least a week to minimize root rot. To reduce stress, place the plant in a shaded area for a few days so it can acclimate to the new environment.
Keep an eye on the plant and monitor for signs of transplant shock, like yellowing or dropping leaves. Don't fertilize immediately; wait a few weeks before adding nutrients.
Verify you've chosen an appropriate pot size to prevent excess moisture, which can lead to root problems.
Frequently Asked Questions
What to Do Before Repotting Succulents?
Before repotting succulents, water them thoroughly 1-2 days ahead. Choose a slightly larger pot with good drainage. Prepare a porous soil mix, gather tools, and inspect roots for issues. This guarantees a smooth change.
What Do I Need to Know About Repotting Succulents?
Repotting succulents in early spring or fall guarantees minimal disruption. Choose a pot 10% larger with good drainage. Let roots dry for 3-5 days after removing, and wait a few days post-repotting before watering.
Should You Break up Roots When Repotting Succulents?
Yes, you should break up roots when repotting succulents. Gently loosen compacted roots to promote new growth and better nutrient absorption. Handle the roots carefully to avoid stress and allow damaged roots to callous before repotting.
How Do You Replant Succulents Without Killing Them?
To replant succulents without killing them, water them 1-2 days before repotting. Use a pot with good drainage, carefully remove and clean the roots, and let them dry before placing in fresh soil. Don't water immediately.
Conclusion
You've got this! By following these five important steps—choosing the right pot, using well-draining soil, gently removing your succulent, replanting it properly, and giving it some post-repotting care—you'll guarantee your succulent thrives. Remember, patience is key. Don't rush the process, and your plant will reward you with beautiful, healthy growth. Keep up the great work, and happy gardening! You've taken a big step towards being a confident, successful succulent parent.

