What To Do When Outdoor Planters Get Waterlogged
When I noticed my outdoor planters were waterlogged, I knew it was critical to act fast to save my plants. The first step was to stop watering immediately and let the soil dry out. But that's just the beginning. Next, I gently removed the plant to check its roots for any signs of rot and cleaned them thoroughly. Repotting in fresh, well-draining soil seemed like the obvious move, but there's more to it. Want to guarantee your plants bounce back and thrive? Let's explore the essential steps you need to take.
Symptoms of Waterlogged Plants

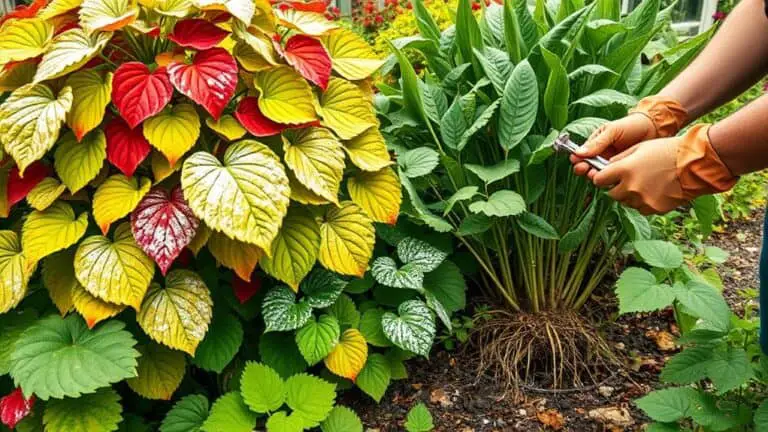
When dealing with waterlogged plants, the first thing you'll notice is yellowing leaves, a clear sign of distress from too much moisture and possible nutrient deficiencies.
As you look closer, you might see wilting and the shedding of new shoots. This often suggests root rot, a serious issue caused by poor drainage and excess moisture. The roots need oxygen, and a constantly wet environment suffocates them.
Sometimes, you'll also see loss of bark, another indicator of root rot. Algal growth on the soil surface is a red flag too, pointing to anaerobic conditions.
It's essential to recognize these symptoms early to save your plants from further damage. Remember, understanding the problem is the first step to solving it!
Immediate Actions to Take
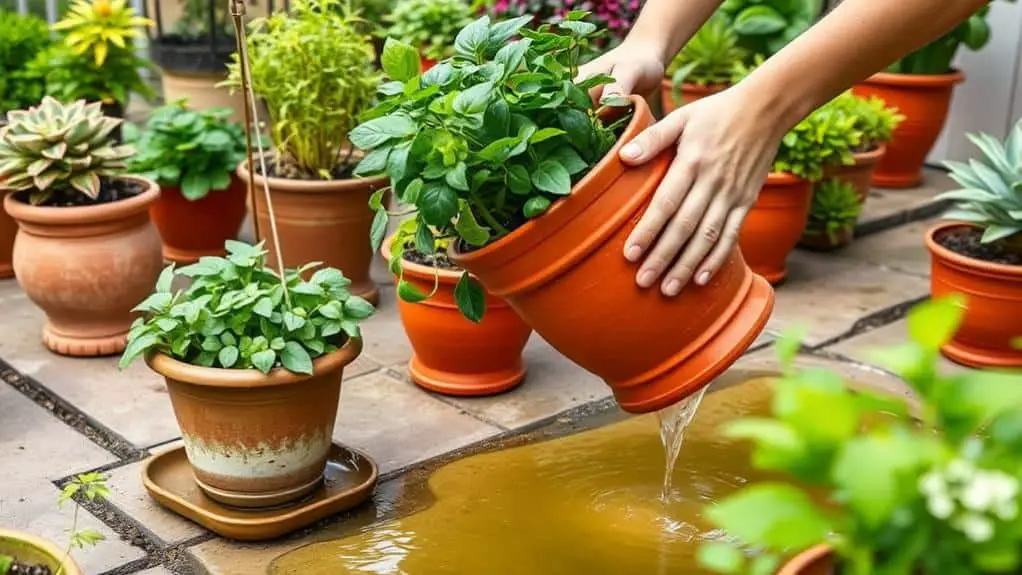
When your outdoor planters get waterlogged, stop watering them right away to help the soil dry out.
Next, gently remove the plant from its pot and check the roots for any signs of rot or distress.
After cleaning and rinsing the roots, repot the plant in fresh, well-draining soil and keep a close eye on it for signs of recovery.
Assess Drainage Issues
Addressing drainage issues promptly is crucial to rescuing your waterlogged outdoor planters.
First, check the drainage holes at the bottom of the planter. If they're absent or clogged, create new ones to help excess water escape.
Next, inspect the waterlogged soil for compaction and use a fork to loosen it, improving aeration so it can drain properly.
Assess the planter's location; make sure it's not in a low area where water collects after rain.
Look for any obstructions like roots or debris that might be blocking the drainage paths.
Finally, consider elevating your planter with bricks or pot feet to enhance airflow and prevent standing water.
Inspect Plant Roots
After ensuring proper drainage, the next step is to inspect the plant roots for any signs of water damage.
Gently remove your plant from its pot and examine the root system closely. I look for soft, brown-black roots, which indicate decay from waterlogging.
Carefully cleaning the roots helps me distinguish between healthy and damaged sections. Rinse them thoroughly to remove any soil that could harbor pathogens.
Next, I prune away all rotting or mushy roots to stop decay from spreading and to encourage new growth.
Inspecting Drainage Holes
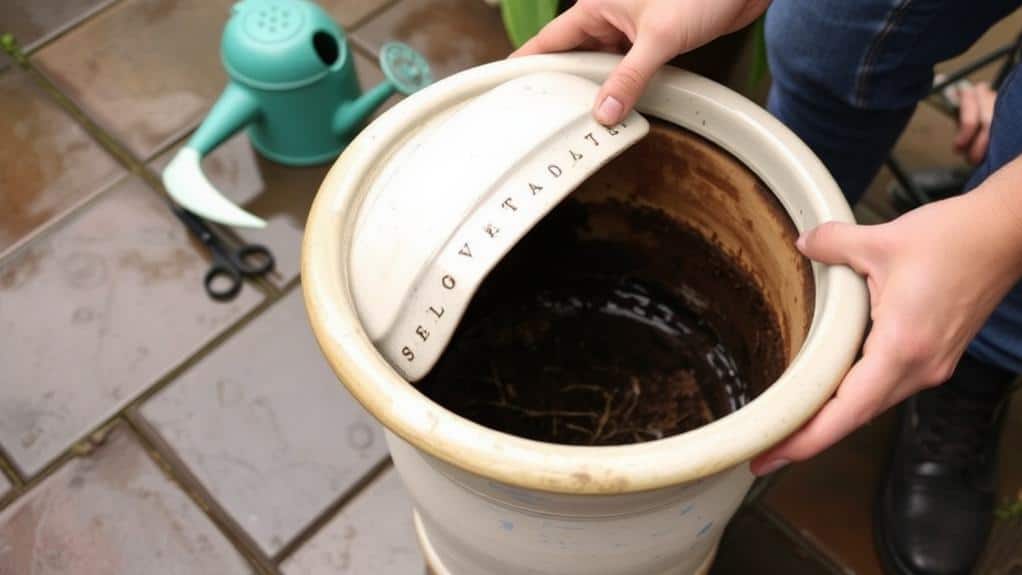
Regularly inspecting drainage holes in your outdoor planters is essential to avoid waterlogged conditions.
Ensuring your planters drain properly can make a big difference in your plants' health.
Here's how you can do it:
- Check for Clogs: Look for soil or debris blocking the holes. Use a paperclip to clear them.
- Evaluate Hole Size: Make sure the drainage holes are big enough to let water out efficiently.
- Add More Holes: For larger planters, consider drilling extra holes to improve drainage.
- Use Porous Materials: Planters made from terracotta can help by allowing moisture to evaporate.
Assessing and Cleaning Roots
Once you've confirmed your planters have adequate drainage, it's important to examine the plant's roots for any signs of distress.
Carefully remove the plant from its container. Look for mushy, dark roots indicating damage or rot. Gently rinse the roots with water to clear away the old potting mix and get a better view.
Use sterilized scissors or pruning shears to trim any soft, brown, or black roots. Removing these unhealthy parts helps prevent further rot.
After cleaning, it's essential to repot the plant in fresh, well-draining potting mix. This promotes better aeration and moisture control.
Keep an eye on your plant for signs of recovery, like new root growth or healthy leaves, to guarantee it doesn't get waterlogged again.
Repotting With Fresh Soil
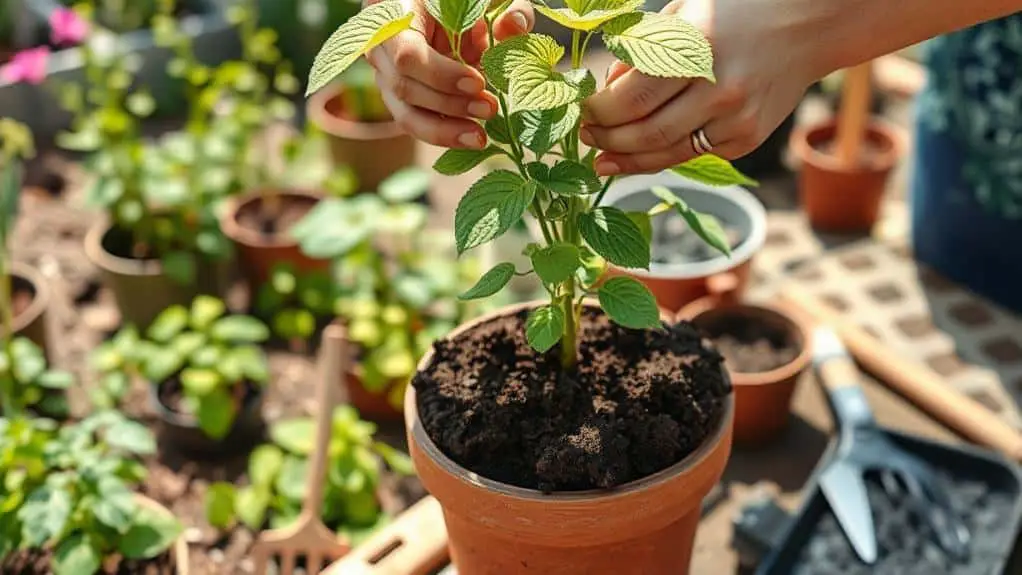
Repotting a waterlogged plant starts with selecting the right soil. You'll need fresh potting soil that offers good drainage to prevent future waterlogging.
Here's how to proceed:
- Remove the Plant: Gently take the plant out of its current pot and inspect the roots for any rot.
- Clean the Roots: Wash the roots to remove old soil and trim any damaged or mushy parts.
- Prepare Fresh Potting Soil: Use a mix containing materials like perlite or coconut coir for better aeration.
- New Planter: Verify the new pot has adequate drainage holes to allow excess water to drain.
After you repot the plant, place it in a well-drained area and let the soil dry out before watering again.
Enhancing Planter Drainage
Enhancing planter drainage is vital to keeping your plants healthy and avoiding the dreaded waterlogged scenario.
First, make certain your pots have multiple drainage holes. This allows excess water to escape, especially during heavy rainfall.
Placing gravel or wood mulch at the bottom of the planter can prevent soil from clogging these holes.
Using a lightweight soil mix with perlite or vermiculite helps with aeration and drainage, important for container gardening.
Elevate your potted plants slightly with pot feet or bricks to improve airflow around the base.
Finally, regularly check and clean the drainage holes to guarantee they don't get blocked by debris.
These steps will help keep your plants happy and thriving.
Identifying Root Rot
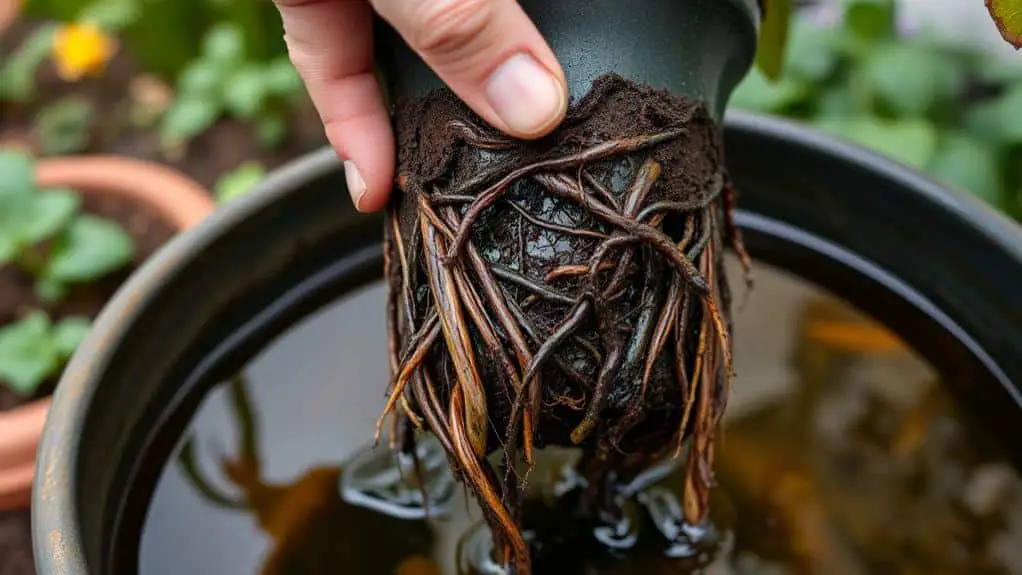
Recognizing root rot in your outdoor planters is essential to saving your plants. When your planters become waterlogged, it's important to check for signs of root rot.
Here's what you need to look for:
- Color and Texture: Healthy roots are firm and light-colored. Root rot turns them brown-black and mushy.
- Foul Odor: A bad smell from the soil often means harmful microbes are at work.
- Plant Health: Wilting, yellowing, and stunted growth can indicate root problems.
- Soil Conditions: Poor drainage can create waterlogged soil, leading to root decay.
If you spot any of these signs, act quickly to remove affected roots and contaminated soil.
Regularly monitor your plants to guarantee they recover and thrive.
Long-Term Water Management
For long-term water management, let's start by making sure our outdoor planters are in spots with good drainage, which helps avoid water buildup.
We should also adjust our watering based on the seasons and our plants' needs, making sure they get just the right amount of water.
Using a moisture meter to regularly check soil moisture levels helps us avoid overwatering and keeps our plants happy and healthy.
Proper Drainage Solutions
When your outdoor planters get waterlogged, it's crucial to implement proper drainage solutions to guarantee long-term water management.
First, make sure your planters have multiple drainage holes to prevent waterlogging and promote healthy root systems.
Second, add materials like gravel or wood mulch at the bottom to enhance soil aeration and water flow.
Third, regularly check and clean the drainage holes to avoid blockages from soil and debris.
Finally, elevate your pots or use raised beds to prevent water from pooling around the roots.
Here's a quick list to help you out:
- Confirm multiple drainage holes.
- Add gravel or wood mulch for soil aeration.
- Regularly clean drainage holes.
- Use raised beds or elevate pots.
These steps will give your plants a much happier home!
Seasonal Watering Adjustments
As the seasons change, it's important to adjust your watering schedule to guarantee your outdoor planters thrive. During cooler months, reduce watering frequency since plants need less moisture and evaporation rates drop. Keep an eye on rainfall patterns; if there's been heavy rain, skip watering to prevent waterlogging. In the summer, increase watering during dry spells but make sure your planters have good drainage to avoid excess moisture build-up. Using a mulch layer can help retain moisture and improve drainage during the growing season. Here's a quick guide:
| Season | Watering Frequency |
|---|---|
| Winter | Reduce |
| Spring | Moderate |
| Summer | Increase, make sure drainage |
| Fall | Adjust based on rain |
This way, your seasonal watering adjustments will keep your planters healthy year-round!
Soil Moisture Monitoring
To keep your outdoor planters in top condition, regularly monitoring soil moisture is key for long-term water management.
Using a moisture meter, I guarantee my plants receive the right amount of water and avoid overwatering.
Here's what I do:
- Check soil moisture: I use a moisture meter to see if the soil is too dry or too wet.
- Adjust watering schedules: Depending on the season and rainfall, I change how often I water.
- Enhance soil structure: I mix in organic matter to improve drainage and prevent waterlogging.
- Use self-watering planters: These have built-in drainage and help keep soil moisture levels balanced.
Proper monitoring keeps my plants' roots healthy and thriving!
Nutritional Support for Recovery
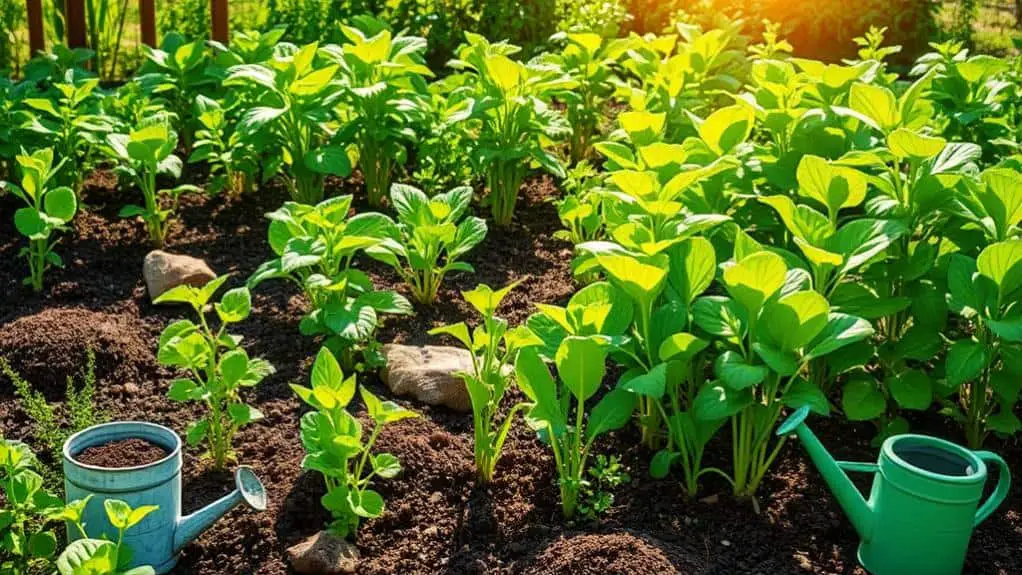
Waterlogged outdoor planters can leave plants struggling to absorb essential nutrients, but there's hope for recovery through targeted nutritional support.
When waterlogging causes nutrient leaching, especially of nitrogen, phosphorus, and potassium, organic fertilizers can help replenish these vital elements.
Adding compost improves soil health by boosting beneficial microorganisms and enhancing plant resilience.
For an immediate nutrient boost, try foliar sprays with seaweed or kelp extract.
Don't forget about potassium—incorporating banana peels into the soil is a great natural source.
Pruning dead or damaged foliage allows plants to focus resources on recovery.
These simple steps can turn around the health of your plants, ensuring they thrive even after periods of excessive moisture.
Regular Monitoring and Maintenance
To keep your outdoor planters in top shape, make it a habit to check soil moisture regularly with a moisture meter; this helps you avoid overwatering and spot waterlogging early.
Don't forget to inspect the drainage holes to guarantee they aren't blocked, allowing excess water to escape easily.
Also, keep an eye on your plants for signs of distress like yellowing leaves or wilting, which can signal too much water.
Check Soil Moisture
During the height of the growing season, regularly checking soil moisture becomes essential to prevent waterlogged planters.
To keep your plants healthy and thriving, here's what you need to do:
- Use a moisture meter or insert your finger about an inch deep into the soil to assess dampness before watering.
- Allow the top inch of soil to dry out between waterings to avoid excess moisture and maintain proper soil life.
- Monitor weather conditions and adjust your watering schedule, especially after heavy rainfall, to prevent waterlogged conditions.
- Observe plant symptoms like yellowing leaves or wilting, which can indicate too much moisture.
Inspect Drainage Holes
Guaranteeing proper drainage in outdoor planters is essential to prevent waterlogging and keep plants healthy.
Regularly inspect the drainage holes at the bottom of the pot to make certain they're not clogged by soil, debris, or roots. Plastic pots often have small holes that can easily get blocked. For effective drainage, a 1/4 inch diameter hole is ideal.
After watering, check if water drains out within an hour; if not, your holes may need clearing or expanding. Periodically, clean these holes by removing obstructions and rinsing with water.
To keep soil in while letting water out, consider using a mesh screen or coffee filter over the holes. This simple step guarantees your plants thrive.
Frequently Asked Questions
How Do You Fix Waterlogged Outdoor Potted Plants?
To fix waterlogged outdoor potted plants, I stop watering immediately. I check the roots, trim the rotting ones, and replace old soil with well-draining mix. I guarantee proper drainage solutions and adjust watering frequency to maintain plant health.
What to Do With Waterlogged Potting Soil?
When I notice waterlogged potting soil, I stop watering immediately. I improve potting soil drainage with gravel, use soil aeration techniques, and choose moisture retention methods that prioritize plant root health. These container gardening tips help immensely.
How Should the Excess Water Be Drained Out From a Potted Plant?
I guarantee excess water drains by using proper drainage solutions like holes and gravel. Good potting techniques and soil help maintain moisture retention without harming root health. This boosts plant survival and keeps them thriving.
How to Stop Pots From Getting Waterlogged?
To prevent pots from getting waterlogged, I recommend using proper drainage solutions like holes and elevated pots. Choose pot materials wisely, apply soil amendments, and adjust watering techniques to protect plant roots from excess moisture.
Conclusion
So, you've tackled your waterlogged planter and given your plant a fresh start! Remember, the key is to keep an eye on your plant and guarantee it has good drainage and the right nutrients. Don't forget to check for any signs of root rot regularly. With a bit of care and attention, your plant will bounce back. Keep up the great work, and happy gardening! You've got this! �

