Growing Air Plants From Seeds in 10 Essential Steps
Starting your journey of growing air plants from seeds requires a clear, step-by-step approach to guarantee success. You'll begin by choosing the right seeds and preparing a suitable growing medium. The next vital step is soaking the seeds to promote hydration. As you proceed, setting up an ideal germination area with the correct humidity and light conditions is essential. Planting the seeds with proper spacing and maintaining consistent moisture are critical for healthy growth. Curious about how to monitor and support your seedlings as they mature? Let's explore these essential steps in more detail.
Choosing the Right Seeds
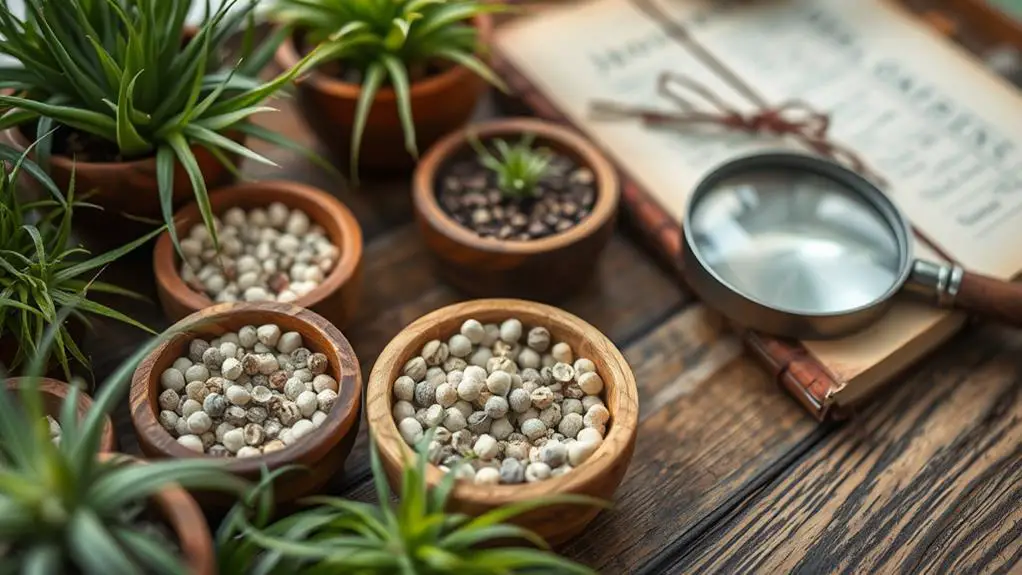
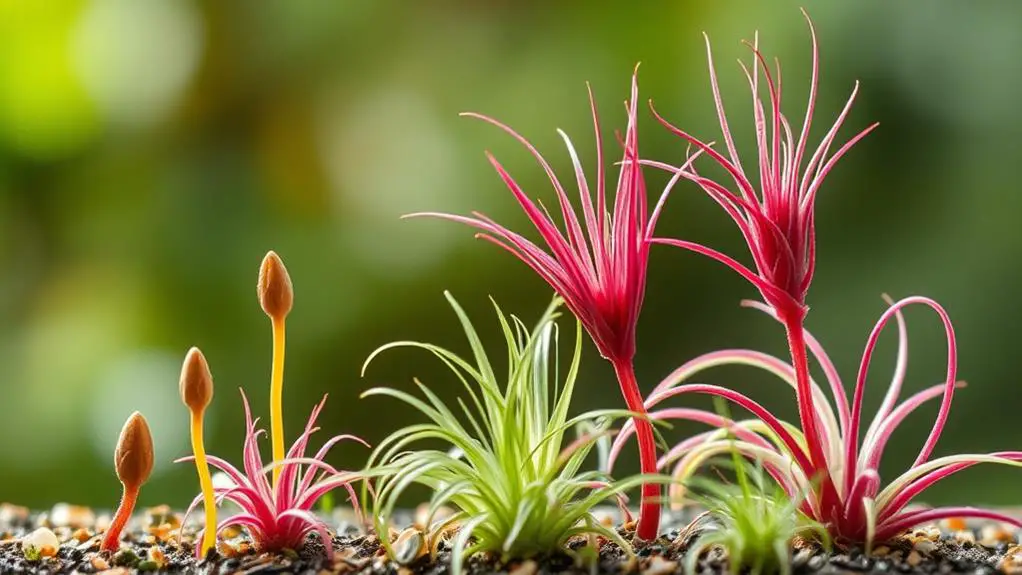
When you're starting your air plant journey, frequently the first vital step is choosing the right seeds. Opt for air plant seeds from reliable sources to guarantee they're fresh and viable. Fresh seeds have a much better chance of successful germination. Varieties like Ionantha Rubra are popular because they germinate easily and are beginner-friendly.
Check that the seeds are housed in well-formed pods; this indicates they've reached maturity and are ready for planting. Look for seeds with green tips, as these are more likely to sprout.
It's essential to take into account the specific growth conditions needed for different species. For example, some air plants might prefer higher humidity or warmer temperatures. Understanding these requirements will help you create the best environment for your seeds.
Additionally, verify the seeds are from reputable dealers to avoid older seeds, which might've lower germination rates. By choosing viable seeds and reflecting on their growth conditions, you'll set yourself up for success.
Air plants like Ionantha Rubra are a great choice to start with, offering a rewarding and manageable introduction to your air plant journey. With the right seeds, you're well on your way to growing beautiful plants.
Preparing the Growing Medium
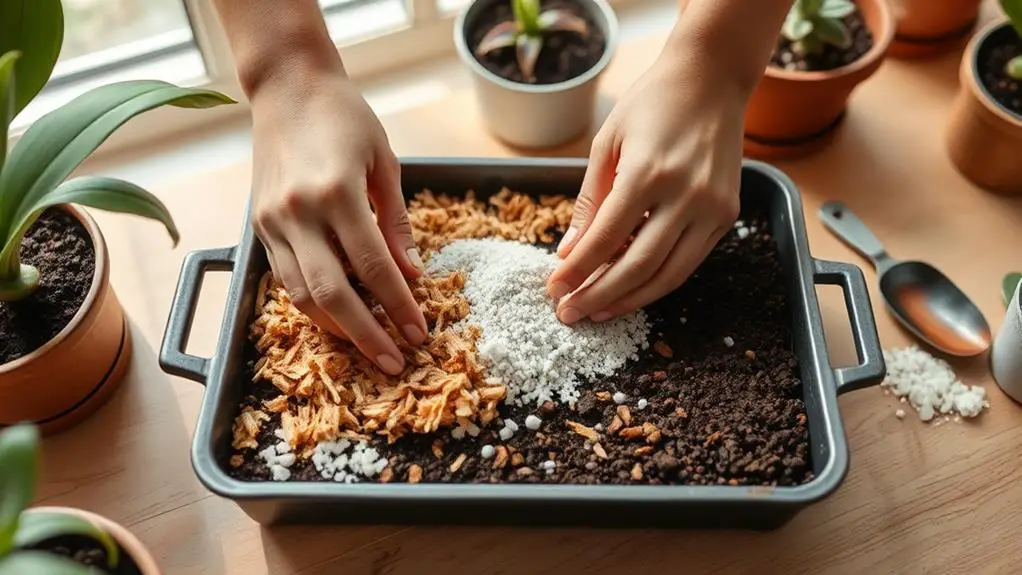
Selecting the right seeds is just the beginning of your air plant journey; the next step is preparing the growing medium. To give your air plant seeds the best start, pick a breathable medium like coco-coir, peat moss, or a mix of breathable fabrics. These materials help with healthy root development and moisture retention.
First, verify your growing medium is clean and free from contaminants to prevent seed rot. You don't want any diseases hindering the germination process.
Next, space your seeds 5-10 cm apart within the medium. This allows for adequate airflow and room for each seedling to grow. Proper spacing is essential for healthy plants.
Finally, place your growing medium in a bright area with indirect sunlight. Direct sunlight can overheat and dry out the seeds, so indirect light is best.
To keep your medium moist without causing problems like algae growth or seed rot, lightly mist or soak it. The goal is to keep it damp, not too wet.
Key Steps:
- Choose a clean, breathable medium for moisture retention.
- Space seeds 5-10 cm apart for adequate airflow.
- Place the growing medium in indirect sunlight to avoid overheating.
Soaking the Seeds
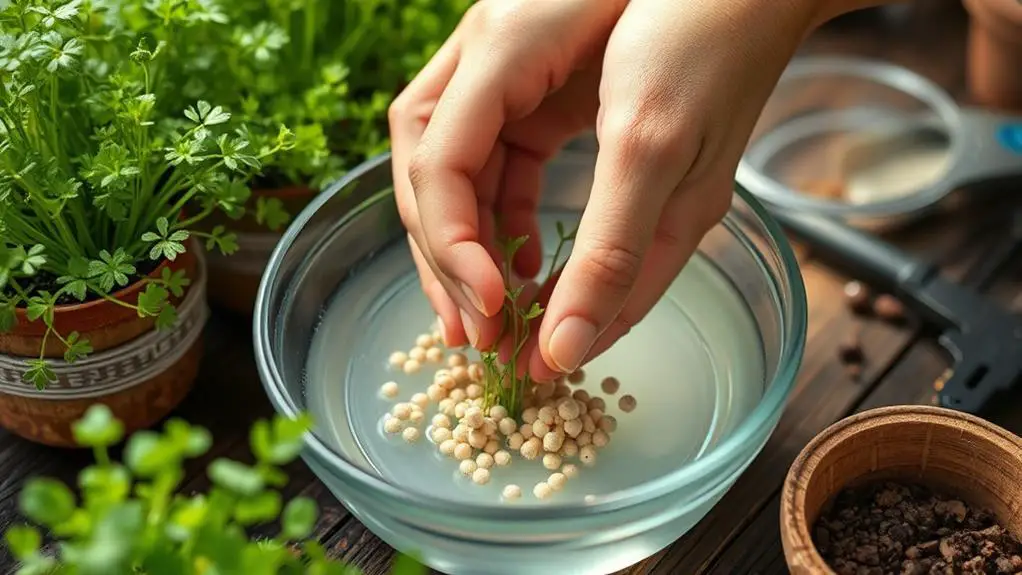
When soaking your air plant seeds, use warm, filtered water to help them hydrate and get ready for germination, which usually takes about 2 to 4 weeks.
Check your seeds regularly; green tips mean they're ready to plant, but toss any that are brown and dry.
Remember to change the water often to keep it clean and prevent mold or rot, ensuring your seeds stay healthy and viable.
Identifying Viable Seeds
To guarantee successful air plant growth, it's vital to identify viable seeds through a soaking process. Soaking seeds in warm filtered water for 2-4 weeks is an important step that helps hydrate them and encourages germination.
During this period, you'll need to monitor the seeds closely to see if they develop green tips, which indicate readiness for planting.
Steps to Identify Viable Seeds:
- Soak the Seeds: Place your air plant seeds in warm filtered water. Verify they remain submerged for 2-4 weeks, renewing the water periodically to prevent stagnation.
- Look for Green Tips: Check the seeds regularly. Viable air plant seeds will develop green tips, signaling that they're ready for the next stage. Brown and dry seeds should be discarded as they won't grow.
- Prepare for Planting: Once the seeds show green tips, they're ready to be spread on the planting medium. This positioning is vital for best growth.
Optimal Soaking Duration
Determining the ideal soaking duration is essential for ensuring your air plant seeds are properly hydrated and ready to germinate. To begin, immerse your air plant seeds in warm, filtered water. The soaking period ranges from 2-4 weeks. This extended soak helps hydrate the seeds, giving them the moisture they need to start germinating.
During these weeks, check the seeds regularly. Look for green tips. These are signs that your seeds are ready for the next step. If the seeds remain brown and dry, they're likely non-viable, and you should discard them.
It's important to maintain optimal conditions during soaking. Refresh the water periodically. This helps prevent stagnation and keeps the environment suitable for seed hydration. Clean, fresh water supports the seeds' journey to germination.
As you wait, patience is key. The appearance of green tips may take some time, but this indicates successful soaking. Once you see these tips, your seeds are primed for the next stage of growth.
With consistent care and monitoring, you're setting up your air plant seeds for a successful start in life. Stay attentive, and you'll soon see the fruits of your patience and effort.
Setting Up Your Germination Area
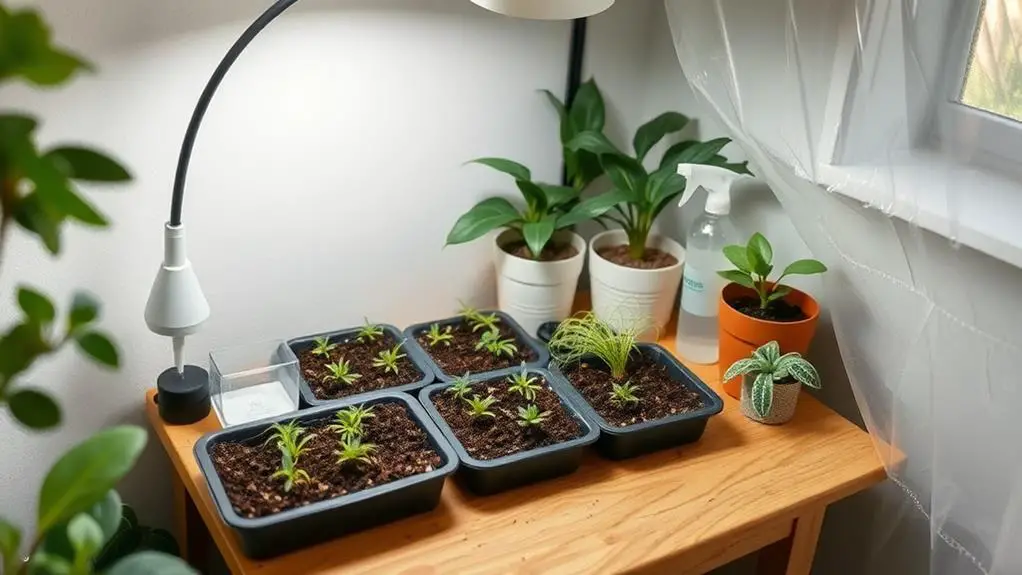
To set up your germination area, start by choosing a clean, clear container that allows for good airflow and light.
Use breathable materials like coco-coir or peat moss, spacing your seeds 5-10 cm apart to give them room to grow.
Keep the environment consistently moist and place the container in a warm spot with filtered light, but avoid direct sunlight to prevent overheating.
Choosing Ideal Containers
Selecting the right container for germinating air plant seeds can be the foundation of your success. You want to choose clear, breathable containers like plastic seed trays or glass jars. These allow light to penetrate and help control humidity during germination.
It's essential that your containers have proper drainage holes. This prevents water from accumulating, which could lead to seed rot.
Next, think about your growing medium. Coco-coir or peat moss works well because they retain moisture while allowing excess water to drain. This balance is significant for keeping your seeds happy and healthy.
Also, don't forget about seed spacing. Space your seeds 5-10 cm apart in the container to promote good airflow and robust seedling development.
Finally, place your container in a spot that gets bright, indirect sunlight. This guarantees ideal growth conditions without overheating.
Here's a quick checklist to help you:
- Choose clear, breathable containers: Confirm they've drainage holes to prevent water buildup.
- Use a suitable growing medium: Coco-coir or peat moss retains moisture but allows excess water to drain.
- Space seeds properly: 5-10 cm apart to encourage airflow and healthy growth.
Ensuring Proper Humidity
Creating the perfect environment for air plant seeds hinges on maintaining proper humidity. Start by choosing a suitable container, like a dairy container or a clear terrarium, that can hold high humidity levels. Cover the container with a lid or plastic wrap to retain moisture, which creates a greenhouse effect. This helps prevent your seeds from drying out.
Regularly monitor the humidity levels inside your container. You want a consistently moist environment, but watch out for waterlogging, which can lead to mold growth on your precious seeds.
Place the container in a warm spot where it gets filtered light. Avoid direct sunlight, as it can cause overheating and make the moisture evaporate too quickly.
Keep the seeds hydrated by misting them or adding filtered water to the base of the container. This guarantees that the moisture level remains adequate throughout the germination process.
Planting the Seeds
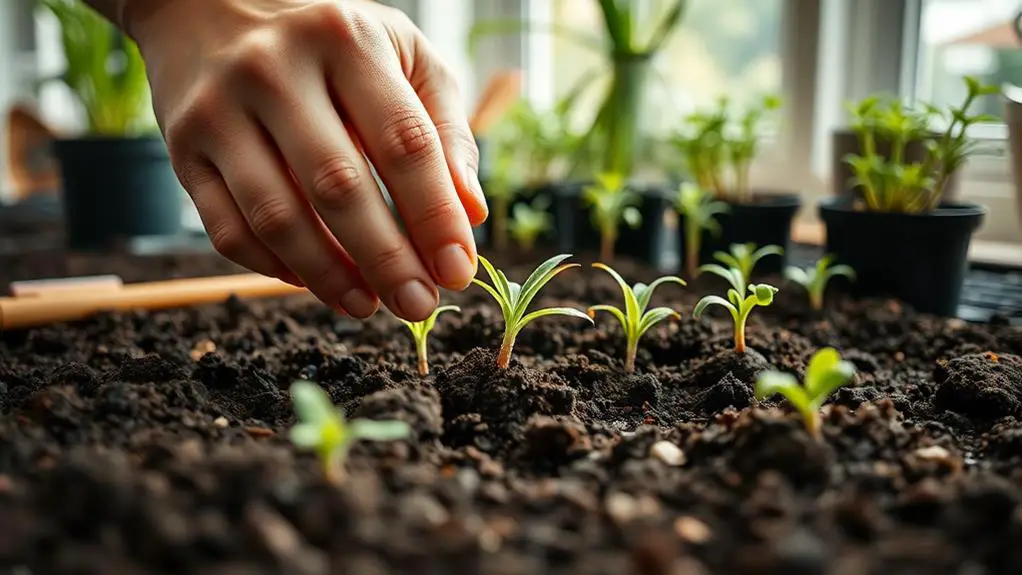
Once you've prepared your clean, breathable medium like coco-coir or peat moss, it's time to plant your air plant seeds. Carefully space the seeds 5-10cm apart on the medium. This distance helps guarantee robust seedling development.
Use tweezers to gently place the soaked seeds on the surface. Don't cover them; they need light exposure to germinate properly.
To encourage growth, keep the medium consistently moist. Lightly mist it regularly, but don't let it get overly wet. Too much water can lead to mold and algae, which can harm your seeds.
Next, find a bright location with indirect sunlight for your container. Direct heat can be too intense and damage the delicate seeds. The right light and location create an ideal climate for germination.
Follow these steps for successful planting:
- Use tweezers: This guarantees you don't damage the tiny seeds.
- Maintain moisture: Mist lightly to keep the medium moist, but not soaked.
- Choose the right spot: Place the container in a bright area with indirect sunlight.
Monitor your seedlings closely. In about four weeks, they should develop true leaves, signaling successful growth and readiness for the next stage.
Maintaining Moisture Levels
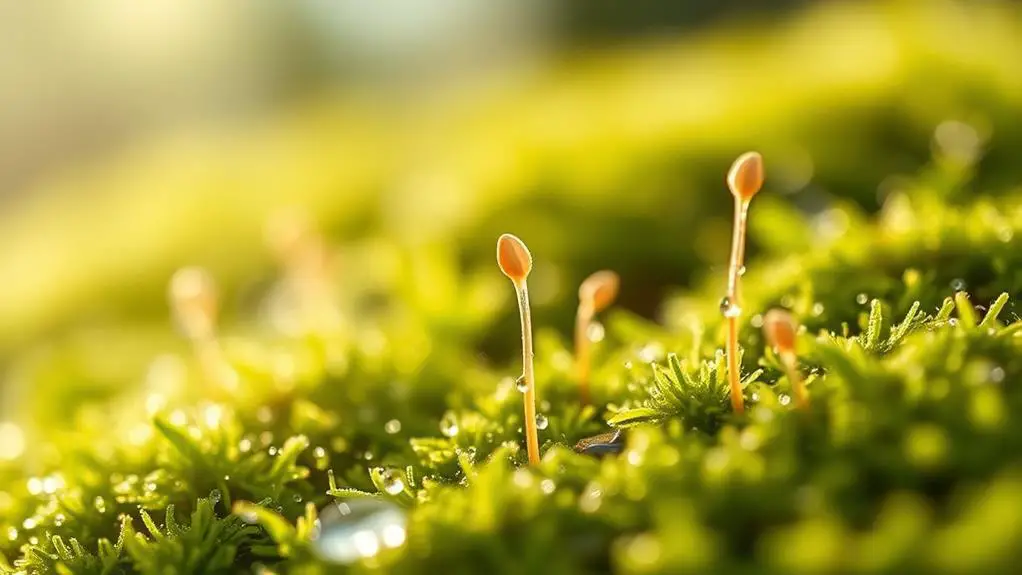
Maintaining moisture levels is key to successfully germinating your air plant seeds.
Use filtered lukewarm water to soak the seeds, keeping the water level around 2 cm to avoid rot.
Regularly check the substrate to verify it stays damp, not soggy, and place the container in a bright, indirect light to maintain the right humidity.
Optimal Humidity Control
Achieving ideal humidity control is key to successfully germinating air plant seeds. You need to maintain suitable humidity levels, which should be around 60-80%. This range helps prevent seed desiccation and promotes healthy growth. Here's how you can do it effectively.
- Use a Humidity Dome: Place a clear plastic cover over the seed container. This will help maintain moisture levels. Regularly check to avoid excessive condensation, which could harm your seeds.
- Monitor the Growing Medium: Make certain the medium stays consistently damp but not overly wet. Too much moisture can lead to mold growth and seed rot. A dairy container can simulate greenhouse conditions by covering seeds and retaining moisture and warmth.
- Mist Lightly: Mist the seeds with filtered water to maintain moisture. Refresh the water in the germination container periodically to keep it clean and effective.
Proper Watering Techniques
Proper watering techniques are essential for maintaining the right moisture levels vital for air plant seedlings to thrive. You need to keep these plants in moist environments, which means you'll have to monitor moisture levels carefully.
Watering every 2-3 days is usually best, especially in hot conditions. In more humid areas, a weekly schedule might be sufficient.
When it's time to water, dunk your air plants in filtered lukewarm water for about 10-20 minutes. This helps them absorb the moisture they need. After dunking, make sure to shake off any excess water. You don't want any standing water, as it can cause rot.
Checking the texture of the leaves can also guide your watering routine. If the leaves feel rigid and silver, the plant might need less water. On the other hand, if they're softer and green, they could require more frequent watering.
Keep your air plants in a clear container with a breathable medium. This setup helps maintain airflow, which is key to preventing mold while keeping the necessary moisture.
Avoiding Mold Growth
To keep mold at bay while germinating your air plant seeds, it's crucial to maintain a moisture balance. Over-saturating the growing medium can promote mold growth, so you need to keep it consistently moist without being too wet.
Start by hydrating the seeds with filtered lukewarm water, ensuring the water level is about 2 cm deep. This helps prevent drowning and rot.
Next, monitor the moisture levels in the growth container regularly. Allow the growing medium to dry slightly between watering, but don't let it get completely dry. Keeping it damp is key to minimizing mold risk while still supporting seed growth.
Place your seeds in a well-ventilated area to encourage airflow, which helps prevent stagnant moisture.
If mold does appear, act quickly. Remove any affected seedlings and adjust your watering routine to improve conditions for the remaining seeds.
Here's a simple guide to help:
- Hydrate seeds: Use filtered lukewarm water, 2 cm deep.
- Check moisture levels: Keep the medium damp, not wet.
- Ensure airflow: Place seeds in a well-ventilated area.
Providing Adequate Light
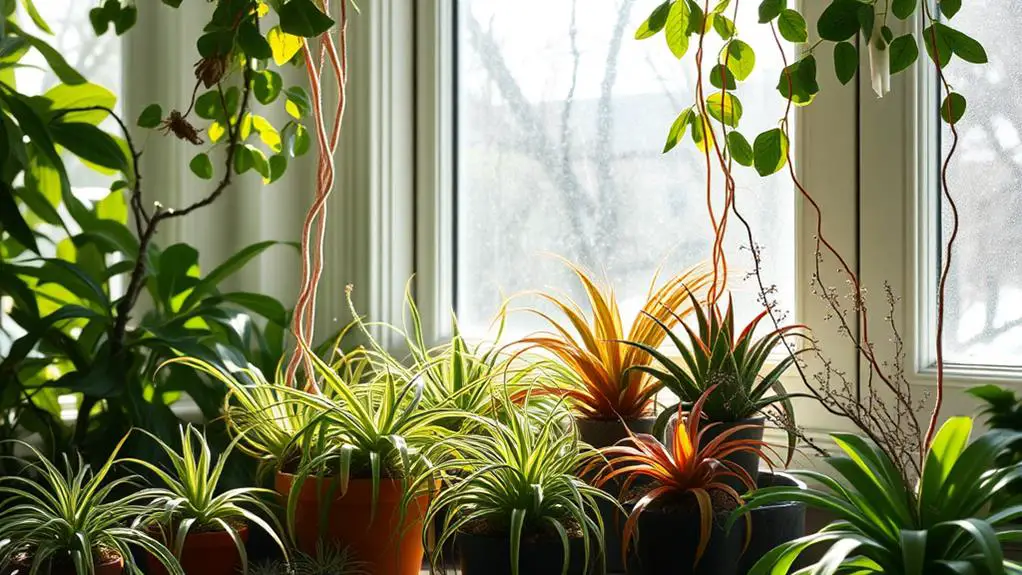
Guaranteeing your air plants get the right amount of light is vital for their growth and health. Air plants thrive in bright, indirect sunlight, making east or west-facing windows ideal for peak growth. Direct sunlight can harm them, leading to scorched leaves. To prevent this, filter the light using sheer curtains or place the plants a few feet away from the window. This filtered light provides consistent exposure, which is important for their development.
Adequate light conditions should maintain a temperature range of 70°F to 80°F (21°C to 27°C). While air plants can adapt to various light levels, they need consistent exposure to filtered light to promote robust growth and healthy flowering. Placing your plants where they receive bright but indirect sunlight will guarantee they develop well and avoid any light-related stress.
Insufficient light can stunt your air plants' growth and inhibit blooming. Regularly monitor the light exposure to guarantee your plants are getting what they need.
Monitoring Temperature and Humidity
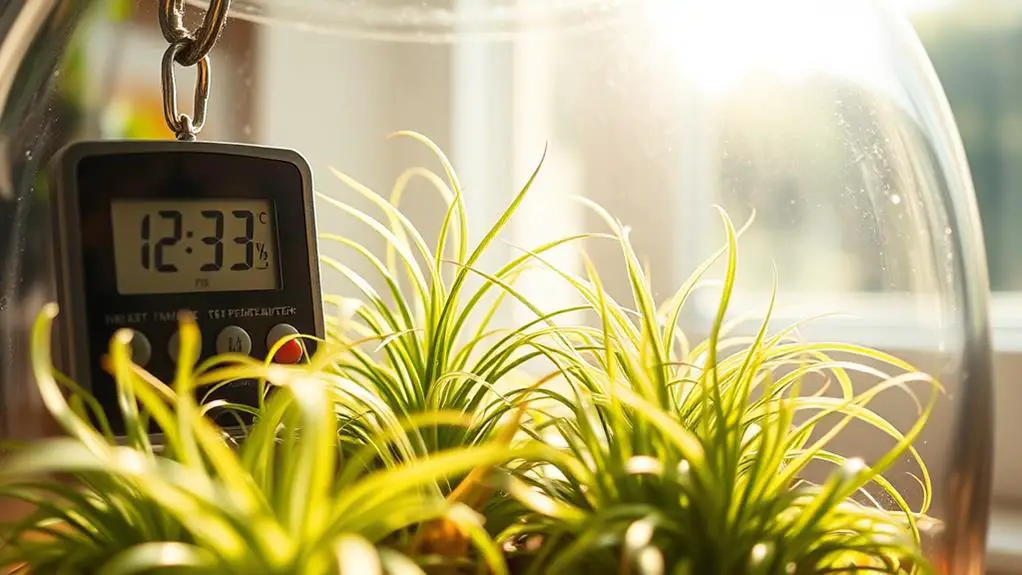
Maintaining the right balance of temperature and humidity is vital for successfully growing air plants from seeds. Aim for temperatures between 70°F and 80°F (21°C to 27°C) to create the ideal environment for germination. Use a dairy container to mimic greenhouse conditions, keeping your seeds cozy and moist.
High humidity is essential for your seeds' success. Consistently moist conditions encourage germination, but be careful not to overdo it. Too much moisture can lead to mold, which is harmful to your seeds. Monitoring humidity levels will help you strike the right balance.
A clear container is perfect for this task. It lets you easily see what's going on inside and make adjustments as needed.
Here are some tips to help you:
- Keep It Warm: Make sure the temperature stays within the 70°F to 80°F range.
- Maintain Humidity: Check regularly to keep conditions moist but not soggy.
- Watch for Mold: Monitor for any signs of mold and adjust humidity or ventilation if needed.
Observing Seedling Growth

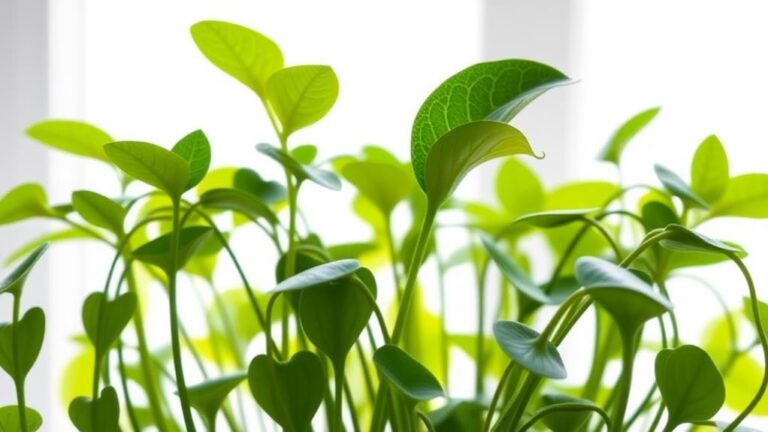
Once your air plant seeds have germinated, observing their growth becomes an exciting and essential part of the process. Seedlings typically show a strong green color and can reach about 4mm in size within the first week, which is a good sign of healthy growth. At this stage, keep an eye on moisture levels to avoid algae, ensuring your seedlings' ideal development.
Within four weeks, you'll notice the formation of true leaves. This marks an important milestone in their growth journey. Different species have unique characteristics, such as B. Multiflora's vibrant pink blooms and Abdita Tillandsia's multiple purple flower heads. Regular observation helps you understand these variations better.
Here's a quick comparison:
| Species | Distinct Feature |
|---|---|
| B. Multiflora | Vibrant pink blooms |
| Abdita Tillandsia | Multiple purple flower heads |
| T. Ionantha | Bright red leaves during bloom |
| T. Xerographica | Large, curly leaves |
| T. Bulbosa | Twist-shaped leaves |
As your seedlings develop, remember to monitor them closely. Proper care now will lead to beautiful, healthy air plants. Once robust enough, you can consider their relocation to more suitable spots for further growth. Keep up the great work and enjoy the rewarding experience of growing these fascinating plants!
Transitioning to Maturity
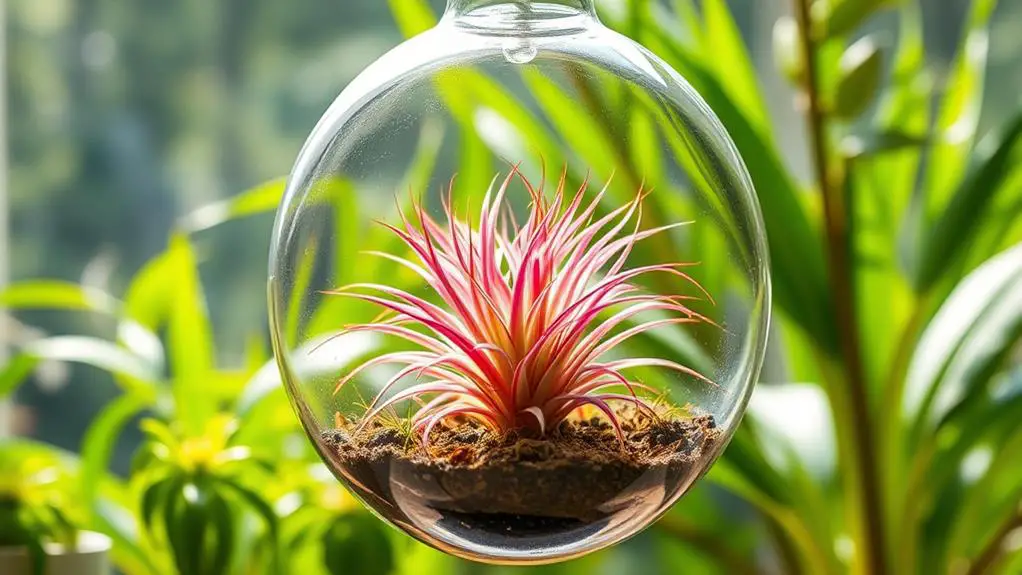
As your air plant seedlings begin to show true leaves, you're entering an exciting phase where they progress towards maturity. This stage is essential for their growth progression and eventual flourishing.
Here's how to guarantee your seedlings shift smoothly:
- Maintain Humidity: Air plant seedlings need consistent moisture and humidity to thrive. Keep the humidity level around 60-70% to prevent seedling rot and support healthy development.
- Provide Bright Indirect Light: Position your seedlings in a spot with bright indirect light. This encourages strong growth without the risk of scorching the delicate leaves.
- Relocate for Growth: As your seedlings grow larger, move them to their desired growing spots. This gives them space to expand and prepares them for blooming.
Frequently Asked Questions
How Do You Plant a Seed 10 Steps?
First, pick a clean container and a suitable growing medium. Soak the seeds until they sprout green tips. Spread them on the medium, guarantee indirect sunlight, and maintain moisture. Monitor closely for growth and relocate if needed.
How Do You Grow Plants From Seeds Step by Step?
Start by soaking seeds in lukewarm water. Prepare a growing medium and space seeds apart. Keep the medium moist, but not wet. Monitor for leaf development and relocate seedlings to their final spots once larger.
How to Make Air Plants Thrive?
To make air plants thrive, give them bright, indirect sunlight, water weekly, and let them dry completely. Fertilize monthly, maintain 50-70% humidity, and check for pests. Adjust care based on their responses for ideal growth.
How to Sprout Air Plants?
To sprout air plants, soak the seeds in lukewarm water for 2-4 weeks. Then, place them spaced on a damp medium like coco-coir. Keep the environment warm and humid. Monitor moisture to avoid rot.
Conclusion
Growing air plants from seeds might seem intimidating, but you've got this! With the right seeds, proper care, and a bit of patience, you'll watch your tiny plants flourish. Keep an eye on light, humidity, and temperature, and don't forget to check for pests. Each step brings you closer to vibrant, mature air plants. So, roll up your sleeves and jump in—your air plant adventure awaits! Remember, every gardener starts somewhere, and you're on the right path.

