DIY Wine Bottle Planter for Succulents in 3 Easy Steps
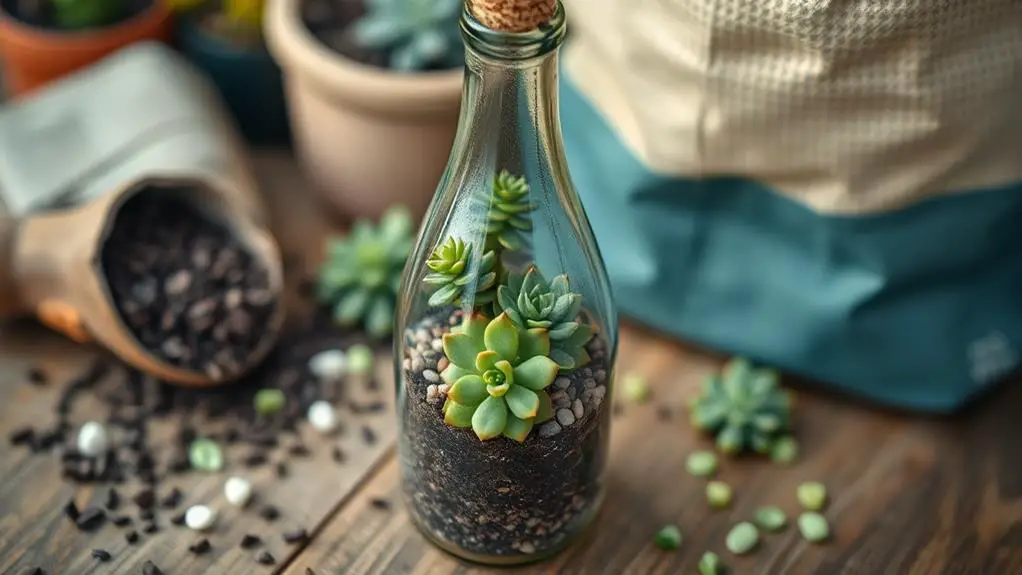
Have you ever considered repurposing your empty wine bottles into chic planters for succulents? It's a straightforward process that involves just three simple steps. First, you'll need to cut the bottles properly, ensuring smooth edges to keep things safe. Next, fill the newly created planters with succulent soil and arrange your favorite succulents, taking care to cover their roots gently. Finally, a light watering and some decorative top dressing will finish the job. Wondering how you can achieve this effortlessly at home? Let's break it down so you can get started on your creative project.
Gather Your Materials
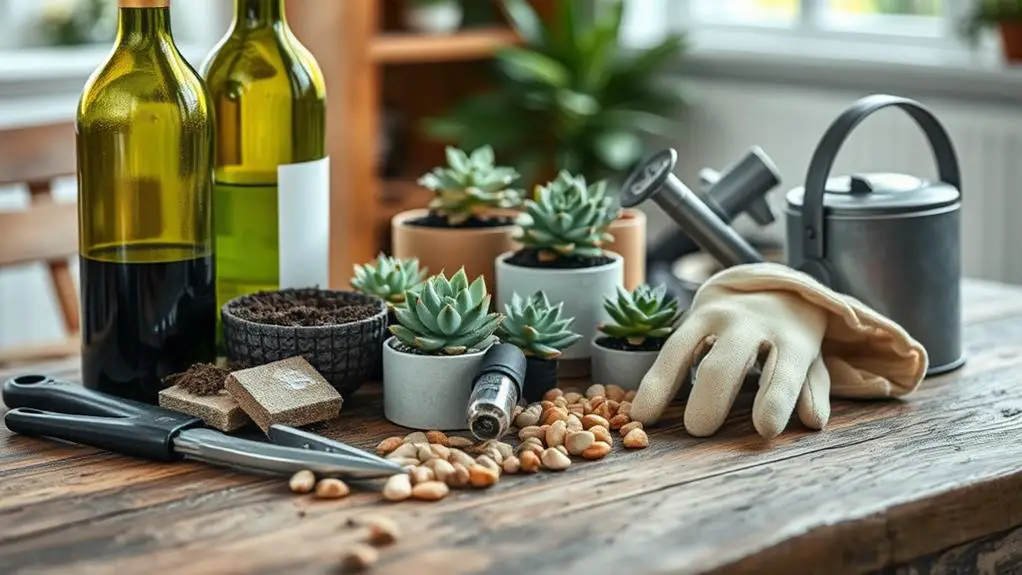
Starting your DIY wine bottle planter project begins with gathering your materials. First, collect empty wine bottles. Make sure they're clean and free of labels and adhesive residue for a polished look. This gives your planters a professional appearance.
Next, you'll need succulent soil, which is essential for proper drainage and root health. Succulents like Echeverias thrive in well-draining conditions, so this soil type is a must.
You'll also need a glass cutter to prepare your bottles. This tool helps you make precise cuts, ensuring your planter is the right size.
Don't forget to gather sandpaper for smoothing the edges after cutting. This step is important to prevent any sharp edges that could be dangerous.
If you plan to add drainage holes, a drill with a glass bit will come in handy. Good drainage is key to keeping your succulents healthy.
Cut and Prepare the Bottles
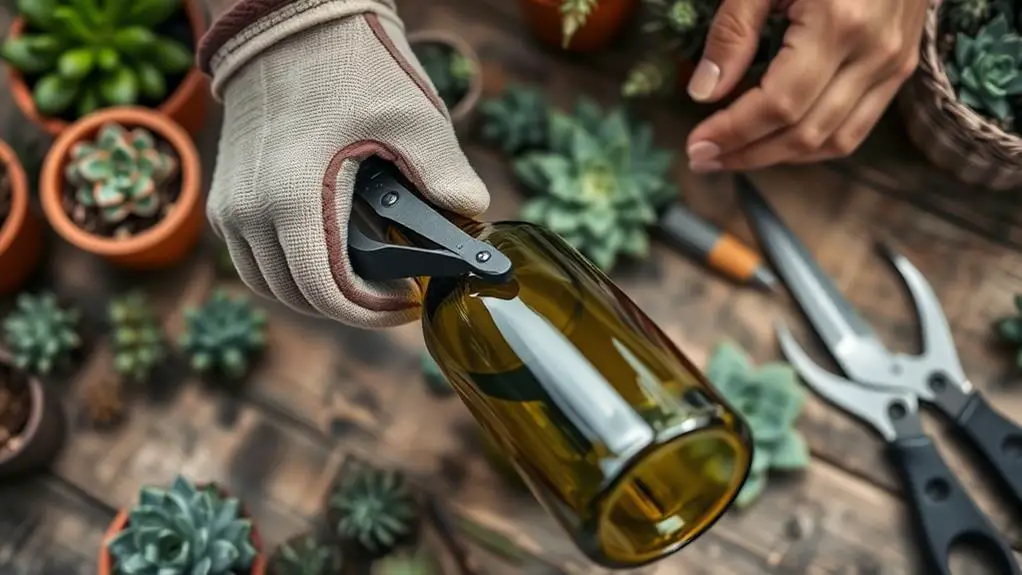
To kick off the bottle preparation, begin by soaking your wine bottles in warm water for about 30 minutes. This helps loosen any labels and adhesive residues, making them easier to remove. Once the labels come off, dry the bottles thoroughly.
Next, take your glass cutter and score a line around the bottle, approximately 2 inches from the neck. Apply even pressure as you rotate the bottle to create a complete, consistent scored line. This step is essential for a clean break later on.
Now, gently heat the scored line with a kitchen torch or a candle for about 1-2 minutes. Be careful not to overheat; you just want the glass to be warm to the touch.
After heating, quickly run the bottle under cool water. This thermal shock should cause the bottle to crack along the scored line. Listen for the cracking sound to confirm it's working.
Once the bottle is separated, it's time to smooth the edges. Use coarse, waterproof sandpaper to sand down any sharp edges. This makes the bottle safe to handle and perfect for planting.
Make sure the edges are smooth to avoid any cuts while working with your new planters.
Plant and Arrange Succulents
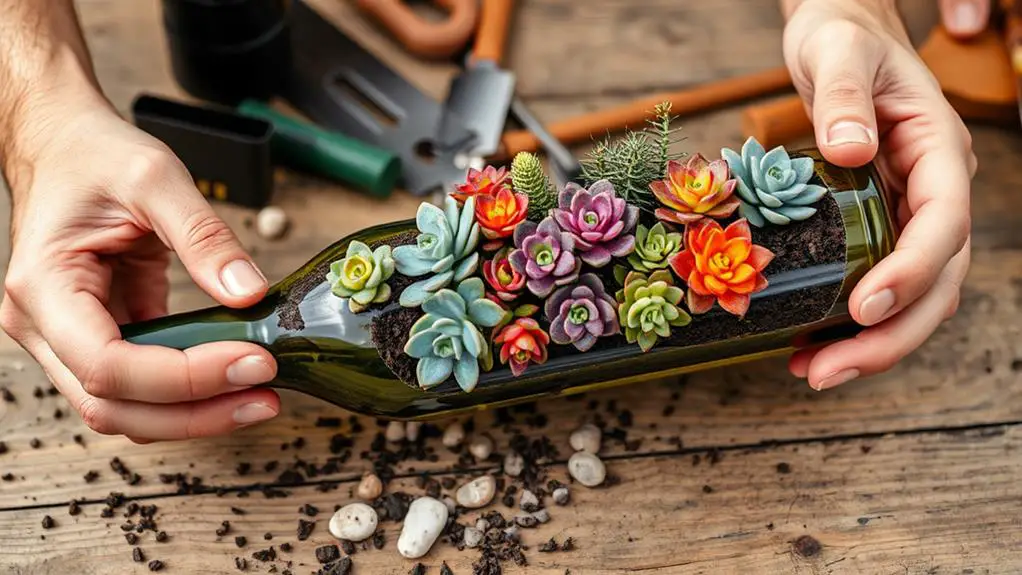
Once your wine bottles are prepared, it's time to plant and arrange your succulents. Start by picking a mix of 3-5 succulent varieties. Choose those that complement each other in size and color for a beautiful display.
Next, create small holes in the succulent soil inside your wine bottle planters. These holes will hold the root balls of your plants. Make certain to space them out enough so the succulents have room to grow.
Carefully place each succulent into the holes you've made. Gently cover the roots with soil, but don't pack it too tightly. This helps the roots breathe and guarantees proper aeration.
After positioning your plants, give them a light watering. This helps the soil settle around the roots. Be careful not to overwater, as too much moisture can cause root rot.
To finish, you might want to add a decorative top dressing like pebbles or sand. This not only makes your arrangement look even better but also helps retain moisture.
Frequently Asked Questions
How Do You Make a Succulent Planter Out of a Wine Bottle?
First, clean and remove labels from your wine bottle. Score and separate it near the neck. Drill drainage holes, add rocks, succulent soil, and your chosen succulents. Place in bright, indirect sunlight and water sparingly.
How to Water Succulents in a Wine Bottle?
Fill the reservoir at the base, keeping the soil moist but not soaked. Let the top layer dry out before refilling. Mist lightly if necessary, but avoid direct watering on the plants. Adjust watering based on seasons.
How Do You Make a Bottle Planter Step by Step?
First, clean the bottle and remove labels. Drill drainage holes. Add a layer of rocks, then fill with soil. Create holes and place succulents in them. Water lightly and place the bottle in bright, indirect sunlight.
How Do You Plant Succulents in a Bottle?
You start by drilling drainage holes in the bottle. Add a layer of rocks, then fill with well-draining soil. Create small holes, gently place the succulents, and water lightly. Make sure they receive bright, indirect sunlight.
Conclusion
Now you've got everything you need to make your own wine bottle succulent planter. Just follow these three simple steps, and you'll have a beautiful new home for your plants. Remember to be careful while cutting the bottles and have fun arranging your succulents. With a bit of patience and creativity, you'll create a lovely, eco-friendly decoration. Enjoy your new planters and the satisfaction of making something unique and green! Happy gardening!

