7 Easy Steps to Propagate Fern Plants at Home
Propagating fern plants at home is simpler than you might think, and by following these seven steps, you'll be well on your way to growing lush, healthy ferns. First, make certain you have sterilized containers and a well-draining potting mix at the ready. You'll need to collect mature spores from the fronds, which requires a bit of patience and proper storage. After sowing the spores and covering them to maintain humidity, place the containers in a spot with bright, indirect light. But what comes next, and how do you care for those delicate baby ferns as they start to grow? Let's explore the remaining steps.
Choose Your Propagation Method
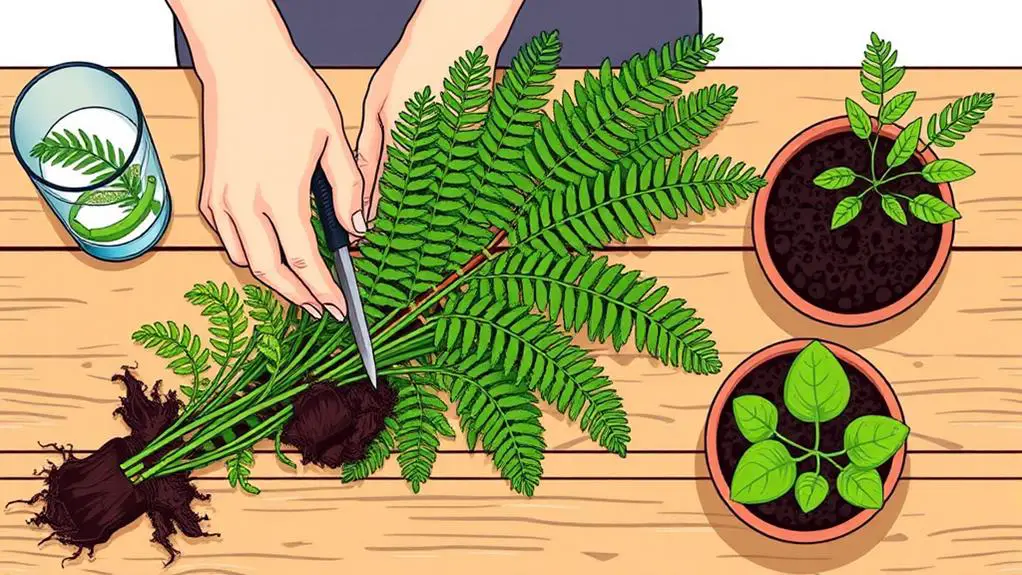
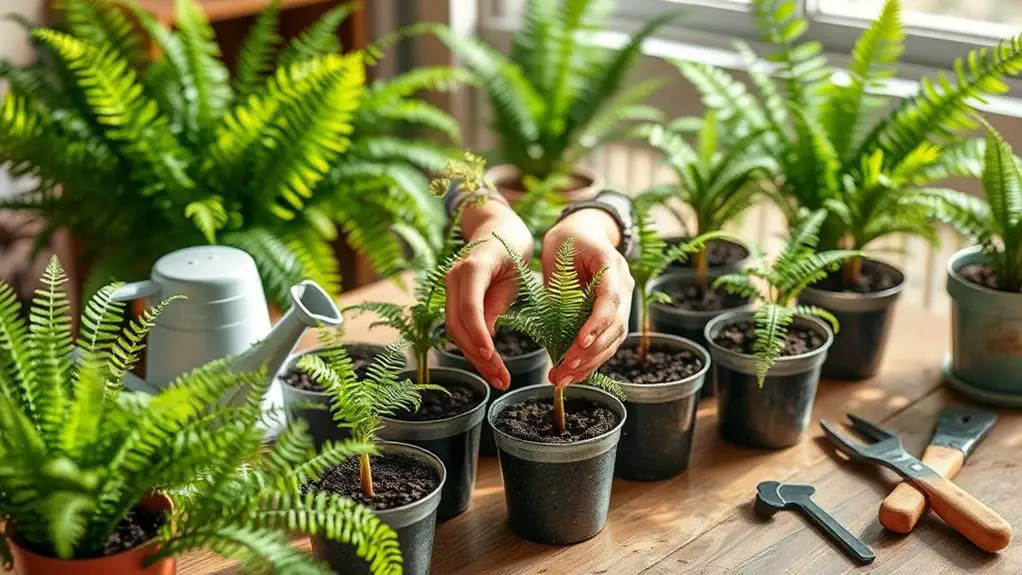
When propagating fern plants at home, choosing the right method is essential for success. You can start by dividing mature ferns. Separate the clumps into 2-3 parts, making sure each has a growing tip. This method helps them grow quickly in well-draining, humus-rich soil.
Another option is to use plantlets or bulbils. Look for these tiny plantlets with roots on the parent fern, then repot them in 3-5 inch containers.
Collecting spores from the underside of mature fronds is another effective way. Sow them on a sterilized, moist potting mix and cover with plastic to maintain humidity.
Each method has its perks, so choose the one that fits your needs and resources best.
Prepare Necessary Materials
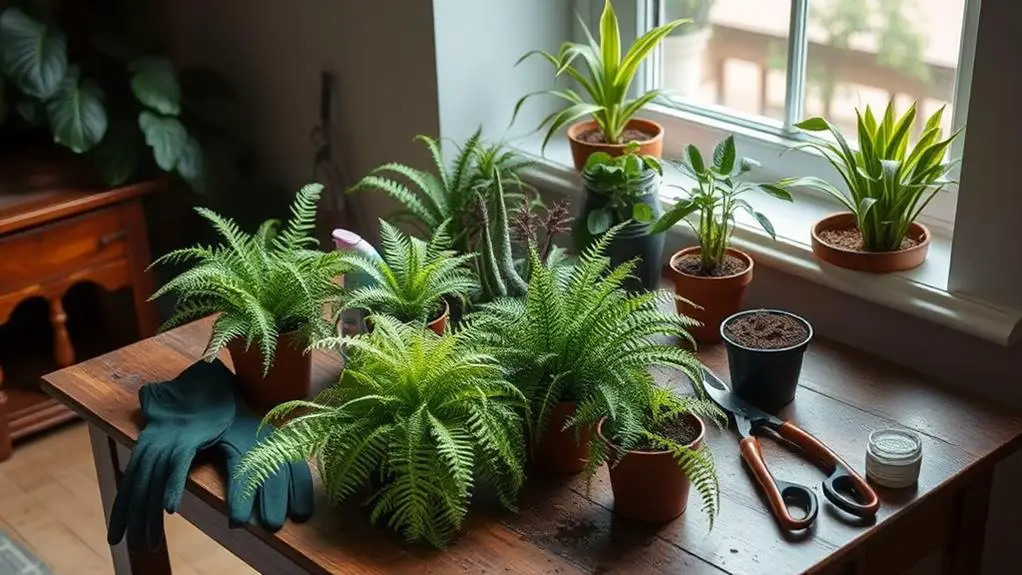
Getting everything ready before you start propagating ferns can make the process smoother and more successful.
First, gather your materials. You'll need sterilized containers, such as 3-5 inch pots, to guarantee no contaminants affect your ferns. A well-draining potting mix is essential; a 50/50 blend of seed compost and peat alternative works great.
Don't forget your tools: a clean spade for dividing, scissors for cutting fronds, and a sterilized shaker for distributing spores.
- Sterilized containers (3-5 inch pots)
- Well-draining potting mix (50/50 seed compost and peat alternative)
- Clean spade and scissors
- Sterilized shaker
Collect Fern Spores
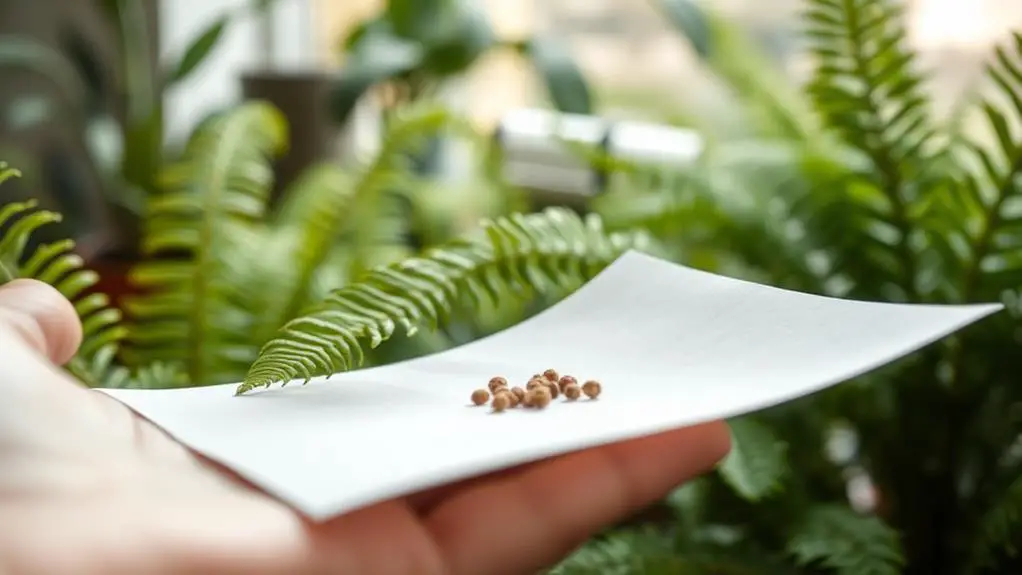
To successfully propagate ferns, start by collecting their spores. Keep an eye on the fronds for mature sporangia, which look like dark brown or black dots. These dots mean the spores are ready.
Carefully cut the fronds just before the sporangia burst. Place them spore-side down on smooth, white paper. This allows the spores to release naturally.
Once you've collected the spores, store them in wax paper and keep them in the refrigerator until you're ready to plant. This helps maintain their viability.
When it's time to sow, use a shaker with large holes to distribute the spores over moist soil. Remember to keep the soil moist and cover it with plastic to retain humidity for ideal germination.
Sow the Spores
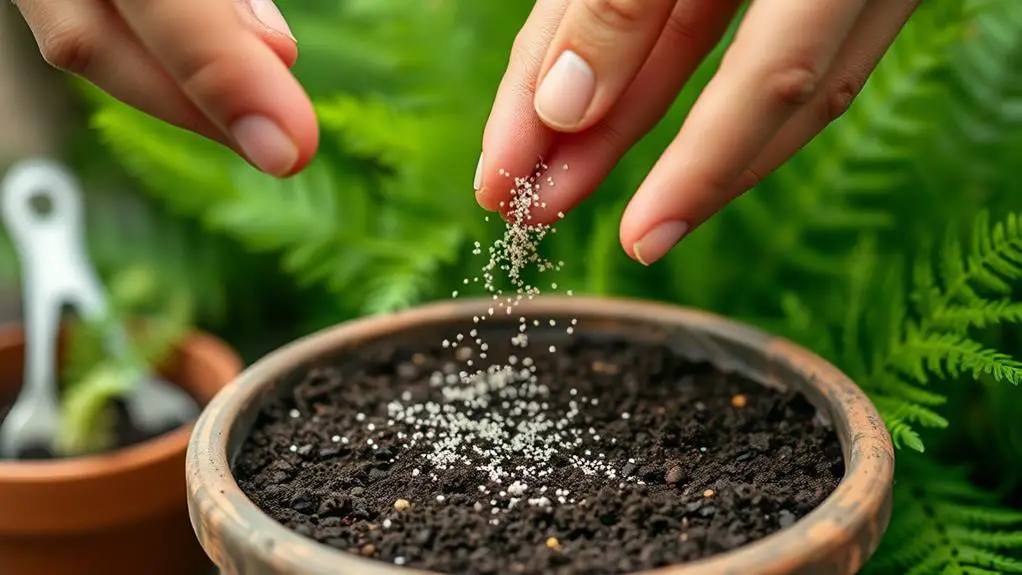
Now that you've collected your fern spores, it's time to sow them.
Start by preparing a sterile growing medium with seed compost and a peat alternative, making sure to steam it to eliminate any bacteria or fungi.
Spread the spores thinly over the cooled potting mix, cover with plastic to keep the environment humid, and place the containers in a shaded area with bright, indirect light.
Collect and Prepare Spores
When propagating fern plants at home, the first essential step is to collect and prepare the spores. Begin by monitoring the fern fronds for dark brown or black sori. Cut these fronds before they burst to guarantee ideal spore harvesting.
Next, place the cut fronds spore-side down on a clean sheet of paper and let them dry for a few days to release the spores.
To prepare the spore growing medium:
- Sterilize a 50/50 mix of seed compost and peat alternative.
- Confirm the medium is free of bacteria and fungi.
- Evenly disperse the collected spores over the cooled, moist growing medium.
- Cover with plastic to maintain humidity during germination.
Keep the containers in a shaded area with consistent moisture and bright, indirect light.
Maintain Ideal Conditions
Maintaining ideal conditions for sowing fern spores is essential for successful propagation. Start by sowing the spores thinly over a sterilized potting mix. Keep the medium moist but not waterlogged to help the spores germinate.
Next, cover the container with plastic to maintain humidity and place it in a warm spot with bright, indirect light. Aim to keep the temperature between 65-75°F. Monitor the moisture regularly; condensation inside the cover is a good sign.
Germination should occur within 1-2 months. During this time, make sure the environment stays humid. Once the spores start growing, thin out any excess plants to give the developing ferns enough space.
With the right care, your ferns will thrive!
Care for Baby Ferns
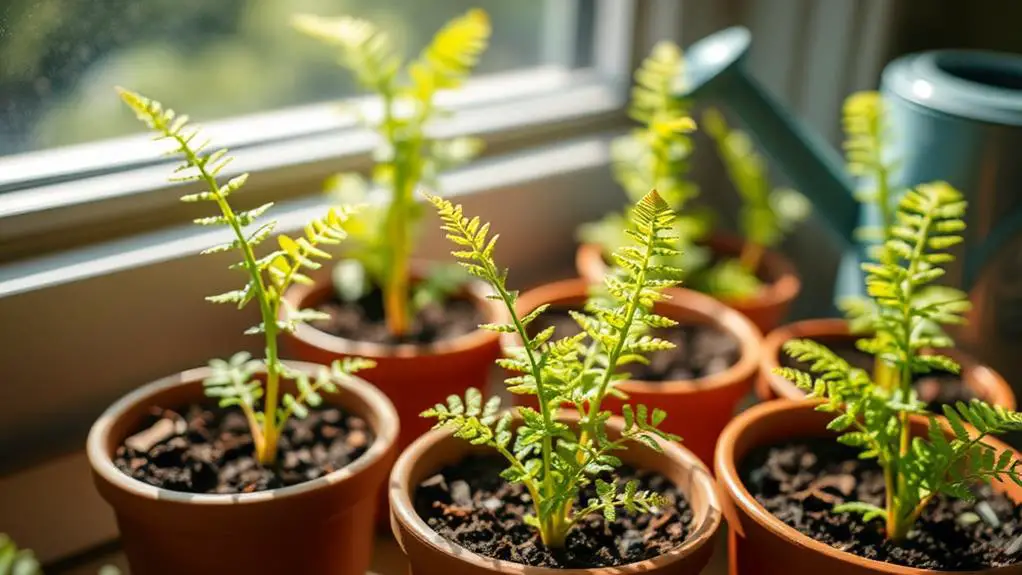
When caring for baby ferns, place them in bright, indirect light to help them grow strong without scorching their tender fronds.
Keep the humidity high by misting them several times a day or using a plastic cover.
Make sure the soil stays consistently moist but not soggy to prevent root rot.
Optimal Lighting Conditions
Guaranteeing ideal lighting conditions is essential for the healthy growth of baby ferns. These young plants thrive in bright, indirect light, so avoid placing them in harsh, direct sunlight, which can scorch their delicate fronds.
To help you provide the best lighting conditions for your baby ferns, consider the following tips:
- Place them near a window with filtered light.
- Use sheer curtains to diffuse direct sunlight.
- Supplement with artificial grow lights if natural light is insufficient.
- Gradually acclimate young plants to brighter light to prevent stress.
Consistent exposure to the right light conditions encourages robust growth and minimizes the chances of damage.
Humidity Maintenance Techniques
With ideal lighting secured, it's time to focus on creating the right humidity for your baby ferns. To keep them happy, mist them several times daily or use a plastic cover to maintain a humid environment.
Place your baby ferns in bright, indirect light to prevent soil from drying out too quickly. Regularly check moisture levels, ensuring the soil stays consistently moist but not soggy.
Gradually remove the plastic cover to help them adjust to lower humidity levels over time. Watch for signs of moisture stress, like browning tips or wilting, and make adjustments as needed.
Divide Mature Ferns
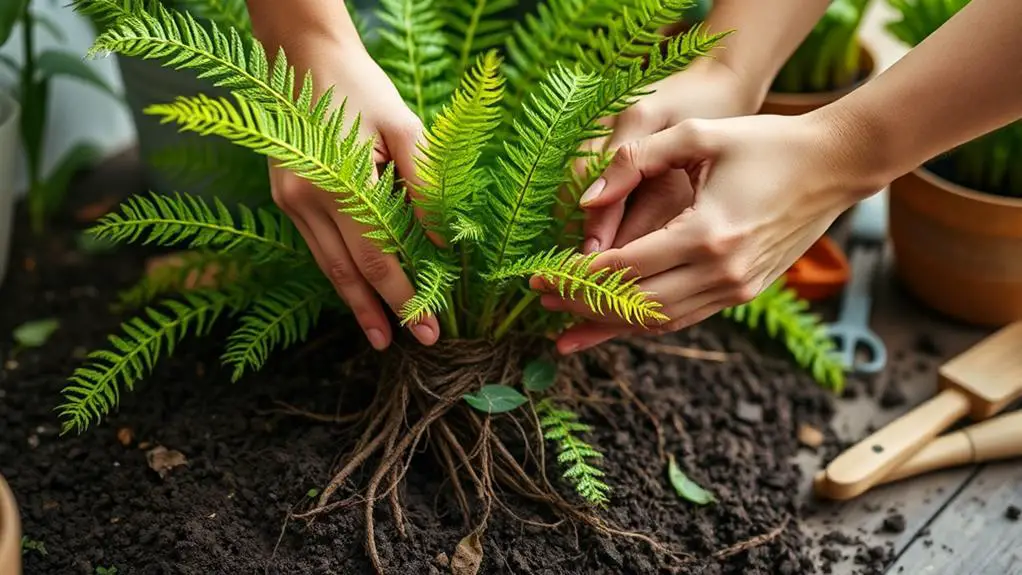
Spring is the perfect time to divide your mature ferns, as they're actively growing and will recover more quickly.
Start by using a clean spade to carefully excavate the fern clump. Remove excess soil to expose the root system and rhizomes. Aim to divide ferns into 2-3 sections, ensuring each has at least one growing tip. This helps the new plants thrive.
- Dig up the fern clump with a clean spade.
- Remove soil to reveal the roots and rhizomes.
- Separate into sections, each with a growing tip.
- Replant in well-draining, humus-rich soil.
Once divided, place the new ferns in a shady spot and water thoroughly. This encourages rooting and reduces plant stress.
Transplant and Maintain
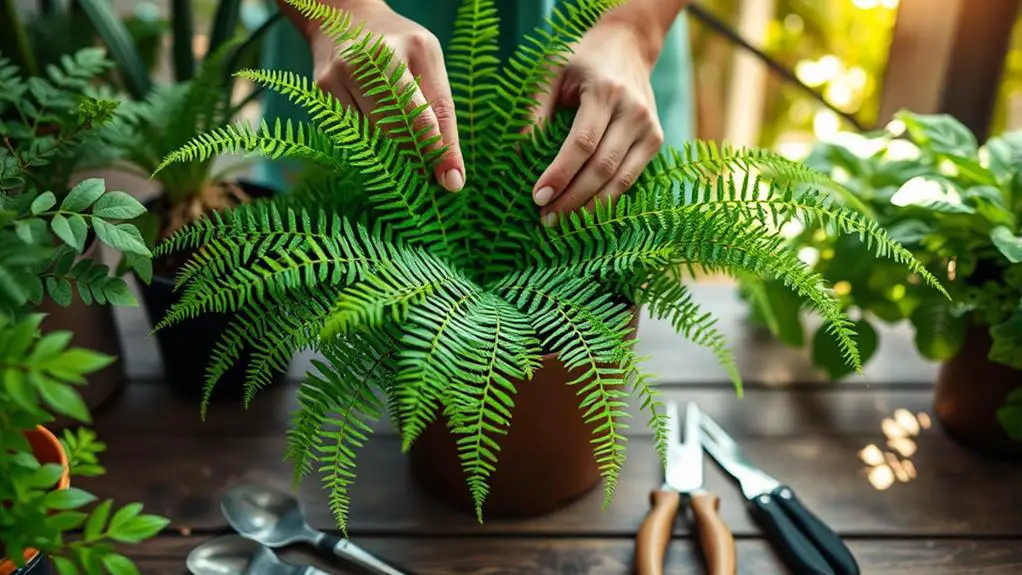
When transplanting ferns, start by choosing a container that's at least 3-5 inches in diameter to give baby ferns ample space to grow.
Use well-draining soil rich in humus to promote healthy root development.
Gradually acclimate your ferns to outdoor conditions by increasing their exposure to light and airflow over two weeks.
Keep the soil consistently moist, especially in the first few weeks, to prevent drying out.
Watch for signs of stress like wilting or discoloration and adjust watering and light as needed.
Provide bright, indirect light and mist the ferns daily or cover them with plastic to maintain humidity.
With these steps, your ferns will thrive and grow beautifully.
Frequently Asked Questions
What Is the Easiest Way to Propagate Ferns?
The easiest way to propagate ferns is by division. Just separate established clumps into 2-3 parts, each with a growing tip. Do this in spring for quicker growth and you'll have new plants in no time.
Will Fern Cuttings Root in Water?
No, fern cuttings typically don't root well in water. They prefer soil for ideal root development and moisture retention. Instead, try burying stipe cuttings in well-draining potting soil and maintain high humidity for better results.
How Long Does It Take for a Fern to Root?
It usually takes ferns about 3-4 weeks to root when using methods like division or plantlets. However, rooting times can vary, so monitor the roots and guarantee they have proper moisture and soil conditions.
Are Ferns Self Propagating?
Ferns aren't self-propagating in the traditional sense. They reproduce through spores, not seeds. You'll need to create the right environment for these spores to germinate successfully, ensuring proper humidity and temperature conditions.
Conclusion
You've got this! By following these easy steps, you'll soon have beautiful fern plants thriving in your home. Remember to be patient and keep the conditions just right. Collecting spores, sowing them, and caring for the baby ferns takes time, but the results are worth it. Don't forget to divide mature ferns in the spring for quicker growth. With a little effort and care, you'll be a fern propagation pro in no time!

