10 Essential Steps to Care for Your Aloinopsis Plant
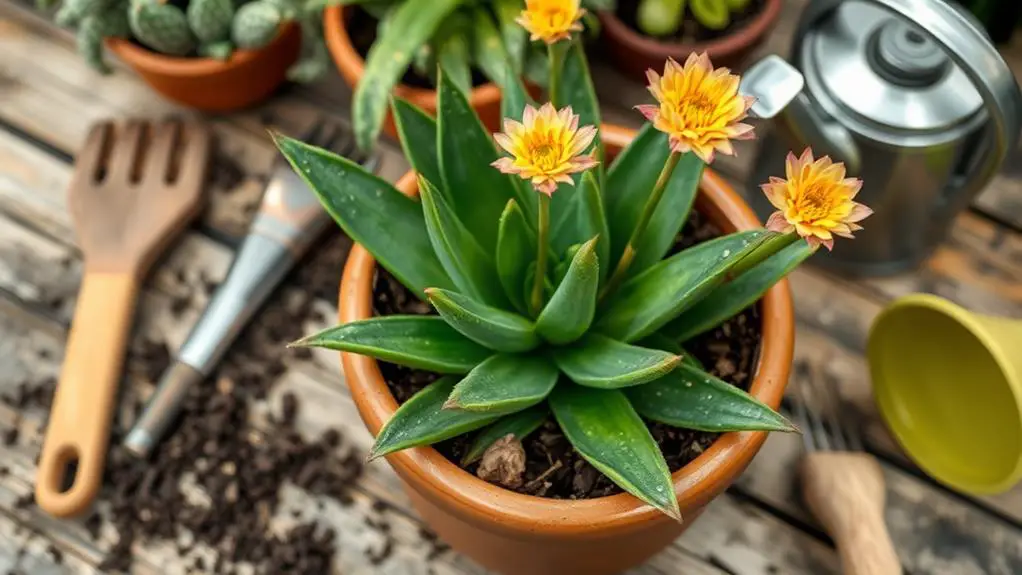
Caring for your Aloinopsis plant involves a few key steps that guarantee its health and beauty. First, you'll need to choose the right soil, opting for a well-draining mix paired with a pot that has drainage holes. Next, focus on providing ideal light conditions, aiming for 4-6 hours of direct sunlight daily, and maintaining temperatures between 60°F and 80°F. But what about watering techniques and managing humidity levels? By mastering these aspects, you can keep your Aloinopsis thriving. Let's explore the remaining steps to give your plant the best care possible.
Choose the Right Soil
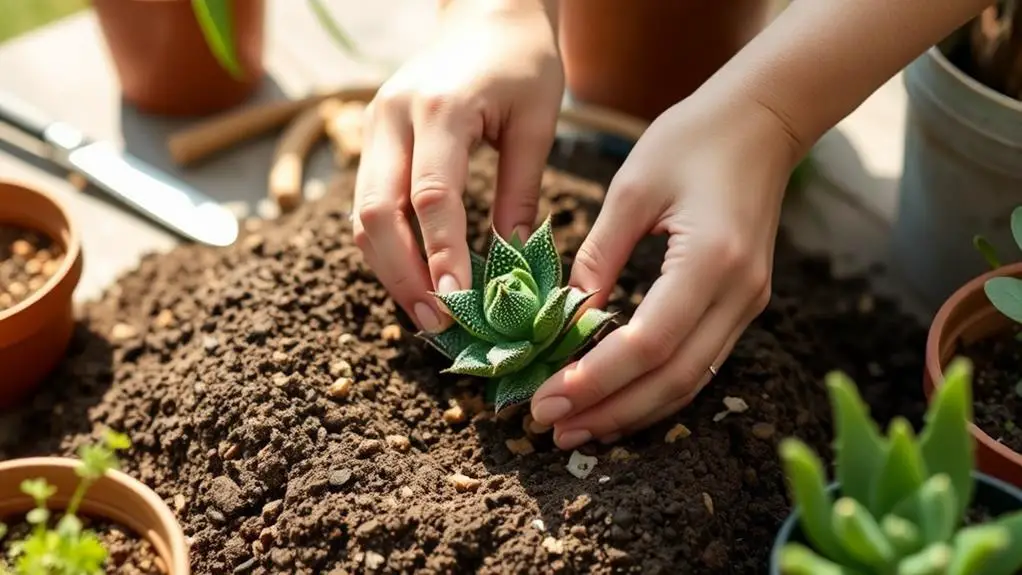
Choosing the right soil is crucial for the health of your Aloinopsis plant. These plants thrive best in loose, well-draining soil, specifically designed for succulents and cacti. This type of soil helps prevent root rot by allowing excess moisture to escape, which is essential because Aloinopsis are drought-tolerant and prefer arid conditions.
A highly recommended soil mix for Aloinopsis plants consists of succulent potting medium combined with perlite, sand, and pumice in a 4:2:2:2 ratio. This mix guarantees proper aeration and drainage, which are key to keeping your plant healthy. Avoid soils that retain moisture, as they can lead to overwatering and root damage.
Using a three-layer soil system can further enhance drainage. Start with a lower layer of hydrophobic materials like volcanic stone to prevent root rot. The middle layer should provide nutrients, while the top layer helps deter pests. This multi-layered approach mimics the plant's natural habitat, providing the best environment for growth.
Lastly, always choose pots with drainage holes to help water escape. This prevents water accumulation, which is crucial for the well-being of your Aloinopsis plant. With the right soil, you're setting a strong foundation for your plant's success.
Optimal Light Conditions
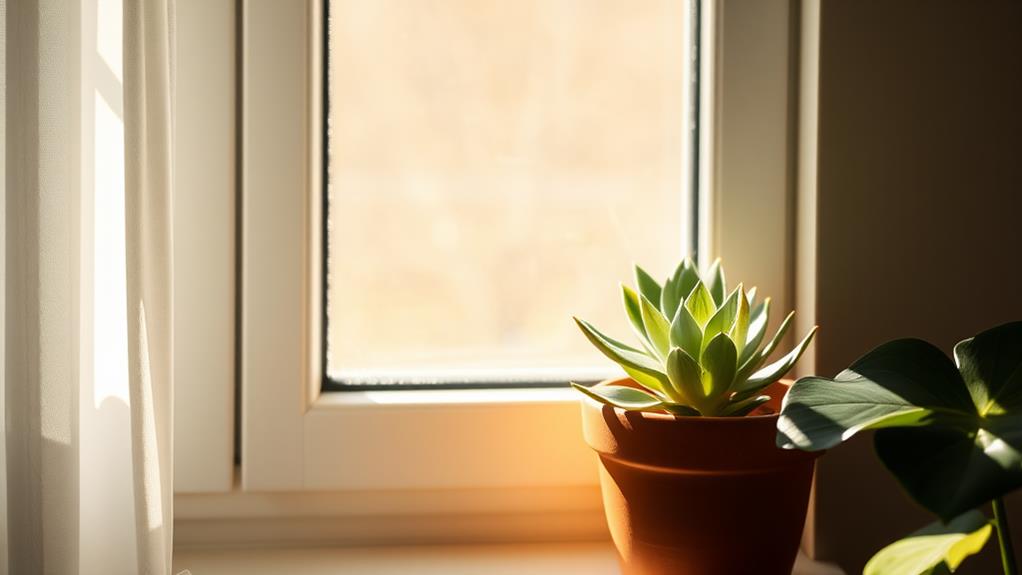
Making sure your Aloinopsis plant gets perfect light conditions is essential for its health and growth. These charming succulents thrive best with bright light, making them happiest with 4-6 hours of direct sunlight in the morning and late afternoon.
While they can handle direct sunlight, it's important to protect them from the intense midday sun, which can burn their delicate leaves.
To avoid issues like spindling growth and brittle leaves, confirm your Aloinopsis gets enough light. Insufficient light can lead to weak, stretched-out plants. On the other hand, too much direct sunlight can cause the leaves to fade in color. Aim for a balanced approach to light exposure.
Placing your Aloinopsis in a south or west-facing window is a great way to guarantee they get the ideal light conditions they need. These spots typically offer the right mix of bright light without overexposure.
When given the right amount of light, your Aloinopsis will reward you with compact growth and vibrant blooms.
Proper Watering Techniques
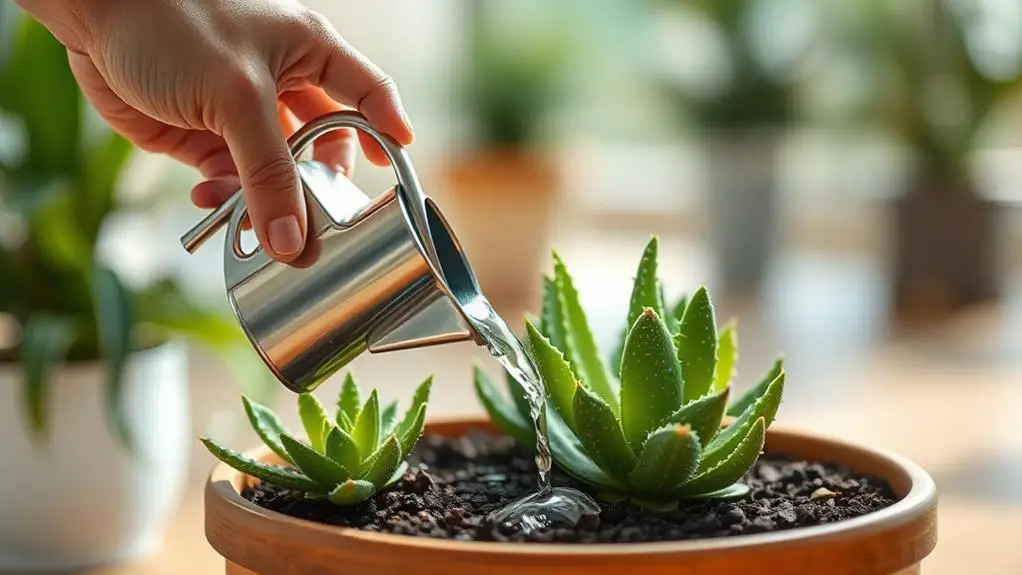
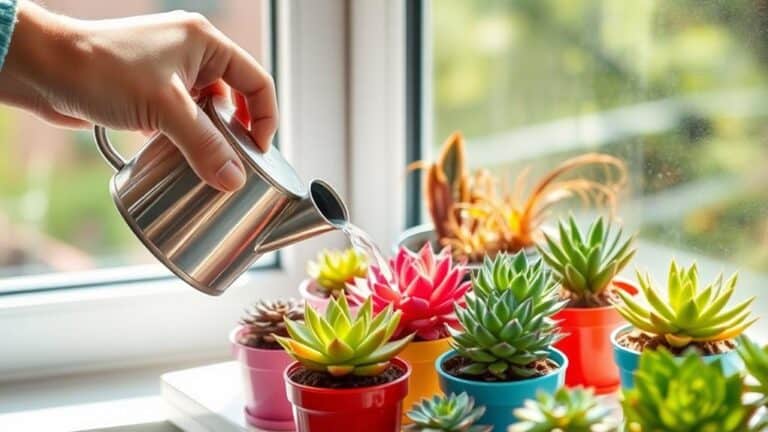
While proper light is crucial for Aloinopsis plants, how you water them is equally important for their health and well-being. One of the key watering techniques is to water sparingly during the active growing season, which spans from autumn to spring. Allow the soil to dry out completely between waterings to prevent root rot. Overwatering can be deadly, so always check that the soil is dry before adding more water.
During their summer dormancy, drastically reduce how often you water. Only provide moisture when you notice the leaves curling or wrinkling. This is a sign your plant needs a drink.
Use the soak and dry method: thoroughly soak the soil, then let it dry out entirely before watering again. This mimics their natural environment and keeps the roots healthy.
To further prevent root issues, water from the bottom using a shallow tray. This guarantees water doesn't get trapped in the rosettes, which can lead to rot.
Make sure your pot has drainage holes. This allows excess water to escape, maintaining proper soil moisture levels. By following these steps, your Aloinopsis will thrive, looking vibrant and healthy all year round.
Ideal Temperature Range
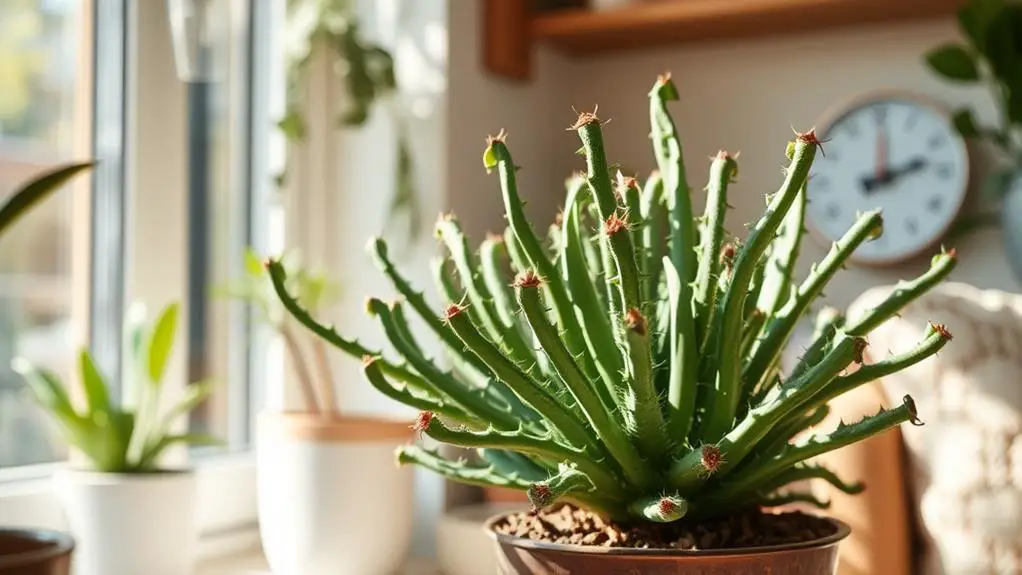
To keep your Aloinopsis plant thriving, maintain an ideal temperature range of 60°F to 80°F.
While these plants can handle cold weather down to 20°F, it's important to protect them from prolonged frost.
During hot summer months, make certain they stay cool and avoid sudden temperature changes to keep your plant healthy and happy.
Optimal Growth Temperature
For Aloinopsis plants to thrive, it's vital to maintain an ideal temperature range of 60°F to 80°F (15°C to 27°C). This ideal growth temperature guarantees that your plants stay healthy and produce beautiful flowers.
While Aloinopsis can handle some cold, they don't do well in freezing temperatures for long periods. They can tolerate temperatures down to 20°F (-6°C) and even some frost, but prolonged exposure to cold below 40°F (4°C) can stress the plant and stunt its growth.
During the winter months, when Aloinopsis plants are most active, it's important to keep them in a warm environment. This is when they primarily grow and flower, so maintaining a stable temperature is key.
Avoid placing your plant in areas with extreme temperature fluctuations, as sudden changes can negatively impact its health.
To guarantee your Aloinopsis thrives, monitor the temperature around your plant regularly. Simple steps, like moving it away from drafty windows or heating vents, can make a big difference.
Frost Protection Measures
When frost starts to nip at the air, it's crucial to take steps to protect your Aloinopsis plants from potential damage. These plants can tolerate frost down to -4°C (24.8°F), making them suitable for USDA hardiness zones 9b to 11b. However, taking additional frost protection measures can help guarantee their well-being.
Firstly, place your Aloinopsis in sheltered locations, particularly during cold nights. If temperatures are expected to drop below 40°F, consider using heat packs when shipping your plants or provide additional warmth in their outdoor settings. This extra care can prevent frost damage.
For those growing Aloinopsis in pots, moving them indoors or to a greenhouse during extreme cold spells is a smart move. This simple step can greatly reduce the risk of frost harm. Regularly monitor nighttime temperatures and be prepared to act quickly if an unexpected cold snap occurs.
Covering your plants with frost cloths is another effective method. This helps trap heat and protect your Aloinopsis from freezing.
Summer Heat Tolerance
As summer temperatures rise, your Aloinopsis plants will thrive in an ideal range of 60°F to 80°F (15°C to 27°C). These warm conditions suit them perfectly, but you'll need to take some precautions to keep them happy.
First, be certain to water your Aloinopsis more frequently during the summer months. Higher temperatures can cause the soil to dry out faster, and your plant will need that extra moisture.
Even though Aloinopsis can tolerate temperatures up to 100°F (37.8°C), it's essential to provide adequate airflow and shade during the hottest parts of the day. This helps prevent leaf burn and keeps your plant healthy.
Remember, they can handle some heat, but too much can stress them out.
Another important point is root rot. Summer's increased watering can sometimes lead to soggy soil, which is a big no-no. Always make sure your Aloinopsis is in well-draining soil to keep the roots dry and happy.
A dry environment is key, especially when temperatures soar.
Manage Humidity Levels
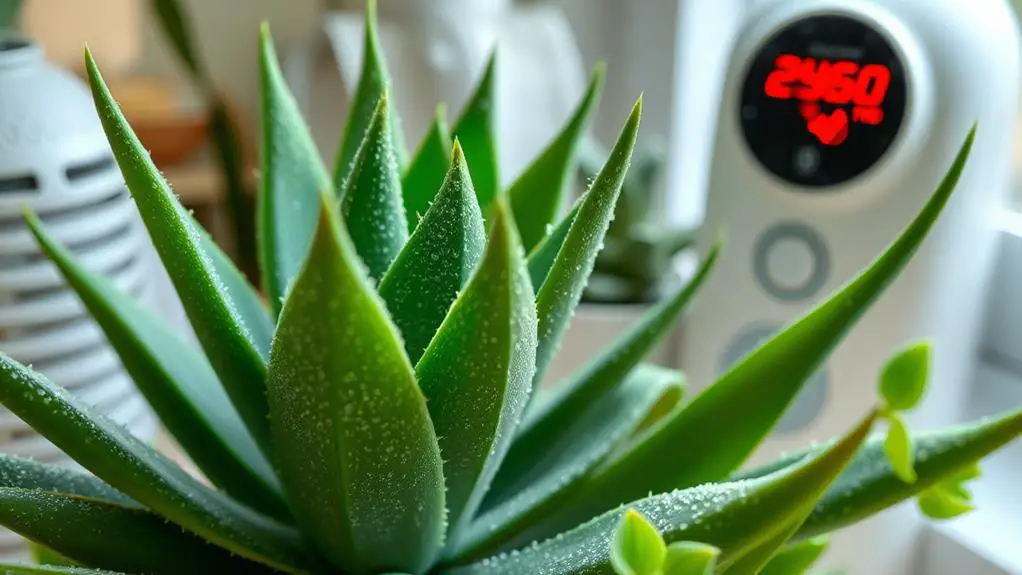
To manage humidity levels effectively for your Aloinopsis plant, it's essential to understand that these succulents thrive in low humidity environments. They prefer dry locations, so avoid placing them in bathrooms or other areas that retain moisture. High humidity can cause leaf softness and increase the risk of fungal diseases, so guarantee proper air circulation around the plant.
Start by placing your Aloinopsis in a well-ventilated area with plenty of light, ideally in a south or west-facing window. Bright light is key to their health.
Water sparingly and only when the soil is completely dry to prevent excess moisture, which can lead to humidity-related issues.
Use a soil mixture with excellent drainage, such as a blend of potting soil, perlite, sand, and pumice. This helps manage humidity and prevents root rot.
Fertilization Tips
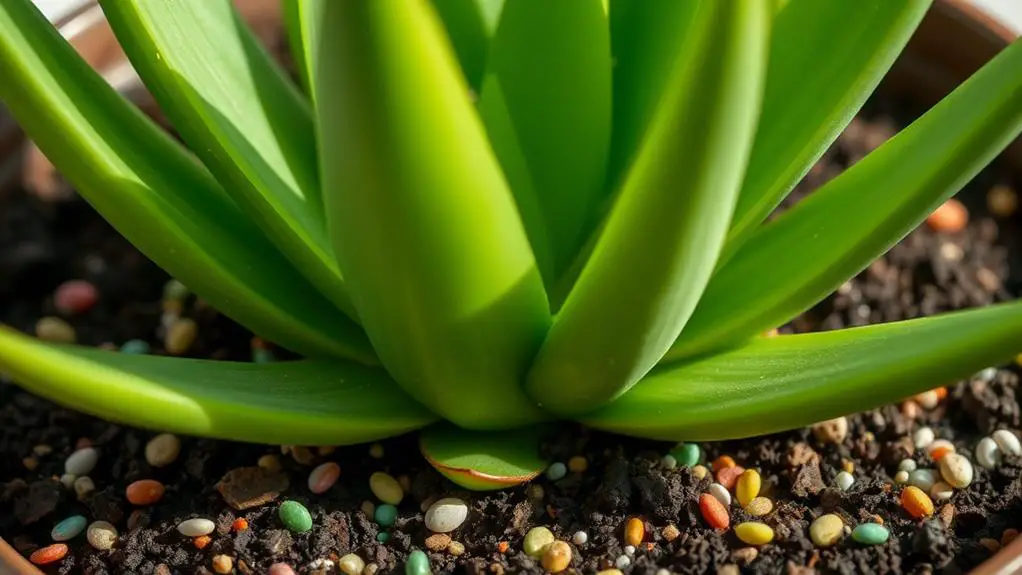
Fertilizing your Aloinopsis plant requires careful attention to avoid harming its delicate root system.
Aloinopsis plants thrive in nutrient-poor soils, so they don't need much fertilizer. At the beginning of the growing season, use a slow-release fertilizer to provide essential nutrients gradually. This method helps nourish your plant without overwhelming it.
During the active growing season, which spans from autumn to spring, you should only fertilize your Aloinopsis once. Use a diluted houseplant fertilizer to prevent root burn.
Here's a quick guide to keep things simple:
- Timing: Fertilize once in the active growing season (autumn to spring).
- Type: Select a slow-release fertilizer suitable for cacti and succulents.
- Strength: Always dilute the fertilizer to avoid over-fertilizing.
Avoid fertilizing during the dormant summer months. Applying fertilizer then can damage the roots and harm your plant's overall health.
Regularly check how your plant responds to fertilization. If you notice any leaf discoloration or other signs of over-fertilization, stop immediately.
Potting and Repotting
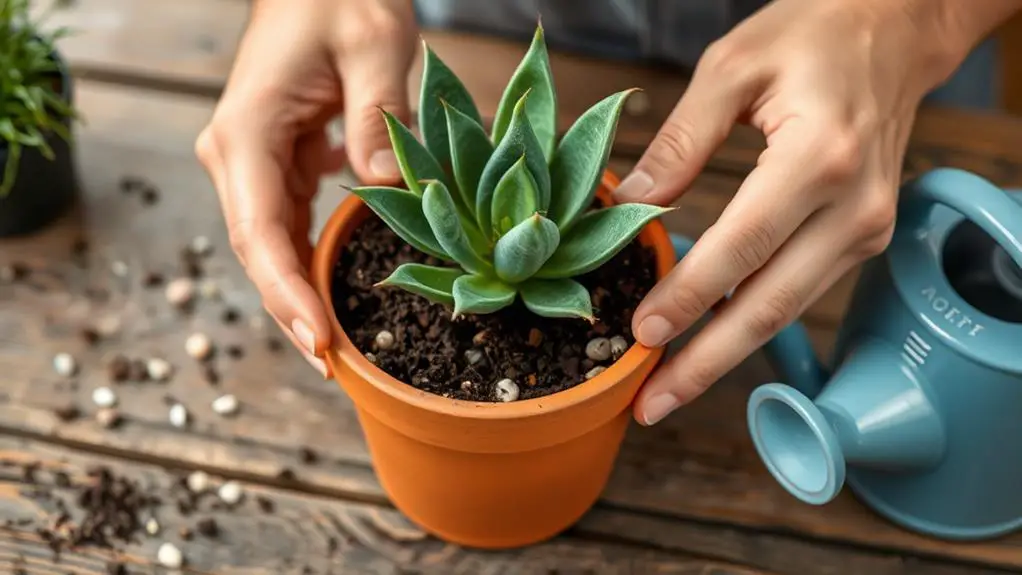
While fertilizing your Aloinopsis plant is important, how you pot and repot it can make a significant difference in its health and growth. Start by choosing a pot with drainage holes. Terracotta or ceramic pots are great options because they help with soil aeration and prevent root rot.
For the soil mix, use a well-draining blend. Combine cactus mix, perlite, sand, and pumice to create the perfect environment for your plant. This mix guarantees that water doesn't sit around the roots, which could cause them to rot.
Repotting should only be done when necessary, like when your Aloinopsis outgrows its pot, shows signs of root rot, or has a pest infestation. The best time to repot is early autumn when the plant is actively growing.
When you repot, gently probe the roots to create air pockets. This helps with aeration and keeps the roots healthy.
Make sure the new potting mix stays moist but not soggy. It should retain enough water for the plant without being overly wet. Always let the soil dry out completely between waterings.
Pruning Practices
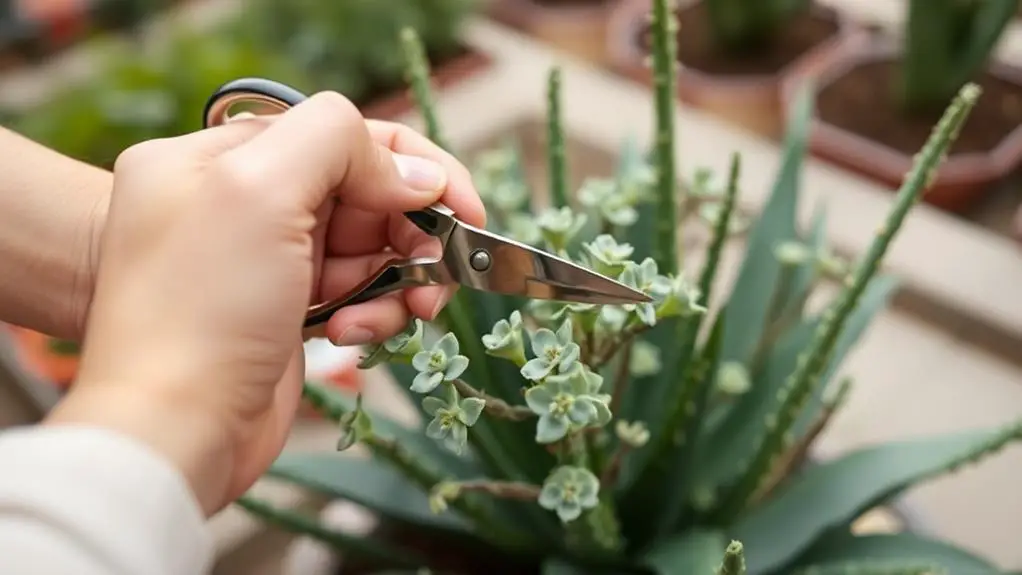
Pruning your Aloinopsis plant isn't usually a top priority, but it can be beneficial for removing dead or damaged leaves to keep the plant healthy and looking its best.
Although not essential, pruning can help maintain your plant's health and appearance. If you decide to prune, the best time to do it's during the active growing season, ideally in early spring or fall. This timing helps the plant recover quickly and encourages new growth.
Here are some practical tips to follow:
- Use the right tools: Always use sterilized pruning tools to prevent disease transmission. This keeps your plant safe from infections.
- Monitor regularly: Keep an eye on your plant for signs of overcrowding or dense branching. Light pruning can improve air circulation and light exposure, which benefits the plant.
- Avoid over-pruning: Aloinopsis plants are naturally compact. Excessive pruning can disrupt their structure and appearance. Stick to removing only dead or damaged parts.
Propagation Methods
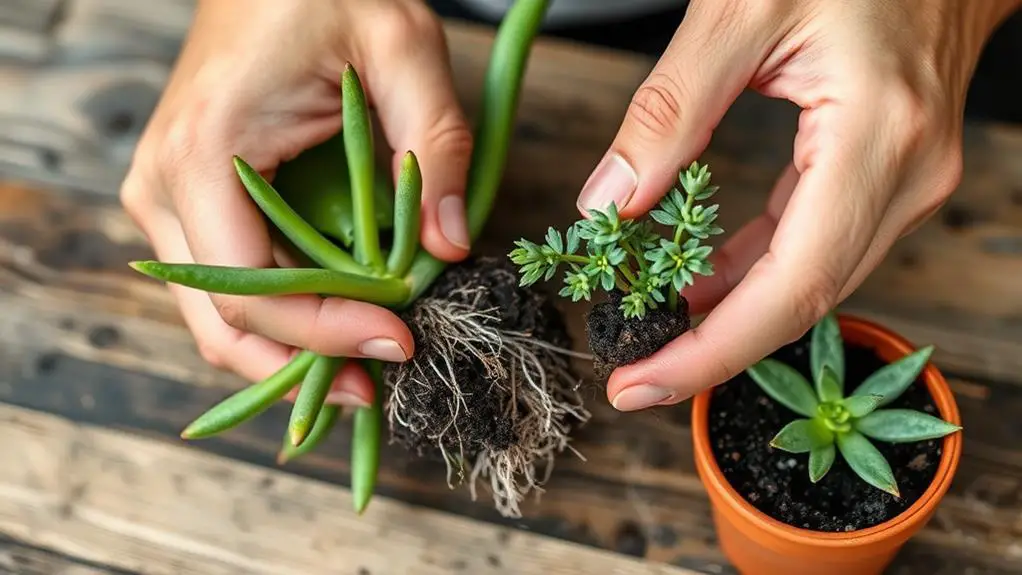
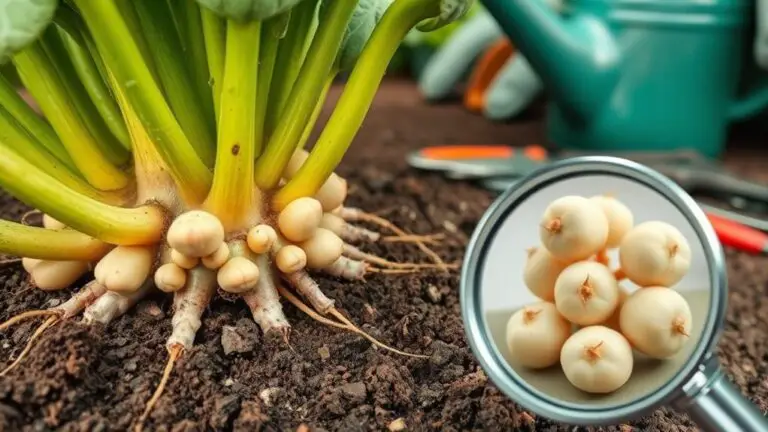
After confirming your Aloinopsis plant is well-pruned and healthy, the next step is learning how to propagate it effectively. You can propagate Aloinopsis through offsets or seeds, but using offsets is often the preferred method due to its higher success rate and ease of care.
To propagate using offsets, gently remove a small offset from the base of the parent plant. Make sure to use sterilized tools to prevent any disease transmission. Let the cuttings callus for a few days before planting them in a well-draining soil mix.
Keep the soil moist, but not soggy, during the rooting period to encourage new bud development.
If you prefer seed propagation, sow the seeds in a sandy, well-draining substrate. Keep the soil slightly moist until germination occurs, which typically takes a few weeks. Be patient and maintain a consistent moisture level without overwatering.
For both methods, it's best to propagate Aloinopsis during its active growing season, which is from winter to spring. This timing guarantees ideal results and healthy growth.
Common Pests and Problems
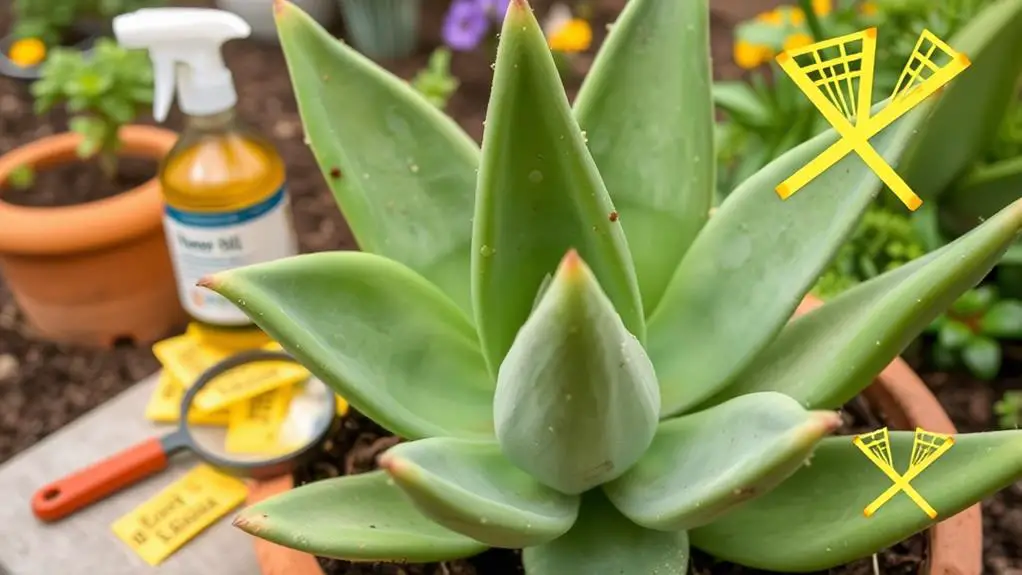
Common pests like mealybugs and spider mites can harm your Aloinopsis, but you can manage them with some care.
Keep an eye out for any signs of discoloration or spots on the leaves, as these may indicate a problem.
Use insecticidal soap or neem oil to treat infestations and guarantee you quarantine new plants to protect your healthy ones.
Identifying Common Pests
Regularly inspecting your Aloinopsis plant is essential for identifying common pests that can wreak havoc if left unchecked.
You'll want to keep an eye out for mealybugs, spider mites, and aphids, as these pests can cause significant damage quickly. Early detection is key to preventing a full-blown pest infestation.
Here are three signs to look for:
- Discoloration: Check the leaves for any unusual colors. Yellowing or spotting can indicate pest problems.
- Webbing: Spider mites often leave tiny webs on the plant. Look closely at the leaves and stems.
- Sticky Residue: Aphids and mealybugs can leave a sticky substance called honeydew. If you notice this, it's time to act.
Maintaining dry soil and proper ventilation can help stop pests from making a home in your plant.
High humidity and moisture attract pests, so try to keep the soil on the drier side. Additionally, it's wise to quarantine any new plants before adding them to your existing collection. This prevents the spread of pests or diseases to your healthy plants.
Effective Treatment Methods
Once you've identified potential pest issues, addressing them promptly with effective treatment methods is vital to your Aloinopsis plant's health. Overwatering is a primary issue, so guarantee the soil dries out completely between waterings to prevent root rot. Common pests like mealybugs and spider mites can be managed with insecticidal soap or neem oil.
If you notice mealybugs, act quickly. These pests form white, cotton-like masses on your plant. Spray the affected areas with insecticidal soap or a diluted neem oil solution. Spider mites, which create tiny webs, can also be controlled with these treatments. Regularly check under leaves and around the base for signs of infestations.
To prevent fungal diseases, avoid high humidity around your Aloinopsis. Guarantee good air circulation and keep the environment dry. Also, if you see curling or wrinkled leaves, it's a sign of insufficient watering. Check the soil moisture and adjust your watering schedule accordingly.
Here's a quick reference table to help you:
| Problem | Symptoms | Treatment |
|---|---|---|
| Overwatering | Root rot, soft leaves | Let soil dry out completely |
| Mealybugs | White, cotton-like masses | Insecticidal soap, neem oil |
| Fungal Diseases | Soft leaves, high humidity | Better air circulation, dry soil |
Preventing Future Infestations
Keeping your Aloinopsis plant healthy involves more than just treating existing issues; you also need to prevent future infestations. Regularly inspecting your plant for pests like mealybugs and spider mites is essential. Catching these early can save your plant from significant damage.
Treat infestations promptly with insecticidal soap or neem oil, guaranteeing you cover the undersides of leaves where pests often hide.
To prevent fungal diseases and reduce pest attraction, maintain dry soil conditions and avoid overly humid environments. High humidity can lead to leaf softness and rot, which invites more problems.
Using bottom watering techniques helps keep water away from the rosettes, reducing the risk of root rot.
Here are some practical steps to prevent future infestations:
- Regular Inspections: Check your Aloinopsis weekly for any signs of pests. Early detection is key.
- Proper Watering: Use bottom watering to avoid water sitting on leaves, and guarantee the soil drains well.
- Physical Barriers: Consider using copper tape around pots or crushed eggshells to deter slugs and snails.
Frequently Asked Questions
How Do You Care for Aloinopsis?
You need to give your Aloinopsis 4-6 hours of bright light daily, water sparingly, and use well-draining soil. Reduce watering in summer dormancy, fertilize minimally, and watch for pests. Follow these steps for a healthy plant.
How Do You Propagate Aloinopsis Schooneesii?
To propagate Aloinopsis schooneesii, use sterilized tools to take cuttings. Let them callus for a few days, then plant in well-draining soil. Keep the soil moist, not soggy, and propagate during late winter to early spring.
How Do You Propagate Aloinopsis Malherbei?
To propagate Aloinopsis malherbei, use sterilized tools to take cuttings, let them callus for a few days, and plant them in well-draining soil. Keep the soil moist, maintain warm temperatures, and provide bright, indirect light.
How Do You Propagate Aloinopsis Rubrolineata?
To propagate Aloinopsis rubrolineata, use sterilized tools to take leaf cuttings or offsets. Let them callus in a dry spot for a few days. Plant in well-draining soil, keep slightly moist, and monitor for growth.
Conclusion
By following these essential steps, you'll help your Aloinopsis plant thrive. Remember to use well-draining soil, provide adequate sunlight, and water sparingly. Keep an eye on temperature and humidity, and don't forget to prune and check for pests. Repot only when needed and try propagating your plant for more greenery. Caring for your Aloinopsis can be simple and rewarding. You've got this! With a little attention, your plant will flourish beautifully.

