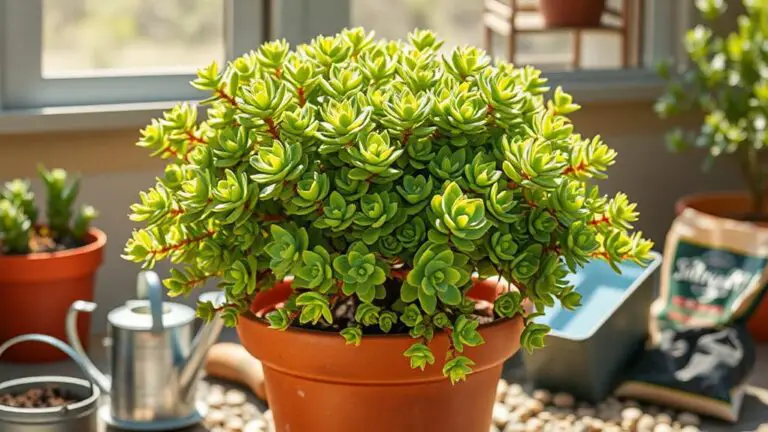
Drill a Drainage Hole in Any Pot in 3 Easy Steps
You can transform any pot into a functional planter with proper drainage by following three straightforward steps. First, gather your supplies, making certain you have a power drill and the right bit for your pot's material. Then, you'll need to secure and mark the pot to guarantee precision and stability. Finally, drilling the hole requires a specific technique to avoid damage and achieve the finest results. Want to make sure your plants thrive with ideal drainage? Let's walk through each step to get you started on this simple yet essential gardening task.
Gather Your Supplies
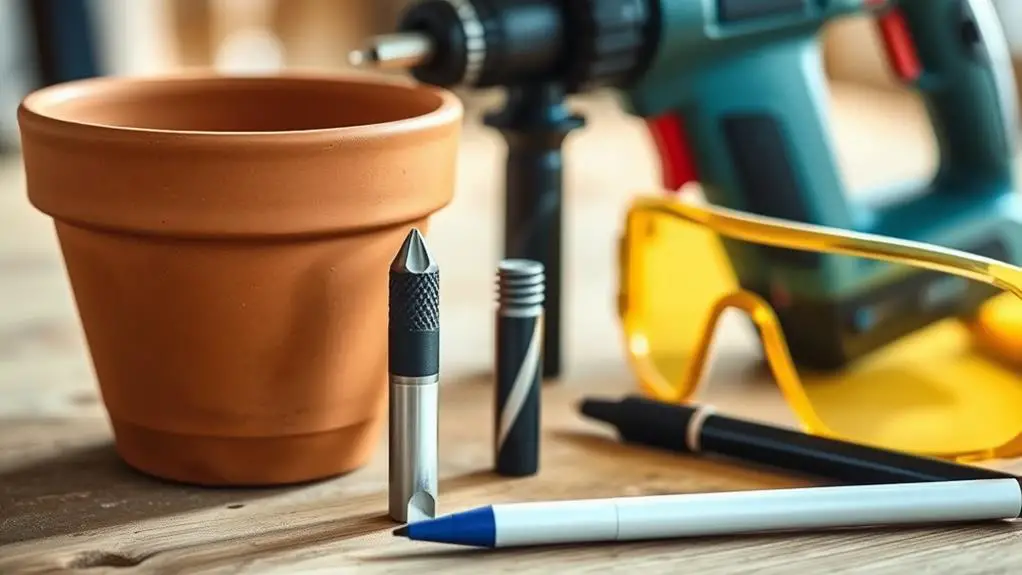
To get started, you'll need to gather a few essential supplies. First, make sure you have a power drill. It's important to use the right drill bit for your pot's material. For unglazed ceramic pots, you'll want a masonry bit, while glazed surfaces require a diamond drill bit. These bits make it easy to drill holes without cracking the pot.
Next, grab a spray bottle filled with water. Keeping the drilling area wet prevents overheating and cracking, ensuring you create a good drainage hole.
You'll also need a towel or a sturdy piece of wood. This will help stabilize the pot while drilling, providing a non-slippery surface and preventing accidents.
Safety is vital, so don't forget your safety goggles. They'll protect your eyes from debris and dust that may fly around during the drilling process.
Secure and Mark the Pot
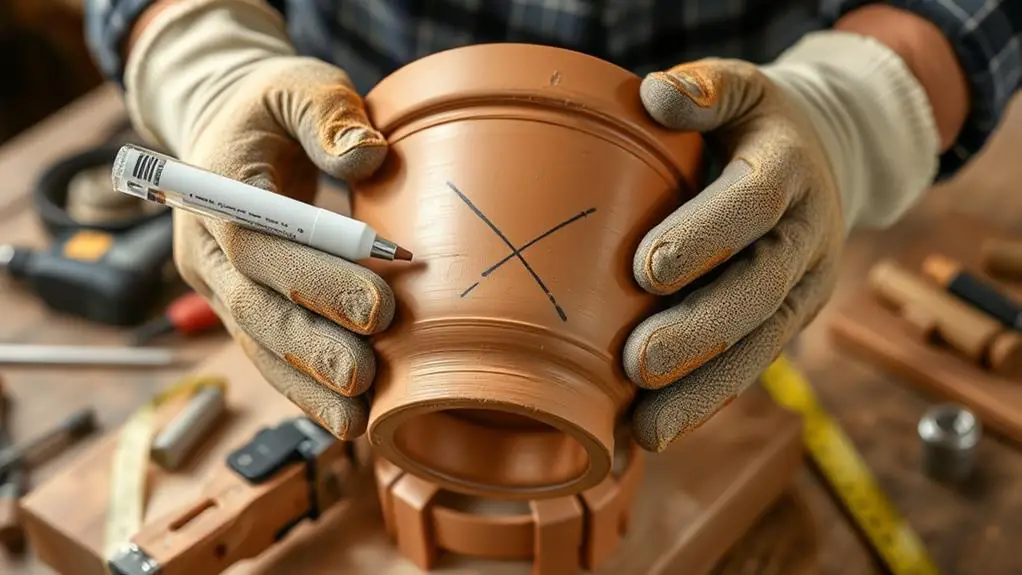
Once you've gathered your supplies, position the pot upside down on a sturdy work surface to guarantee stability while drilling. Before you begin, make sure the pot is clean and free of any decorative elements that could interfere with the drilling process.
Next, use a marker or pencil to clearly mark the desired location for the drain holes on the bottom of the Ceramic Pot. This step is essential to make certain of accuracy. If you're adding drainage holes to multiple pots, it's helpful to use a template to keep the holes uniform.
To prevent the pot from moving during the drilling process, secure the pot with a towel or clamp. This added stability will make the task easier and safer.
For extra precision, create a small starter mark at the marked location using a nail. This will help keep the best drill bit from slipping when you start drilling.
Here's a quick reference to help you remember these steps:
| Step | Description | Purpose |
|---|---|---|
| 1 | Clean pot | Ensure a smooth drilling process |
| 2 | Mark the desired location | Accurate placement of drainage holes |
| 3 | Secure the pot | Prevent movement during drilling |
| 4 | Create a starter mark | Keep drill bit steady |
| 5 | Choose the best drill bit | Effective drilling through ceramic material |
Drill the Hole
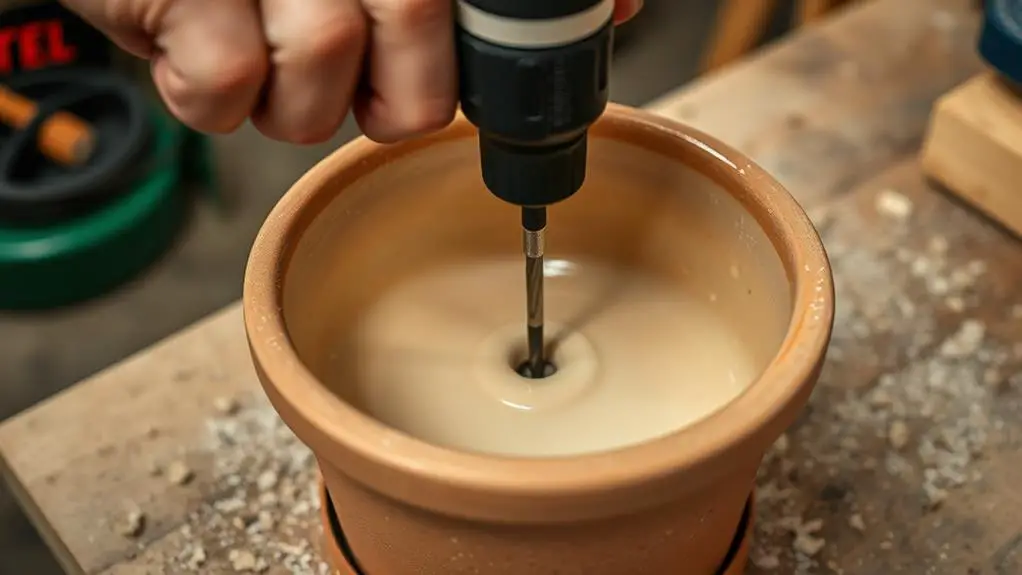
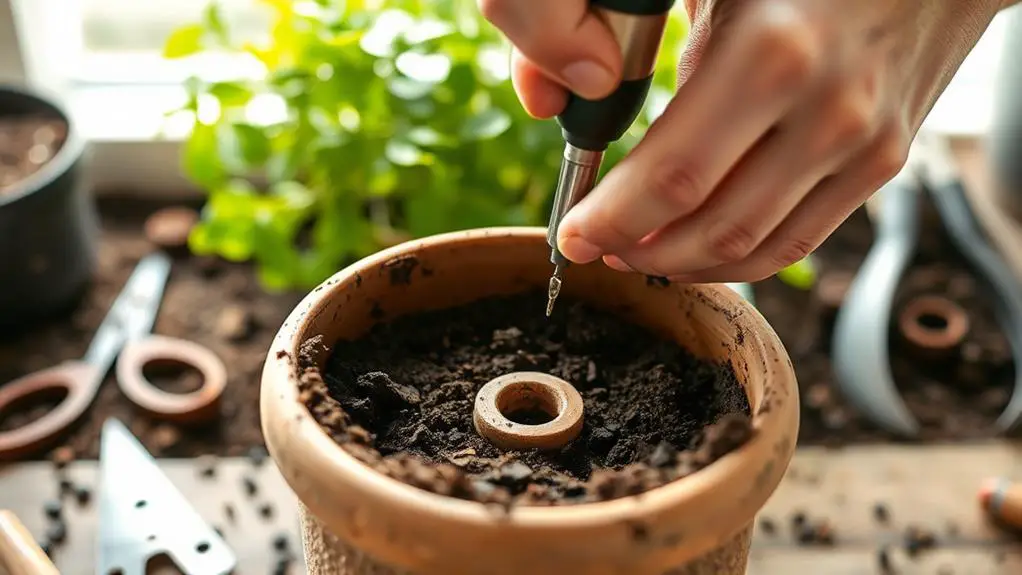
Drilling a drainage hole in your pot requires precision and care. Start by positioning your pot upside down on a stable surface. Mark the spot where you want to drill the hole. This helps you stay accurate.
Depending on the material of your pot, choose the right drill bit to use. For example, use diamond-tipped bits for glazed ceramic pots and masonry bits for unglazed ones. Begin drilling at a low speed to avoid cracking.
To keep things cool and prevent damage, apply water to the area you're drilling. This reduces friction and stops the drill bit from overheating. Maintain steady pressure as you drill. If you hit resistance, don't force it; switch to a hammer setting or take short breaks. This helps prevent mistakes and keeps you from getting tired.
After you drill the hole, clean the edges gently. This prevents root damage and guarantees water can drain properly. Let the pot dry completely before adding soil and plants.
Frequently Asked Questions
How to Drill Drainage Holes in a Pot?
First, mark where you want the drainage hole. Then, use the right drill bit for the pot's material. Apply water to keep it cool, and drill slowly. Finally, rinse the pot and let it dry before planting.
How to Drill a Hole in a Ceramic Pot Without Cracking?
Soak your unglazed ceramic pot overnight. Use a diamond-tipped bit for glazed ceramics or a masonry bit for unglazed. Mark a starter point with a nail, drill at low speed, and keep the area moist to prevent cracking.
Can You Drill a Hole in a Ceramic Pot With a Regular Drill Bit?
You can drill a hole in an unglazed ceramic pot with a regular drill bit. However, for glazed pots, you should use a diamond-tipped or glass and tile drill bit to prevent cracking and guarantee a clean hole.
How to Make a Hole in a Clay Pot Without Breaking It?
To make a hole in a clay pot without breaking it, soak the pot overnight to soften it. Use a masonry drill bit, keep it wet while drilling, and start with a small hole, gradually increasing the size.
Conclusion
Congratulations, you did it! By following these three steps, you've successfully drilled a drainage hole in your pot. Now your plants can thrive with proper drainage, reducing the risk of overwatering. Remember, taking your time and using the right tools makes all the difference. Don't hesitate to try this on different pots, and soon you'll be a pro. Keep nurturing your green thumb, and happy gardening! You've got this!

