7 Simple Steps to Graft a Cactus Successfully
If you're ready to successfully graft a cactus, you'll need to follow seven essential steps that guarantee a healthy and thriving result. You'll start by gathering and sterilizing your tools, which is vital to prevent any contamination. Then, selecting compatible rootstock and scion plants becomes your next focus, making sure they're similar in size. By making precise, clean cuts and aligning the vascular bundles, you set the stage for a strong graft. But that's just the beginning—how you secure, heal, and care for the graft will determine its success. Curious to know more about each step?
Gather Your Tools

Before you begin grafting a cactus, it's vital to gather all the necessary tools. Start with a sharp grafting knife or blade. This is important because clean cuts on both the rootstock and scion promote successful grafting. Make sure the knife is sharp to guarantee precision.
Next, prepare rubber bands or grafting tape. These will hold the scion in place on the rootstock as they heal together. Without them, the graft mightn't take hold properly. It's a simple but significant step.
You'll also need 70%+ isopropyl alcohol. Use this to sterilize your knife and any other tools you'll use. A sterilized knife prevents infections that can harm your cactus. It's best to regularly clean the blades during the process to keep everything as sterile as possible.
Create a sterile workspace by cleaning the area where you'll work. This minimizes contamination risks, which is important for the health of your grafted cactus.
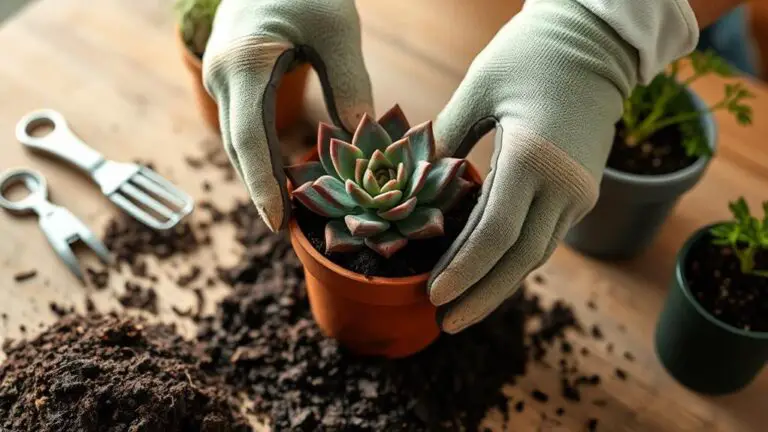
Finally, wear gloves to maintain hygiene and protect your hands. Handling cactus parts can be tricky, and gloves will keep you safe from any sharp spines while keeping your tools and cactus clean.
With these tools ready, you're set for a successful grafting experience!
Select Rootstock and Scion

Selecting the right rootstock and scion is essential for a successful cactus grafting project. The rootstock needs to be strong and compatible in size with the scion to guarantee they can exchange nutrients effectively and support each other's growth.
Popular choices for rootstock include San Pedro (Cereus peruvianus) and Blue Candle Cactus (Myrtillocactus geometrizans), both known for their stability and disease resistance.
When choosing a scion, look for traits you find appealing, such as vibrant colors or unique shapes. Common scions include Moon Cactus (Gymnocalycium mihanovichii) and Sand Dollar Cactus (Astrophytum asterias).
The diameters of the rootstock and scion should be similar to minimize exposed flesh at the graft union, making it look neat and helping the graft to heal properly.
To increase your chances of a successful grafting, follow these steps:
- Choose Compatible Sizes: Guarantee the rootstock and scion diameters are similar.
- Select Healthy Plants: Both the rootstock and scion should be free from pests and diseases.
- Pick Stable Rootstock: Choose options like San Pedro or Blue Candle Cactus for their stability.
Sterilize Your Tools

Before you start grafting, it's essential to clean your tools with 70%+ isopropyl alcohol to kill any pathogens that might infect your cactus plants.
Make sure your knife or blade is sharp to guarantee clean cuts, which help the plant heal better.
Also, remember to sanitize your workspace and gloves to prevent any cross-contamination during the process.
Importance of Clean Tools
Sterilizing your tools with 70%+ isopropyl alcohol is vital for grafting a cactus successfully. When you're working with cacti, clean tools are a must. They help guarantee that the grafting surfaces are free from contaminants, promoting a successful union between the scion and rootstock.
Without sterilizing, you risk introducing pathogens that could infect your cactus, leading to graft failure or even plant death.
To make the process smoother, follow these steps:
- Use sharp, sterile tools: A sharp, clean grafting knife minimizes damage to plant tissues, leading to cleaner cuts and better healing.
- Regularly sanitize: Keep sterilizing your tools throughout the grafting process to reduce the risk of cross-contamination between different cactus species.
- Guarantee proper integration: Proper tool sterilization is key to achieving a high success rate for grafting, as it supports the healthy integration of the grafted parts.
Using Isopropyl Alcohol
One essential step for successful cactus grafting is using 70% isopropyl alcohol to sterilize your tools. Before you start the grafting process, make certain all your tools are clean. Wipe down your grafting knife, rubber bands, and clips with isopropyl alcohol. This helps eliminate any potential pathogens that could harm your cacti.
Keep a bottle of isopropyl alcohol nearby while grafting. It's vital to have easy access to maintain a sterile environment throughout the procedure. Allow the alcohol to dry completely on the tools before you proceed with grafting. This guarantees maximum effectiveness and safety.
Regularly sterilizing tools during the grafting process will help you avoid cross-contamination between different cactus species. Here's a quick reference table to help you remember the steps:
| Step | Action | Purpose |
|---|---|---|
| 1. Gather tools | Collect knife, rubber bands, clips | Prepare for grafting |
| 2. Apply isopropyl | Wipe tools with 70% isopropyl alcohol | Eliminate pathogens |
| 3. Let tools dry | Allow alcohol to evaporate completely | Guarantee maximum sterilization |
| 4. Repeat periodically | Clean tools regularly during grafting | Maintain a sterile environment |
Preventing Cross-Contamination
Guaranteeing you prevent cross-contamination is essential when grafting cacti, as lingering pathogens can easily spread and jeopardize the health of your plants. To avoid this, always sterilize your grafting tools and work area. It's a straightforward process that can make a big difference.
First, use 70% or higher isopropyl alcohol to sterilize your grafting tools. Wipe down the blade of your grafting knife thoroughly before each cut. This guarantees any pathogens from previous plants are eliminated.
Here's a quick guide to help you:
- Sterilize Your Tools: Before you begin, soak a cloth or paper towel in isopropyl alcohol and wipe down your knife, pruners, or any other tools you'll use.
- Clean Your Work Surface: Make sure your work surface is clean. Wipe it down with alcohol to guarantee no contaminants are present.
- Post-Grafting Cleaning: After grafting, clean your tools again to avoid spreading any contaminants to other plants you might work with later.
Consider wearing gloves during the grafting process to minimize the transfer of oils, dirt, and bacteria from your hands to the cactus. This simple step helps maintain a clean environment and guarantees the health of your plants.
Make Clean Cuts
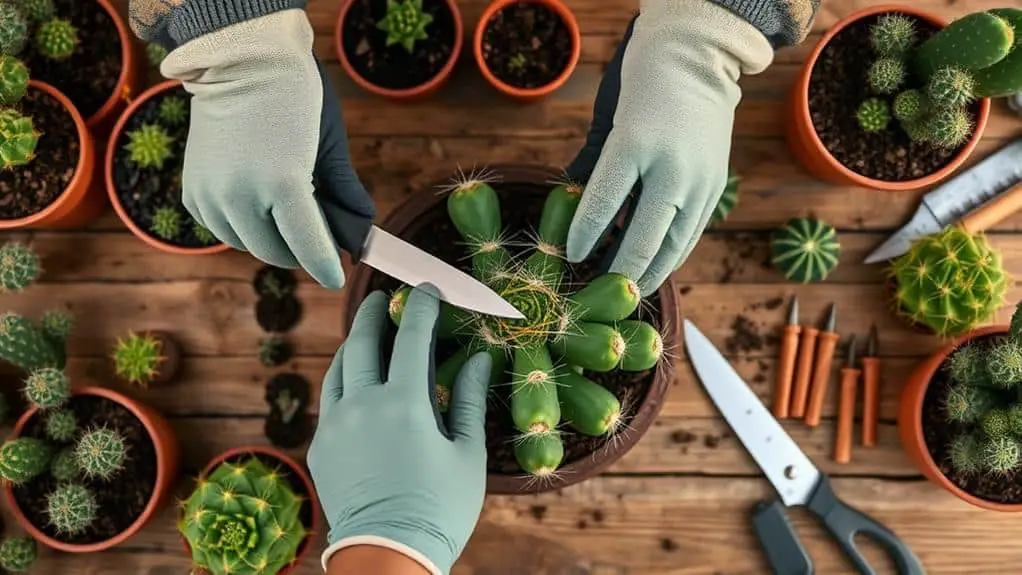
A clean cut is paramount when grafting a cactus, as it minimizes tissue damage and sets the stage for successful healing and integration. To achieve this, use a sharp blade or grafting knife. A dull blade can tear the cactus, causing more harm than good. When you make clean cuts, you're giving your cactus the best chance to thrive.
Start by cutting the rootstock with a flat and even surface. This stable base is essential for attaching the scion onto it securely. Next, angle or bevel the cuts on both the rootstock and scion. This increases the surface area for the vascular cambium to connect, promoting better nutrient exchange.
Remember, the fresher the cut, the better, so make these cuts right before grafting to keep the tissues moist.
Always sterilize your cutting tools with 70%+ isopropyl alcohol before making any cuts. This step prevents infections and diseases from affecting your cactus. A clean, sharp blade and proper technique can make all the difference.
Align and Secure

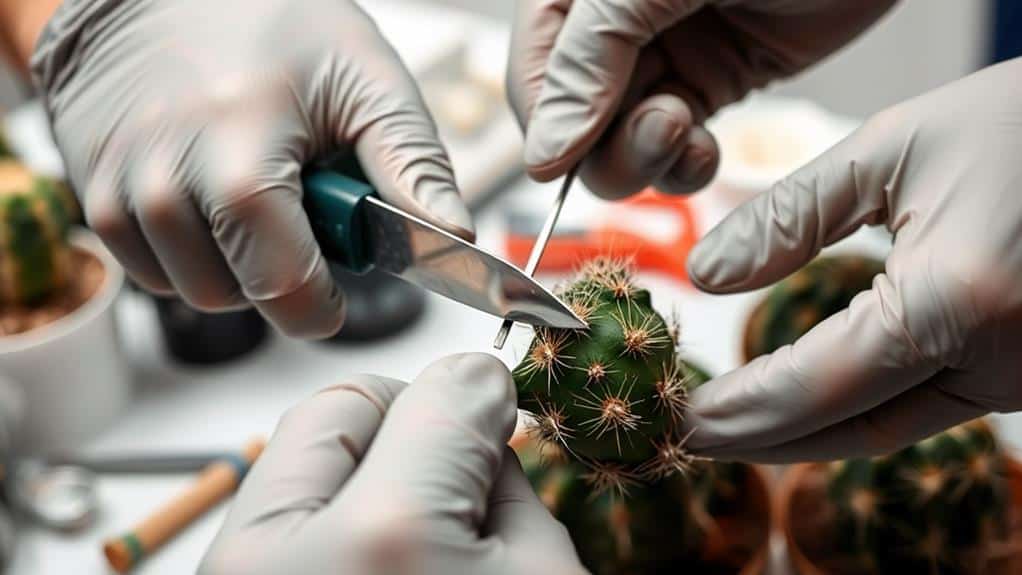
Aligning and securing your cactus graft properly is essential for a successful union. Start by guaranteeing the vascular bundles of both the rootstock and scion are precisely aligned. This alignment is critical because it allows for effective nutrient and water transfer, which is indispensable for the graft to thrive.
Use a sharp grafting knife to make clean cuts on both the rootstock and scion. Freshly exposed vascular tissue helps the two parts adhere better.
After aligning the vascular bundles, apply gentle, even pressure to secure the scion to the rootstock. This step is important to eliminate any air gaps that could hinder the healing process. You can use grafting tape, rubber bands, or clips to hold the scion in place. Make sure the securing material is tight enough to maintain contact without damaging the tissues.
Here's a quick checklist to keep in mind:
- Align the Vascular Bundles: Guarantee precise alignment for nutrient transfer.
- Apply Gentle Pressure: Secure the scion without creating air gaps.
- Use Securing Materials: Utilize grafting tape, rubber bands, or clips for a firm hold.
Monitor the graft union closely for signs of successful bonding, such as callus formation and new growth within two weeks.
Allow Healing Time

After grafting, you need to give your cactus some time to heal properly.
Place it in a shaded, humid spot to help the scion and rootstock fuse together, and check regularly for any signs of infection.
Don't disturb the graft during this 7 to 10-day period to let the cells integrate smoothly.
Optimal Healing Environment
Creating the ideal healing environment for your grafted cactus is vital for its recovery and growth. After grafting, place your cactus in a shady location with high humidity to promote healing and prevent desiccation. Maintaining the right humidity levels is essential, as it keeps the environment moist and helps reduce the risk of infection.
Here's how you can create an ideal healing environment:
- Temperature Control: Keep the temperature between 70°F to 85°F (21°C to 29°C). This range supports the cactus's growth and recovery during the healing period.
- Humidity Levels: Make sure the area is humid. You can achieve this by placing a humidity tray nearby or misting the air around the cactus. This helps keep the graft union moist and aids in the healing process.
- Healing Period: Allow a healing period of 7-10 days before removing any securing materials. This time frame lets the graft union stabilize, guaranteeing a successful graft.
Avoid watering your grafted cactus during this period to prevent over-saturation, which could lead to rot at the union.
Post-Graft Monitoring
Once you've established the ideal healing environment for your grafted cactus, it's time to focus on post-graft monitoring.
Start by placing the cactus in a shady, humid spot. This reduces stress on the graft union and promotes healing. The fusion process between the rootstock and scion typically takes 7 to 10 days. During this period, avoid disturbing the cactus to guarantee proper bonding.
Keep a close eye on the graft site. Monitor for any signs of infection or color changes. These could indicate graft failure or rot. If you notice anything unusual, act quickly to address the issue before it worsens.
After the initial healing period, gradually introduce your cactus to brighter light conditions. This prevents shock and encourages healthy growth. But don't rush it; your cactus needs time to adjust.
One of the best indicators of a successful graft is new growth emerging from the scion. This usually happens within two weeks.
Seeing new growth is a good sign that your grafting efforts were successful.
Monitor and Care

Wondering how to guarantee your grafted cactus thrives? It's all about proper monitoring and care.
Start by keeping an eye on the graft union for signs of successful integration, like new growth or color changes, within the first two weeks. This will help you know if the graft is taking.
Next, let's talk about water. It's vital to water sparingly. Overwatering can lead to root rot, which nobody wants. Allow the soil to dry out between each watering session to keep your cactus healthy.
Pests can be a real problem, especially during the initial healing period. Regularly inspect your cactus for any signs of pests or diseases. If you spot any issues, treat them promptly to prevent further damage.
Here's a quick checklist to make it easier:
- Monitor the graft: Check for new growth or color changes within two weeks.
- Water sparingly: Let the soil dry out between watering sessions to avoid root rot.
- Inspect for pests: Regularly look for pests and treat any issues quickly.
Maintaining ideal conditions, like bright indirect light and moderate humidity, will also support your cactus.
After the healing period, use a diluted cactus-specific fertilizer to encourage healthy growth. Follow these steps, and you'll have a thriving grafted cactus!
Frequently Asked Questions
How to Graft Cactus for Beginners?
To graft a cactus, gather a sharp knife, rubber bands, and sterilizing alcohol. Pick compatible rootstock and scion, align their cuts, secure with rubber bands, and keep in a shaded, humid spot for 7-10 days to heal.
How Long to Leave a Cactus Graft?
You'll need to leave the cactus graft undisturbed for 7 to 10 days. During this period, keep it in a shady, humid environment. After a week, check for infections or color changes before removing securing materials.
What Is the Fastest Way to Root a Cactus?
The fastest way to root a cactus is by using a cutting. Let it dry for 1-2 weeks, then plant it in well-draining soil. Water sparingly and provide bright, indirect light to encourage root development in 2-4 weeks.
When to Water a Grafted Cactus?
You should water a grafted cactus only when the top inch of soil feels dry. Typically, this means every 2-4 weeks during the growing season and even less frequently in the dormant season.
Conclusion
You've got this! By following these seven steps, you'll be well on your way to successfully grafting a cactus. Remember to gather and sterilize your tools, choose the right rootstock and scion, make clean cuts, and align everything perfectly. Secure your graft and allow it to heal in a warm, humid environment. Keep an eye on it for any signs of trouble and give it the care it needs. Soon, you'll see your cactus thrive! Happy gardening!