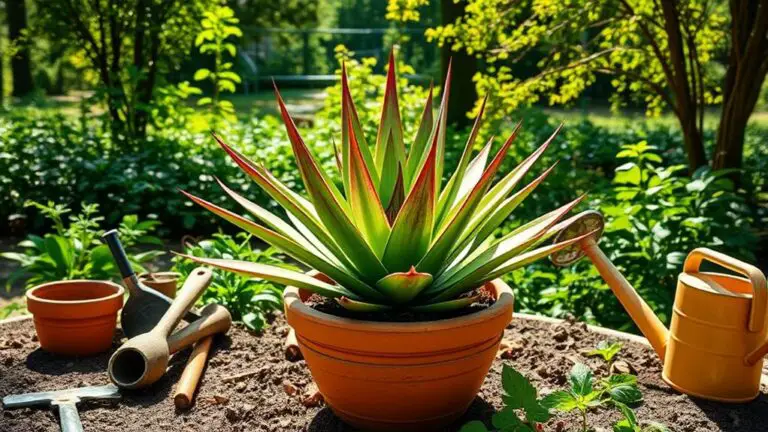
7 Steps to Repotting Root Bound Succulents
When you notice your succulent's roots peeking out from the drainage holes, it's time to take into account repotting. This process is vital for maintaining its health and guaranteeing continued growth. Start by gathering all necessary materials and selecting a new pot that's at least 10% larger. You'll want to remove the succulent with care to avoid damaging the roots. Pruning any unhealthy roots is essential before replanting. Wondering how to ascertain the best post-repotting care? Let's go through these seven steps to make certain your succulent thrives.
Identify the Need
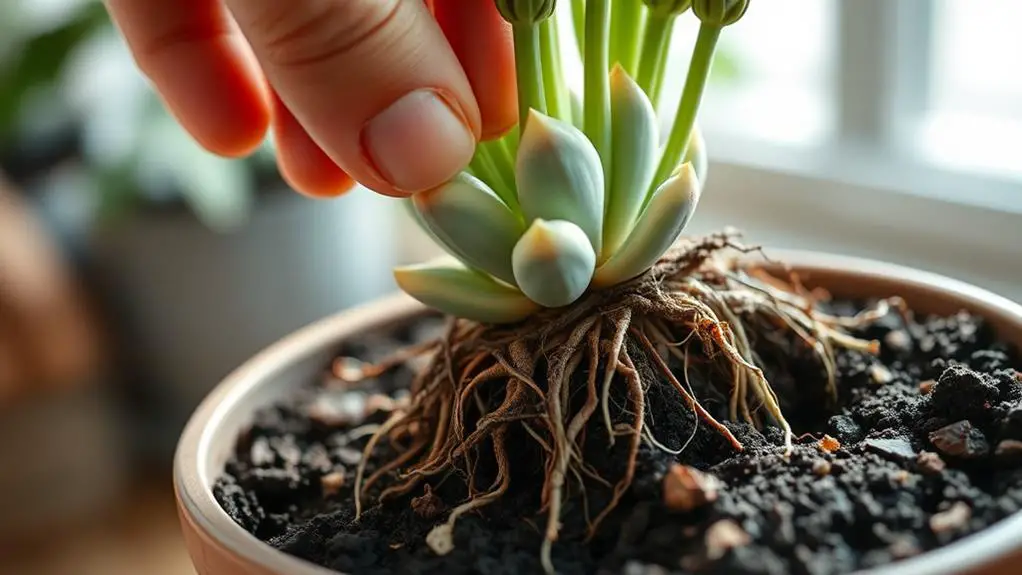
Recognizing when your succulent needs repotting is essential for its health and growth. To identify the need, start by checking if the roots are emerging from the drainage holes. This is a clear sign your plant is root bound and requires a larger pot.
Another hint is if the soil dries out too quickly, meaning the roots have taken over the pot and there's not enough soil to retain moisture. Stunted growth or a lack of new leaves can also suggest your succulent is root bound.
If you've noticed these signs and your plant has been in the same pot for nearly a year, it's time to contemplate repotting succulents. Additionally, if your succulent is leaning or toppling over, it might need a heavier pot for better stability, which can be addressed during repotting.
Inspect the root system by gently removing the plant from its pot. If you see tight, circling roots, it's a strong indicator of being root bound.
Addressing these signs promptly will help your succulent thrive. By understanding and identifying the need for repotting, you'll guarantee your plant stays healthy and continues to grow beautifully.
Gather Materials
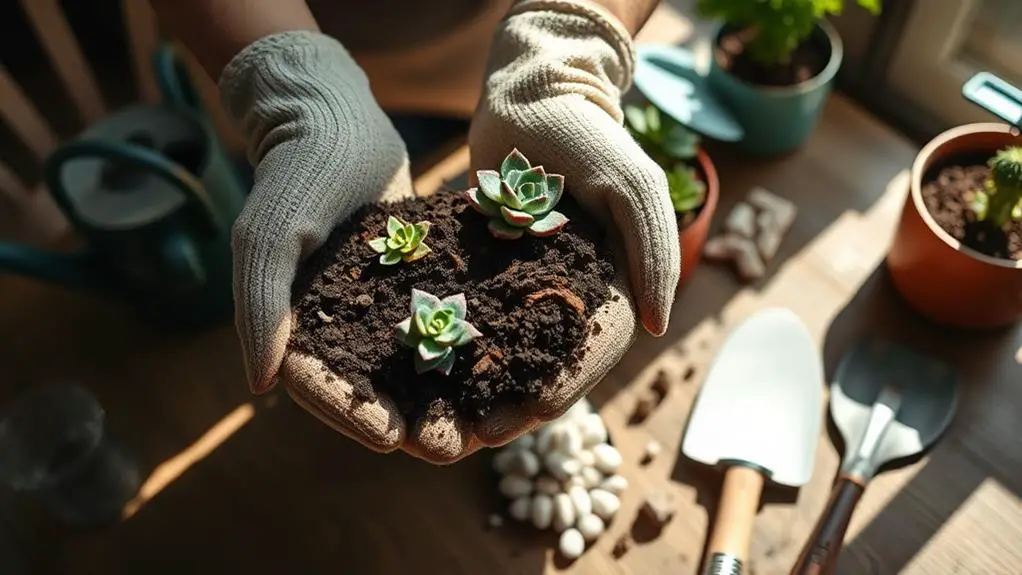
Before you start repotting your root-bound succulent, make sure you gather all the necessary materials.
You'll need a new pot that's at least 10% larger than the current one, a well-draining soil mix, and a small shovel or trowel.
Don't forget gloves and clean, sharp scissors or pruning shears for trimming roots.
Essential Repotting Tools
When it's time to repot your root-bound succulent, having the right tools on hand makes the process smoother and more efficient.
First, you'll need a new pot that's at least 10% larger than the current one. Confirm it has adequate drainage holes to prevent water retention, which can lead to root rot.
Next, gather a well-draining soil mix. This special mix often includes ingredients like perlite or sand, which help water flow through the soil, keeping the roots healthy.
When you repot your succulents, the roots begin to spread out, so a good soil mix is essential.
A trowel or small shovel is necessary for carefully removing your succulent from its old pot. This tool helps you avoid damaging the delicate roots during the changeover.
If you're dealing with cacti or spiny succulents, gloves are a must to protect your hands from thorns.
Consider using coffee filters to cover the drainage holes in the new pot. This clever trick prevents soil loss while still allowing excess water to escape.
With these essential tools, you'll be well-prepared to repot your succulents and guarantee they thrive in their new home.
Selecting New Pot
To give your root-bound succulent the best chance to thrive, start by selecting a new pot that's at least 10% larger in height and width than the current one. This extra space allows the roots to grow comfortably without crowding.
Make sure the new pot has proper drainage. Drainage holes are essential for preventing water from sitting at the bottom, which can lead to root rot.
Look for pots made from breathable materials like terracotta or ceramic. These materials help manage moisture levels and improve air circulation around the roots, keeping your succulent healthy.
Before you begin repotting, gather your succulent soil. It's important to have well-draining soil, ideally with ingredients like perlite or sand. This type of soil supports healthy root growth by ensuring water doesn't linger and cause problems.
Keep a few different pots on hand to give yourself flexibility. Different succulents might need different sizes, and having options makes the process smoother.
Choosing Potting Mix
As you prepare to repot your succulent, choosing the right potting mix is vital for its health and growth. Start by selecting a potting mix specifically designed for succulents. This type of mix usually contains a blend of sand, perlite, and organic matter. These ingredients guarantee proper drainage and aeration, which are essential for preventing root rot.
Make certain the soil is fresh and lightweight. It should allow excess water to flow through easily. This minimizes the risk of your succulent sitting in water, which can lead to root rot.
Avoid using regular potting soil, as it retains too much moisture and can harm your succulent.
You can enhance your potting mix by adding extra perlite or coarse sand. This will improve drainage and create a more suitable environment for your succulent's roots.
Always verify the potting mix is sterile to reduce the risk of introducing pests or diseases.
Prepare the New Pot
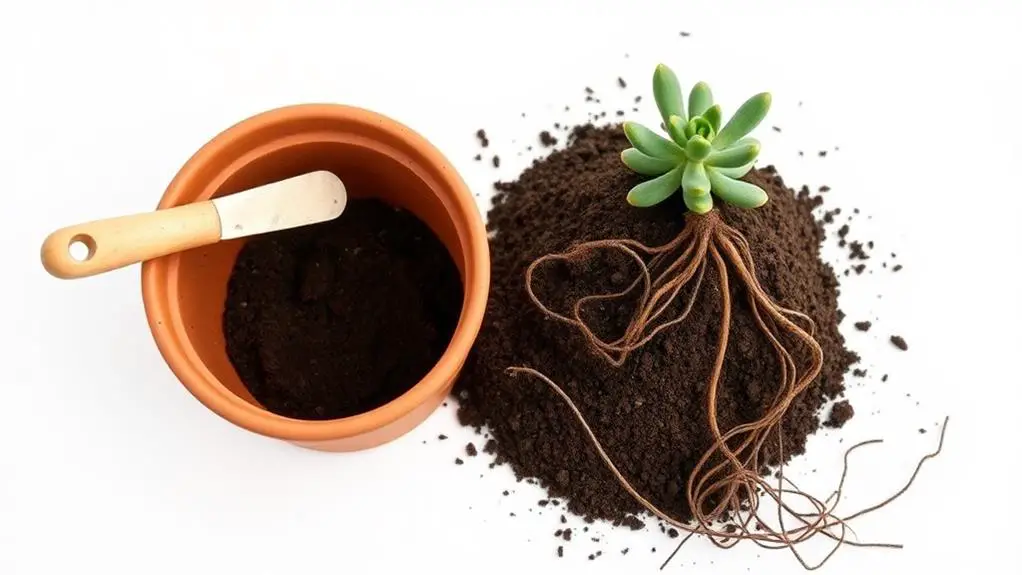
Getting started with preparing the new pot for your succulent is straightforward and vital for its healthy growth. First, choose a new pot that's at least 10% larger in height and width than the current one. This gives your succulent's roots ample space to expand. Confirming the new pot has drainage holes is essential to prevent water retention and reduce the risk of root rot.
Next, you'll need a well-draining soil mix. Use soil specifically designed for succulents and include materials like perlite or pumice to guarantee ideal drainage. Before you begin, prepare your workspace by laying down a protective covering to catch any soil spills.
Consider using a coffee filter to cover the drainage holes. This prevents soil loss while still allowing excess water to drain freely. Here's a quick reference table to help you:
| New Pot Size | Drainage Holes | Soil Mix |
|---|---|---|
| 10% larger | Vital | Succulent-specific with perlite or pumice |
| Ample space | Prevents root rot | Well-draining |
| Healthy roots | Protects soil | Ideal drainage |
Remove the Succulent
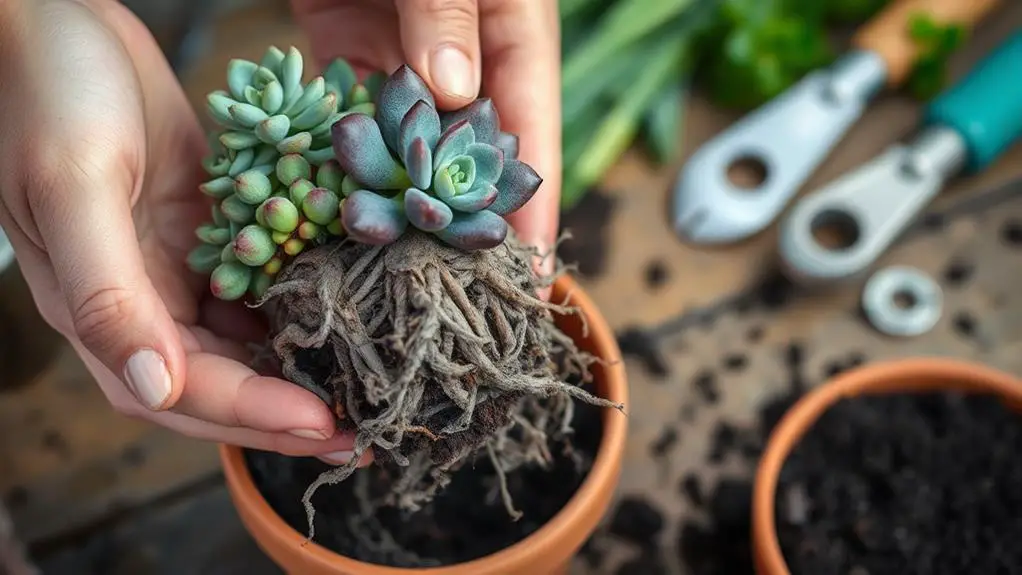
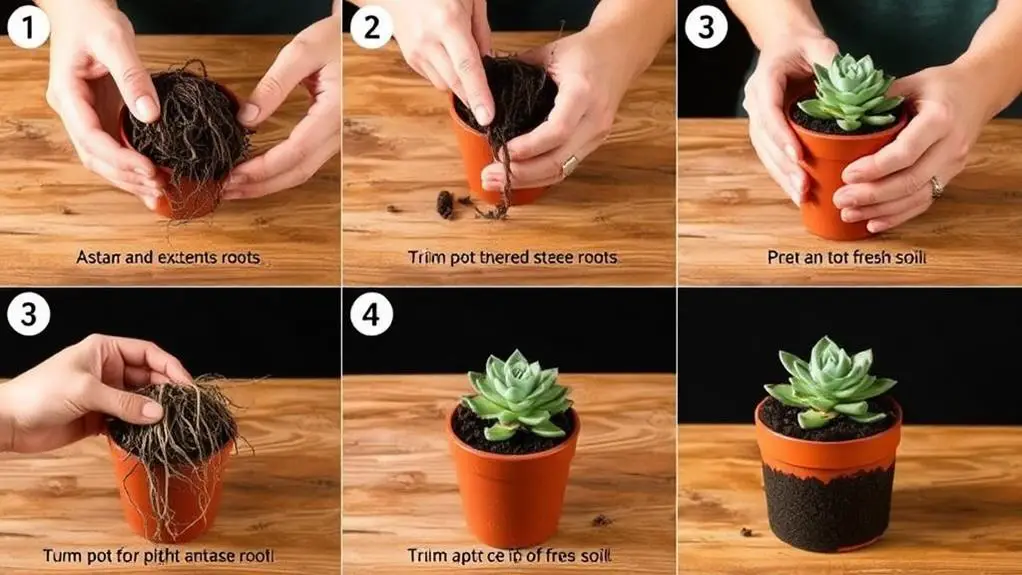
To remove your succulent, start by gently tapping the sides of the pot to loosen the soil and help release the roots.
If the plant is tightly bound, use a tool to pry it out carefully, or break the pot if needed.
Handle the roots with care to preserve their integrity and promote healthy growth.
Gently Loosen Soil
When you're ready to repot your root-bound succulent, start by gently tapping the sides of the old pot to help release any tightly bound soil and roots. This will make it easier to remove the succulent without causing damage.
Use a small trowel or your fingers to carefully work around the edges of the root ball, breaking up the compacted soil. Be gentle to avoid harming the roots.
If the succulent is stubbornly stuck, you might need to turn the pot upside down. Hold the succulent with one hand while tapping the bottom of the old pot with the other. Gravity can help loosen the plant from its container.
Once you've managed to remove the succulent, gently shake off any excess soil to expose the roots.
Now, inspect the root system closely. Look for any circling or damaged roots and trim the roots that appear unhealthy or excessively long. This trimming will encourage healthier growth once the succulent is in its new home.
With the roots trimmed and the old soil removed, you're ready to gently place the succulent into a new pot filled with fresh potting media, setting the stage for your plant to thrive.
Preserve Root Integrity
Carefully removing a root-bound succulent from its old pot is vital for preserving root integrity. Start by gently grasping the base of your succulent. Wiggle it slightly to loosen the roots from the pot. Be cautious not to damage the leaves or stems.
If the plant feels stuck, tap the sides of the pot or give it a gentle squeeze. This helps release the root ball without breaking it apart.
Once the succulent is free, inspect the root system closely. Look for any signs of rot or damage. Trim away any dead or unhealthy roots with clean, sharp scissors. Doing this guarantees your succulent has a healthy foundation when it gets repotted.
Remember, avoid pulling forcefully on the plant. Pulling can break stems or leaves and cause unnecessary stress.
Handling your succulent by the root ball, rather than the leaves, is an important step. This simple action preserves the plant's integrity and reduces the risk of injury during the removal process.
With a bit of patience and care, you'll successfully prepare your succulent for its new home, making sure it continues to thrive and grow.
Handle With Care
Now that you've inspected and trimmed the roots, it's time to remove the succulent from its old pot.
Start by gently tapping the sides of the pot. This helps to loosen the soil and free the roots without causing damage. If the succulent is still stuck, you can use a small tool or your fingers to carefully pry the roots away from the pot's walls.
Remember, it's important to handle the plant with care to avoid breaking the roots, stems, or leaves.
To make the process easier, follow these steps:
- Tap the pot gently: This loosens the soil and makes it easier to remove the plant.
- Use a small tool if needed: A spoon or a small garden tool can help pry the roots free.
- Hold the base of the plant: This provides support and prevents breakage.
- Tease apart tightly bound roots: Gently separate them to encourage new growth.
- Move slowly and carefully: Patience is key to avoiding damage.
Prune the Roots
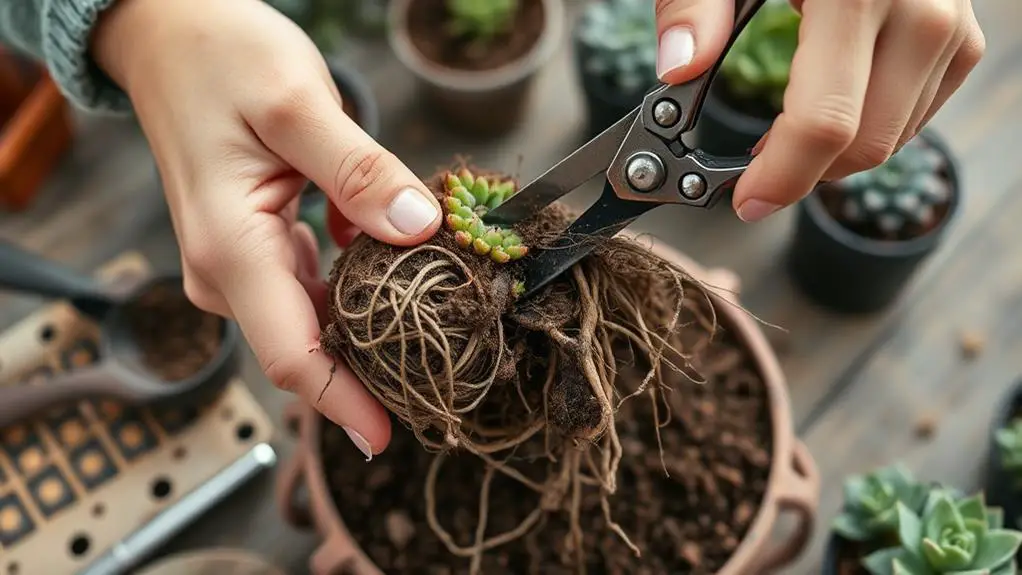
Pruning the roots of your root-bound succulents is an essential step to guarantee their health and vigor. To start, gently loosen the tightly bound roots with your fingers. This prevents damage before you make any cuts. Look for circling or excessively long roots and trim them back to a length of 1-2 inches. This encourages new root growth, setting your succulent up for success.
Use clean, sharp scissors or pruning shears for precise cuts. This minimizes the risk of infection, ensuring your plant stays healthy. After you've pruned the roots, allow them to callous for a few days before repotting. This step is vital to reduce the likelihood of root rot. Once you've pruned the roots, your succulent will be better able to absorb nutrients and water after repotting.
Here's a quick summary:
| Step | Action | Why It's Important |
|---|---|---|
| Loosen Roots | Use fingers gently | Prevents damage before cutting |
| Trim Excess Roots | Cut to 1-2 inches | Encourages new root growth |
| Allow to Callous | Wait a few days | Reduces likelihood of root rot |
Don't skip this step! Pruning the roots can substantially improve your succulent's health and growth. Follow these steps, and you'll see your plant thrive.
Replant the Succulent
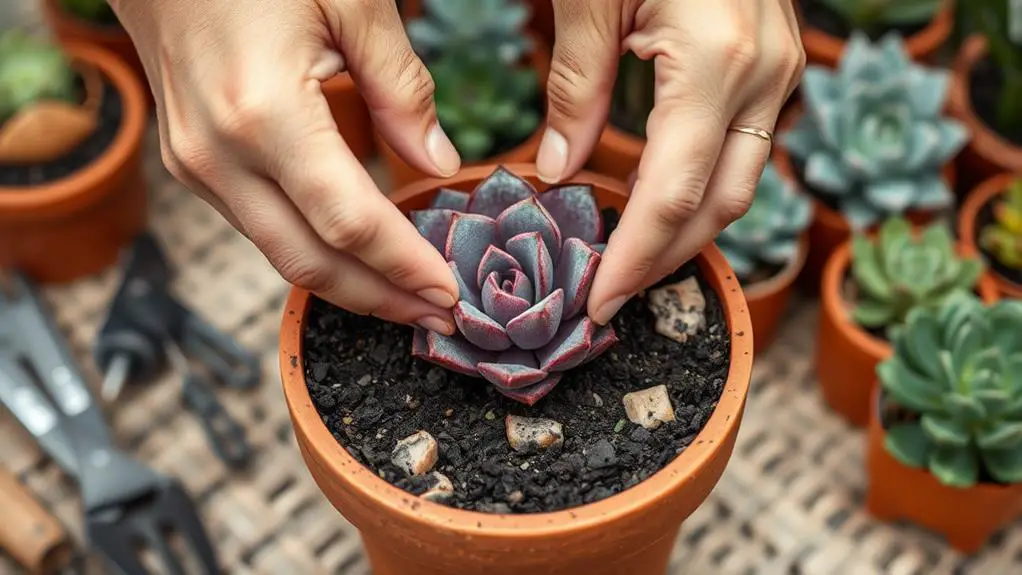
Replanting your succulent properly is essential for its continued health and growth. Start by selecting a new pot that's at least 10% larger in diameter than the old one. This gives your succulent enough space to expand and thrive.
Before you replant the succulent, fill the new pot with a well-draining succulent potting mix. Position the plant at the same soil level as before to prevent stem rot.
Carefully spread out the roots in the new pot to avoid root binding. Once you've got the succulent in place, gently pack the soil around the roots. Make sure to eliminate any air pockets, but don't bury the leaves. They should remain above the soil line to avoid rot.
Here are some key points to remember:
- Choose a pot that's 10% larger in diameter.
- Use a well-draining succulent potting mix.
- Position the plant at the same soil level.
- Spread out the roots carefully.
- Keep the leaves above the soil line.
Post-Repotting Care
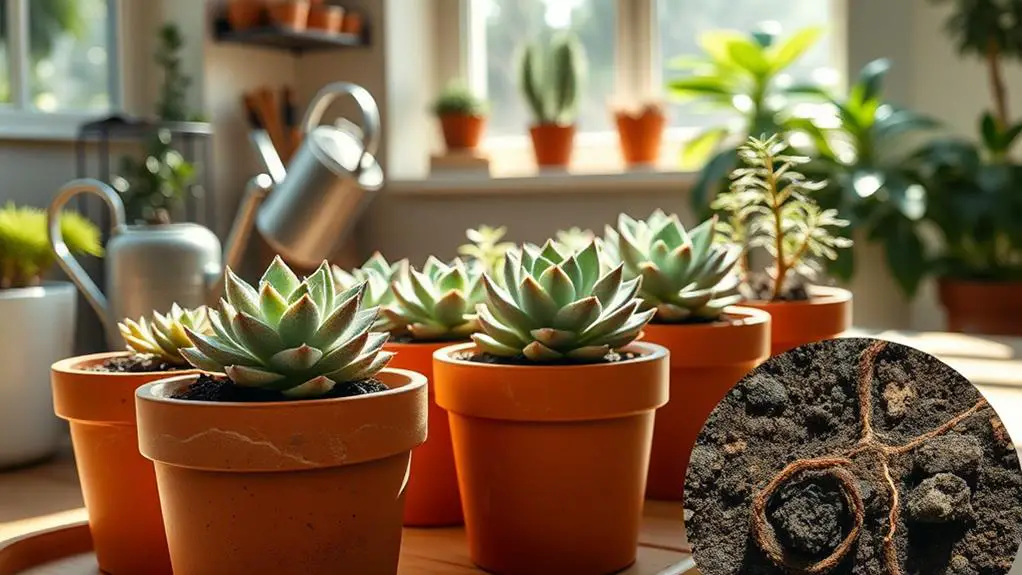
After repotting, it's crucial to give your succulent the right care to guarantee a smooth changeover.
Begin by placing your succulent in indirect bright light. This prevents leaf burn while letting the plant adjust to its new home. Over time, you can gradually expose it to more direct sunlight.
Hold off on watering for at least one week. This waiting period allows the roots to acclimate and reduces the risk of root rot. Once you do water, make certain the soil is completely dry first. Succulents prefer a "soak and dry" method, where you water thoroughly and then let the soil dry out before watering again.
Monitor your succulent closely during this period. Watch for signs of stress like yellowing leaves or mushy stems. These could indicate overwatering or insufficient light. If you notice these signs, adjust your care routine accordingly.
Avoid fertilizing right after repotting. Wait until you see new growth, which means the plant has settled in. Then, you can start feeding it again.
Lastly, confirm your pot has good drainage to prevent excess water from sitting in the soil.
Check the soil moisture regularly to keep your succulent happy and healthy.
Frequently Asked Questions
How to Repot Root-Bound Succulents?
Gently remove the succulent, loosen the soil, and trim any circling roots. Choose a slightly larger pot with drainage holes, use a well-draining mix, place the plant, water lightly, and let it acclimate before regular watering.
Should You Break up Succulent Roots When Repotting?
Yes, you should break up succulent roots when repotting. Gently loosen them with your fingers or a tool. Trim circling roots to prevent girdling. Focus on separating outer roots and always check for healthy, white roots.
How to Repot Succulents for Beginners?
To start, water the succulent 1-2 days before repotting. Choose a slightly larger pot with drainage holes. Carefully remove the plant, loosen the roots, and place it in new soil. Don't water for a week.
Should You Water Succulents Before Repotting?
Yes, you should water succulents 1-2 days before repotting. This guarantees they're hydrated and makes it easier to remove them from their old container. Just don't overwater, as soggy soil can cause root rot during the change.
Conclusion
You've done it! By following these steps, your succulents are on their way to thriving. Remember, it's normal to feel a bit nervous, but with practice, you'll become a pro. Keep an eye on your plant's needs and enjoy watching it grow. Gardening is a journey, and every step you take helps you learn. So don't worry if things aren't perfect right away. You've got this, and your succulents are lucky to have you!

