Repotting Your Hanging Succulent Without Killing It: 6 Steps to Success
Repotting your hanging succulent can seem challenging, but with the right approach, you can guarantee its health and vibrancy. You'll need to start by understanding when to repot, ideally at the beginning of its growing season. Once you've got the timing right, gathering the necessary tools and materials is essential. The process involves carefully removing the succulent to minimize root stress and transferring it to a slightly larger pot with proper drainage. But don't rush to water it just yet—there's a vital step you shouldn't overlook.
Understanding Repotting Timing
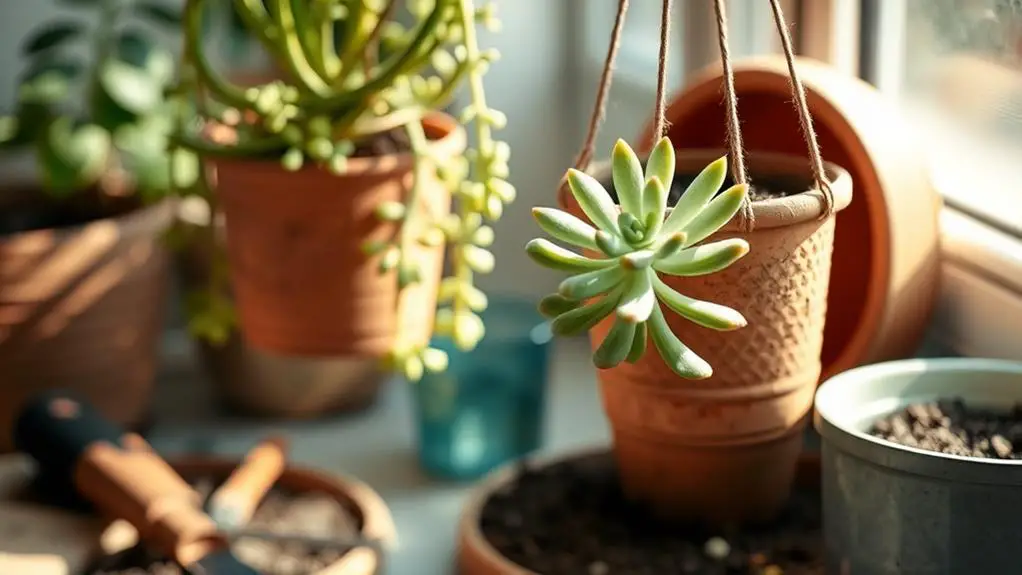
Timing is everything when it comes to repotting hanging succulents.
You'll want to repot at the beginning of the growing season, not during dormancy or blooming periods. Dormant succulents aren't actively growing, so repotting them can disrupt their natural cycle. Blooming succulents focus on flower buds, not roots, making it a bad time to change their pot.
Look for signs like roots pushing out of drainage holes or the plant appearing root-bound. These cues mean it's time for repotting. Fresh, new soil provides essential nutrients, helping to prevent root rot and ensuring ideal health.
Regularly repotting every 1-2 years keeps your growing succulents happy and thriving, giving them the best chance to flourish.
Preparing for Repotting
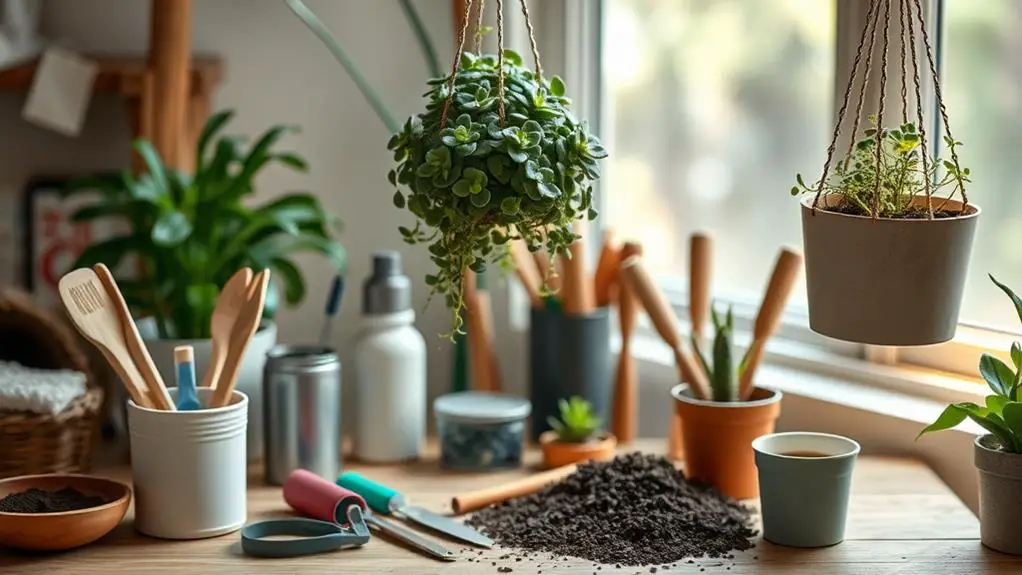
After understanding when to repot your hanging succulents, it's equally important to prepare properly for the task.
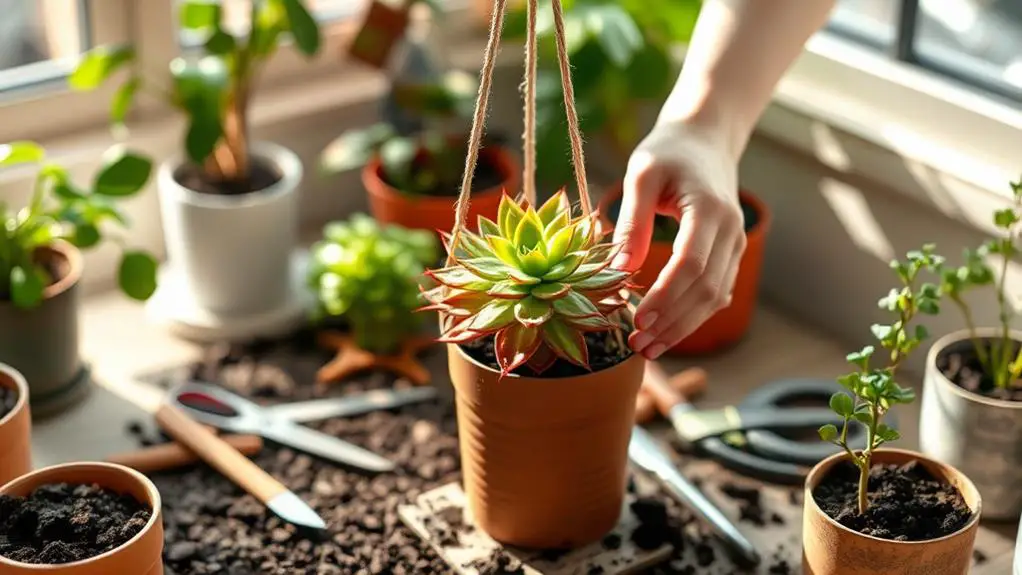
First, secure the hanging pot and chain to avoid any damage during repotting, especially for long trailing succulent plants.
Gather all necessary tools and materials, like soil mix, new pot, and gloves, to make the process smoother.
Gently section and straighten the long trails, being mindful not to detach the chain. This helps maintain stability.
Confirm the new pot is at least 10% larger than the current one to allow for growth without shocking the plant.
Use a good drainage soil mix that's suited for succulents.
Choosing the Right Pot
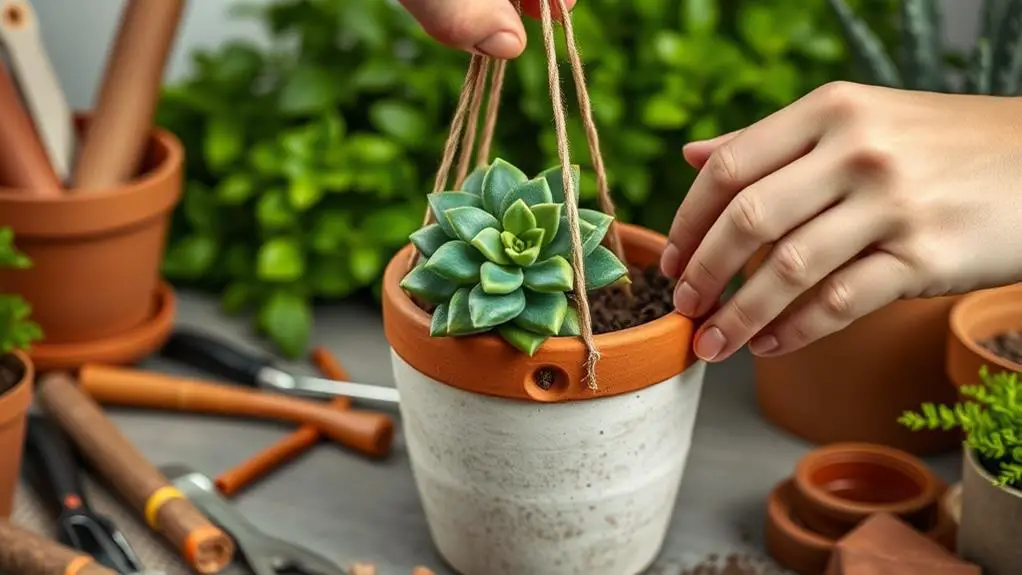
When picking a pot for your hanging succulent, go for one that's about 10% bigger than the current pot to give it room to grow.
Make sure it has drainage holes to avoid water buildup, which can harm the roots.
To keep things light, choose materials like plastic or lightweight ceramic, and pick a design that matches your decor while being sturdy enough to support the plant's trails.
Aesthetic and Functional Design
Choosing the right pot for your hanging succulent is essential for both its health and the aesthetic of your space.
To guarantee your plant thrives in its new home, consider these key factors:
- Drainage Holes: Make sure your pot has good drainage holes to prevent water accumulation and root rot. Succulents need well-draining environments.
- Breathable Materials: Opt for pots made from terracotta or ceramic. These materials allow for better air circulation and moisture evaporation compared to plastic.
- Aesthetic Design: Choose a pot that complements your home decor. A deep red spray paint can enhance the visual appeal of standard pots while still being functional.
With the right potting soil and these tips, your succulent will flourish in its stylish new home.
Proper Size Selection
Selecting the right pot size is essential for the health and growth of your hanging succulent. When choosing a pot, make sure it's 10% larger in diameter than the current one. This allows for root expansion without shocking the plant.
Opt for a pot with drainage holes to prevent water buildup, which can cause root rot. Using lightweight material, like plastic or ceramic, makes hanging easier and reduces stress on the trailing stems.
Consider a deeper pot for better stability and to accommodate the succulent's extensive roots. Finally, pick a pot that complements your space's design but still meets the functional needs of your plant.
Proper size selection helps your succulent thrive in its new home.
Gently Removing the Succulent
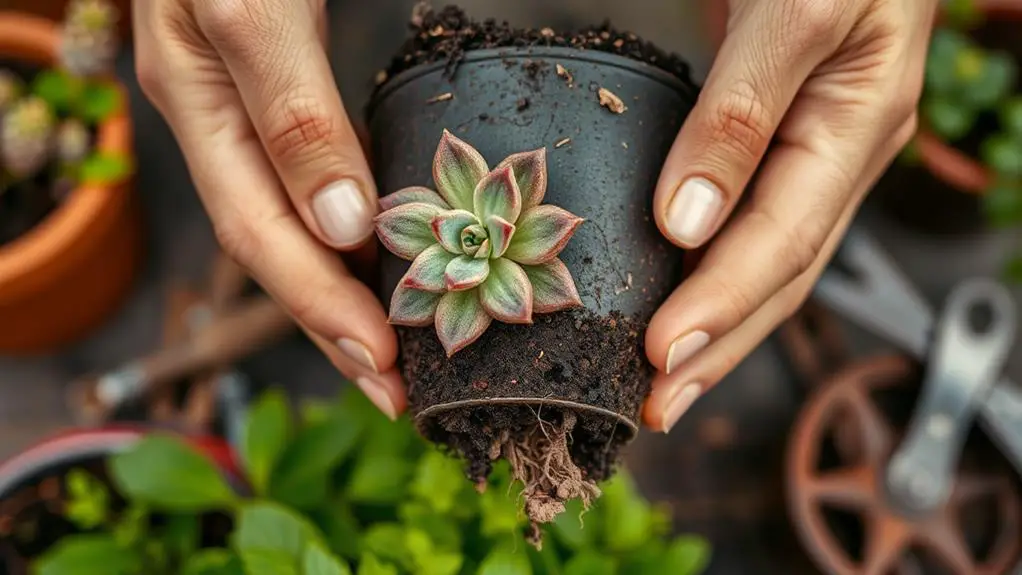
Before you begin, make sure to water your succulent thoroughly the day before to loosen the soil and make removal easier.
When you're ready, gently grasp the base of the plant and tilt the pot, tapping the sides to help release the root ball.
If it's stuck, use a dull knife or spatula to carefully loosen the soil without damaging the roots.
Loosening Root Bound Plant
Gently tapping the sides and bottom of the pot can work wonders in loosening a root-bound succulent, making it easier to remove. As you loosen the soil, hold the base of the plant and carefully pull it out, avoiding the leaves.
Here are three steps to guarantee a smooth process:
- Examine the root ball: If the roots are tightly packed, use a clean, sharp tool to slice through the root ball in a few spots. This encourages healthy growth after transplanting the succulent.
- Inspect for rot or damage: Trim away unhealthy portions with sterilized scissors to promote overall plant health.
- Handle by the base: Avoid excessive bending of stems or leaves to minimize stress and injury to the plant.
Following these steps can help guarantee a healthy change for your succulent.
Handling With Care
Ensuring the soil is dry before removing your succulent is essential to reducing the risk of root damage.
Start by gently squeezing the sides of the pot to loosen the soil. If the plant doesn't easily come out, use a dull knife or plant tool to carefully slide around the edges, helping to free the roots.
Supporting the base of the plant, slowly tip the pot upside down and pull the plant out gently, avoiding any sudden jerks.
Once removed, inspect the roots for rot or damage and trim any unhealthy sections. This careful handling helps prepare your succulent for a successful transfer to its new pot, ensuring it thrives in its new environment.
Planting in Fresh Soil
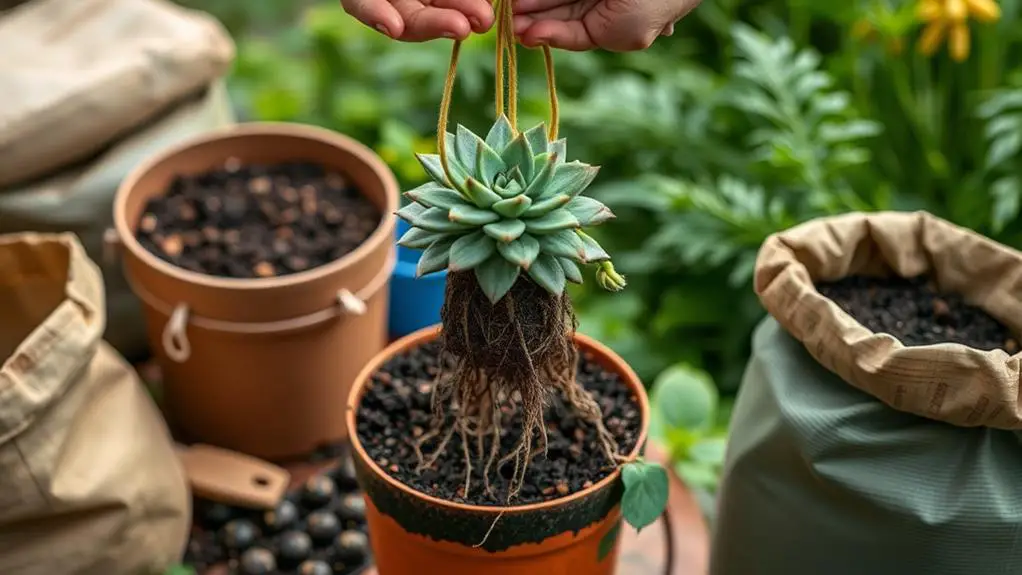
When planting your hanging succulents in fresh soil, it's crucial to use a mix specifically formulated for these plants. Succulent soil with well-draining materials like pumice or perlite prevents root rot and keeps your new plant healthy.
Follow these steps to guarantee success:
- Remove Old Soil: Take out at least one-third of the old potting mix from the roots.
- Loosen Roots: Gently loosen the roots before placing the succulent in its new pot. This will encourage new growth.
- Fill and Press: Fill around the root ball with fresh soil mix, lightly pressing to remove air pockets.
Top the planting medium with worm castings or organic compost. This adds nutrients, helping your succulent thrive.
Remember to water your succulent moderately to establish it in its new home.
Post-Repotting Care
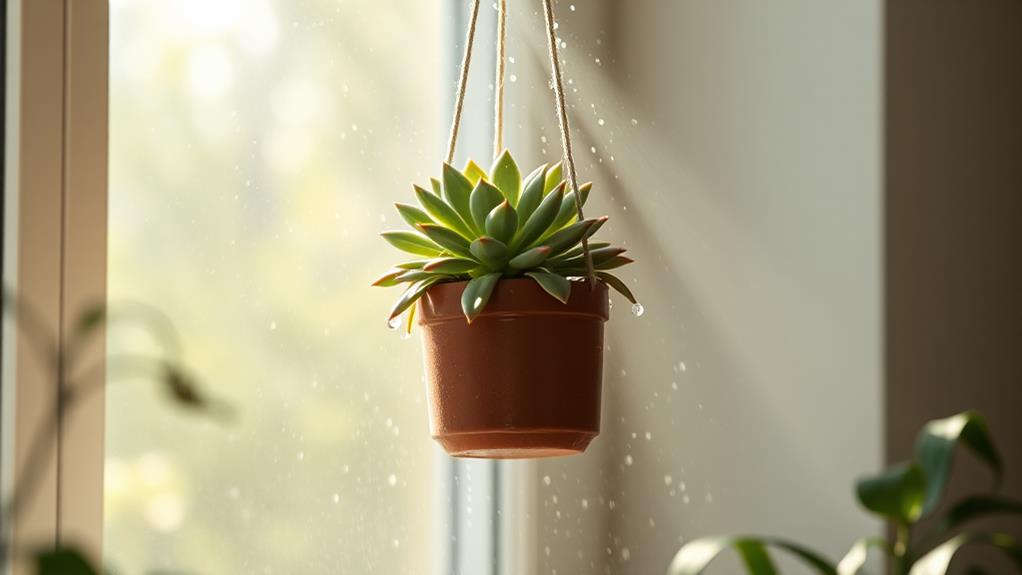
After planting your hanging succulents in fresh soil, it's important to focus on their post-repotting care to guarantee they thrive.
First, let your succulent settle for at least a week before watering. This helps reduce transplant shock. When you do water, allow the water to drain completely to avoid root rot.
Monitor your succulent closely for signs of stress like drooping or discoloration. Make sure it's getting enough light, but not direct full sun, which can be too harsh initially.
Maintain a regular care routine, including proper light exposure and occasional feeding, to keep them healthy. You might also trim excess trails to promote bushier growth.
These steps will help your succulent adjust and flourish in its new home.
Frequently Asked Questions
How to Repot a Succulent Without Killing It?
Choose a pot 10% larger, use a well-draining soil mix, and gently loosen the roots. After repotting, let the succulent settle for a week before watering. Monitor for stress signs and adjust care as needed.
How Do You Transplant Hanging Succulents?
You should pick a pot 10% bigger than the current one and use a well-draining soil mix. Carefully remove the succulent, avoid damaging roots, center it in the new pot, and wait a week before watering.
Do Succulents Go Into Shock After Repotting?
Yes, succulents can go into shock after repotting. You'll notice signs like wilting or pale leaves. To minimize shock, repot at the start of the growing season and avoid watering immediately after repotting.
Should You Break up Roots When Repotting Succulents?
Yes, you should break up the roots when repotting succulents. Gently loosening and separating the root ball promotes healthier growth, better soil contact, and nutrient absorption. Trim excessively thick or tangled roots to stimulate new growth.
Conclusion
You've got this! Repotting your hanging succulent may seem tricky, but with the right steps, it's a breeze. Remember to choose the right time, prepare everything you need, and be gentle with your plant. Use a good pot and fresh soil, then give your succulent some time to adjust before watering. Keep an eye on it and provide plenty of light. With a little care, your succulent will thrive in its new home. Happy gardening!

