7 Simple Steps to Create a Miniature Succulent-Topped Pumpkin Tutorial
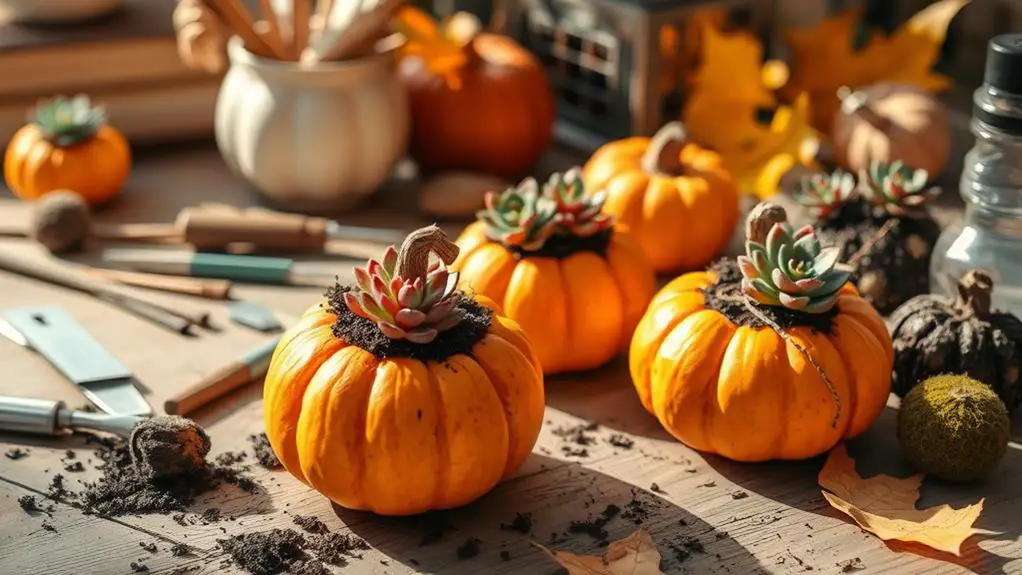
Creating a miniature succulent-topped pumpkin is a charming way to elevate your autumn décor without much hassle. You'll start by gathering flat-topped mini pumpkins and a selection of small succulents, along with some sphagnum moss. The process begins with cleaning the pumpkin's surface, but there's a specific method to guarantee the moss stays attached and retains moisture effectively. Once you know how to properly secure your succulents, your arrangement will not only look stunning but also thrive throughout the season. Wondering how to choose the best succulents and keep them healthy?
Gather Your Materials
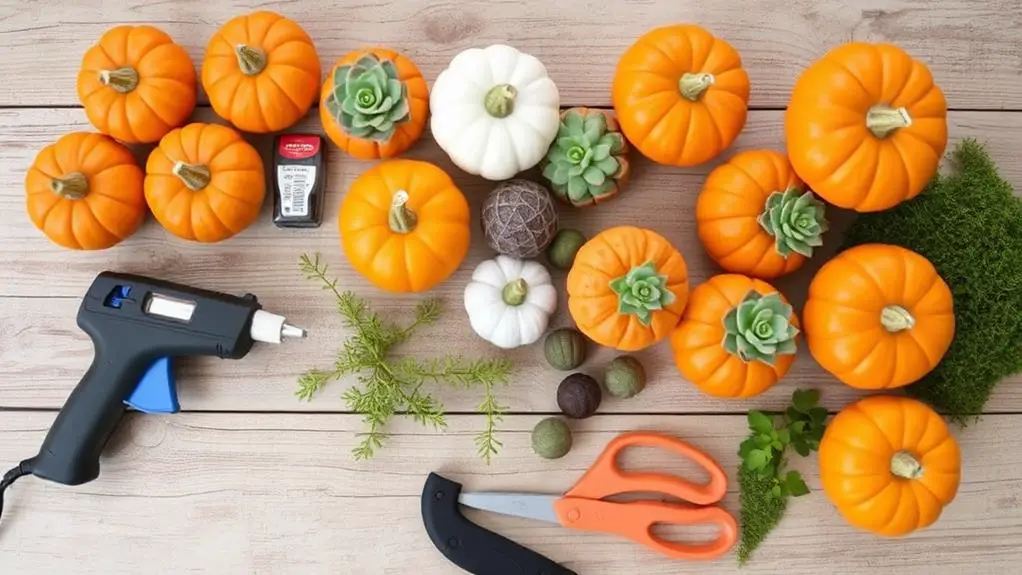
Start by gathering everything you'll need to create your miniature succulent-topped pumpkins. First, collect a variety of mini pumpkins. You'll want ones with flat tops because they provide a stable base for your succulents.
Next, gather small succulent varieties like Sempervivums or Jovibarba hirtas. These are cold-hardy and perfect for this project.
You'll also need sphagnum moss, which will serve as the base layer for your succulent arrangement. It helps retain moisture, keeping your succulents happy and healthy.
Don't forget a hot glue gun and glue sticks. Hot glue works best on the waxy surface of mini pumpkins, ensuring everything stays in place.
Optional decorative elements, like dried flowers or seasonal accents, can add a special touch to your creation. They're not necessary, but they do enhance the visual appeal.
Having all these materials ready will make the process smoother and more enjoyable.
Now you're set to start the fun part—assembling your beautiful, miniature succulent-topped pumpkins. Feel confident and supported as you gather your materials and prepare to create something truly unique and beautiful for your home or as a gift.
Select Your Pumpkin
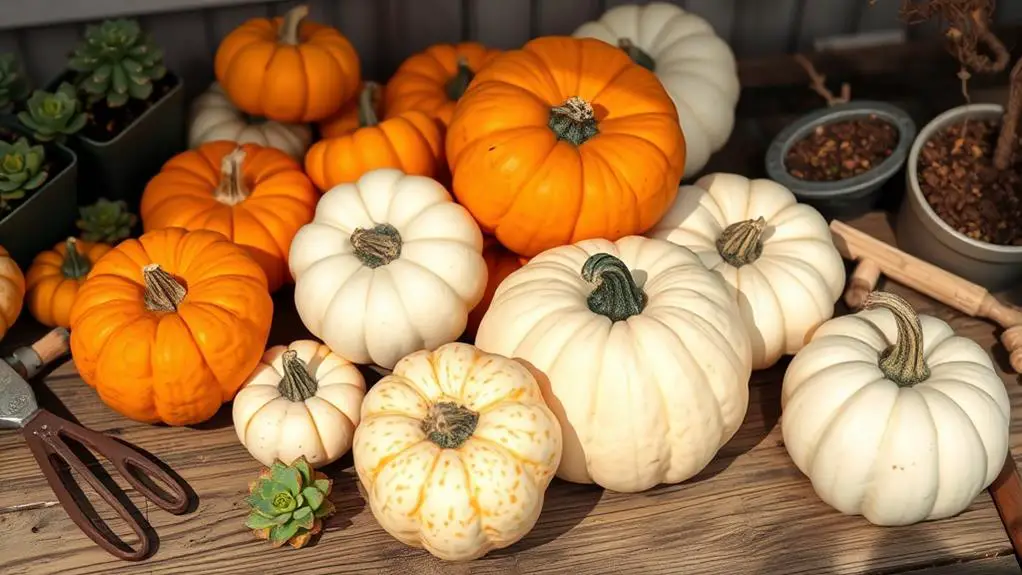
When selecting your pumpkin, pick mini pumpkins with a flat top to make arranging your succulents easier and more stable.
Look for heirloom varieties like Cinderella or Porcelain Doll Pink for unique colors and shapes that will make your project stand out.
Choose pumpkins in muted tones for a soft look or deep colors for a vibrant Halloween theme, and consider the size based on how many succulents you want to use.
Choose Ideal Pumpkin Size
Picking the right pumpkin is the first step to crafting a stunning succulent-topped centerpiece. To start, select mini pumpkins with a flat top surface. This makes arranging small succulents easier and guarantees your succulent pumpkins are stable. The ideal pumpkin size depends on the number of succulents you plan to use: small pumpkins can hold 1-2 succulents, while larger ones can accommodate several.
Consider heirloom varieties like Cinderella or Fairy Tale pumpkins. These have unique shapes that add visual appeal to your arrangement. Look for pumpkins with a slight depression around the stem. This natural base is perfect for adding moss and succulents. Make sure your pumpkin is firm and free of blemishes to guarantee it lasts longer.
Here's a quick guide to help you choose the right pumpkin size:
| Pumpkin Size | Number of Succulents | Ideal For |
|---|---|---|
| Small | 1-2 | Minimalistic arrangements |
| Medium | 3-4 | Balanced, modest displays |
| Large | 5+ | Grand, elaborate designs |
With these tips, you're well on your way to creating beautiful succulent pumpkins. Choose wisely and enjoy the process!
Consider Pumpkin Color
After selecting the perfect size for your pumpkin, think about the color to maximize your arrangement's visual impact. The pumpkin color you choose can set the tone for your succulent arrangement.
Consider heirloom varieties if you're looking for unique colors and shapes. These pumpkins often come in pastel oranges, whites, dark greens, and rich oranges, giving you plenty of options.
Muted tones like pastel oranges and whites can create a soft and elegant look. These colors work well if you want a subtle and calming arrangement.
On the other hand, deeper colors like dark green or rich orange can add a bold Halloween vibe, perfect for a more dramatic display.
When choosing your pumpkin, make sure to coordinate its color with the hues of your succulent cuttings. This will help create a harmonious and visually pleasing arrangement.
Also, look for pumpkins with a flat top and a prominent depression around the stem. This feature provides ample space for placing your succulents.
Opt for Flat Tops
Selecting the right pumpkin can make a world of difference in your succulent-topped arrangement. For the best results, choose mini pumpkins with flat tops. Flat tops offer a stable surface for arranging your succulents, making it easier to create a visually appealing display.
Pumpkins with a smooth and even surface also help the layer of moss and variety of succulents adhere better, guaranteeing your arrangement stays intact.
When selecting your pumpkin, heirloom varieties like Cinderella or Porcelain Doll Pink can add unique colors and shapes to your project. These varieties often have more interesting hues and textures, enhancing the overall look of your succulent-topped pumpkins.
Just make certain to avoid pumpkins with prominent stems, as these can interfere with the placement of your succulents and moss.
Consider the size of your pumpkin as well. Smaller pumpkins work great for more delicate arrangements, while larger pumpkins allow for a fuller display.
Prepare the Pumpkin Surface
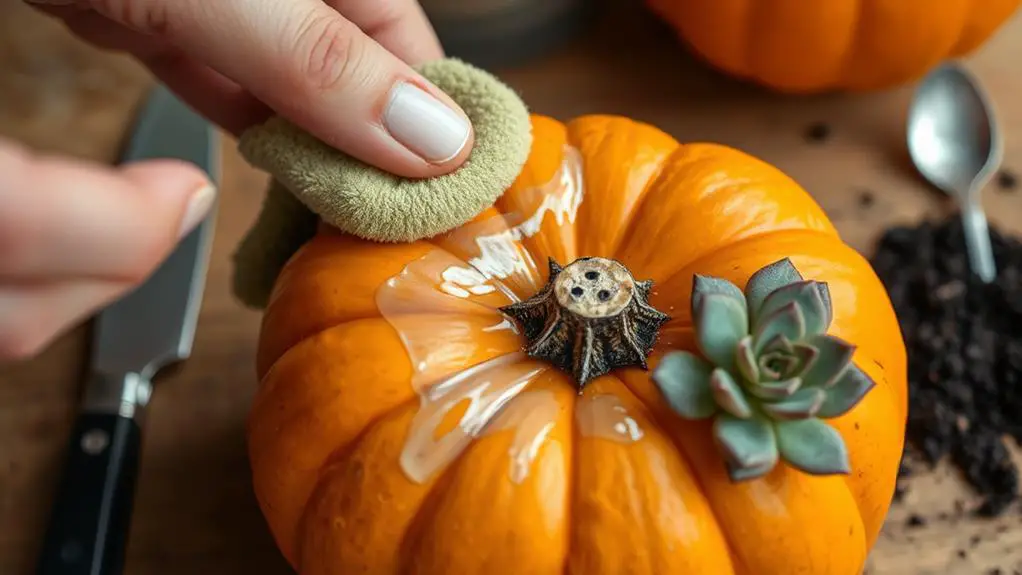
Start by picking a mini pumpkin that has a flat top, which will make your arrangement more stable.
Clean the top thoroughly with a damp cloth, and if the stem is too long, trim it down to about half an inch.
Lightly spray the top with adhesive, ensuring it's evenly applied, then press a layer of sphagnum moss onto the adhesive to create a planting medium for your succulents.
Choose Pumpkin Shape
Finding the perfect pumpkin is vital for a successful succulent-topped creation. Start by selecting a pumpkin with a flat top. This shape will give you ample space to arrange your succulents and guarantee they stay stable. It's also easier to attach everything when the surface is flat.
Once you have your pumpkin, make certain the top is clean and free of dirt. This cleanliness promotes better adhesion for both the moss and the succulents. Use a damp cloth to wipe off any residue. A clean surface guarantees that your moss and succulents stick well and look great.
Next, apply a layer of spray adhesive evenly across the top of the pumpkin. This helps the moss adhere securely when you press it on.
Make sure to cover the entire top of the pumpkin with moss. The moss will act as a planting medium, retaining moisture and helping your succulents thrive.
Remove Pumpkin Stem
Once your pumpkin is clean and covered with moss, it's time to focus on the next step: preparing the pumpkin's surface.
Start by selecting a mini pumpkin with a flat top to guarantee a stable surface for placing the succulents. Carefully cut off the pumpkin stem to create a flat surface, making sure not to puncture the pumpkin's flesh. This step is vital because it helps your succulents stay in place and look their best.
After removing the stem, clean the top of the pumpkin with a damp cloth. This removes any dirt and residue, which assures proper adhesion for the moss and succulents you'll be using.
If you prefer, you can trim the stem to about half an inch or leave it intact. This can add visual interest when arranging the succulents.
Apply Adhesive Evenly
To guarantee your succulents adhere properly, begin by cleaning the top surface of the pumpkin with a damp cloth to remove any dirt or debris. This step is essential as it guarantees better adhesion for the moss and succulents.
Once the surface is clean and dry, it's time to apply the adhesive evenly. Grab your spray adhesive, like Aleenes Tacky Spray, and apply an even coat over the area where the moss will be placed. Make sure not to oversaturate; a light, even application is key. This prevents drips or clumps that could interfere with your succulent pumpkin arrangement.
Immediately press the sphagnum moss onto the adhesive-coated surface. Cover the area completely to create a lush base for the succulents. This not only secures the moss but also provides a healthy environment for the succulents to thrive.
Allow the adhesive to dry for a few minutes. This waiting period guarantees a strong bond between the moss and the pumpkin. Once dry, your base is ready for the next step.
Arrange the Moss
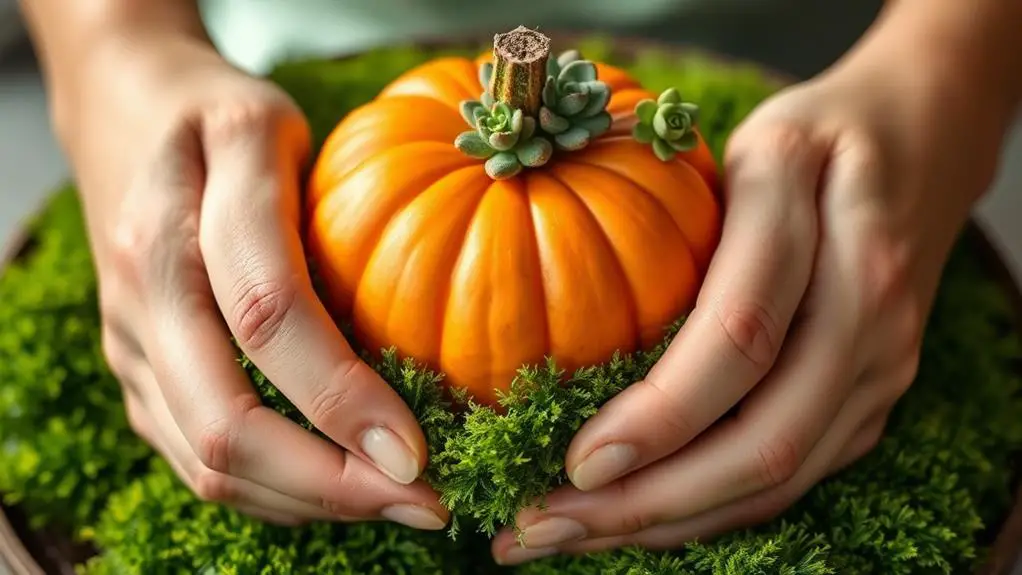
Before you get started with arranging the moss, verify you've got all your materials ready and organized.
Begin by applying a generous layer of hot glue to the top of the pumpkin. It's vital to guarantee an even surface for the moss to adhere to.
Next, tear or cut the sphagnum moss into manageable pieces. This step will make application easier and give a more natural look.
Once your moss pieces are ready, press the moss firmly onto the glued surface. Cover the entire area to create a textured planting base for the succulents.
Make sure to use additional glue as needed to secure any loose pieces of moss. This will guarantee a stable foundation for your arrangement.
After you've applied all the moss, allow it to dry completely. This step is significant because it helps maintain the moss's shape and adhesion.
While waiting, you can prepare a spray bottle filled with water. Later, you'll spray the top lightly to moisten the moss before you attach the succulents.
Choose Your Succulents
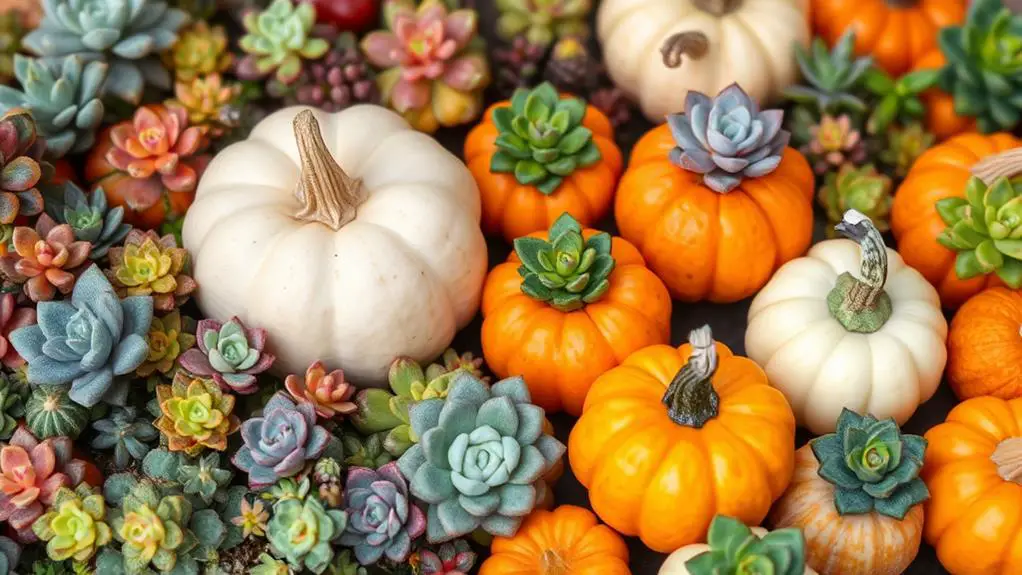
When choosing your succulents, focus on selecting a diverse mix that will bring both variety and visual appeal to your arrangement. You'll want to pick a combination of small succulents like Sempervivums or Jovibarba hirtas. These types are known for their cold hardiness and ability to thrive in a miniature setting.
Aim for a balanced mix of sizes. Use 1-2 larger succulents as focal points and 2-3 smaller ones to fill in around the edges of the pumpkin.
Consider these tips to make your selection:
- Confirm the succulents have sturdy stems. Trim them to about 1/4 inch for easier attachment to your moss-covered pumpkin.
- Choose succulents that root easily. This way, you can replant them in soil after the pumpkin begins to decline.
- Experiment with different varieties to create visual interest. This enhances the overall aesthetic of your pumpkin decoration.
- Use a mix of textures and colors to add depth and dimension to your arrangement.
Attach the Succulents
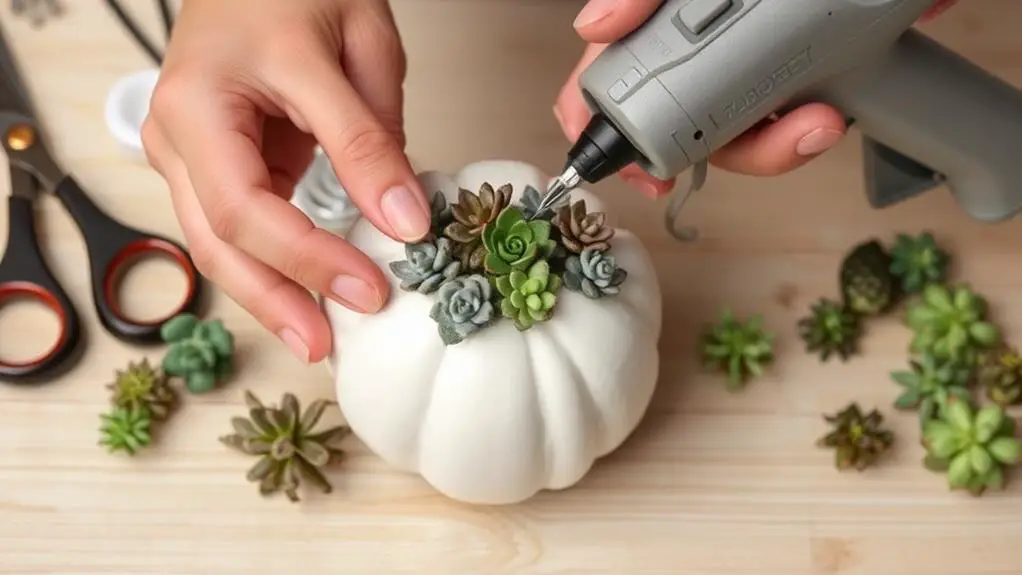
Attaching the succulents to your moss-covered pumpkin is a straightforward process that will bring your autumn centerpiece to life.
Start by trimming the succulent stems to about 1/4 inch in length. This will make it easier to attach the succulents securely.
Next, grab your hot glue gun. Apply a small amount of glue to the base of the succulent stem. Be careful, as the glue is very hot! Press the succulent firmly into the moss-covered top of the pumpkin. Hold it in place for a few seconds until the glue sets.
Begin with the largest succulent, placing it in the center of the pumpkin. This creates a strong focal point. From there, work outward, adding smaller succulents to balance the arrangement.
Make sure to wiggle the stems into the moss a little to guarantee a secure hold. To achieve a lush, full appearance, fill any gaps with smaller succulents or trailing varieties.
This not only enhances the overall design but also helps your succulents thrive by giving them the support they need. With these steps, your miniature succulent-topped pumpkin will look stunning and be ready to display.
Care and Maintenance
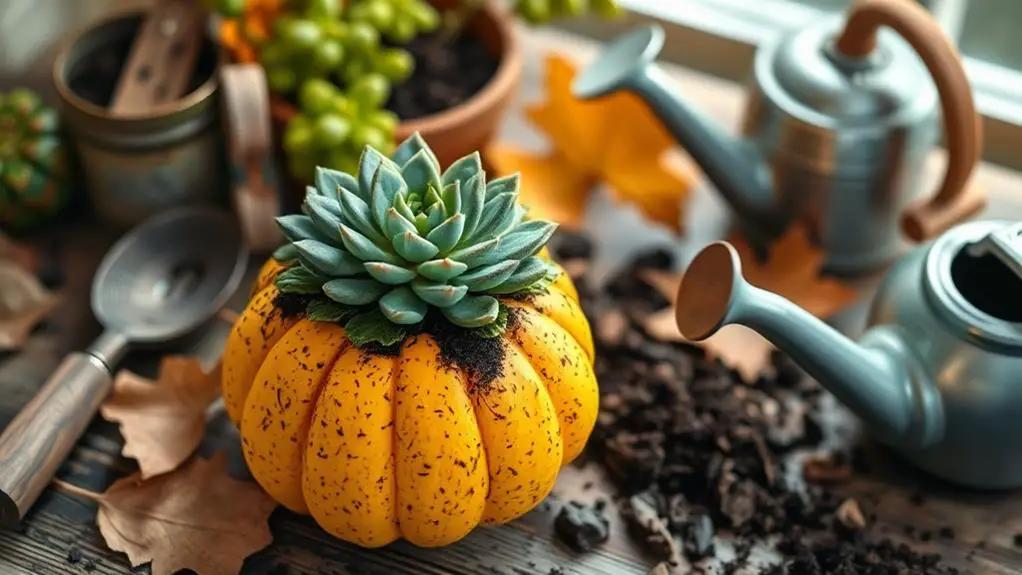
Once your succulent-topped pumpkin is complete, proper care and maintenance will keep it looking vibrant.
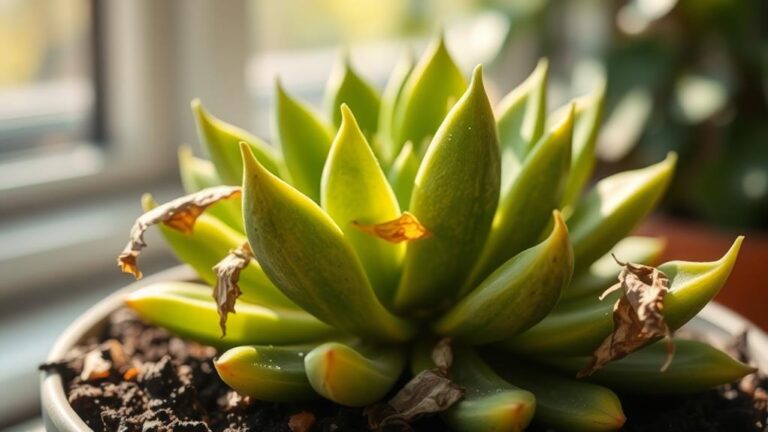
Start by placing your creation in bright, indirect sunlight. This guarantees the succulents get enough light without risking sunburn. You'll need to water the succulents once a week. Check their leaves; if they look shriveled, it's time to water. Be careful not to soak the pumpkin itself, as this can cause it to rot.
Keep an eye on the moss, too. It should stay moist but not soggy. You can spray the moss lightly to keep it just right. In addition, lightly mist the succulents once a week or bi-weekly. Focus on the base of the plants instead of watering the moss or pumpkin directly.
Regularly monitor the condition of your pumpkin. If it starts to soften, you might need to replant the succulents in soil to keep them healthy.
After 6-8 weeks, when the pumpkin begins to decay, gently detach the succulents and plant them in well-draining soil.
- Water once a week: Check for shriveled leaves.
- Spray the moss: Keep it moist, not soggy.
- Lightly mist the succulents: Focus on the base.
- Monitor the condition: Replant if the pumpkin softens.
Frequently Asked Questions
How to Make Mini Pumpkin Succulents?
You'll start by selecting flat-topped mini pumpkins. Clean and dry them, then glue sphagnum moss on top. Arrange trimmed succulents on the moss, securing with hot glue. Place in bright, indirect light, misting weekly to maintain moisture.
How Do You Plant Succulents on Top of a Pumpkin?
Start by choosing a flat-topped mini pumpkin. Apply hot glue, then press sphagnum moss onto it. Trim succulent stems, arrange them on the moss, and secure with glue. Make certain each succulent is stable and well-positioned.
What Is the Best Glue for Succulent Pumpkins?
You should use hot glue for succulent pumpkins since it adheres well to the waxy surface and dries quickly. If you don't have a hot glue gun, floral glue works too. Always verify the glue is non-toxic if pets or kids are around.
How to Make a Cactus Pumpkin?
To make a cactus pumpkin, choose a small, flat-topped pumpkin. Clean it, apply sphagnum moss with hot glue, arrange cactus cuttings, and secure them. Confirm bright, indirect sunlight and mist weekly to maintain moisture.
Conclusion
Congratulations, you've made a stunning succulent-topped pumpkin! Remember to place it in bright, indirect sunlight and keep the moss slightly moist. This little craft is sure to brighten up your autumn decor and impress your friends and family. Don't worry if you're new to gardening; with a bit of care, your succulents will thrive. Keep experimenting with different succulents and pumpkins. Enjoy your beautiful creation and happy decorating!

