DIY Guide to Crafting Plant Pots Out of Polymer Clay
Crafting your own plant pots from polymer clay offers a unique blend of creativity and functionality. You'll find that polymer clay is not only durable but also waterproof, making it ideal for creating personalized pots right in your oven. This guide will walk you through the entire process, from selecting the right materials to perfecting your techniques for forming, texturing, and adding essential drainage holes. But what about those final touches that truly make your pots stand out? Let's explore how to bring your vision to life and guarantee your succulents thrive.
Benefits of Polymer Clay
When it comes to crafting plant pots at home, polymer clay offers a host of benefits that make it an excellent choice. First, polymer clay is easily accessible and can be baked in your home oven. This makes it convenient for anyone to start crafting without needing special equipment.
You'll find that high-quality polymer clay is known for its durability and aesthetic appeal, ensuring your finished polymer clay pots are both functional and visually pleasing.
One of the standout features of polymer clay is its waterproof nature. This means you won't need to use additional sealants or glazes, and you can start using your pots right after they're done baking. This saves you time and effort, making the crafting process more enjoyable.
Another fantastic benefit is the ability to customize your designs. Polymer clay encourages creative expression, allowing you to personalize your plant pots to match your style.
Plus, polymer clay is ideal for creating pots with drainage holes, which are essential for the health of succulents and other plants. With polymer clay pots, you get practicality and beauty, making your gardening experience more satisfying and enjoyable.
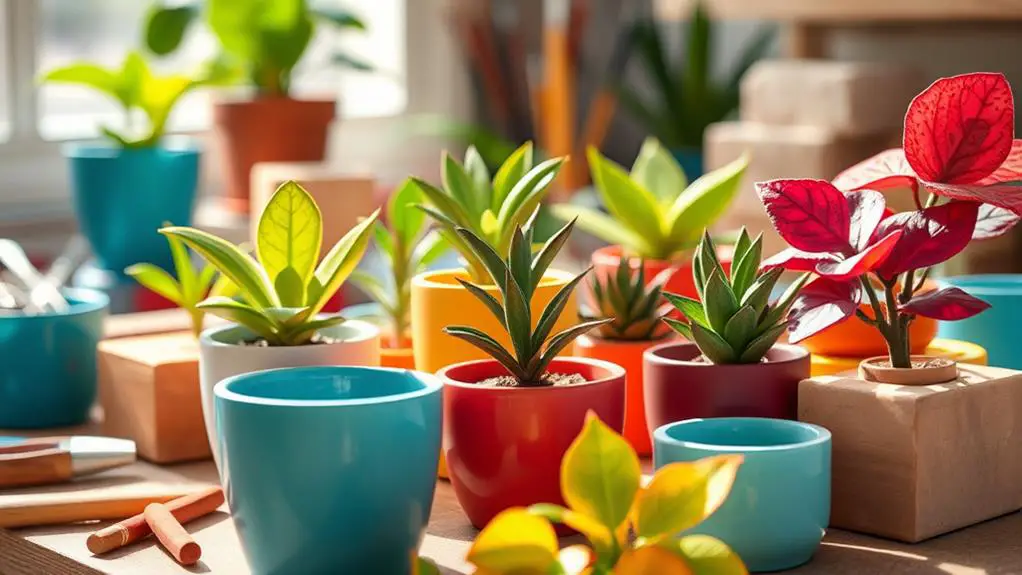
Materials Needed

To get started on your DIY plant pots, you'll need to gather a few essential materials. First, pick up some polymer clay in assorted colors. This will help you create visually appealing plant pots. You can find polymer clay at most craft stores, so it should be easy to get your hands on.
Next, you'll need clay sculpting tools. These include tools like a skewer, which is perfect for making drainage holes in your pots. Shaping and detailing your pots will be much easier with the right tools.
Aluminum foil is another significant item. You'll use it to create a supportive structure for your pots. This will prevent them from collapsing while they're baking.
Speaking of baking, you'll need a baking tray and an oven. Follow the manufacturer's instructions on your polymer clay packaging for the right temperature and baking time. This step is vital for hardening your pots properly.
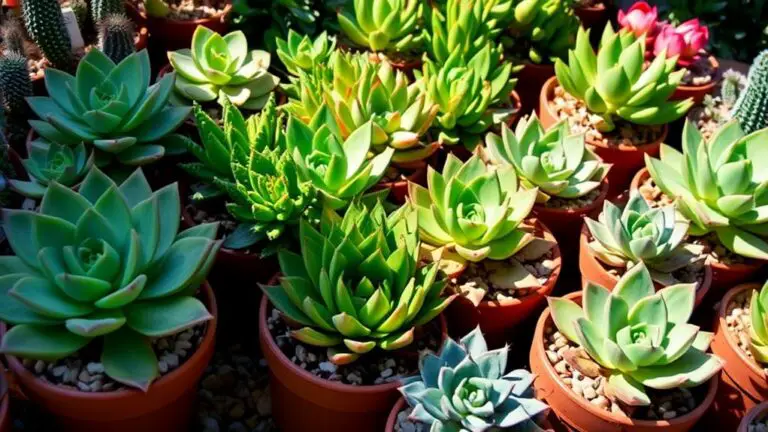
Finally, once your pots are finished and cooled, you'll need baby succulent plants, soil, and fine gravel to complete the planting process. These additions will bring your beautiful new plant pots to life.
Gather these materials and you're ready to start crafting!
Preparing the Clay

Now that you've gathered all your materials, it's time to start preparing the clay. First, choose a high-quality polymer clay like Sculpey. It's great because it stays soft until you bake it and is really durable.
Cut off a manageable chunk of clay and begin kneading it. This step is essential because kneading makes the clay soft and easy to work with.
Once the clay is pliable, roll it into a flat disc about 1/4 inch thick. Make sure the surface is even; this will help your pot look neat and professional.
Next, take a glass bottle or bowl and use it to shape the clay into your desired pot form. Apply gentle pressure to create the walls and base, being careful not to crack the clay.
To add some personality to your pot, use mini letter stamps or other tools to incorporate texture into the clay. This can give your pot a unique, decorative touch.
Crafting Basic Shapes

Start by kneading your polymer clay until it's soft and easy to shape.
Roll it into a ball for rounded pots or flatten it into a disc for a sturdy base, making sure the thickness is even so it bakes uniformly.
Don't forget to add drainage holes using a straw or small tool, which will help your plant thrive by allowing water to flow out properly.
Forming Pot Bases
Frequently, the foundation of a sturdy and stylish DIY plant pot begins with properly forming the pot base. To get started, you'll need to knead the polymer clay until it's soft and pliable. This step is vital as it makes the clay easier to shape into your desired pot base.
Next, roll the clay into a flat disc. Aim for a thickness of about 1/4 inch to guarantee the base is durable after baking. Here's a simple guide to help you through the process:
- Knead the clay until it's soft and pliable.
- Roll it into a flat disc, maintaining a uniform thickness of 1/4 inch.
- Use a glass bottle or bowl to press the flat disc around, creating uniform sides.
- Add texture using mini letter stamps or other tools for decorative elements.
As you form the base, remember to also create a drainage hole at the bottom of the pot. This can be easily done using a straw.
It's an essential feature for healthy plant growth, allowing excess water to escape.
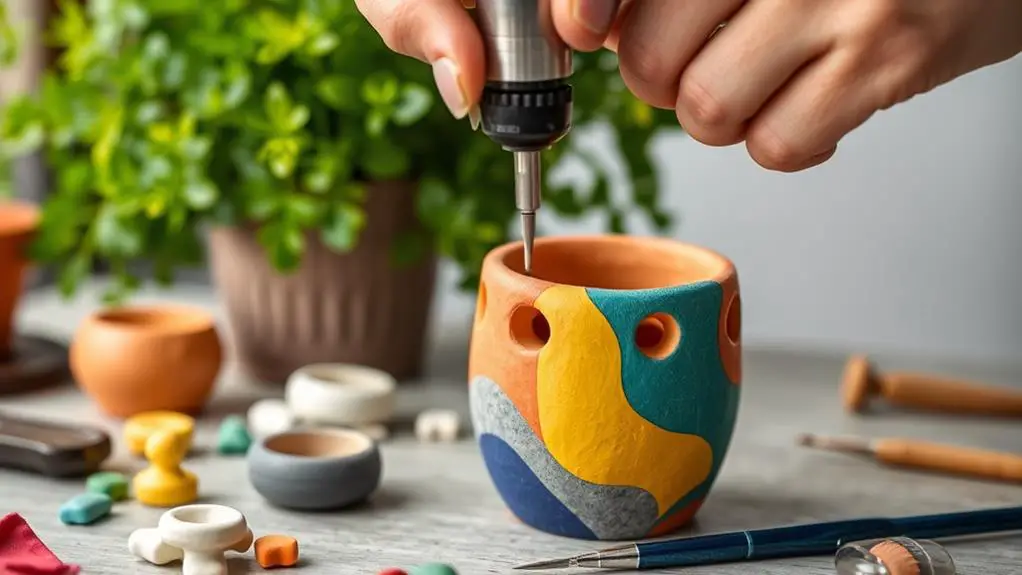
Adding Drainage Holes
Creating drainage holes in your polymer clay pots is an important step to guarantee your plants thrive. Without proper drainage, water can accumulate, harming your succulents and other plants.
To add a drainage hole, use a straw or a small clay tool before baking your pot. Make sure the holes are adequately sized to guarantee effective water flow.
Position your drainage holes at the bottom of the pot. For small pots, one to two holes are usually enough. For larger designs, add more holes based on the pot's size and the plant you intend to grow.
It's vital to space the holes evenly. This helps promote balanced water distribution and prevents any weak spots in the pot's structure.
Once you've crafted your pot and added the drainage holes, it's time to bake it. After baking, inspect the holes carefully. Look for any cracks or imperfections that might affect their functionality.
If you find any rough edges, sand them down gently to smooth things out.
Adding Texture and Details

To add texture and details to your polymer clay pots, try using mini letter stamps to create unique patterns that really stand out.
Pressing natural elements like leaves or lace into the clay can leave beautiful, intricate imprints.
Don't be afraid to experiment with different tools and techniques to make your pots truly one-of-a-kind.
Using Mini Stamps
Adding mini stamps to your polymer clay pots can give them a personalized and unique touch. These small stamps allow you to create interesting textures and even add messages to your pots.
Here's how to make the most out of your mini stamps:
- Press Firmly and Evenly: When using mini stamps, make certain you press firmly and evenly into the clay. This helps in making clear impressions without distorting the pot's shape.
- Experiment with Depths and Angles: Try stamping at different depths and angles. This experimentation can lead to fascinating patterns and textures that enhance your pot's overall look.
- Add Color with Non-Toxic Ink: If you want to add color, use non-toxic, water-based ink on your stamps before pressing them into the clay. This adds a vibrant touch that stands out even more after baking.
- Clean Stamps Immediately: After using the stamps, clean them with soap and water to maintain their quality and prevent clay residue from building up.
Creating Unique Patterns
Enhance the charm of your polymer clay pots by experimenting with unique patterns and textures. To start, try using mini letter stamps to create textured patterns or personalized messages on the surface of your DIY polymer clay pots. This adds a personal touch and makes each pot truly one-of-a-kind.
Consider pressing leaves or pieces of fabric into the clay before baking. This technique leaves natural imprints that bring a touch of botanical beauty to your creations. Another fun approach is layering different colors of clay to achieve a marbled effect, adding depth and visual interest.
For more intricate designs, use tools like silicone molds or clay extruders. These can help you form detailed shapes and patterns that you can attach to your pots. After baking, try applying acrylic paint with a sponge or brush for a rustic, distressed look. This will give your pots a weathered, vintage feel.
Here's a quick reference table for these techniques:
| Technique | Description |
|---|---|
| Mini Letter Stamps | Create textured patterns or messages |
| Natural Textures | Press leaves or fabric for botanical imprints |
| Marbled Effect | Layer different colors of clay |
| Silicone Molds/Extruders | Form intricate shapes and designs |
| Acrylic Paint | Apply with sponge or brush for a rustic texture |
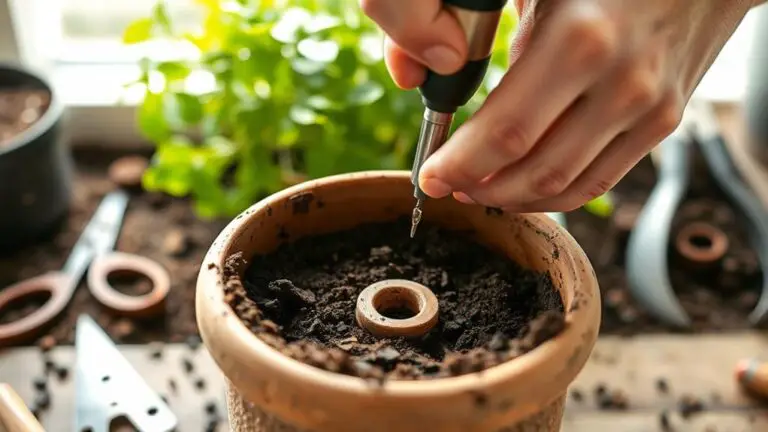
Creating Drainage Holes
When making your own polymer clay pots, incorporating drainage holes is vital for maintaining healthy plants. Without them, water can accumulate at the bottom, leading to root rot and mold.
Here's how you can create effective drainage holes:
- Choose Your Tool: Use a straw or a skewer to carefully poke holes into the base of the pot. These tools are perfect for making holes that are just the right size.
- Placement: Make sure the drainage holes are evenly distributed. This guarantees water flows freely through the soil, preventing waterlogged roots.
- Multiple Holes: Instead of one large hole, consider making multiple small ones. This provides better drainage while keeping the pot structurally sound.
- Check After Baking: After baking your pot, double-check the drainage holes. Sometimes, they close up slightly during the curing process. If needed, re-open them with a tool.
Baking the Pots

After verifying your pots have proper drainage holes, it's time to move on to baking them. Start by preheating your oven to the temperature specified by the polymer clay manufacturer, usually between 265°F to 275°F (130°C to 135°C). This step is vital to guarantee your pots bake evenly.
Next, line a baking tray with parchment paper. This will prevent your pots from sticking and guarantee a clean surface. Place your crafted pots carefully on the tray, making sure they're not touching each other. This setup helps the pots bake properly without any unwanted marks or deformations.
Baking the pots typically takes between 15 to 30 minutes, depending on their thickness. Follow the manufacturer's recommended time closely to allow the clay to harden correctly. Set a timer so you don't forget!
Once the baking time is up, turn off the oven and let the pots cool completely before handling them. Moving them too soon can cause cracking or deformation, which you definitely want to avoid. Patience is key here.
Planting Succulents

Creating beautiful polymer clay pots is just the beginning; the real fun starts with planting succulents in them. To guarantee your succulents thrive, follow these simple steps:
1. Prepare the soil: Fill your polymer clay pots with well-draining soil. This type of soil prevents root rot and promotes healthy growth.
Using a teaspoon, add damp soil to the planter. Make sure it's moist but not overly saturated.
2. Plant the succulents: Use tweezers to carefully handle baby succulents. Gently plant them at the same depth they were in their original containers.
This keeps their roots safe and helps them adjust to their new home.
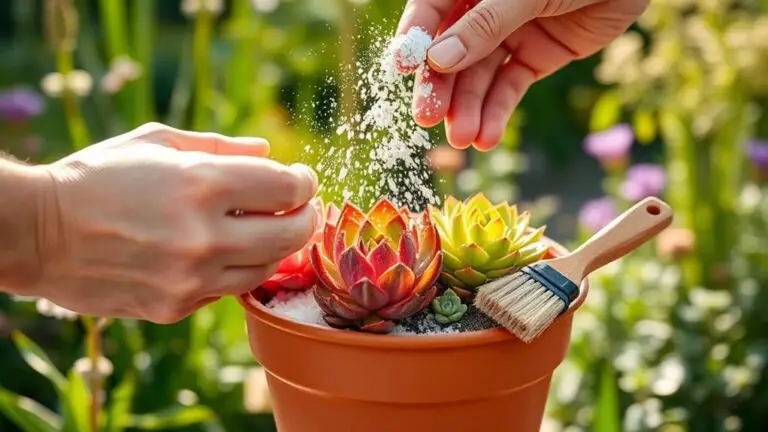
3. Top with gravel: After planting, sprinkle fine gravel on top of the soil.
This layer helps secure the plants and improves drainage around the roots, which is essential for succulents.
4. Monitor needs: Succulents don't like to be overwatered.
Keep an eye on their watering needs. They thrive in well-drained conditions and need infrequent watering to stay healthy.
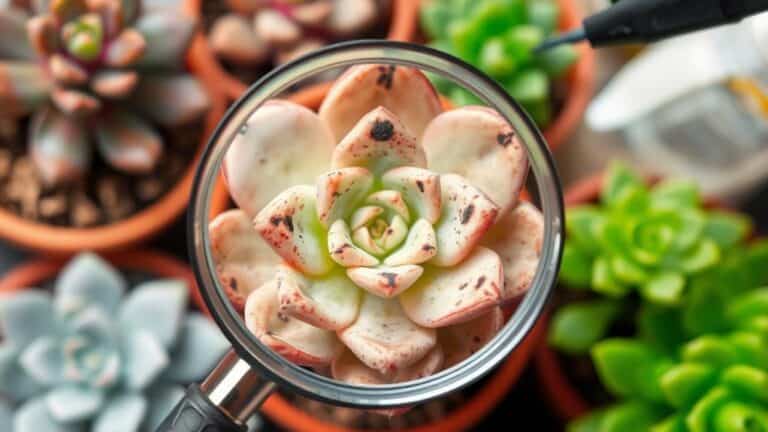
Care Tips and Maintenance

Maintaining your polymer clay pots and the succulents inside them is vital for their longevity and health. To start, regularly check for pests and diseases. These can harm your succulents and damage the integrity of the pots.
Be certain to use well-draining soil in your polymer clay pots. This prevents waterlogging, which can lead to root rot and other issues for your plants.
Monitoring your watering schedule is essential. Succulents don't need frequent watering like other plants. Overwatering can harm both the plant and the pot. Aim to water only when the soil is completely dry.
Place your polymer clay pots in areas with plenty of sunlight. Succulents love bright light, and it also helps keep the pots looking their best over time.
For maintenance, clean the exterior of your polymer clay pots with a damp cloth as needed. This helps remove dust and dirt without affecting the pot's waterproof properties.
Frequently Asked Questions
Can You Make Plant Pots Out of Polymer Clay?
Yes, you can make plant pots out of polymer clay. It's waterproof and durable, especially with good construction. Add drainage holes and seal any imperfections with liquid clay. Choose high-quality clay to guarantee long-lasting pots.
How to Make Clay Flower Pots at Home?
To make clay flower pots at home, knead the clay until soft, shape it into a pot using a mold, add textures, make drainage holes, and bake according to instructions. Once cooled, fill with soil and plants.
What Kind of Clay Is Used for Plant Pots?
You should use polymer clay, like Sculpey or Fimo, for plant pots. It's durable, easy to shape, and waterproof. Just make sure to include drainage holes for healthy plants. Customize with different colors and designs!
Can You Use Polymer Clay to Make Pottery?
Yes, you can use polymer clay to make small, decorative pottery. It hardens at lower temperatures and is waterproof once baked. However, it's not as durable as kiln-fired ceramics and is best for small projects.
Conclusion
You've got everything you need to create beautiful, personalized plant pots from polymer clay. By following this guide, you'll enjoy crafting unique shapes, adding fun textures, and ensuring proper drainage. Once baked, your pots are ready to house your favorite succulents. Remember to care for your plants by watering them properly and giving them enough sunlight. Enjoy the process and take pride in your handmade creations. Happy gardening!