7 Steps to Remove Succulent Pups Easily
If you're looking to expand your succulent collection, knowing how to properly remove and propagate pups is essential. By following just seven steps, you can make certain your new plants thrive. Start by gathering your tools, like clean scissors and potting soil. Then, identify mature pups and prepare the parent plant. Wondering how to detach the pups without damaging them? This process involves a few more careful steps, including allowing the pups to callus before planting. The final touches involve proper post-removal care to guarantee healthy growth. Ready to master these techniques?
Gather Your Tools
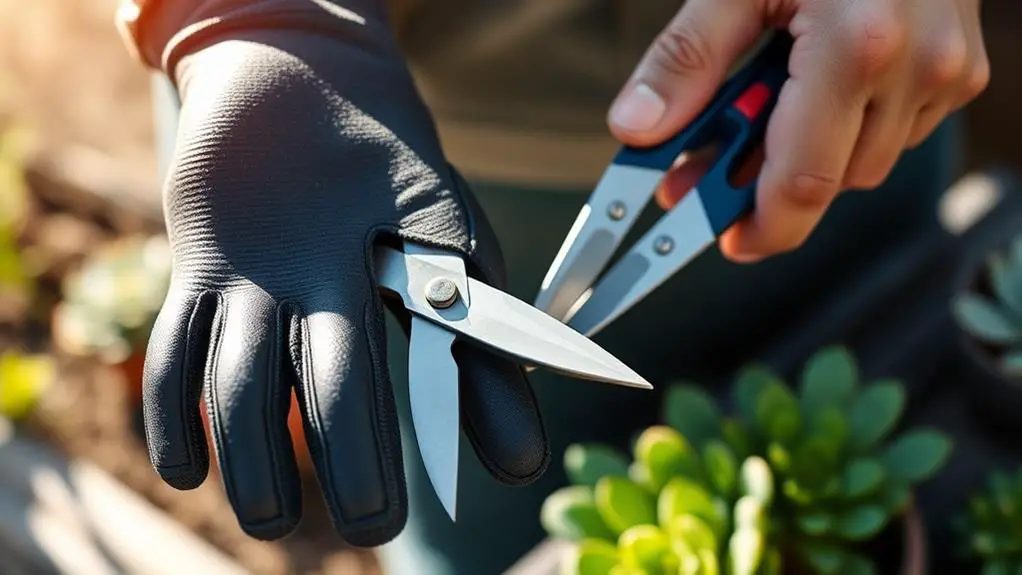
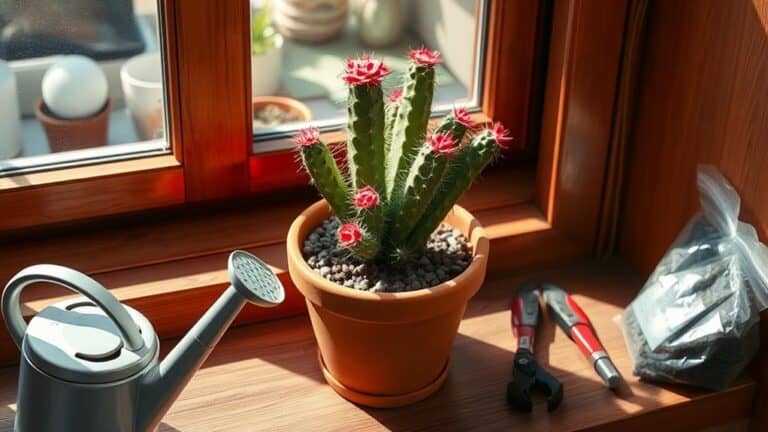
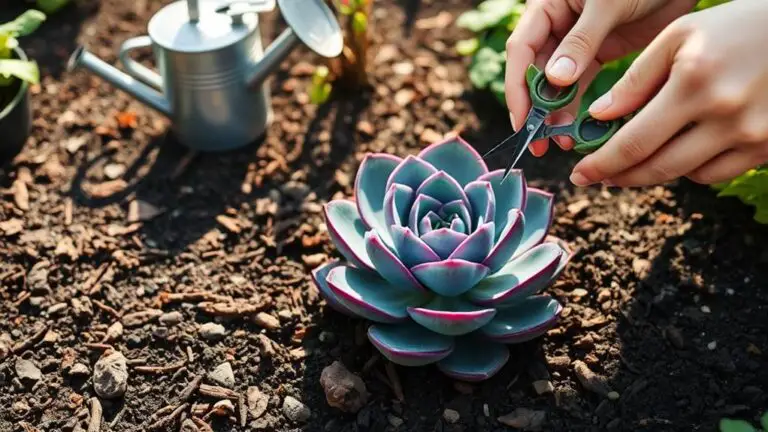
To start removing succulent pups, first gather all the necessary tools. You'll need clean, sharp scissors or a knife to make precise cuts. The sharper your tool, the easier it will be to separate the succulent pups from the parent plant without causing damage.
Don't forget gardening gloves to protect your hands from sap and potential irritation.
Next, prepare a new pot with fresh, well-draining potting soil. It's important to use a soil mix similar to what the parent plant is in to help the pups adjust.
You might also want to have some coconut coir on hand. It retains moisture well and can help the pups thrive during their early growth stages.
Keep a small container or tray nearby to collect any excess soil or debris. This will keep your workspace tidy and make the process smoother.
Organizing your tools in advance guarantees you won't be scrambling around looking for something mid-task.
Identify Mature Pups
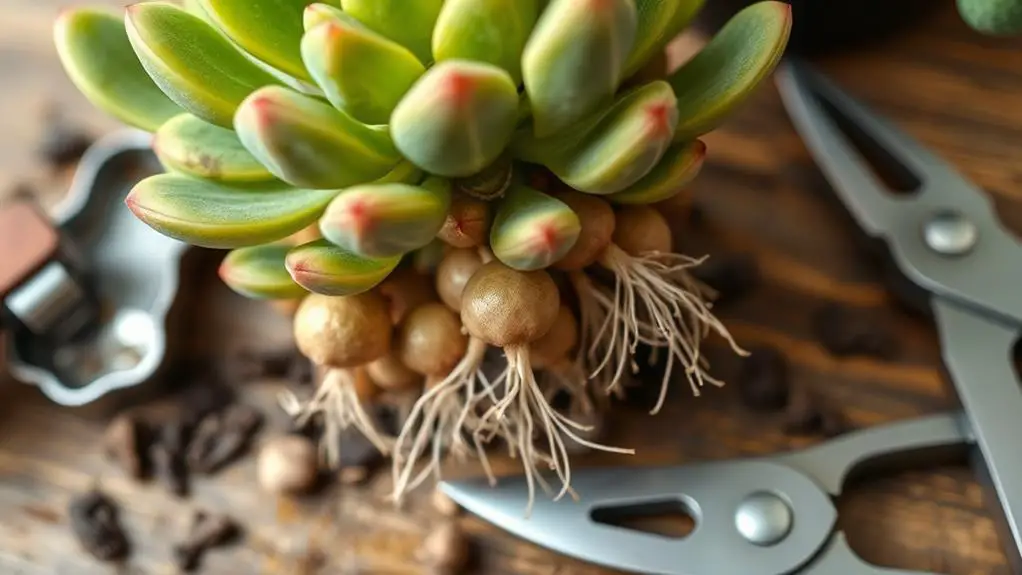
When identifying mature pups for removal, focus on those that appear at the base of the parent succulent and measure a few inches tall, about one inch in diameter.
These pups, or offshoots, are easier to propagate if they've developed their own root systems. Look closely at the base of your mature plant. You'll notice that healthy pups resemble miniature versions of the parent succulent. They should show vibrant colors, indicating they're ready for propagation.
To guarantee success, check that these pups are at least a few weeks old. This time allows them to establish enough growth for a smooth separation.
Also, examine the parent plant for any signs of stress or yellowing. If the parent is stressed, the pups mightn't be as healthy or viable when removed.
Prepare the Parent Plant
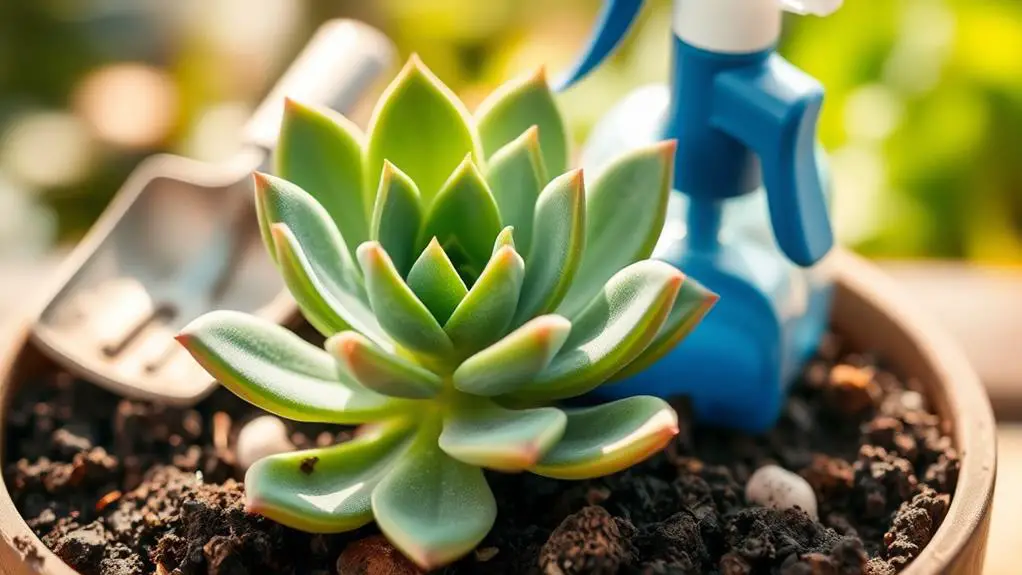
Before you start removing succulent pups, make sure the parent plant is healthy and well-hydrated by watering it a few days beforehand.
Look closely at the base of the plant for pups that are at least one inch in diameter, as these are ready to be separated.
Gather essential tools like clean, sharp scissors or a knife to carefully cut the pup away, ensuring you leave as many roots attached as possible.
Water and Hydrate Well
Preparing the parent succulent for pup removal starts with ensuring it's well-hydrated a few days beforehand. Watering the parent plant ahead of time is essential for a smooth process. When the parent plant is well-hydrated, it reduces stress during the removal of pups, making the task easier for you and safer for the plant.
To achieve this, water the plant thoroughly but do it a few days before you plan to remove the pups. This timing is important because it allows the soil to dry out a bit, preventing excessive moisture. Wet soil can complicate the process, making it hard to separate pups without damaging the roots.
Keep an eye on the leaves of your parent plant. Healthy, plump leaves are a good sign that the plant is well-hydrated and ready for pup removal. A hydrated parent plant will also provide more nutrients to the pups, giving them a better chance to thrive once separated.
After you've removed the pups, don't water the parent plant right away. This gives it time to recover from the stress.
With these steps, you'll be well on your way to successfully and easily removing succulent pups.
Inspect for Healthy Pups
Start the process by examining your parent succulent for healthy pups. Look for pups that are well-formed and vibrant, as these signs indicate that they're ready to thrive on their own. Verify the pups are at least a few inches tall, and ideally about 1 inch in diameter, to increase their chances of successful propagation.
Next, check how securely the pups are attached to the parent plant. If they're still tightly bound, leave them to grow a bit more before attempting to remove them. Pups that are somewhat detached are easier to propagate.
Also, inspect the roots of the pups. Healthy pups may already have small root systems starting to form. These roots will help them establish themselves once removed from the parent plant.
Lastly, confirm the parent plant is in good health. It should show no signs of stress or disease. A healthy parent plant will facilitate a smooth separation and support the robustness of both the parent and the pups.
Here's a helpful table to summarize the key points:
| Criteria | Details |
|---|---|
| Size of Pups | At least a few inches tall, ~1 inch diameter |
| Attachment to Parent | Somewhat detached |
| Root System | Small roots forming |
| Parent Plant Health | No signs of stress or disease |
Gather Essential Tools
Gathering the right tools is vital for a successful succulent pup removal process. Start by gathering tools like a clean, sharp pair of scissors or a knife. Sharp scissors guarantee you can cut the pup cleanly from the parent plant without causing damage.
You'll also need a pair of gardening gloves to protect your hands from sap and potential irritants while handling the plants.
Next, make certain the parent plant is well-watered a few days before you plan to remove the pups. This helps keep the pups healthy and hydrated, making them easier to remove.
You should also prepare a new pot with fresh potting soil that matches the mother plant's mix. This guarantees the pups have the best conditions for ideal growth once they're separated.
Additionally, have some coconut coir on hand. This natural material aids in moisture retention, which is vital for the newly potted pups during their establishment phase.
When you're ready to cut the pup, use your sharp scissors or knife to make a precise cut. By gathering these tools and taking these steps, you'll set yourself up for a smooth and successful succulent pup removal process.
Detach the Pups
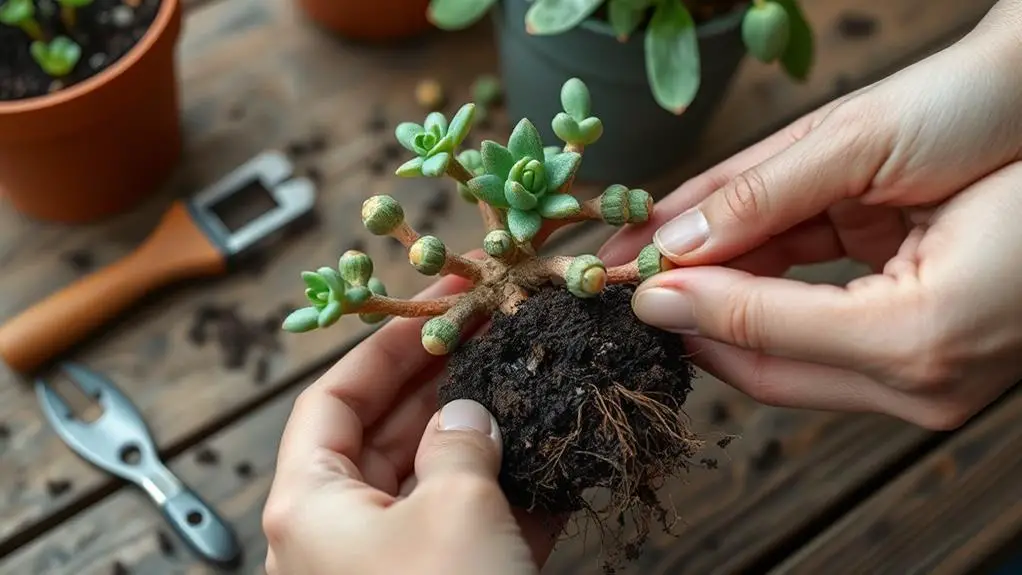
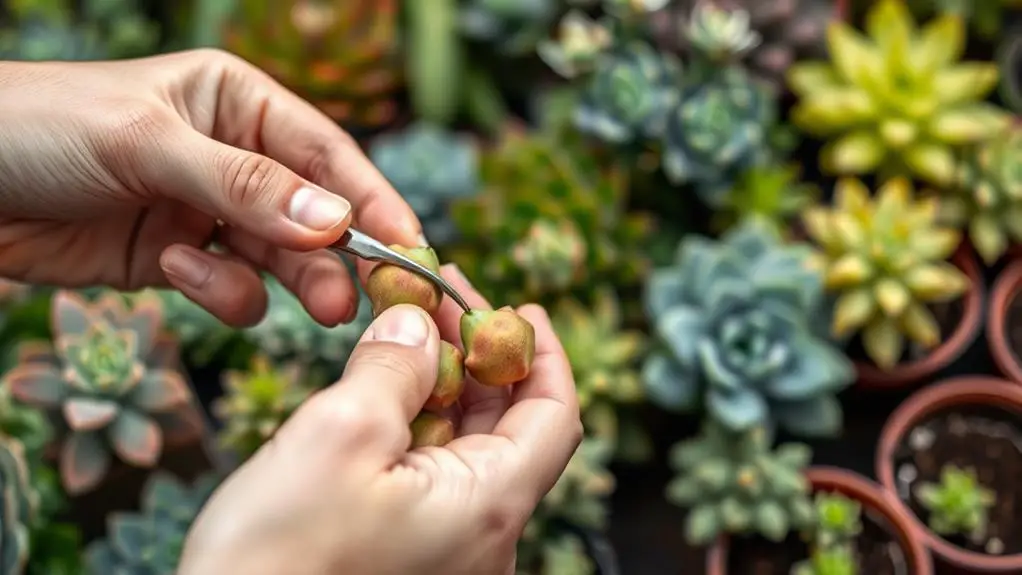
To detach the pups from your succulent, gently grasp the base of the pup and twist it off the parent plant to avoid causing damage. This will help guarantee that both your pup and the parent plant remain healthy.
If twisting the pup off isn't practical, use a clean, sharp pair of scissors or a knife. Make sure to cut close to the base for a clean removal.
After you've detached the pup, take a moment to inspect its roots. If they're not fully developed, don't worry. You'll need to let the pup callous over for a few days before planting it, but more on that in the next section.
Just remember, avoid pulling or yanking the pup, as this can injure both the pup and the parent plant. Gentle pressure is key here.
It's also important to guarantee that the main plant retains enough roots to recover after you've removed the pup. This promotes healthy growth for both the parent plant and its new pup.
Allow Callusing
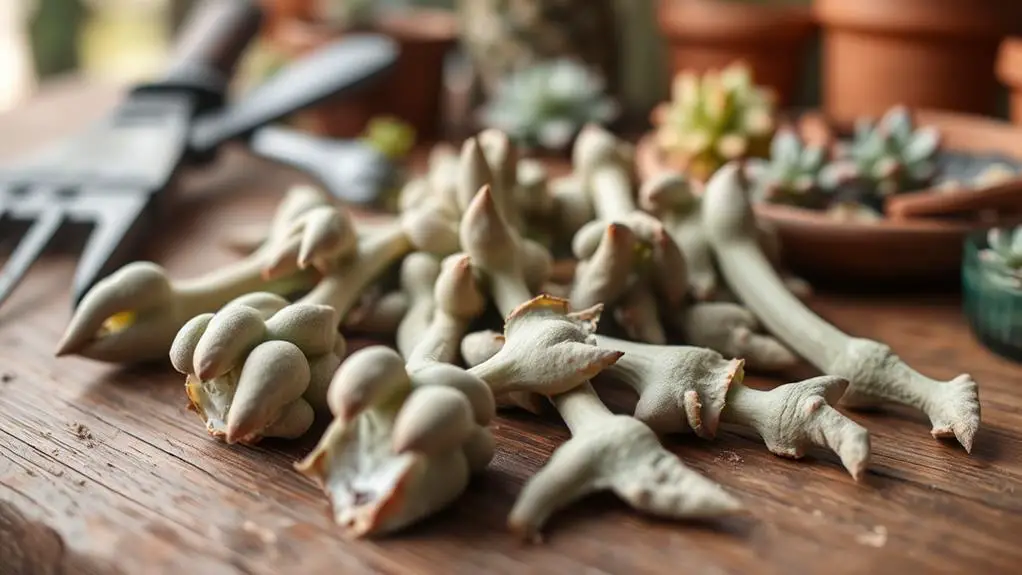
Now, let's talk about callusing, which is super important for preventing rot.
After you've separated the pup from the parent plant, place it in a dry, shaded spot for 3-4 days.
This lets the cut surface form a protective layer, keeping your succulent pup healthy and ready for planting.
Importance of Callusing
When separating succulent pups from their parent plants, it's vital to let them callus for 3-4 days to prevent rot and infection. Callusing is the process where a protective layer forms over the cut end of the pup. This step is significant as it helps to reduce moisture loss during the initial transplanting phase. By allowing the cut to dry and form this barrier, you're setting the stage for a healthier root system.
The importance of callusing can't be overstated. It promotes healthy root development once the pup is placed in soil. Without this step, the freshly cut surfaces are vulnerable to fungal diseases, which can quickly lead to the pup's demise. By ensuring that the cut surface is dry and callused, you're giving your new plant the best chance to thrive.
A properly callused pup is less likely to succumb to infections, ensuring a higher success rate in your propagation efforts. This process improves the overall health and longevity of the new succulent, making your gardening experience more rewarding.
Preventing Root Rot
Preventing root rot in succulent pups hinges on allowing them to callus properly. When you separate succulent pups, letting them callus for 3-4 days is essential. This process forms a protective barrier over the cut surface, which reduces moisture absorption and the risk of root rot. Placing the pups in a warm, dry environment helps them heal effectively.
Don't rush to plant your newly separated pups directly into soil. Wet soil can increase the chances of root rot before the callus forms. Instead, give them time to dry out and heal. During this callusing phase, regularly inspect your pups to confirm they're staying healthy and showing no signs of rot or disease.
Think of callusing as giving your succulent pups a little armor. This armor helps them fend off fungal infections and decay. By being patient and allowing this process to happen, you're setting your plants up for success.
Plant the Pups
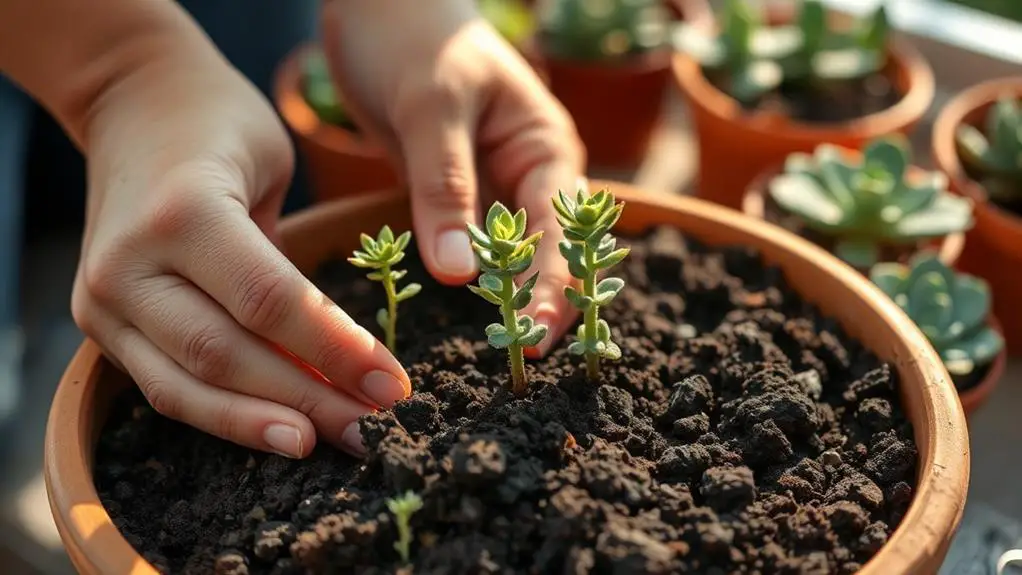
To successfully plant your succulent pups, start by preparing a new pot with well-draining soil that's slightly moist.
Being a plant parent means you want the best for your new plants, and using the right type of succulent soil is essential when you propagate succulents.
Once your pot is ready, gently place the succulent pup into the soil. Make sure you position it at the same depth it was growing with the parent plant. This helps the pup adjust more easily.
After planting, water the new pup sparingly. It's important to let the soil dry out for a few days before the first watering to avoid root rot. Remember, succulents don't like to sit in wet soil.
Your new plant needs bright, indirect sunlight for about 8 hours each day. This will encourage healthy growth and help the roots establish.
Keep a close eye on your pup's development. You can perform a gentle tug test to check for resistance, which indicates that roots are forming and the plant is adapting well to its new environment.
With these steps, you'll be well on your way to successfully growing happy, healthy succulent pups.
Post-Removal Care
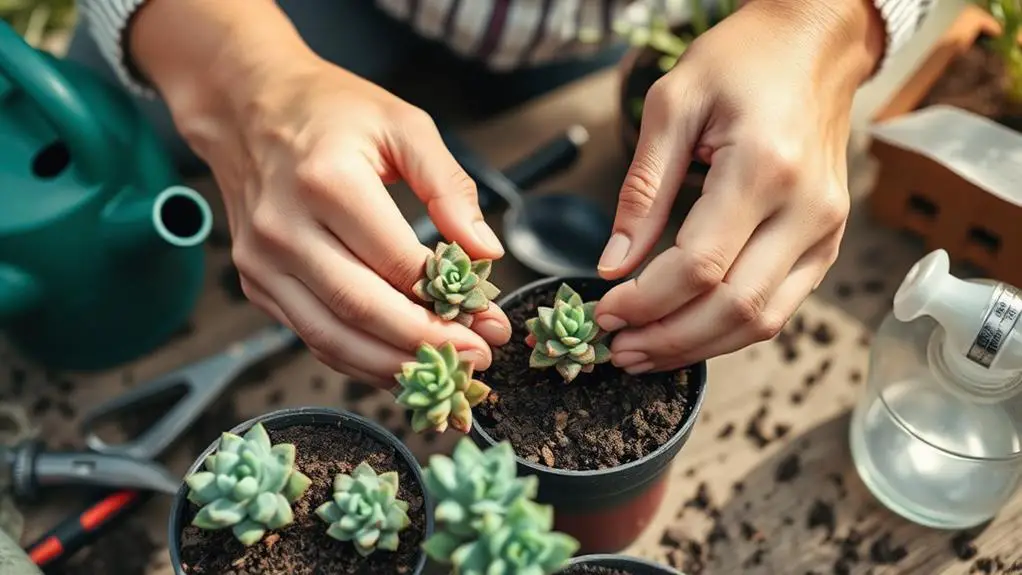
After you've successfully removed your succulent pups, giving them proper post-removal care guarantees they thrive in their new environment.
Start by allowing the pups to callus for 1-3 days. This step is essential as it prevents rot when you plant them.
Once they've callused, use a well-draining potting mix to minimize the risk of root rot. When planting, verify the soil is suitable for succulents, which is often sandy and gritty.
Next, water the newly planted pups sparingly. For the first couple of weeks, wait until the top inch of soil is dry to the touch before watering again. Overwatering can cause root rot, so it's better to be cautious.
Place the pups in indirect sunlight for the first few days. This helps them acclimate without getting stressed from too much light.
Here are some key points to remember:
- Let the pups callus for 1-3 days before planting.
- Use a well-draining potting mix.
- Water sparingly, checking soil dryness first.
- Provide indirect sunlight initially.
Lastly, monitor the pups for any signs of stress or disease. Verify they're in an environment with the right temperature and humidity levels for peak growth.
With these steps, your succulent pups will be on their way to becoming healthy, thriving plants!
Frequently Asked Questions
How to Remove Succulent Pups?
Turn the container sideways, gently squeeze it, and grasp the base of the pup. Pull it away carefully. If it's stubborn, use clean scissors. Shake off excess soil, and let the pup callous before replanting.
Should I Remove Succulent Offshoots?
Yes, you should remove succulent offshoots. Doing so promotes healthier growth for the parent plant, reduces nutrient competition, and enhances its appearance. Make certain the pups are a few inches tall and allow them to callous before repotting.
How to Transplant Succulent Babies?
To transplant succulent babies, gently wiggle them free from the parent plant, preserving roots. Let them callus for 1-3 days. Plant in well-draining soil and water lightly. Gradually introduce them to sunlight to prevent sunburn.
How to Get Succulent Pups to Root?
To get succulent pups to root, gently detach them from the parent plant, let them dry for 3-4 days to form a callus, then plant in well-draining soil. Place them in indirect sunlight and water sparingly.
Conclusion
You've got this! By following these seven steps, you'll successfully remove succulent pups and help them thrive. Remember, gather your tools, identify the mature pups, and prepare the parent plant. Detach the pups carefully, let them callus, and plant them in well-draining soil. With just a bit of post-removal care, you'll see your new succulents grow strong. Keep at it, and soon you'll be a pro in no time. Happy gardening!

