10 Steps to Successfully Root Cactus Pads
Rooting cactus pads might seem challenging, but with the right steps, you can achieve successful results. First, you need to select a healthy pad, confirming it's firm and disease-free. After that, gather your tools and prepare to detach the pad carefully. Once detached, it's vital to let the pad callous for a couple of days to prevent rot. But what comes next? How do you prepare the soil and guarantee proper care throughout the process? Let's explore the essential steps to help your cactus pad thrive.
Select a Healthy Pad
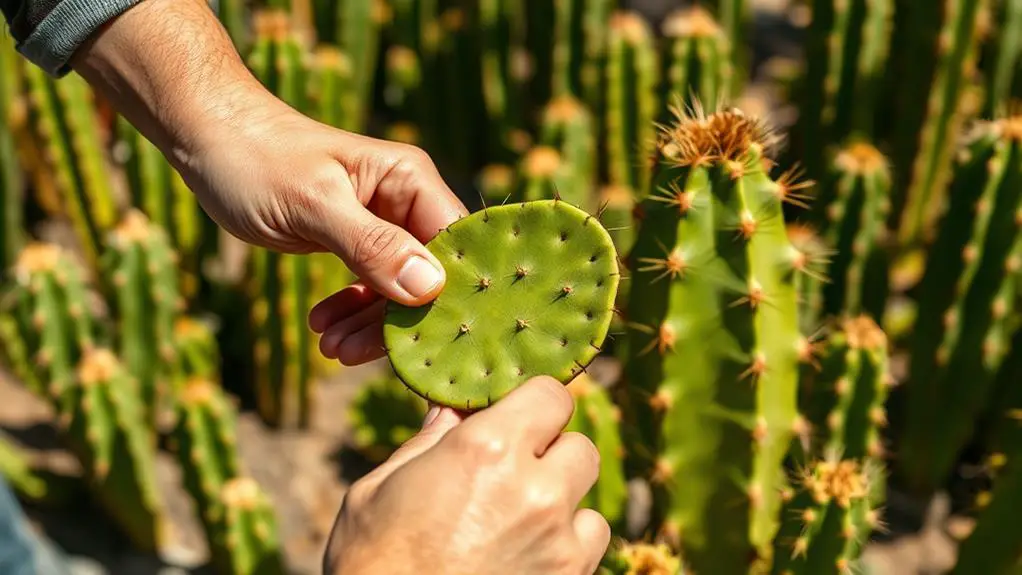
When selecting a healthy cactus pad, make certain to choose one that's at least 6 months old, as older pads have a better chance of successful rooting. These mature cactus pads are more likely to grow well and become strong plants.
Look for pads that are firm, plump, and free from any signs of disease or pest infestations. Avoid any that show discoloration or softness, since these signs indicate poor health.
To make the process easier, find pads with a natural seam or joint. This will help you remove the pad with minimal damage to both the mother plant and the cutting.
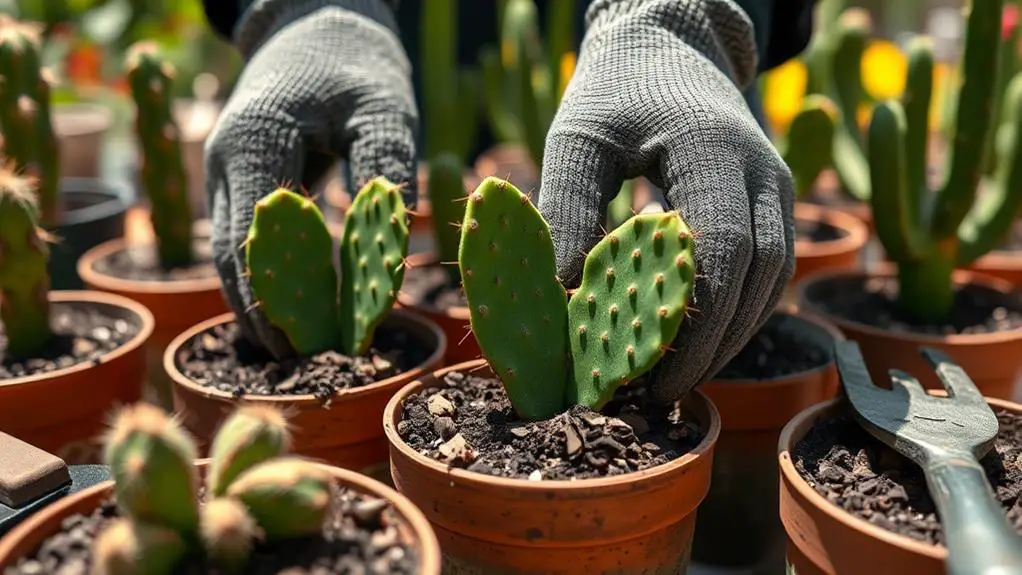
When handling spiny pads, always use heavy-duty gloves. This will prevent injury from glochids or spines, keeping you safe while you work.
Additionally, verify the selected pad is well-positioned on the cactus for ideal sunlight exposure. Healthy pads that receive plenty of sunlight will develop better and be easier to harvest.
By carefully choosing the right cactus pads, you set yourself up for a successful propagation process. This method increases your chances of growing a healthy, thriving cactus plant.
You're well on your way to mastering the art of propagating cactus.
Gather Necessary Tools
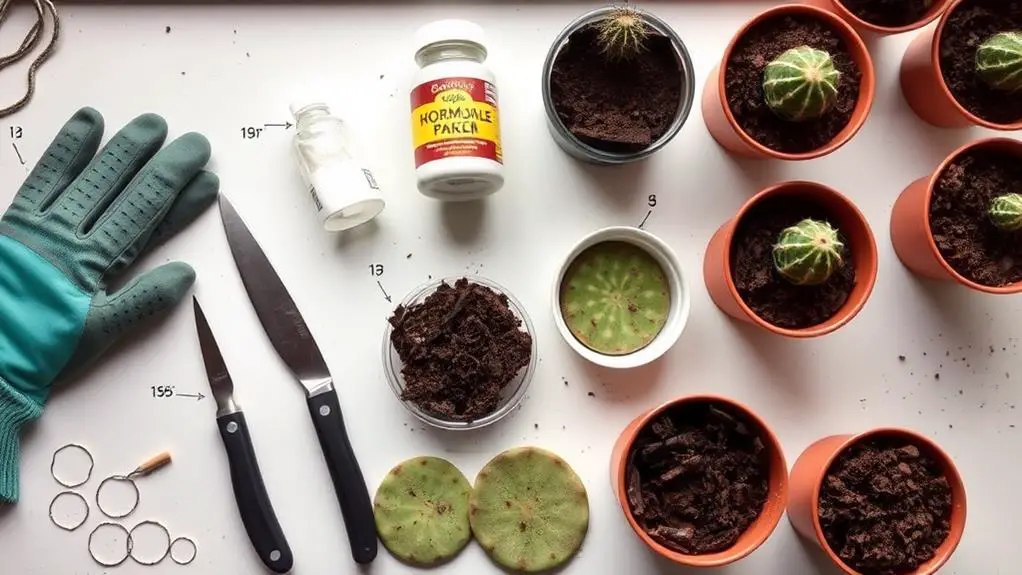
Before you start rooting your cactus pads, make sure you gather all the necessary tools and supplies.
You'll need heavy-duty gloves to protect your hands, clean pruners or a sterile knife for cutting, and small pots with drainage holes to avoid water buildup.
Also, have well-draining soil and consider using rooting hormone to boost your cactus's chances of success.
Essential Gardening Supplies
To successfully root cactus pads, you'll need the right gardening supplies to guarantee a smooth and safe process. First, gather heavy-duty gloves to protect your hands from the spines and glochids. These tiny, barbed hairs can be quite painful.
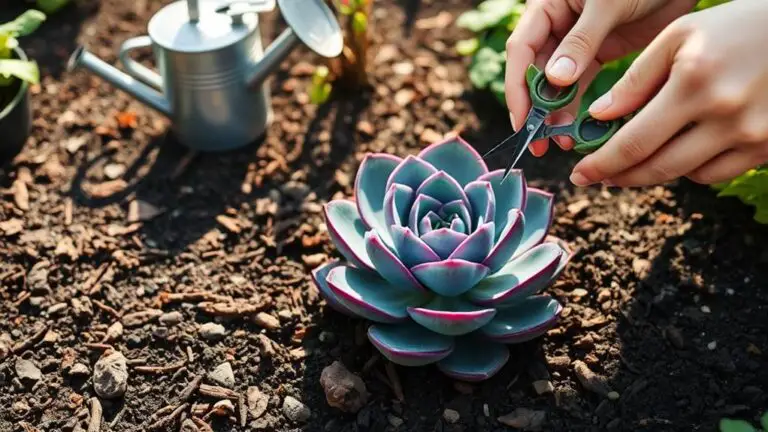
Next, use a sharp, sterile knife or scissors for clean cuts when removing the cactus pad. Clean cuts help prevent infection and increase the chances of successful rooting.
You'll also need small pots with drainage holes. These pots should be larger than the cactus pad to allow for growth and prevent root rot from excess moisture. Fill these pots with well-draining soil, such as cactus mix or sandy soil. This type of soil is essential for creating an ideal environment for the pads to root effectively.
Consider using rooting hormone powder. This can help encourage quicker rooting and a stronger root system.
Safety Precautions
Handling cactus pads can be tricky and should never be done without proper safety measures. When you're dealing with spiny cactus pads, taking the right safety precautions is vital.
Start by wearing heavy-duty gloves to protect your hands from sharp glochids and spines. These gloves are designed to prevent painful pokes and keep your hands safe.
Next, you'll want to use silicone-tipped tongs. These tongs allow you to handle the cactus pads without directly touching them, reducing the risk of injury. They provide a firm grip and are gentle on the plant.
Here are the key tools you'll need:
- Heavy-duty gloves: Protects hands from sharp spines and glochids.
- Silicone-tipped tongs: Safely handles cactus pads.
- Clean, sharp pruners or scissors: Guarantees clean cuts for better rooting.
Additionally, make certain you have a small pot with drainage holes and well-draining soil mix ready for planting. A spray bottle is useful to mist the soil lightly, keeping the environment humid and ideal for rooting.
Detach the Pad
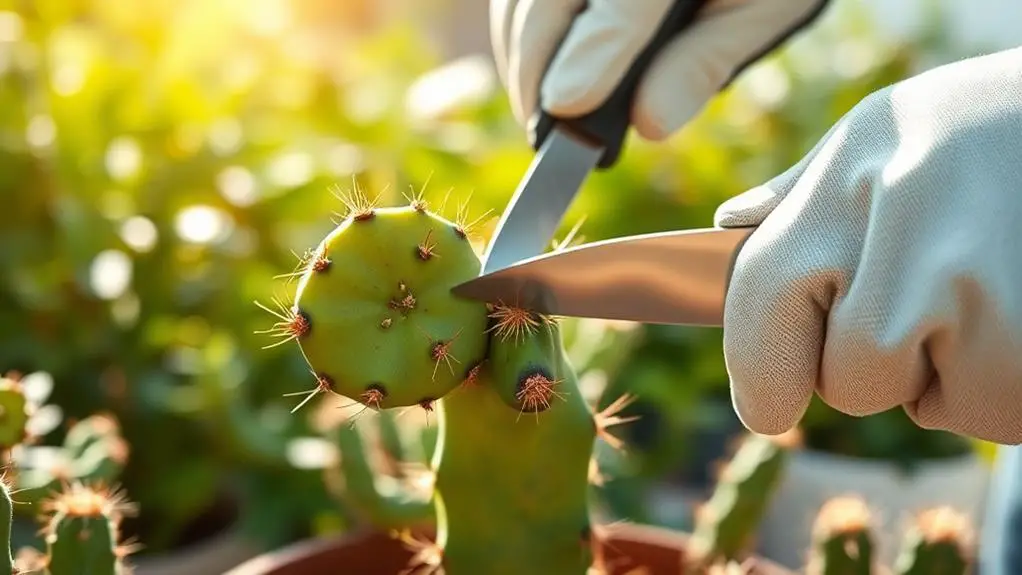
Make sure you wear heavy-duty gloves to protect your hands from the cactus's tiny, painful spines.
Use silicone-tipped tongs to hold the pad securely, and gently twist it at the natural seam or cut it with a clean, sharp knife.
After detaching, let the pad dry for a couple of days to prevent rot, and consider using rooting hormone to help it grow roots faster.
Essential Safety Gear
When detaching cactus pads, safeguarding yourself with the right safety gear is vital. Handling cactus pads without protection can result in painful spines and skin irritation from tiny glochids. Always wear heavy-duty gloves to protect your hands. These gloves will shield you from the spines and guarantee a safer experience.
To detach the cactus pad, you need to use clean, sharp tools. Scissors or a sterile knife work best. A clean cut helps prevent infection in the plant. Make certain your tools are properly sanitized before use.
Consider using silicone-tipped tongs for extra protection. These tongs help you grip the cactus pad without direct hand contact, reducing the risk of injury.
Once you've detached the pad, let the cut end dry and callous for 1-2 days. This step is vital for promoting healthy rooting and preventing rot.
Here's a quick summary of the vital safety gear:
- Heavy-duty gloves: Protect your hands from spines and glochids.
- Clean, sharp tools: Guarantee a clean cut to minimize plant infection.
- Silicone-tipped tongs: Safely grip and remove pads without direct contact.
Proper Cutting Techniques
Detaching a cactus pad correctly is essential for its successful rooting. Start by choosing a mature pad that's at least six months old. This guarantees it's strong and ready to root. Wear heavy-duty gloves to protect your hands from the sharp spines and tiny glochids. Using clean, sharp scissors or a sterile knife, make a clean cut at the pad's natural seam. A clean cut helps minimize the risk of infection.
You might find it easier to twist the pad gently at its natural seam for detachment. If twisting doesn't work, a knife can help you cut one pad from the main plant. Here's a quick summary to help you remember:
| Step | Action | Why It Matters |
|---|---|---|
| 1 | Wear gloves | Protects from spines and glochids |
| 2 | Choose mature pad | Guarantees ideal rooting |
| 3 | Use clean scissors/knife | Minimizes infection risk |
| 4 | Twist or cut | Guarantees clean detachment |
After detaching, remember to set the pad aside to dry and callous for 1-2 days. This helps prevent rot and encourages strong root growth later on. Following these steps carefully will set you up for a successful cactus pad rooting experience!
Healing Before Planting
Why rush the process when a little patience can make all the difference? After detaching your cactus pad, it's important to let it heal before planting. This step is vital for preventing rot and guaranteeing a good root system.
Start by using clean, sharp tools to cut back the pad at its natural joint. This minimizes damage and promotes healthy healing.
Once detached, place the pad in a warm, dry location for 1-2 days. This allows it to dry and callous, setting the stage for roots to grow. During this time, follow these tips:
- Avoid direct sunlight: This reduces stress and prevents dehydration.
- Keep the cut surface undisturbed: This promotes a healthy foundation for root growth.
- Maintain a warm, dry environment: This helps speed up the callousing process.
Taking these steps guarantees that your cactus pad is well-prepared for planting.
Remember, rushing can lead to problems like rot, which could hinder root development. By being patient and letting the pad heal properly, you're giving it the best chance to develop a strong and healthy root system.
Allow Pad to Callous
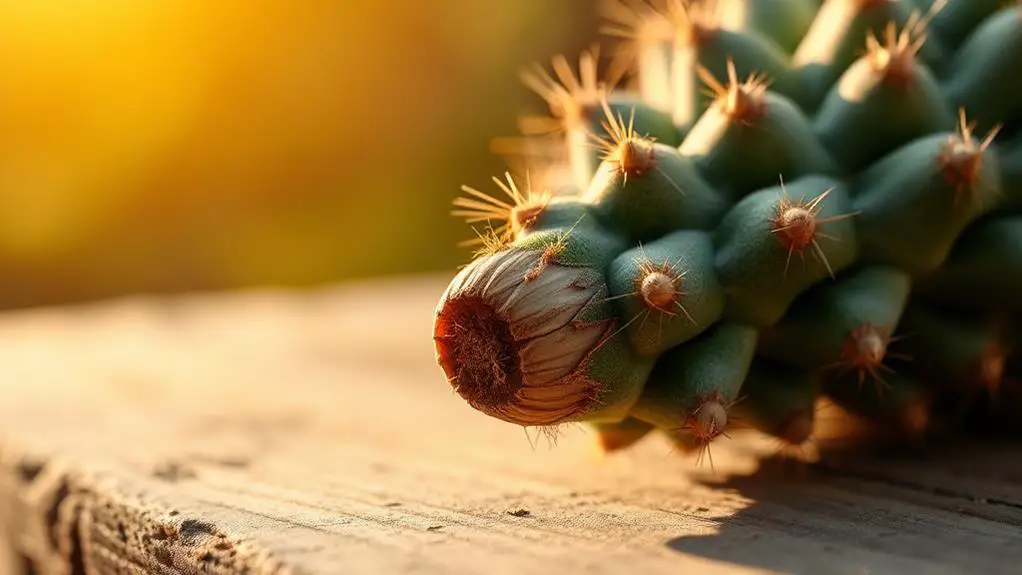
To guarantee your cactus pads take root successfully, it's important to allow them to callous properly. After cutting, let the pads dry and form a callus for 1-2 days. This process is vital as it helps prevent rot when you eventually plant them. A callus develops a protective layer over the cut surface, reducing moisture loss and lowering the risk of fungal infections.
Place the cut pads in a warm, dry location with good air circulation during this drying period. Ensuring good air circulation is key to ideal healing. The temperature should ideally be between 70°F and 85°F to promote healthy tissue formation.
Be careful to avoid direct sunlight during the callousing process. Too much sun can dry out the pads too quickly or even cause sunburn.
Prepare the Soil
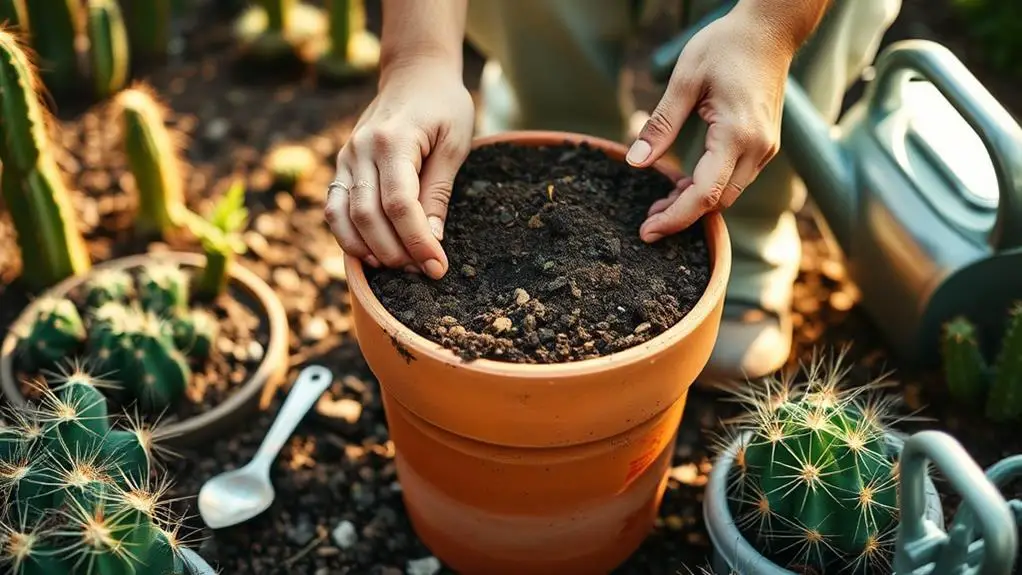
To get started, make sure you use a well-draining soil mix, like cactus mix or sandy soil, to prevent rot and keep your cactus pads healthy.
Choose pots that are slightly larger than the pads and have drainage holes, which help excess water escape.
For even better drainage, mix in some gravel or perlite to create a porous environment that encourages strong root growth.
Soil Composition Tips
Creating the perfect soil mix is vital for the successful rooting of cactus pads. You need to focus on soil composition to guarantee your cactus pads develop strong, healthy roots.
Start by using a well-draining soil mix specifically designed for cacti. This typically includes a combination of cactus mix and sandy soil. The key is to create a stable environment that promotes root development without retaining excess moisture.
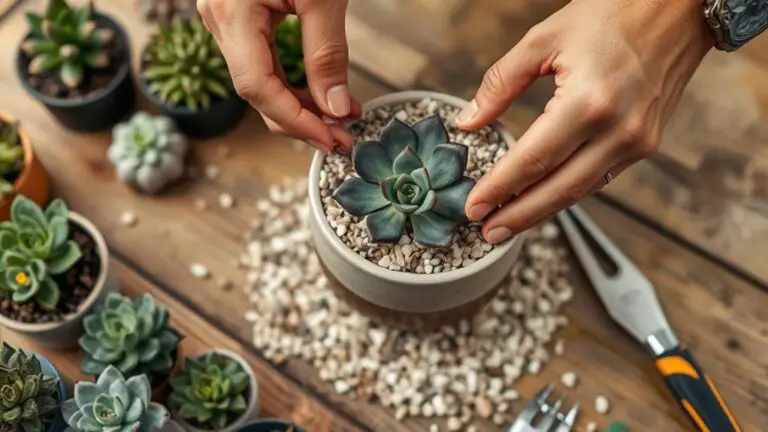
To further enhance drainage and prevent water retention, incorporate materials like gravel or perlite into your soil mix. These elements help keep the soil loose and aerated, which is essential for the health of your cactus pads.
While preparing the soil, make certain it remains loose and well-aerated, as this helps the pads to root more effectively.
- Use a well-draining soil mix: Combine cactus mix with sandy soil.
- Add gravel or perlite: This helps with drainage and prevents water retention.
- Keep the soil loose and aerated: This promotes root development.
While the cactus pads are callousing, prepare the soil. After planting, maintain slightly moist conditions but let the soil dry out completely between watering. This encourages healthy root growth and guarantees your cactus pads thrive.
Drainage Enhancement Techniques
Enhancing drainage is essential when preparing soil for cactus pads. To start, you'll want to mix coarse materials like gravel or perlite into your soil. Aim for a ratio of about 1:3 with standard potting soil or cactus mix. This improves porosity, allowing water to flow through more easily and prevents your cactus pads from sitting in moisture, which can cause root rot.
Make sure the pots you use have drainage holes. These holes are vital because they let excess water escape, protecting your cactus pads from water accumulation. Using a soil mix specifically designed for cacti is also a good idea. These mixes typically contain sand and grit, which help mimic the plant's natural arid conditions and enhance drainage.
Before you plant, let your cactus pads dry and form a callous for 1-2 days. This step helps reduce the risk of rot.
After planting, water your cactus pads sparingly. Allow the soil to dry out completely between waterings to maintain proper moisture levels and avoid sogginess.
Plant the Pad
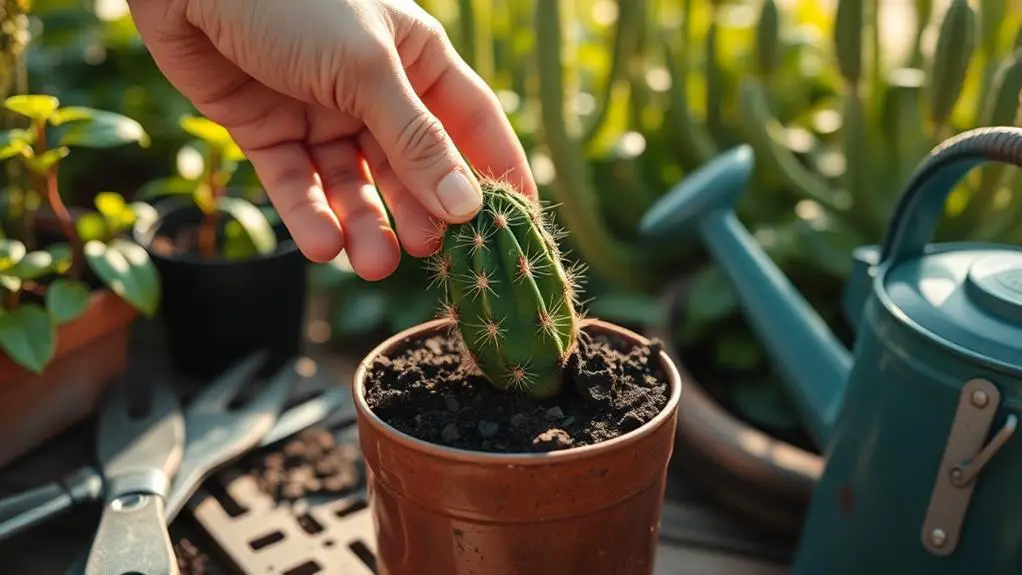
Start by planting your cactus pad upright in well-draining soil, ensuring only the cut base is buried while the rest of the pad stands above the surface. This setup helps prevent the pad from tipping over and allows it to establish roots properly.
Choose a pot with drainage holes that's larger than the cactus pad to promote growth and avoid water accumulation, which can lead to rot.
Once you've selected your pot, fill it with well-draining soil suitable for cacti and succulents. Carefully place the pad into the soil, pressing the base gently but firmly into the soil to secure it.
- Use well-draining soil: Cactus-specific mixes work best.
- Select a pot with drainage holes: This prevents water from pooling at the bottom.
- Position in indirect sunlight: Bright light without direct rays is ideal.
Next, place your potted cactus pad in a location with bright, indirect sunlight. Direct sunlight can be too harsh and might damage the pad, especially when it's just starting to root. Indirect light will encourage healthy growth without the risk of scorching.
Water Sparingly
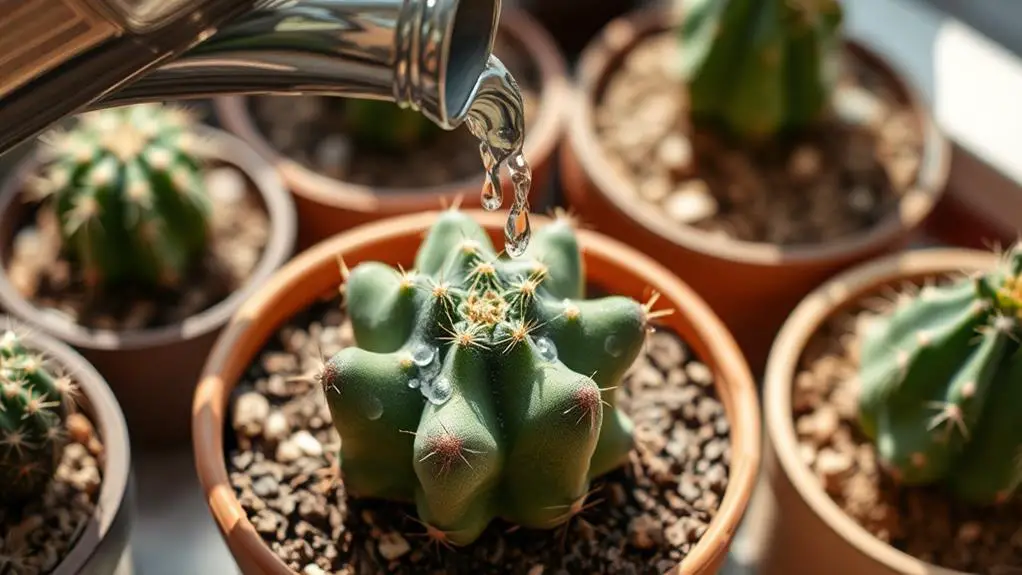
After planting your cactus pads, it's vital to resist the urge to water them immediately. Give them about 1-2 weeks to allow the cut ends to callous. This step is significant to prevent rot from setting in.
Once roots begin to develop, you should water sparingly. It's important to mimic the cactus's natural arid environment by making sure the soil dries out completely between watering sessions.
Use a well-draining soil mix to avoid excess moisture, which can lead to root rot, a common issue with newly planted cactus pads.
When it's time to water, apply it directly to the soil rather than the pads. This technique minimizes the risk of rot and guarantees that moisture reaches the roots effectively.
To monitor soil moisture, check the top inch of soil. If it feels dry, it might be time for a light watering, but always err on the side of underwatering rather than overwatering.
Ensure Proper Lighting
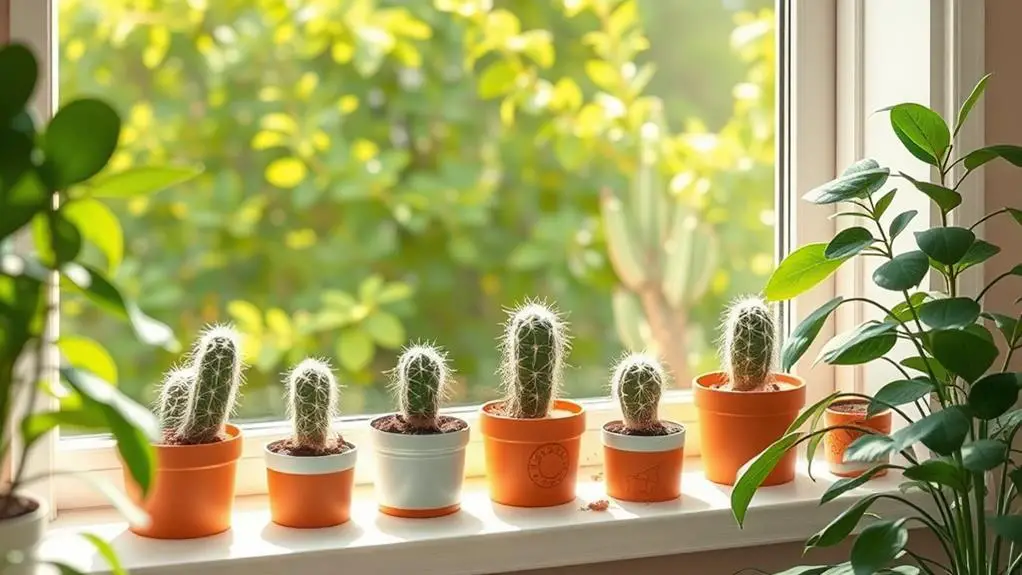
Proper lighting is vital to the successful rooting of your cactus pads. You need to place your cactus pads in a spot that gets bright, indirect sunlight. While direct sunlight might seem perfect, it can actually cause sunburn and stress to your new pads. To achieve ideal growth, make sure your cactus pads are exposed to the right kind of light.
To help you out, here are some tips:
- Choose the right location: Find a spot that receives bright, indirect sunlight. This helps the pads grow without getting damaged.
- Maintain proper temperature: Keep the area between 70°F and 85°F. This temperature range promotes healthy rooting and growth.
- Rotate regularly: Turn the pots occasionally, so the pads get even sunlight exposure. This prevents them from leaning towards the light source.
If you notice that natural light is insufficient, don't worry. You can always use grow lights that mimic the sunlight spectrum. Just place them around 12-18 inches above the pads.
Monitor Growth
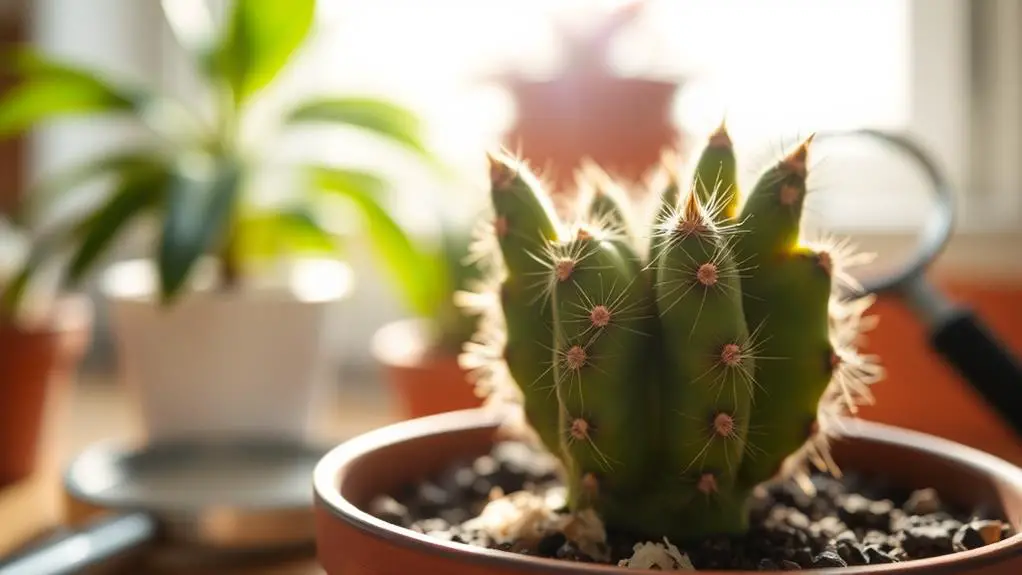
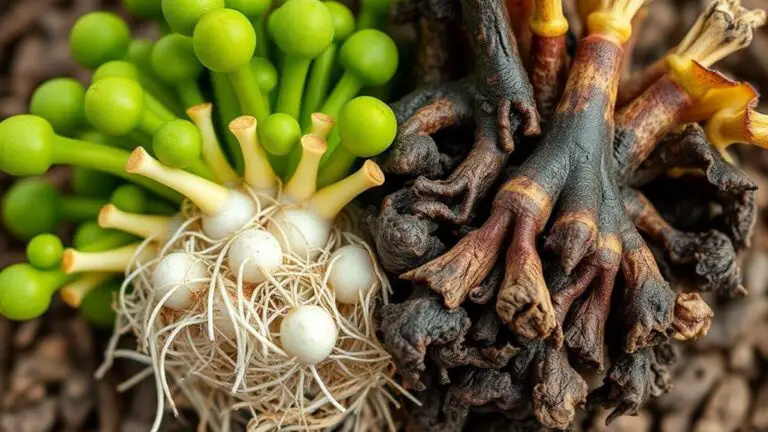
To guarantee your cactus pads thrive, you need to closely monitor their growth. Start by keeping an eye on the soil moisture. Let it dry out completely between waterings to avoid root rot, which can be deadly for newly planted cactus pads.
Look for signs of new growth, such as small pads forming or the pad becoming firm and plump. These changes usually happen a few weeks after planting. Gently tug on the cactus pad after 4-6 weeks. If you feel resistance, congratulations! This shows successful root establishment.
Watch the color of your cactus pads. Vibrant colors indicate healthy growth, while dull or shriveled pads might signal stress or insufficient care. Regular inspection is key. Check for pests like mealybugs or spider mites, which can hinder growth and damage your cactus pads.
Monitoring growth doesn't have to be complicated. Keep these steps in mind and you'll set your cactus pads up for success.
Address Common Issues
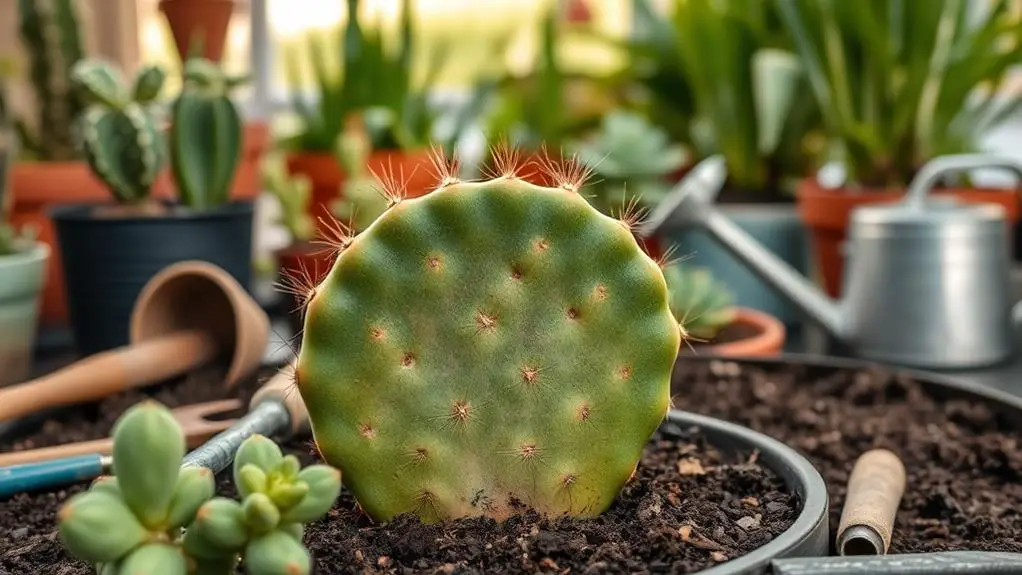
Having monitored your cactus pads' growth, it's time to address some common issues that might arise. One of the most frequent problems is overwatering. Cactus pads thrive in dry conditions, so make sure the soil is completely dry before you water again. Overwatering can lead to root rot, which is detrimental to your cactus's health.
Next, let's talk about light. Cactus pads need plenty of bright, indirect sunlight to grow well. Insufficient light can lead to slow growth and even failure to root. Position your cactus pads in a sunny spot, but avoid direct sunlight that might scorch them.
Pests are another issue you might encounter. Common pests like mealybugs and spider mites can hinder root establishment. It's essential to regularly check your cactus pads for any signs of infestation. If you spot pests, treat them promptly with appropriate insecticides.
Here are some key points to remember:
- Overwatering: Let the soil dry completely before watering again.
- Light: Place cactus pads in bright, indirect sunlight.
- Pests: Inspect regularly and treat infestations promptly.
Frequently Asked Questions
How to Root Cactus Pads?
You'll root cactus pads by drying them for 1-2 days, then planting in well-draining soil. Keep them moist but not wet, and place in indirect sunlight. Watch for new growth to confirm successful rooting.
How Do You Root Cactus Buds?
To root cactus buds, let them dry and callous for 1-2 days. Plant them in well-draining soil, keep the soil slightly moist, and place them in bright, indirect sunlight. Water sparingly to prevent rot.
Can I Cut a Cactus Pad off and Grow a Whole Cactus?
Yes, you can cut a cactus pad off and grow a whole cactus. Just choose a healthy pad, let it callous for a day or two, then plant it in well-draining soil. Water sparingly to avoid rot.
How Do You Stimulate Cactus Root Growth?
To stimulate cactus root growth, let the cut pads dry for 1-2 days, then plant them in well-draining soil. Keep the environment warm, lightly mist the soil, and optionally use rooting hormone for faster results.
Conclusion
You've got this! By following these steps, you'll root cactus pads successfully. Remember to pick a healthy pad, let it dry, and use well-draining soil. Water sparingly and keep an eye on the light. Check for growth and address any issues quickly. Gardening takes patience, but with your care, your cactus will thrive. Keep learning and enjoy the process—before you know it, you'll have a beautiful, rooted cactus pad. Happy gardening!

