10 Essential Tips to Save Your Houseplants From Transplant Shock
Transplant shock can be a real challenge when you're trying to give your houseplants a new home. It's important to know the right techniques to minimize stress and guarantee a smooth shift. You'll want to start by understanding what transplant shock is and how to identify its symptoms. Timing is vital, and choosing the right moment to transplant can make all the difference. But that's just the beginning. Handling roots gently and preparing the new pot correctly are key steps you can't overlook. How do you guarantee proper light and maintain the right humidity levels? Let's explore each tip to keep your plants thriving.
Understand Transplant Shock
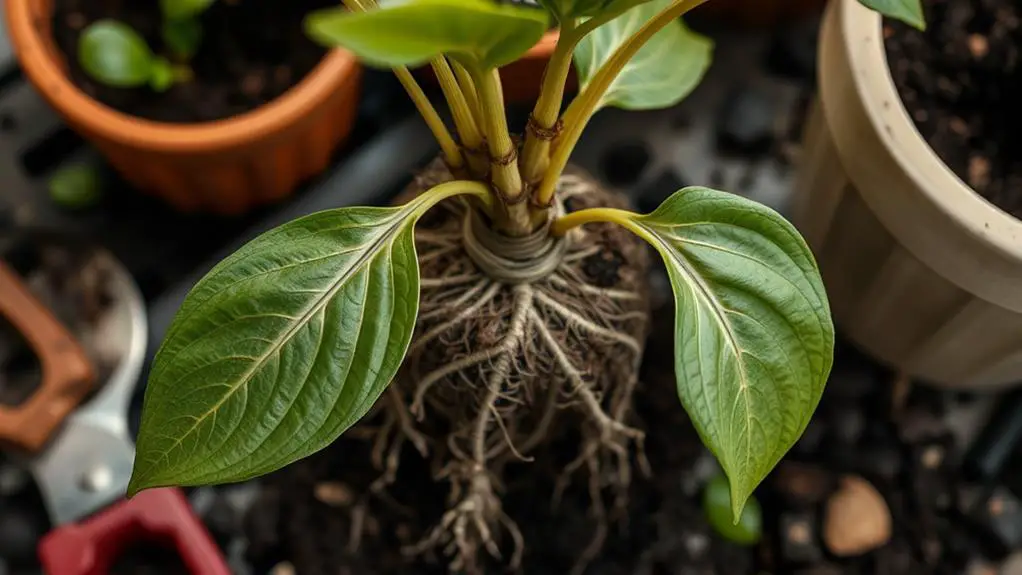
Transplant shock, a common issue for houseplants, occurs when their root systems are disturbed during repotting or relocating. When this happens, plants can experience stress, which can make them look unhealthy or even die if not managed properly.
Understanding transplant shock helps you take better care of your houseplants.
Roots play a vital role in this process. They absorb water and nutrients, so any disruption can cause your plant to struggle. Moving your plant to a new pot or location often means disturbing the roots, leading to transplant shock.
Environmental conditions are another important factor. Abrupt changes in light, temperature, and humidity can make the shock worse. Imagine moving from a cozy room to a cold, drafty spot. Your plant feels the same way. Keeping environmental conditions steady helps your plant adapt better.
Symptoms of transplant shock can be scary but knowing what to look for helps you act quickly. Severely shocked plants may wilt, drop leaves, or stop growing.
These signs tell you your plant needs extra care. The severity of these symptoms depends on the type of plant and how much root damage occurred.
Identify Symptoms
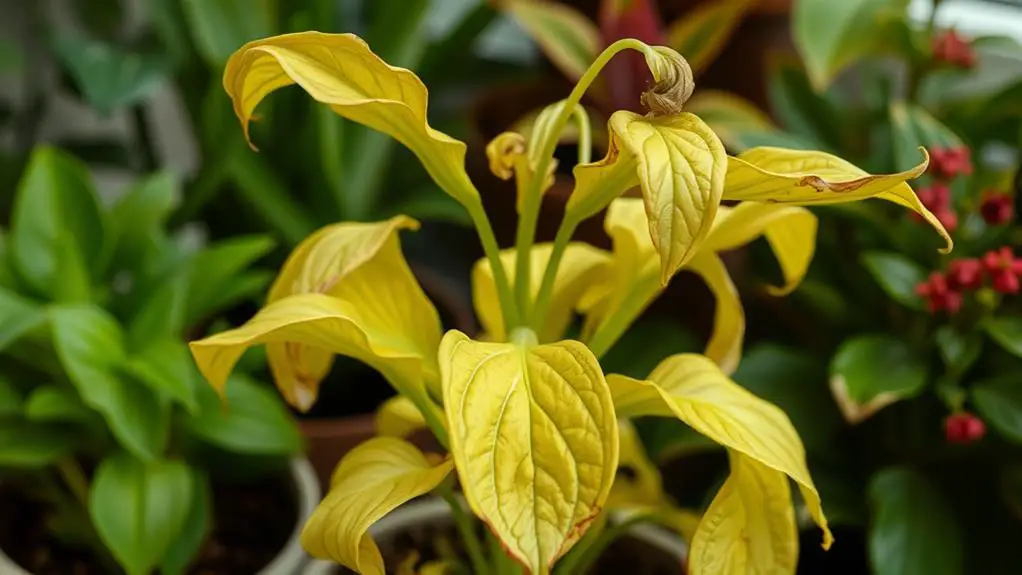
When your houseplant is under transplant shock, you might notice some common indicators like wilting or drooping leaves, even if it's been watered well.
Yellowing or browning leaves, along with leaf drop, can also be early warning signs that your plant is stressed.
Pay attention to stunted growth and a limp appearance, as these visual stress cues can help you take quick action to support your plant.
Common Shock Indicators
Houseplants often exhibit a range of distress signals after being moved or repotted. Recognizing these common shock indicators can help you take quick action and save your plants from transplant shock.
First, keep an eye out for wilting or drooping leaves. This can happen even if you've watered your plant adequately. It's a clear sign the roots are struggling to take up water and nutrients in their new environment.
Second, watch for yellowing leaves. This symptom often indicates that the plant is stressed or experiencing nutrient deficiencies. You'll often see older leaves turning yellow first as the plant tries to conserve resources.
Third, be mindful of leaf drop. When your plant starts shedding its older leaves, it's usually a response to the stress of being relocated or repotted. This is a survival mechanism, allowing the plant to focus its energy on new growth.
Here's a quick list of symptoms to watch out for:
- Wilting or drooping leaves
- Yellowing leaves
- Leaf drop
Understanding these signs will help you act quickly and give your houseplants the best chance to recover from transplant shock.
Stay observant, and you'll be able to nurture your plants back to health.
Early Warning Signs
Noticing early warning signs of transplant shock can make a significant difference in your houseplant's recovery. The first thing you might see is wilting leaves. Even if you're watering your plant properly, drooping leaves often signal root distress or environmental stress.
Another symptom of transplant shock is leaf discoloration. Leaves turning yellow or brown, especially older ones, may indicate nutrient deficiencies or trouble adjusting to new conditions.
Another thing to watch for is leaf drop. When your plant is stressed, it might shed older leaves as a way to cope with its new environment. This is normal but should be monitored closely.
Pay attention to stunted growth too. If your plant stops developing new leaves or stems, it might be a sign of transplant shock and a decline in overall health.
In severe cases, you might notice a limp appearance. When a plant looks lifeless, it suggests significant root damage or failure to acclimate.
Keep an eye out for these symptoms of transplant shock so you can act quickly. With careful monitoring and care, you'll soon see signs of recovery and a healthier plant.
Visual Stress Cues**
Recognizing early warning signs is just the beginning; understanding visual stress cues will help you identify specific symptoms of transplant shock in your houseplants.
When your plants undergo transplant shock, they often exhibit noticeable signs that can guide you toward helping them recover.
One of the first signs you may notice is wilting. Despite giving your plants enough water, their leaves may droop or appear limp. This is a clear indication that your plant is struggling to adjust.
Another common symptom is leaf discoloration. If you see leaves turning yellow or brown, it means the plant is stressed and mightn't be getting necessary nutrients.
Finally, watch for leaf drop. Plants in shock often shed older leaves to conserve energy for root establishment.
Here's a quick reference list to help you identify and address these signs:
- Wilting: Leaves droop or become limp even with proper watering.
- Leaf Discoloration: Leaves turn yellow or brown, signaling nutrient issues.
- Leaf Drop: Older leaves fall as the plant tries to focus on root growth.
Choose the Right Time
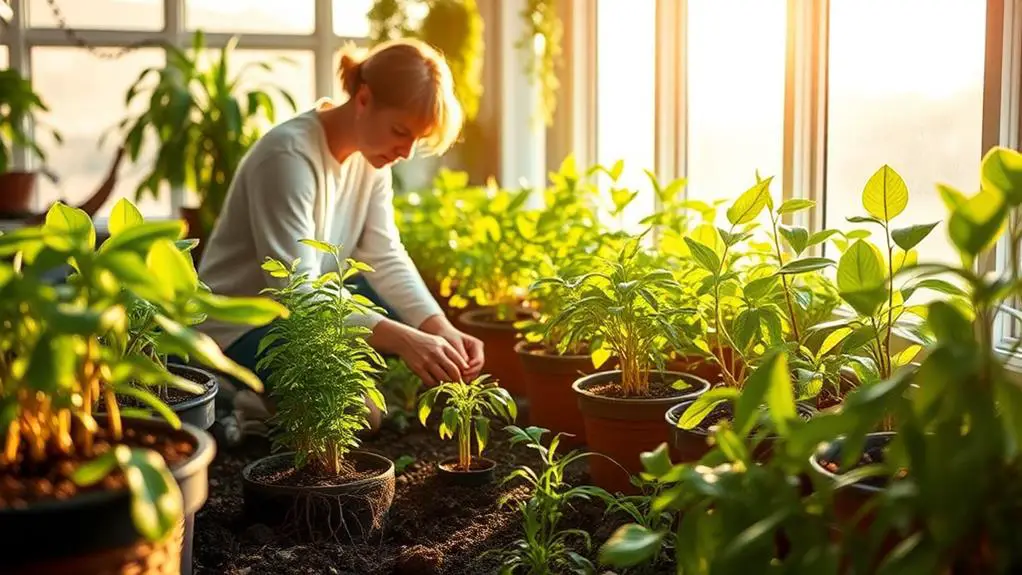
Choosing the right time to transplant your houseplants can make a big difference in how well they adjust.
Aim for the growing season, like spring or early summer, when plants are most active and can recover faster.
Avoid transplanting during extreme weather or when your plants are dormant, as this can cause more stress and shock.
Optimal Growing Seasons
When transplanting houseplants, it's crucial to pick the right time to guarantee they thrive. The best growing season for most houseplants is during their active growing season, typically in spring or summer. During this period, plants are more resilient to stress and can recover quickly from transplant shock. By understanding your plant's needs, you can guarantee a successful shift.
Here are some key points to keep in mind when choosing the right time:
- Active Growing Season: Repotting during the active growing season guarantees that your plant is in a phase of rapid growth. This period is usually in spring or summer when plants are naturally ready to expand and can handle the stress of being moved.
- Sensitive Plants: Certain houseplants, like ferns or Calatheas, are more sensitive to changes. Transplant these during the peak of their growth cycle to help them adapt better and avoid unnecessary stress.
- Local Climate Conditions: Always take into account the local climate and indoor temperature changes. Even in ideal seasons, extreme weather can affect the success of transplanting. Make sure conditions are stable to support your plant's recovery.
Avoid Dormant Periods
Transplanting houseplants during their dormant periods can lead to increased stress and hinder their recovery. To avoid transplant shock, it's essential to choose the right time. The best time to transplant most houseplants is during their growing season, which typically occurs in spring or early summer. During this period, plants are actively growing, making it easier for them to acclimate and recover.
Avoid repotting during a plant's dormant period, usually in late fall or winter. During dormancy, plants have slowed growth and are less capable of bouncing back from the stress of being moved. This can greatly hinder their recovery period.
Ideal temperatures for transplanting most houseplants range between 65°F to 75°F (18°C to 24°C). These conditions help guarantee that plants are less vulnerable to environmental shock.
Additionally, acclimating your plants gradually to new light conditions over about two weeks can minimize transplant shock and support healthy growth.
Remember to observe weather conditions before transplanting. Avoid extreme heat or cold, as these can increase stress on your plants. By following these guidelines, you can help guarantee your houseplants thrive and avoid the pitfalls of transplant shock.
Prepare the New Pot
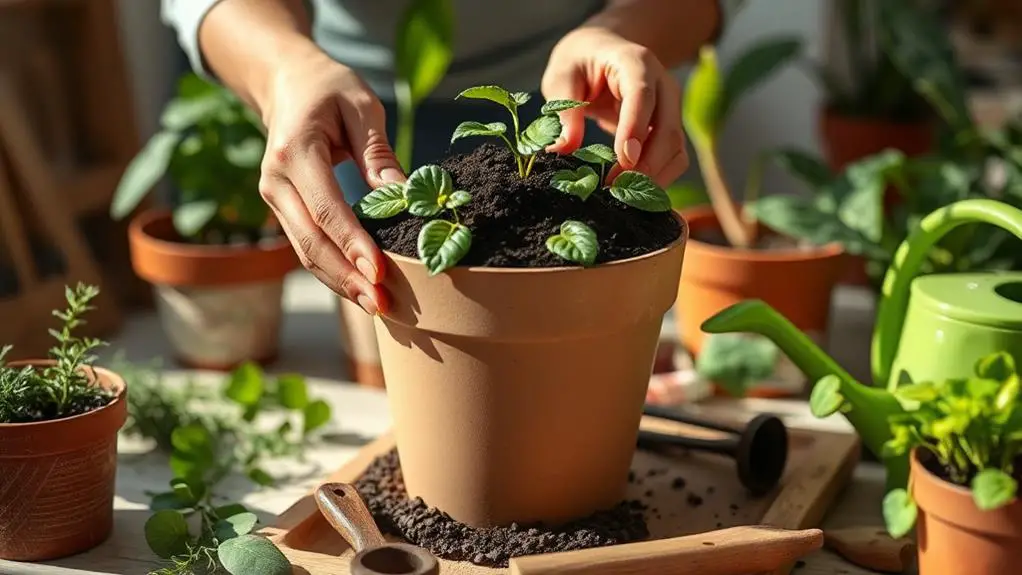
To give your houseplant the best chance of thriving after a transplant, it's vital to prepare the new pot correctly. Start by selecting a pot that's one size larger than the current one. This will give your plant's roots ample space to grow without overwhelming them.
Next, choose a high-quality, well-draining potting mix. This will prevent waterlogging and promote healthy root development.
Ensuring proper drainage is essential to avoid root rot during the recovery phase. Make sure the new pot has drainage holes to let excess water escape. You might also want to add a layer of gravel or small stones at the bottom of the pot. This will further promote drainage and improve air circulation around the roots.
Before you start transplanting, moisten the potting mix. This helps to settle the soil around the roots and reduces stress during the process.
Here are the steps to follow:
- Select the right pot: Choose one size larger than the current pot to provide enough space for root growth.
- Prepare the potting mix: Use a well-draining mix to prevent waterlogging and encourage healthy roots.
- Ensure proper drainage: Confirm the new pot has holes and consider adding gravel for better drainage.
Handle Roots Gently
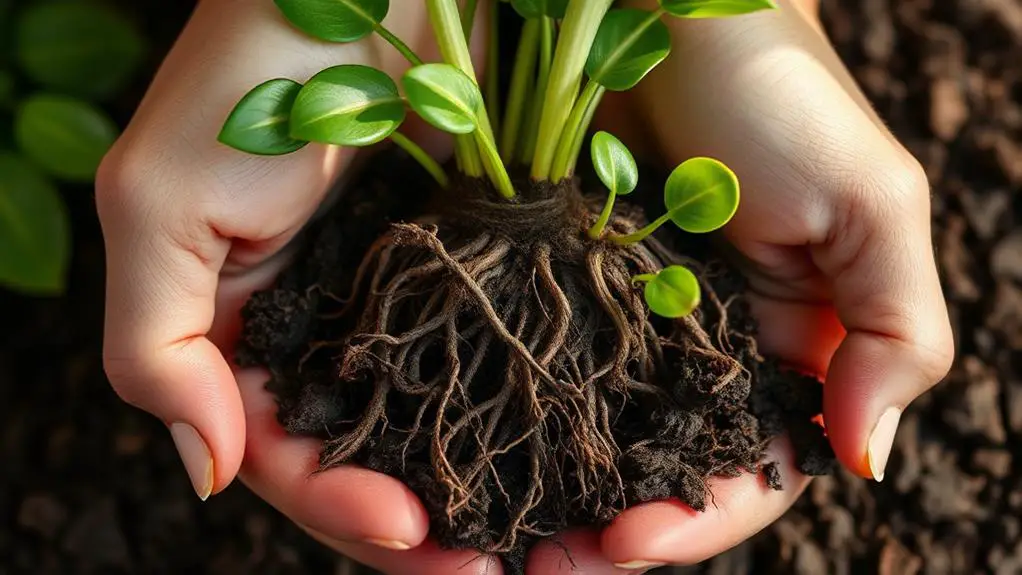
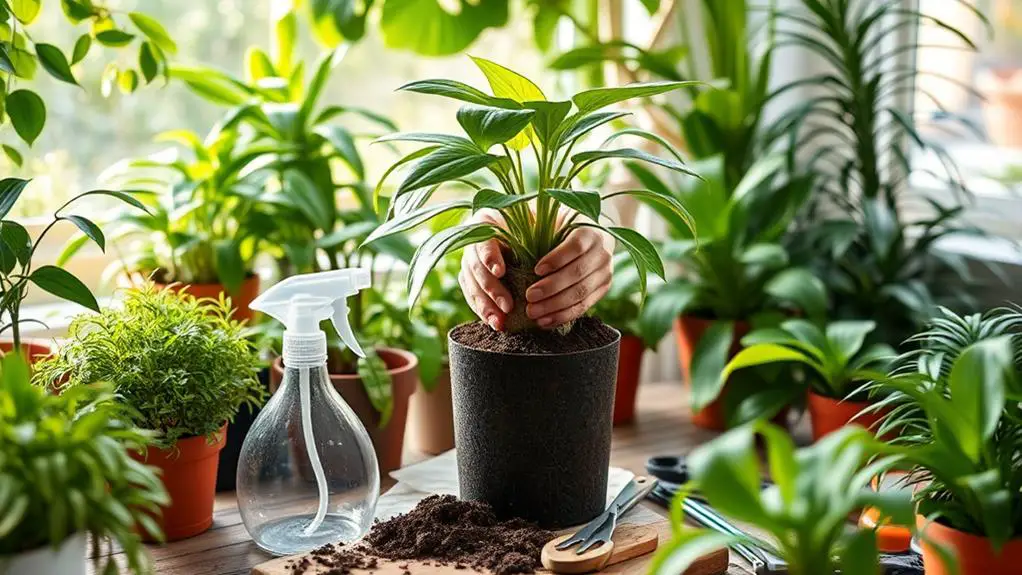
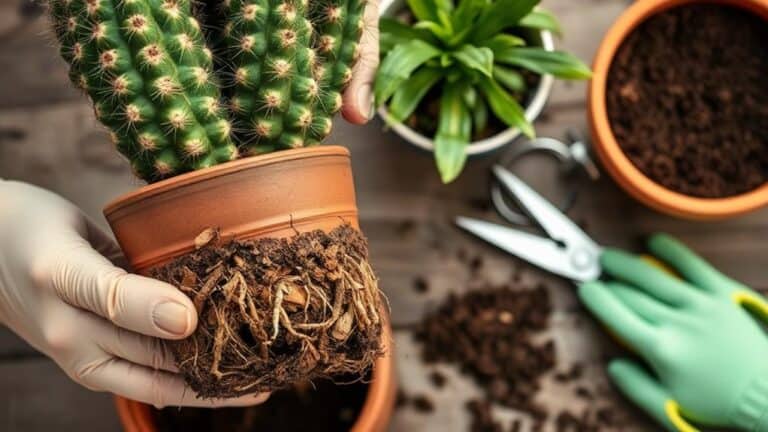
Handling the roots gently is essential to guaranteeing a smooth shift for your houseplant. When you transplant, your goal is to minimize transplant shock by being very careful with the root systems. Start by gently loosening the soil around the root ball instead of shaking or pulling at the roots. This will help you avoid damaging them. Remember, the less disturbance, the better the roots can recover from transplant shock.
Using sterilized tools is another important step. If you notice any tightly bound roots, carefully cut them away. Sterilized tools reduce the risk of infection and help the roots heal faster. Additionally, try to retain as much of the original soil as possible. This soil contains beneficial microorganisms and moisture that support the health of your plant's roots.
After you've handled the roots gently and placed your plant in its new pot, give the root ball a thorough watering. This guarantees the roots stay moist and hydrated, which is critical for recovery.
Water Appropriately
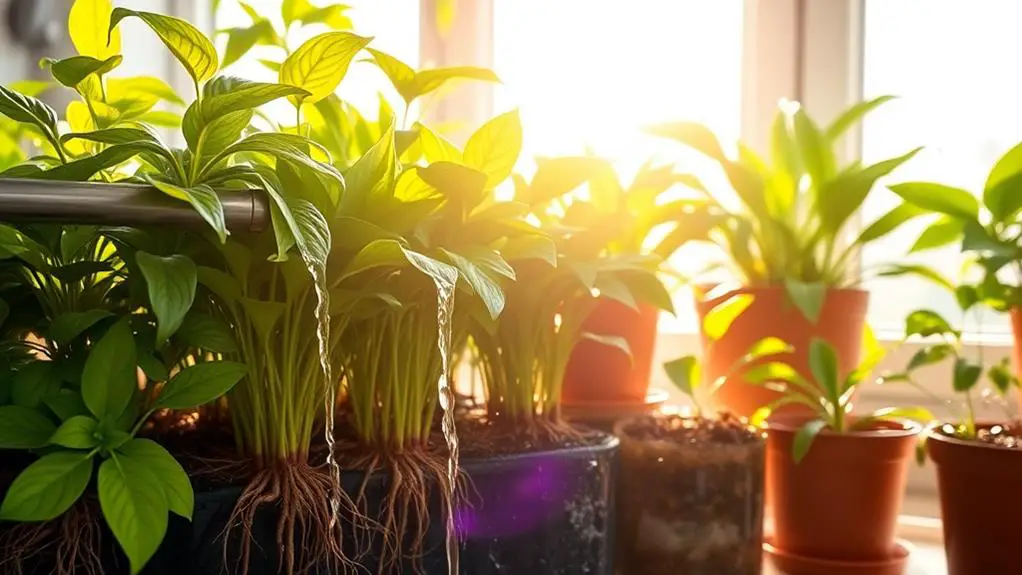
Proper watering is vital for helping your houseplant recover from transplant shock. When you move a plant to a new pot, make certain to water it thoroughly right after transplanting. This helps settle the soil around the roots and guarantees the plant is well-hydrated.
Monitoring soil moisture levels regularly is essential because newly transplanted plants often need more frequent watering until they establish themselves.
To avoid common pitfalls, follow these steps:
- Use a well-draining potting mix: This prevents waterlogging, which can lead to root rot and worsen transplant shock. Excess water can suffocate the roots, causing more harm than good.
- Allow the top inch of soil to dry out: Between watering sessions, let the top layer dry out. This helps maintain the right balance of moisture without overwatering, which can stress the plant.
- Adjust based on plant species: Different plants have different watering needs. Some might prefer consistently moist soil, while others thrive in drier conditions. Research your specific plant to tailor your watering routine.
Ensure Proper Light
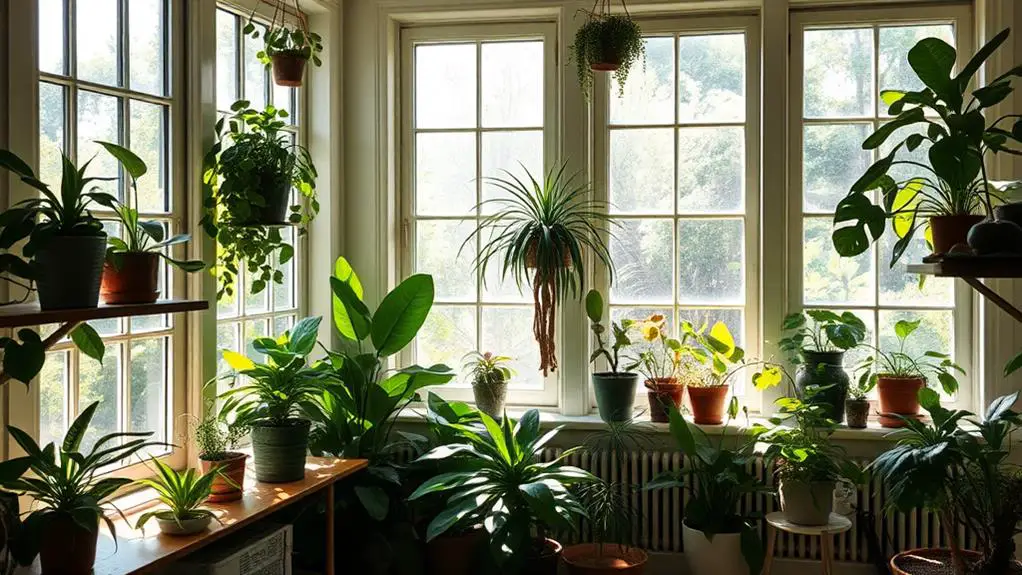
Making sure your houseplants get the right light is key to helping them recover from transplant shock.
Gradually introduce them to brighter areas over a week or two, avoiding direct sunlight that could overwhelm them.
Keep an eye out for signs of light stress, and use sheer curtains to filter harsh light if needed.
Gradual Light Transition
Adapting your houseplants to new light conditions requires patience and a strategic approach to guarantee they thrive. When you change the light levels too quickly, your plants can suffer from transplant shock. To avoid this, follow these steps to guarantee a smooth change:
- Start with indirect sunlight: For the first few days, place your plants in an area with indirect sunlight. This helps them adjust without dealing with abrupt changes in light levels.
- Gradually increase exposure: For plants that need more light, increase their exposure by 1-2 hours each day over a week. This gradual increase allows them to adapt without stress.
- Monitor the plant: Keep an eye on your plant during this period. If you see signs of stress like wilting or leaf discoloration, it might mean they need less light.
Some plants thrive in low light, while others need bright, direct sunlight. Knowing what your specific plant needs will help you make the right adjustments.
Consider using sheer curtains or shade cloths to diffuse intense sunlight when you first introduce your plants to brighter environments. This gentle approach will help minimize shock and keep your houseplants healthy and happy.
Optimal Light Intensity
To guarantee your houseplants thrive, it's important to provide the right light intensity tailored to their needs. Whether your plants prefer low-light or high-light conditions, placing them correctly can make all the difference in avoiding transplant shock. For low-light plants, indirect light is ideal, while high-light plants need bright, direct sunlight.
Gradually acclimate your plants to new lighting conditions. Start them in lower light and slowly increase exposure over a week. This helps prevent the shock from sudden changes in light intensity. Use sheer curtains for sensitive species to diffuse harsh sunlight, while resilient plants can sit in direct windows.
It's vital to monitor your plants regularly for signs of light stress. Watch for leggy growth or scorched leaves—these are telltale signs of transplant shock. If you notice these, adjust the light intensity accordingly. A light meter can also be handy for measuring exact light levels in different home areas.
| Light Requirement | Ideal Placement |
|---|---|
| Low-light plants | Indirect light locations |
| High-light plants | Direct sunlight windows |
| Sensitive species | Behind sheer curtains |
Avoid Direct Sunlight
After transplanting your houseplants, placing them in indirect sunlight is essential to prevent leaf burn and reduce stress. When you move your plants, sudden exposure to bright, direct light can make transplant shock worse. You might notice wilting or leaf drop, especially in sensitive plants like ferns and Calatheas.
To avoid direct sunlight, follow these steps to help your plants adjust smoothly:
- Initial Placement: Start by putting your plants in a shaded area. This helps them acclimate without getting overwhelmed by too much light.
- Gradual Exposure: Gradually increase the amount of light over a week or two. Move them closer to a brighter spot bit by bit, but keep them in indirect sunlight.
- Monitor Light Levels: Check the light levels regularly. Too little light can slow their recovery, while too much can add stress. Aim for a balance based on your plant's specific needs.
Using sheer curtains or placing your plants near a north-facing window can provide the right amount of filtered light during this recovery phase.
Maintain Humidity
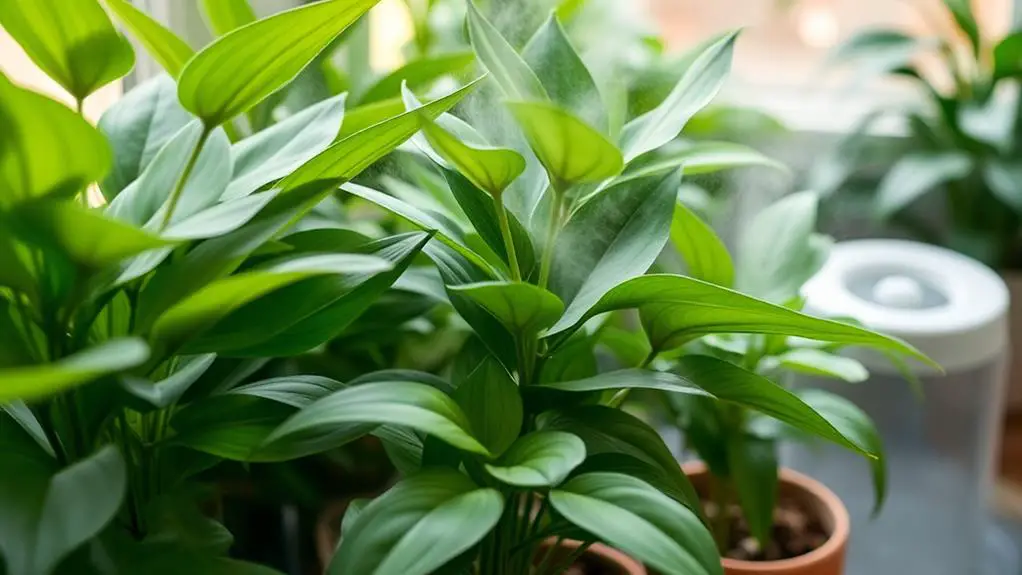
Keeping humidity levels in check is essential for helping houseplants recover from transplant shock. Many tropical houseplants thrive in environments with 50-70% humidity. To maintain humidity, you can mist your plants with water or use a humidifier, especially during dry seasons or in air-conditioned rooms where moisture is easily lost.
Another effective method is to use a humidity tray. Place a tray filled with water and pebbles beneath your plants. As the water evaporates, it increases the humidity around your plants, helping them adjust to new environmental conditions.
Grouping plants together can also create a microclimate with higher humidity. The leaves release moisture into the air, benefiting each other.
It's a good idea to monitor the humidity levels using a hygrometer. This tool will help you keep the humidity within the preferred range for your plants, reducing stress during their acclimation period after transplanting.
Avoid Fertilizing Initially
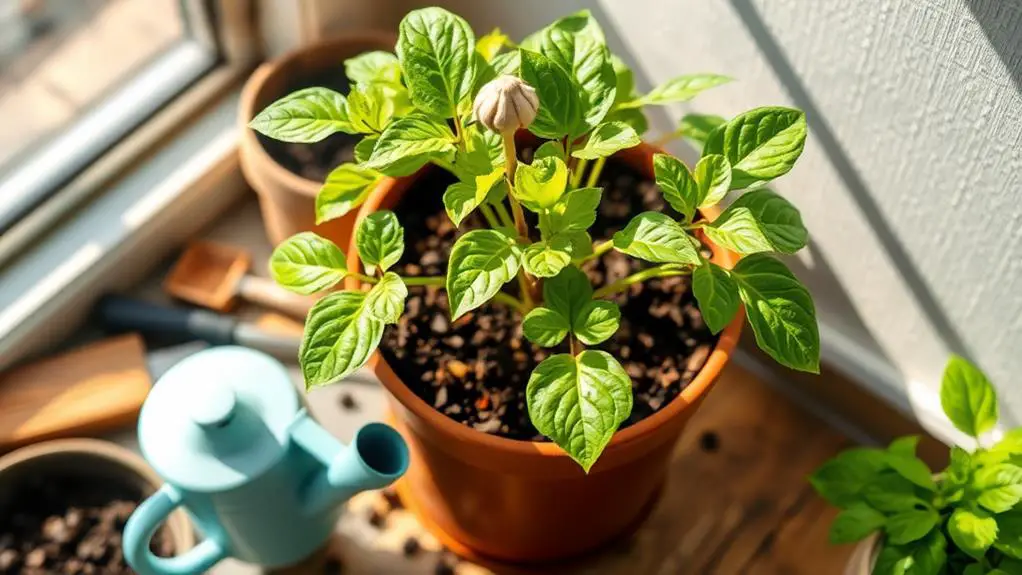
Alongside maintaining proper humidity, it's important to avoid fertilizing your houseplants immediately after transplanting.
When you move your plants to a new pot, they're already under stress, so adding fertilizer too soon can do more harm than good. Fertilizing right away can lead to nutrient burn, which causes yellowing leaf tips and further stress.
To help your plants thrive, follow these steps:
- Wait for Signs of New Growth: Give your plants time to adjust to their new environment. Look for new leaves or stems as a sign that they're settling in. This usually takes about 4-6 weeks.
- Avoid Fertilizing Initially: Hold off on fertilizers during this adjustment period. Your plants aren't ready to absorb extra nutrients and need time to recover from transplant shock.
- Use Diluted, Balanced Fertilizer: Once you see signs of new growth, start with a diluted, balanced fertilizer. This guarantees that you're providing nutrients without overwhelming the plant.
Monitor Plant Recovery
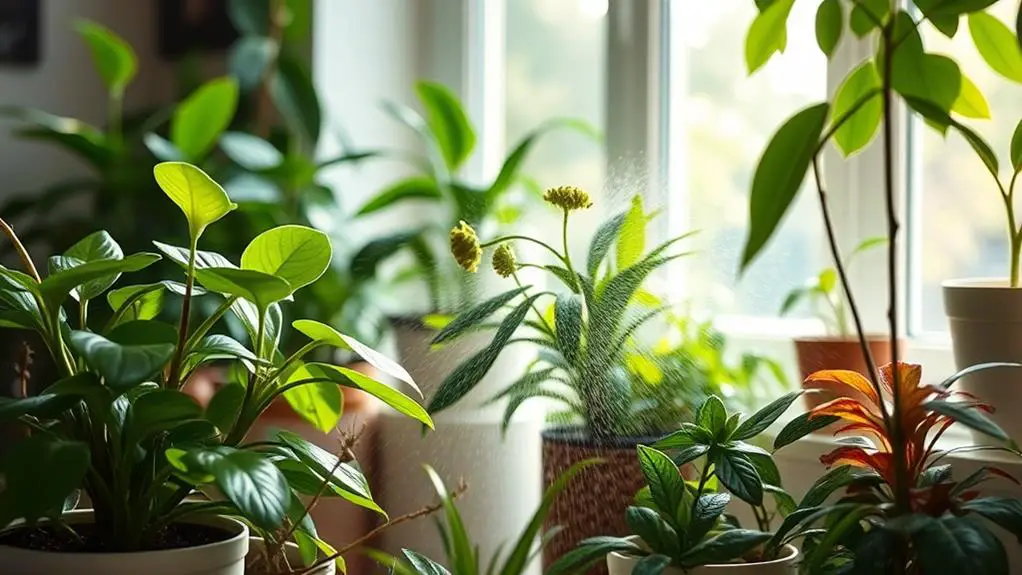
To guarantee your houseplant successfully overcomes transplant shock, it's crucial to monitor its recovery diligently.
Start by regularly checking for new growth. New leaves or stems are positive signs that your plant is adjusting well to its new environment. Healthy leaves should regain their vibrant color and firmness over time.
Keep an eye on the color and texture of the leaves. If they remain yellow or wilted, it may indicate ongoing issues.
Consistently monitor the soil moisture. The soil should stay damp but not waterlogged. Overwatering and underwatering can both hinder recovery, so find a balance.
Pay attention to your plant's overall structure. A strong, upright posture suggests resilience and recovery, while drooping or limp stems can indicate that the plant is still struggling.
Document any changes you notice in your plant's condition over time. This can help you identify patterns and adjust your care practices to better support its recovery.
Frequently Asked Questions
How to Fix Transplant Shock in Indoor Plants?
To fix transplant shock in indoor plants, water them thoroughly after repotting, gradually adjust light and temperature, avoid fertilizing for a month, monitor for new growth, and consider using a sugar-water solution to stimulate recovery.
Can Plants Recover From Transplant Shock?
Yes, plants can recover from transplant shock. You'll notice signs like new growth, better leaf color, and less wilting. Just provide consistent moisture, proper light, and avoid over-fertilizing. Patience is key, as recovery varies by species.
How Do You Save a Dying Transplanted Plant?
To save a dying transplanted plant, keep the soil moist but not soggy, provide indirect light, and monitor for stress signs. Trim damaged leaves and avoid fertilizing for a month. Gradually increase light exposure to help it recover.
How to Prevent Plants From Dying After Repotting?
To prevent plants from dying after repotting, use high-quality potting mix, water thoroughly, handle roots gently, and acclimate them gradually. Delay fertilization until you see new growth. These steps help your plant adjust and thrive.
Conclusion
You've got this! By following these tips, you'll help your houseplants bounce back from transplant shock and thrive. Remember to be gentle with their roots, provide proper light, and maintain good humidity levels. Don't rush to fertilize; wait until you see new growth. Keep an eye on your plants and adjust their care as needed. With patience and a little extra attention, your houseplants will soon be healthy and happy. Happy gardening!

