Set Up A Diy Automatic Irrigation System In Your Garden
Setting up a DIY automatic irrigation system in your garden might seem intimidating, but with some planning and the right tools, it's entirely manageable. I'll walk you through each step, from selecting an appropriate drip irrigation kit to programming an automatic timer for efficient watering. Imagine not having to worry about your plants while you're away, knowing they're getting the precise amount of water they need. Let's explore how to measure your space and choose the right components to make this project a success. Interested in learning how to connect everything to your water source seamlessly?
What Is an Automatic Irrigation System?
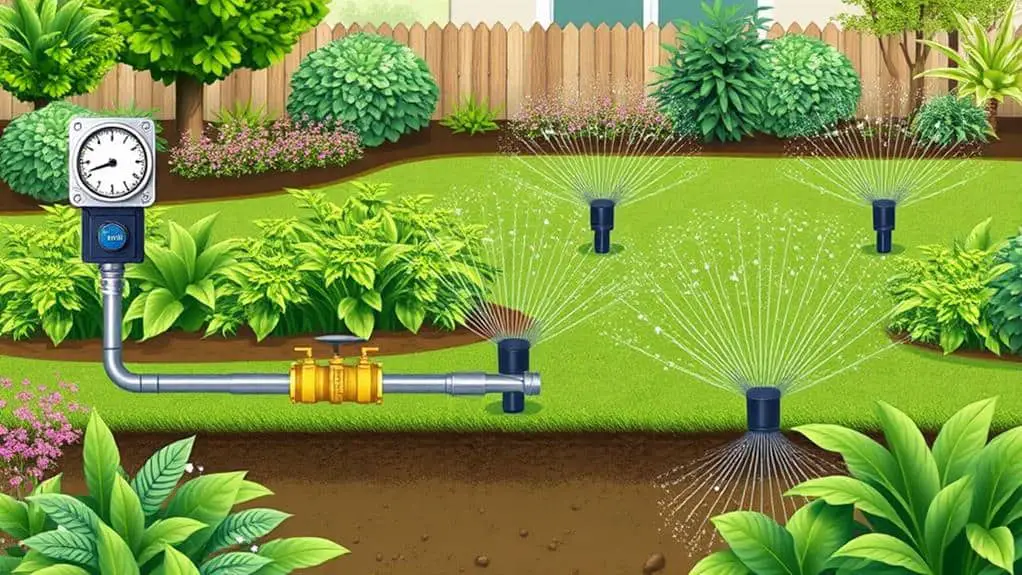
An automatic irrigation system is a gardener's best friend, especially when life gets busy. Imagine not having to worry about watering the garden every day.
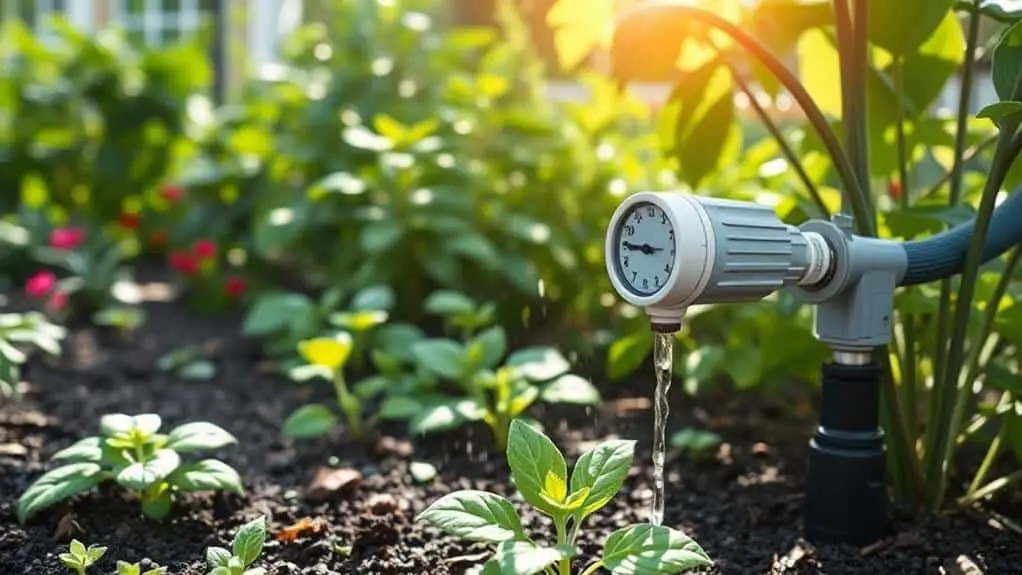
With an automatic watering system, hidden supply pipes and emitters connect to an outdoor tap, delivering water efficiently. The magic happens with a programmable water timer, letting you set a schedule tailored to your plants' needs.
These irrigation systems work wonders, especially in urban gardens with potted plants that dry out quickly. You can save up to 90% of water compared to using a hose, which is fantastic for both your plants and the environment.
Plus, when you're on vacation or caught up in daily life, this system guarantees your garden stays hydrated without any stress.
Benefits of Automatic Watering
Automatic watering systems offer numerous benefits that make them a worthwhile investment for any gardener.
By using an automatic system, you can save up to 90% more water compared to traditional hose methods. This is because the system delivers moisture directly to your plants' roots, reducing evaporation and runoff.
Consistent and scheduled watering promotes healthier plant growth and reduces the risk of overwatering or underwatering. Programmable timers make it easy to automate watering, so you don't have to worry about your garden when you're busy or on vacation.
Plus, an automatic system reduces the manual labor of daily watering, giving you more time for other gardening tasks. Ultimately, targeted watering helps maintain ideal soil moisture, leading to healthier plants.
Essential Supplies for DIY Irrigation
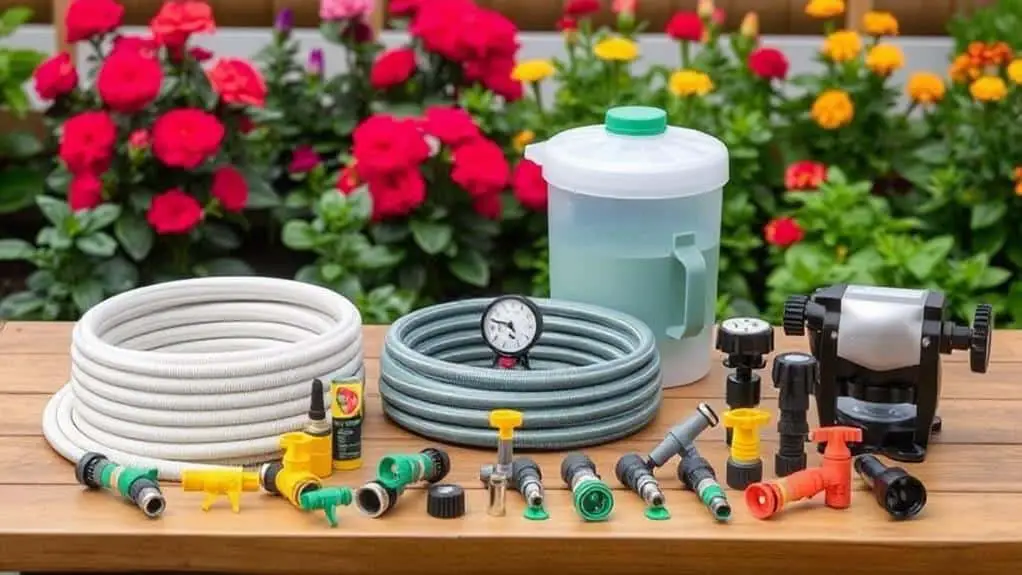
Before you can enjoy the many benefits of an automatic watering system, you'll need to gather the right supplies for your DIY irrigation setup.
Start with these essential supplies:
- Drip irrigation kit: For about $25, you can water up to 40 plants directly at their roots, which saves water.
- Automatic timer: This will regulate your watering schedule, ensuring your plants get consistent moisture without you having to intervene.
- PVC pipe: A 3/4 inch, 75lbs PVC hose is perfect for laying out the perimeter of your garden.
- Garden hose and fittings: Connect your system to the water source with a garden hose, and use plumbing adaptors and PVC pipe clamps to secure everything.
With these supplies, you're well on your way to a thriving garden!
Planning Your Irrigation Layout
When planning your irrigation layout, start by measuring your garden space and sketching a rough layout to visualize where water lines and plants will be positioned. This helps guarantee all areas get covered.
Think about your main supply line's water flow rate, as it affects the size and length of your irrigation pipes. Plan for both main supply lines, usually 13mm, and smaller 4mm drip lines to water your plants efficiently.
Incorporate T-connectors and valves, allowing you to access different garden sections easily. This setup lets you adjust watering as needed.
Also, consider any slopes or gradients in your garden. They can influence how water distributes and drains. Proper planning guarantees your garden gets the right amount of water.
Connecting to the Water Source
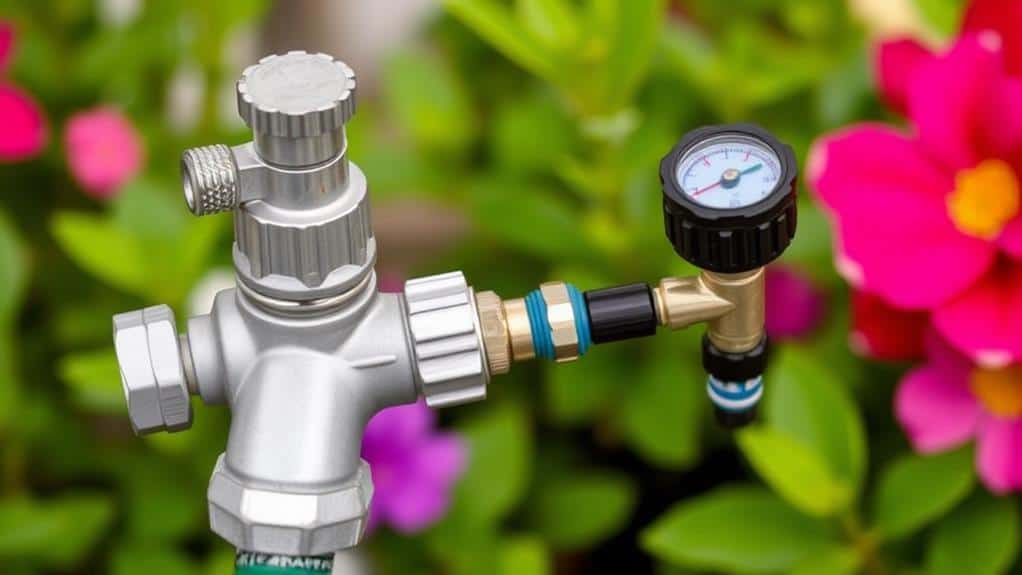
After sketching your irrigation layout, it's time to connect to the water source to bring your plan to life.
Start by securely attaching a T connector to your garden spigot. This will let you use the spigot for both the irrigation system and other watering needs.
Next, attach an automatic timer to one side of the T connector to handle the watering schedule automatically. Follow with a pressure regulator to control the water flow, protecting your drip system.
Use plumbers tape on threaded connections to prevent leaks and guarantee a tight seal.
- Securely attach a T connector
- Connect an automatic timer
- Use a pressure regulator
- Apply plumbers tape for secure connections
Make certain all connections are tight and test for leaks before proceeding.
Setting Up Supply Pipes
Now that we've connected to the water source, let's plan how to set up the supply pipes for your garden.
Carefully route the pipes to cover all your plants, and use Hozelock tubing for its durability.
Once everything is in place, check for leaks by running water through the system and securing any loose connections.
Pipe Routing Plan
Starting your pipe routing plan is essential for guaranteeing your garden's water needs are met efficiently.
Begin by planning the route of your supply pipes to cover your entire garden. Use durable, UV-resistant Hozelock tubing, with 13mm pipes for the main water transport and 4mm pipes for individual plants.
Here are some key steps:
- Use T-Bar connectors: These help branch off the main supply line, allowing for flexible layouts.
- Secure the pipes: Wall clips or stakes will keep them in place, guaranteeing consistent water delivery.
- Plan for plant needs: Consider the specific water needs of different plants.
- Check for full coverage: Guarantee the entire garden is within reach of the irrigation system.
This careful planning guarantees your irrigation system runs smoothly.
Leak Testing Steps
Guaranteeing your DIY automatic irrigation system is leak-free is essential for its efficient operation.
Start by slowly pressurizing the system to conduct a thorough leak test. Check all joints and connections, especially T-Bar connectors and end caps, for water seepage. Inspecting multiple connection points helps guarantee consistent water distribution.
Use a bucket to measure water flow at different points, confirming that pressure remains steady and no drops indicate leaks. Leave the system under pressure for about 30 minutes to spot any slow leaks.
If you find any, fix identified leaks immediately to prevent water wastage. This guarantees your irrigation system works efficiently, keeping your plants healthy and your garden thriving.
Installing Drip Lines and Emitters
Now that our supply pipes are set, it's time to think about choosing the right drip lines and placing emitters strategically.
Drip lines deliver water straight to the plant roots, reducing waste, so lay them out first to cover all plant areas.
Place your emitters at different points along the lines to match each plant's water needs, and don't forget to check for clogs regularly to keep everything flowing smoothly.
Choosing Drip Line Types
When it comes to choosing drip line types for your DIY automatic irrigation system, it's crucial to understand the different diameters and their applications.
Let's break it down:
- 1/2 inch tubing: Best for main lines, ensuring steady water distribution throughout your garden.
- 1/4 inch tubing: Ideal for individual plant emitters, offering flexibility in layout.
- Built-in or separate emitters: Choose based on your preference, with adjustable flow rates from 0.5 to 2 gallons per hour.
- Securing drip lines: Use stakes or landscape pins to keep them in place, preventing movement.
Placing Emitters Strategically
After selecting the appropriate drip line types, the next step is positioning emitters effectively to confirm your plants get the right amount of water.
Place the drip lines 12 to 18 inches apart to cover the root zones without overlapping. Choose emitters with flow rates from 0.5 to 2 gallons per hour, depending on your plants' water needs.
Position the drip lines on the soil surface or just beneath the mulch to reduce evaporation. Secure them with landscape pins to keep everything in place.
Regularly check and clean your emitters to prevent clogging, especially if you're dealing with mineral-rich water.
This setup confirms your drip system delivers water efficiently, keeping your plants healthy and happy.
Programming the Water Timer
Programming the water timer is an essential step in setting up your DIY automatic irrigation system, and it can drastically improve watering efficiency.
By setting automated watering schedules, you can guarantee that your garden gets the right amount of water at the right times. Here's how to get started:
- Adjust settings based on seasonal weather conditions to optimize plant health.
- Set watering durations from 10 minutes in the morning to 15 minutes in the evening, increasing to 3-4 times daily during hotter months.
- Regularly monitor and adjust based on rainfall and plant growth stages to maintain consistent moisture levels.
- Test the system after programming to guarantee it meets your plants' needs.
Following these tips will help you efficiently water your garden using advanced watering systems.
Maintaining Your Irrigation System
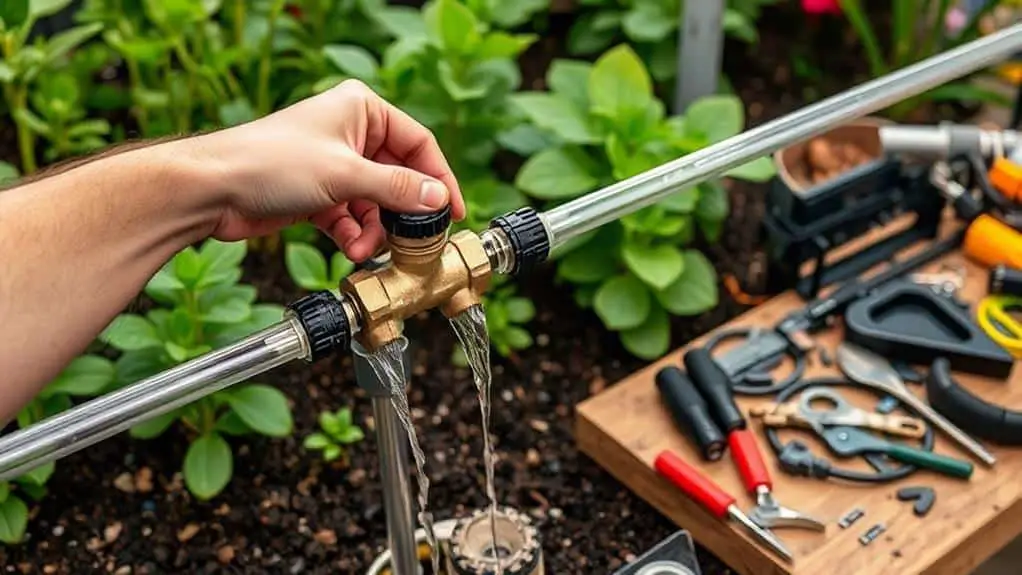
To keep your DIY automatic irrigation system running smoothly, it's crucial to perform regular inspections and make seasonal adjustments.
Check the timers and batteries every six months, and look for any leaks or uneven watering each month.
Adjust the watering schedule based on the weather and keep an eye on your plants for signs of overwatering or dehydration.
Regular System Inspections
Regular system inspections are essential to maintaining an efficient and effective irrigation system.
By checking your system regularly, you can guarantee ideal water distribution and keep your plants healthy.
Here's what I recommend:
- Monthly Observations: Look for leaks, blockages, or uneven water distribution.
- Battery Checks: Every six months, replace the batteries in your automatic timers to keep your watering schedule accurate.
- Drip Line Inspections: Regularly inspect drip lines and hoses for wear or damage.
- Watering Frequency Adjustments: Monitor your watering frequency and duration based on changes in temperature and rainfall.
Seasonal Adjustments Needed
Keeping your irrigation system in top shape requires making timely seasonal adjustments. Most garden plants need about an inch of water per week, but this can change with the seasons.
In hot weather, I recommend increasing your watering frequency to 3-4 times daily, setting each session for 10-15 minutes. It's also important to monitor rainfall. If it rains a lot, you'll need to cut back on your irrigation to prevent overwatering, which can harm your plants.
Every season, check your automatic timers and moisture sensors. Replace batteries and recalibrate settings based on the weather.
Keep an eye on your plants—wilting leaves mean they need more water, while yellowing leaves suggest you're overdoing it. These seasonal adjustments will keep your garden thriving.
Addressing Common Issues
When it comes to maintaining your irrigation system, addressing common issues promptly is essential for a healthy garden.
I find that regular checks keep everything running smoothly. Here are some key tasks to focus on:
- Monitor your irrigation system monthly to spot leaks or uneven water distribution.
- Inspect your drip lines and hoses for signs of wear or blockage.
- Conduct a thorough system test at the start of each growing season.
- Adjust watering frequency and duration based on seasonal changes.
Troubleshooting Common Issues
Maintaining an automatic irrigation system can be a rewarding yet occasionally challenging task.
First, regularly check for leaks in your irrigation system by inspecting all connections and tubing. Leaks can lead to water waste and uneven distribution.
Adjust your watering timer settings based on weather changes; during hotter months, increase watering to prevent plant dehydration.
Keep an eye on your plant health. Wilting usually means they need more water, while yellowing leaves might suggest overwatering.
Make sure your drip lines and hoses are clear of obstructions and kinks to maintain ideal water flow.
Finally, inspect and replace the batteries in your automatic timers every six months to keep your system running smoothly.
These steps will help keep your garden thriving.
Frequently Asked Questions
How Do You Make Homemade Self Watering System for Garden?
I make a homemade self-watering system using self-watering containers, drip irrigation, and rainwater harvesting. I bury the containers near plant roots, use moisture sensors to monitor levels, and guarantee consistent watering. It's simple and effective!
How to Set up an Automatic Watering System for Plants?
To set up an automatic watering system, I measured my garden, used drip irrigation for water conservation, and guaranteed plant health. Regular garden maintenance, like checking for leaks, helps optimize the system and keeps everything thriving.
How to Make an Automatic Irrigation System?
To make an automatic irrigation system, I'd focus on drip irrigation for water conservation. Start with timer installation to schedule watering. This guarantees plant health by providing consistent moisture. Regularly inspect for leaks and adjust as needed.
How to Make Your Own Irrigation System?
I set up my own irrigation system by using drip irrigation and soaker hoses. Gravity feed from rainwater collection guarantees constant water supply. It's efficient and environmentally friendly, making garden maintenance easy and sustainable. You can do it too!
Conclusion
You've got this! Setting up a DIY automatic irrigation system in your garden isn't as hard as it seems. With the right supplies and a bit of planning, you'll keep your plants happy and healthy with less effort. Remember to check your system regularly and make adjustments as needed. Don't be afraid to experiment and learn along the way. Your garden will thank you, and you'll enjoy the extra time you save. Happy gardening!

