Growing Stonecrop Sedums in Cold Hardy Succulent Gardens: 10 Tips
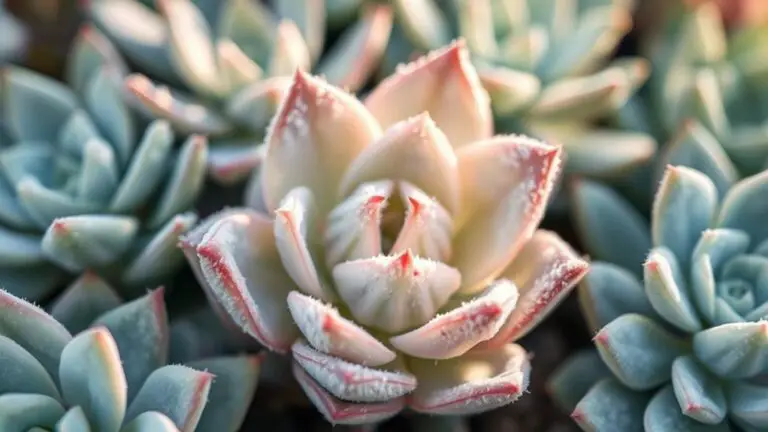
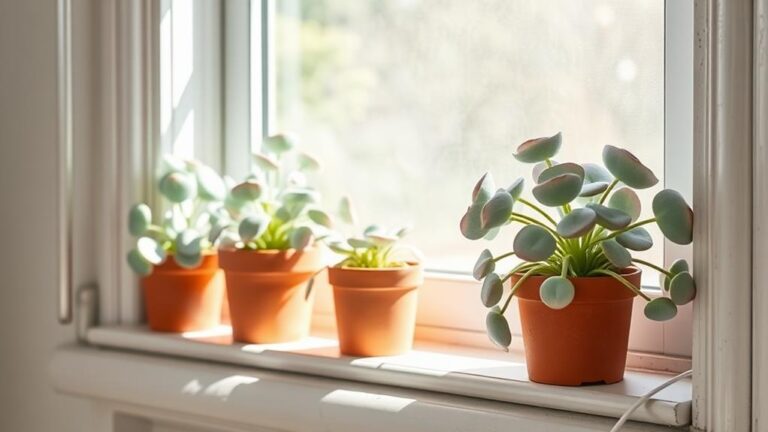
When growing stonecrop sedums in your cold hardy succulent garden, you need to focus on their unique requirements to guarantee they thrive. Start by choosing varieties that are well-suited for colder climates, like Sedum kamtschaticum or Ruby Glow. Also, remember that well-draining soil with a slightly acidic pH is essential. Don't forget to provide at least six hours of sunlight and adopt a minimal watering routine. It's equally important to keep an eye out for pests and practice light pruning to maintain their shape. But that's just the beginning of what you'll need to know.
Select Suitable Varieties
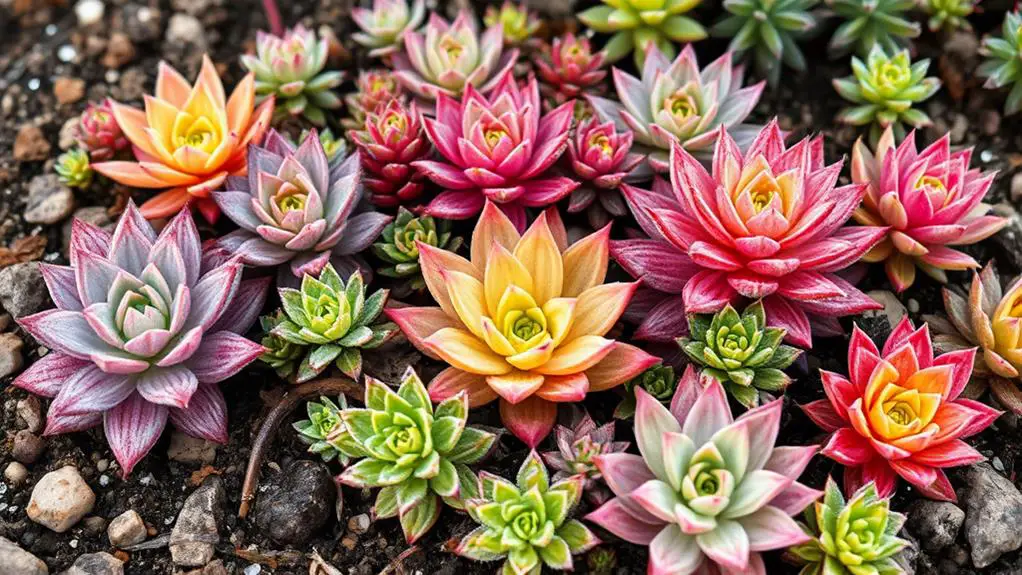
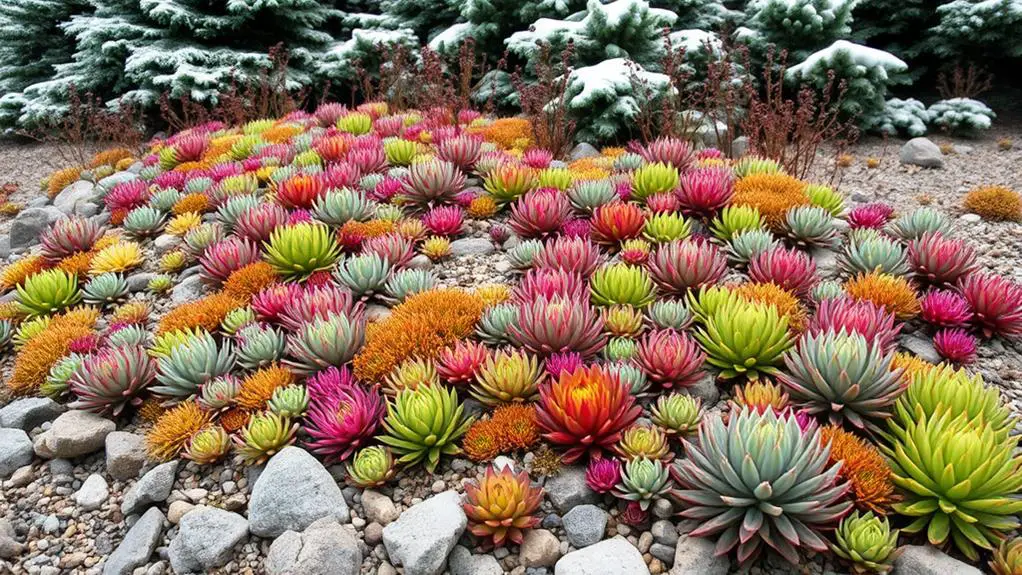
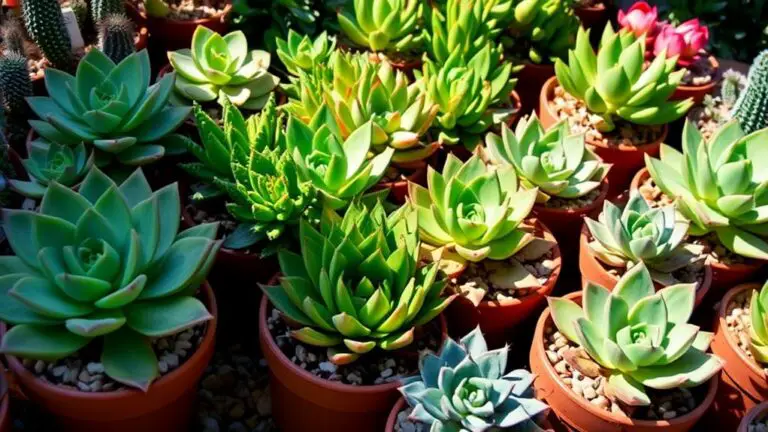
When choosing suitable varieties of stonecrop sedums for your cold hardy garden, start by considering Sedum kamtschaticum. This variety is known for its lush appearance and drought tolerance, making it perfect for gardens that experience harsh winters and dry periods.
Plus, it's an excellent fit for USDA Hardiness Zones 3 to 10, guaranteeing it can thrive in many different climates.
Another fantastic choice is Sedum spurium. It's versatile and does a great job of filling in spaces, which is perfect for container gardening or mixed plantings.
This variety also prefers well-drained soil and performs well throughout the growing season.
If you're looking for something unique, check out Ruby Glow Stonecrop or Coral Reef Sedum. These varieties add visual interest with their attractive features and heat tolerance.
They can make your succulent landscape stand out even more.
Don't forget to browse platforms like Etsy for diverse sedum options. You can find unique varieties based on color and growth habits to enhance your garden design.
Selecting the right sedums guarantees your garden will be both beautiful and resilient, giving you confidence in your gardening choices.
Optimize Planting Location
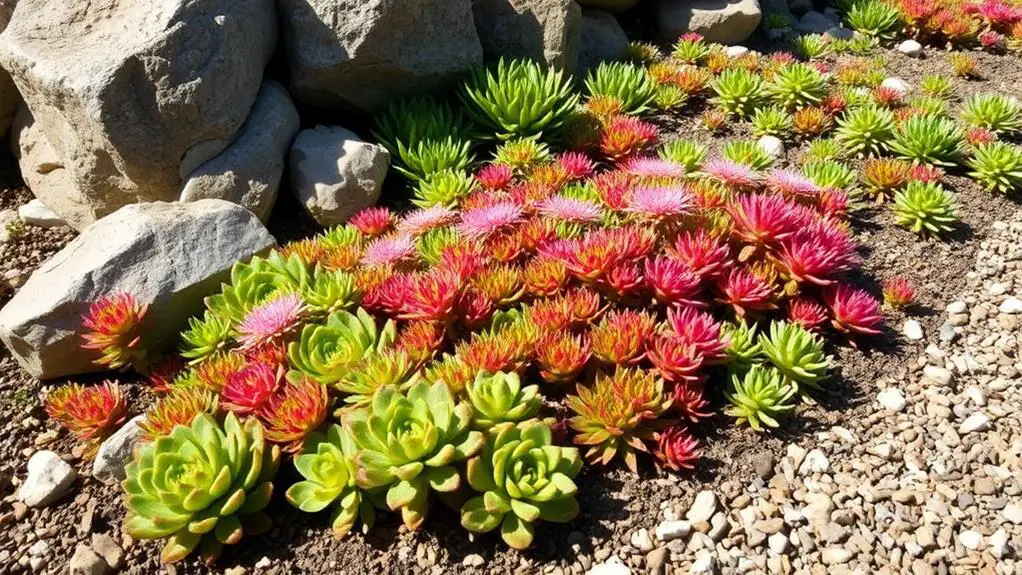
To give your Stonecrop Sedums the best chance to thrive, pick a spot in your garden that gets at least six hours of direct sunlight each day.
It's essential to guarantee this area has well-draining soil, like gravel or sandy types, to prevent root rot.
Also, consider planting them on slopes or elevated areas to enhance drainage and avoid waterlogging.
Select Sunny Areas
Choosing the right spot for your stonecrop sedums can make all the difference in their growth and health. To guarantee peak growth, select a location with plenty of sun exposure. Stonecrop sedums thrive in full sun, needing at least six hours of direct sunlight daily. This helps them avoid leggy growth, which can make them weak and less sturdy.
Placing your sedums near reflective surfaces like walls or stones is a great idea. These surfaces can amplify sunlight exposure and retain heat, especially useful in colder climates.
However, you should avoid planting in low-lying areas. These spots can collect cold air and moisture, increasing the risk of rot and frost damage.
In extremely hot conditions, a bit of afternoon shade can help prevent wilting. But don't forget, the priority is full sun for the best overall health and blooming of your plants.
Ensure Proper Drainage
How can you guarantee your stonecrop sedums flourish? Start by ensuring proper drainage. Sedums thrive in well-draining, coarse-textured soil. You can achieve this by mixing your gardening soil with sand, perlite, or gravel. This combination helps prevent the excessive moisture retention that leads to root rot, a common issue in heavy clay soils.
It's essential to avoid planting sedums in areas with heavy clay soils because these retain too much water. Instead, choose an elevated area or a slope to facilitate natural drainage. This placement reduces the likelihood of standing water around the roots.
When planting sedums in containers, make sure there are drainage holes at the bottom. These holes prevent waterlogging and promote healthy root growth.
Additionally, incorporating grit or gravel into your soil mixture enhances drainage and mimics the rocky conditions sedums love.
Prepare Well-Draining Soil
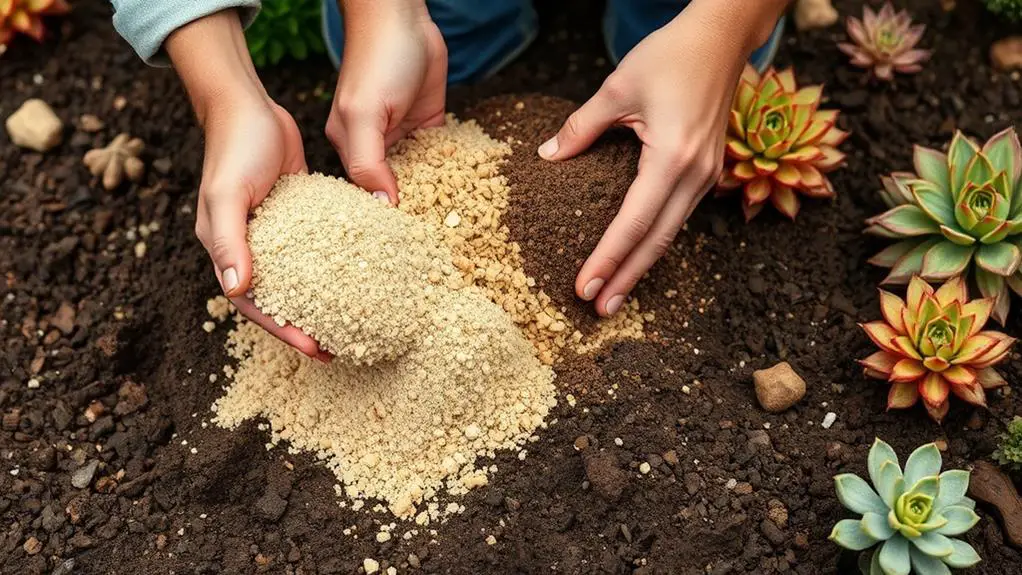
To help your stonecrop sedums thrive, focus on preparing well-draining soil by mixing gardening soil, sand, and perlite.
This mix prevents water retention, which is essential for avoiding root rot.
Keep an eye on the soil's pH, aiming for a slightly acidic to neutral range of 6.0 to 7.0 for the best results.
Ideal Soil Mix
When preparing your garden for stonecrop sedums, a well-draining soil mix is vital to confirm their healthy growth. You'll need an ideal soil mix that combines gardening soil, sand, and perlite. This blend creates a coarse-textured soil, guaranteeing excellent drainage while preventing root rot.
Make sure your soil mix has a slightly acidic to neutral pH range, around 6.0 to 7.0. This pH level helps your sedums thrive and bloom beautifully.
Incorporating some grit, like coarse sand or gravel, is essential. It improves drainage and keeps the soil from becoming waterlogged, which is especially important for container gardening.
Sedums prefer nutrient-poor conditions, so avoid rich, nutrient-heavy soils. Too many nutrients can lead to weak, leggy growth. Instead, mimic their natural rocky habitats.
When preparing the soil, confirm it holds some moisture but doesn't get soggy. Excessive wetness can cause fungal diseases and root rot, which you definitely want to avoid.
Preventing Soil Retention
Preventing soil retention is essential for the health of your stonecrop sedums, as these plants thrive in well-draining environments. To guarantee your sedums flourish, you'll need to prepare a soil mix that promotes excellent drainage. Start by combining gardening soil with sand and perlite. This mixture will help prevent moisture from building up, which is important because excess moisture can lead to root rot.
The ideal soil pH for sedum is slightly acidic to neutral, around 6.0 to 7.0. Adding grit or gravel to your planting mix can further enhance drainage, making sure water doesn't linger around the roots and cause waterlogging.
Avoid using heavy, wet clay soils, as they retain too much moisture, increasing the risk of fungal diseases and root issues.
When planting your sedums, make sure the root zone is covered with soil, but don't bury the stems. Proper planting helps promote good drainage and prevents crown rot.
Ensure Proper Sunlight
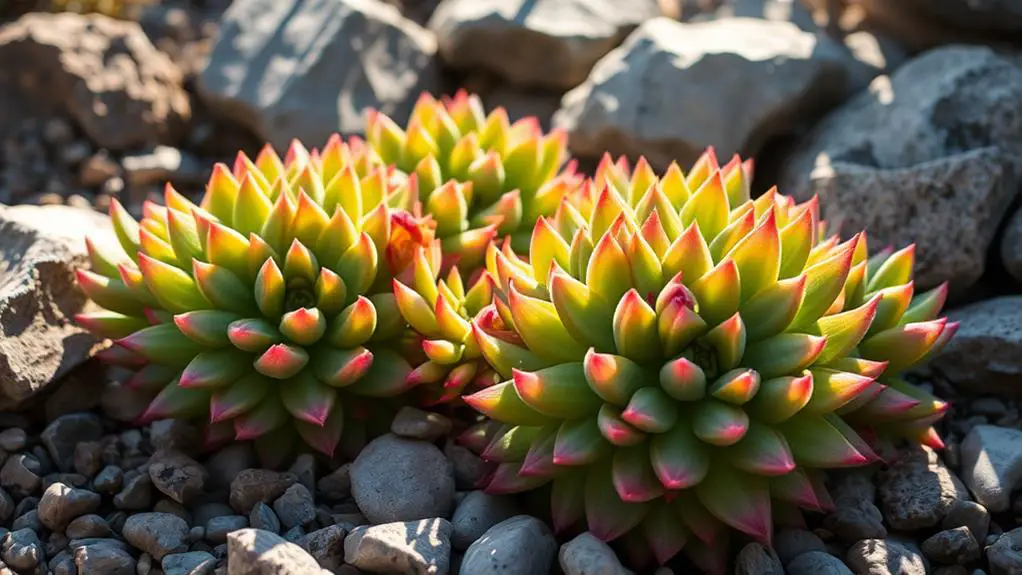
Guaranteeing proper sunlight is essential for growing healthy stonecrop sedums in your cold hardy garden. Sedums require much light—at least six hours of direct sunlight daily—to thrive and promote healthy blooming. While some varieties can tolerate partial shade, insufficient sunlight can lead to reduced sturdiness and fewer flowers.
To give your sedums the best chance for success, follow these tips:
- Start with indirect sunlight and gradually increase to full sun.
- Make certain they receive afternoon shade in extremely hot, dry conditions.
- Monitor for signs of insufficient sunlight, like non-blooming or weakened stems.
Optimal light exposure is key. Begin by placing your sedums in a spot where they get indirect sunlight, then move them to a location with full sun. This helps the plants adjust and grow robustly.
If you notice your sedums aren't blooming or their stems seem weak, they mightn't be getting enough light. Remember, afternoon shade can protect them from excessive heat stress.
Water Wisely
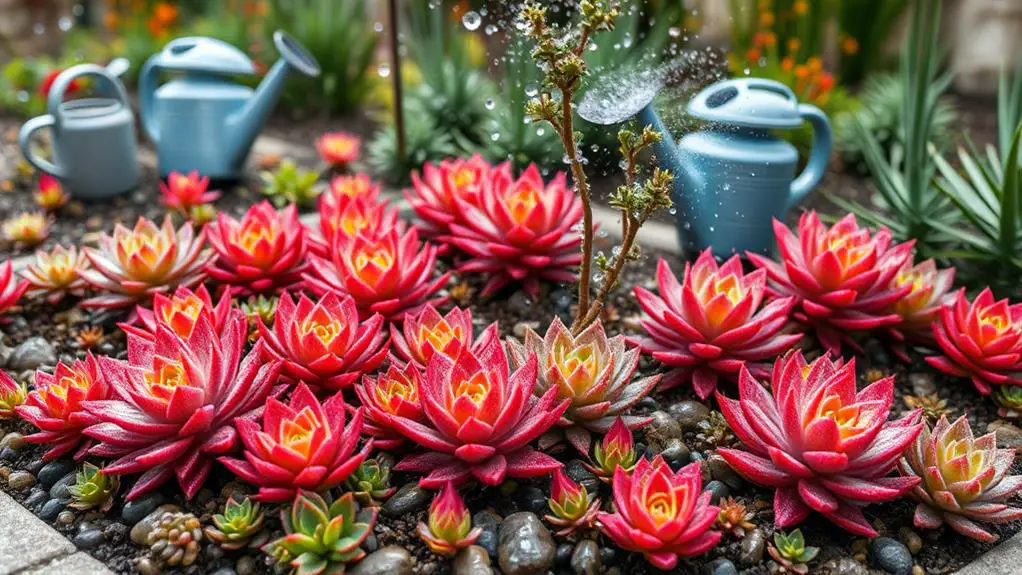
Watering wisely is essential for the health and vigor of your stonecrop sedums. These hardy succulents exhibit excellent drought resistance once established, so you should only water them when the top two inches of soil are dry.
During their first year, newly planted sedums need weekly watering to help establish strong roots. After that, established plants usually thrive on natural rainfall and only need extra water during prolonged dry spells.
Avoid overwatering at all costs. Too much moisture, especially in poorly draining soils, can cause root rot and harm your sedums.
To minimize evaporation and guarantee moisture reaches the roots, water your sedums early in the morning or late in the day. This way, you're giving them the best chance to absorb the water they need without losing it to the sun.
If you have container plants, monitor soil moisture levels closely. Container plants dry out faster than those planted in the ground, so they might need more frequent checks and adjustments.
Fertilize Sparingly
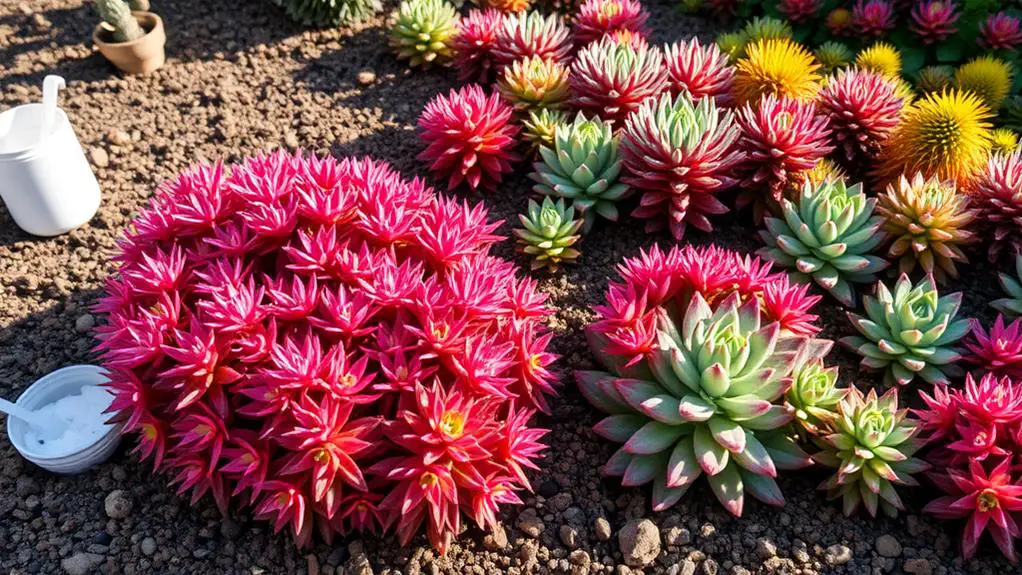
Fertilizing sparingly is essential for maintaining the health and structure of your stonecrop sedums. These hardy succulents thrive in nutrient-poor soils, so excessive fertilization can actually harm them. When sedums receive too much fertilizer, they often grow weak and leggy, losing their compact and sturdy form.
To avoid excessive fertilization, follow these tips:
- Limit fertilization to a maximum of one inch of compost annually.
- Apply compost sparingly to prevent over-nourishment.
- Ensure your sedums are planted in well-draining soil with a slightly acidic to neutral pH.
Sedums prefer minimal fertilization, which helps them maintain their natural vigor and aesthetic appeal. Over-fertilization can lead to tall, floppy growth that detracts from their beauty and resilience.
Proper soil management is key. Well-draining soil supports healthy root systems, ensuring your sedums get the right balance of nutrients.
Regularly monitoring plant health is vital. Sometimes, signs of nutrient deficiency or excess can appear, but these are often managed better with proper soil management rather than heavy fertilization.
Monitor for Pests
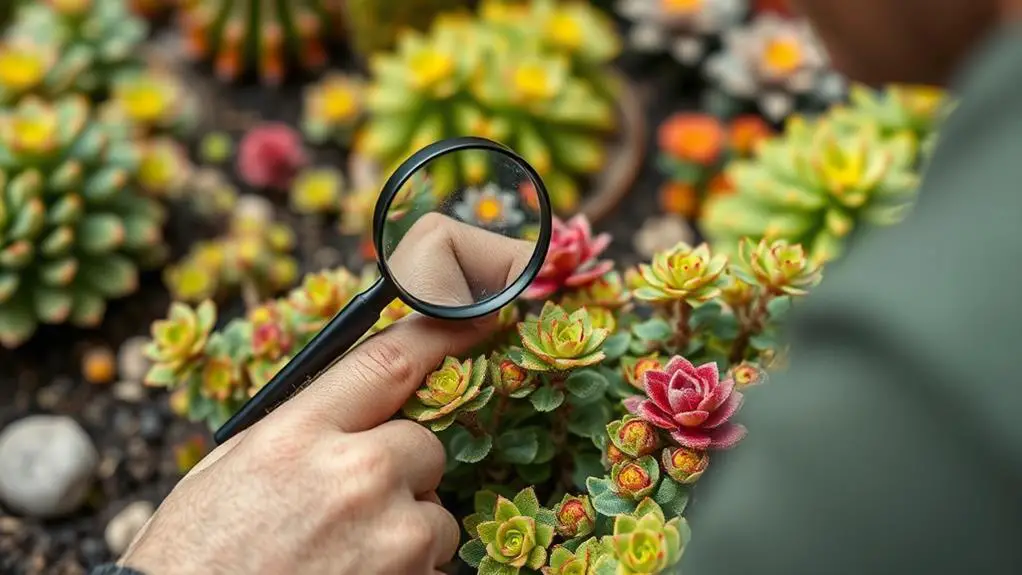
To keep your sedums healthy, regularly check for pests such as aphids, mealybugs, and slugs, which can harm the plants' leaves and overall health.
For minor infestations, a strong water spray often works to knock them off. If pests persist, use organic controls like insecticidal soap or neem oil, and guarantee good air circulation to help prevent problems.
Common Sedum Pests
Monitoring for pests is essential when growing stonecrop sedums, as these resilient plants can still fall victim to common pests like aphids, mealybugs, slugs, and weevils.
These pests can damage the leaves and overall plant health, so keeping a close eye on your sedums is vital.
Aphids are particularly problematic. They suck sap from the plants, causing yellowing leaves and stunted growth. Mealybugs also sap nutrients, leading to weak, unhealthy stems.
Slugs, on the other hand, chew through leaves, leaving unsightly holes and compromising the plant's health.
To keep your sedums thriving, regularly inspect them for signs of infestation:
- Aphids: Look for clusters on new growth and yellowing leaves.
- Mealybugs: Check for white, cottony masses on stems and leaves.
- Slugs: Search for slimy trails and irregular holes in leaves.
If you spot any pests, act quickly. Manual removal can be effective, and using insecticidal soap can help control infestations.
Ensuring your sedums have healthy growing conditions, such as good drainage and avoiding excess moisture, is key.
Plants in ideal conditions are less likely to suffer pest issues. By maintaining plant health and monitoring regularly, you can keep your stonecrop sedums vibrant and pest-free.
Natural Pest Remedies
Tackling pest issues in your stonecrop sedums can be done effectively with natural remedies that are both eco-friendly and gentle on your garden's ecosystem.
Regularly inspecting your plants for pests like aphids, mealybugs, and slugs is essential. Early detection helps you manage these problems before they become serious infestations.
Using natural remedies such as neem oil or insecticidal soap is a great way to treat pests without harming beneficial insects. Neem oil, in particular, can deter pests and disease while being safe for your plants.
Another excellent strategy is to introduce beneficial insects like ladybugs and lacewings into your garden. These helpful critters naturally control pest populations, keeping your sedums healthy.
Maintaining good air circulation around your sedums is also important. Overcrowded plants can lead to increased pest problems and diseases.
Make sure your sedums have enough space to breathe. Cleaning up fallen leaves and debris around your plants reduces potential pest habitats and discourages infestations.
Preventative Measures
Regularly inspecting your stonecrop sedums is vital for keeping pests at bay and guaranteeing your plants stay healthy. Common pests like aphids, mealybugs, and slugs can weaken and damage your plants if not managed properly. By monitoring your sedums frequently, you can catch these pests early and take action before they cause significant harm.
To effectively manage pests, you should:
- Use a strong spray of water to dislodge pests from the plants.
- Apply neem oil or insecticidal soap to treat infestations.
- Confirm your soil is well-drained to prevent root rot and powdery mildew.
Maintaining healthy airflow around your sedums is essential. Overcrowding can create a humid environment that fosters both pests and diseases. Spacing your plants appropriately helps in keeping them dry and less prone to problems.
Keep an eye out for yellowing leaves, as they can be a sign of pest damage or nutrient issues. Addressing these problems promptly will help you preserve the health of your plants.
Prune Regularly
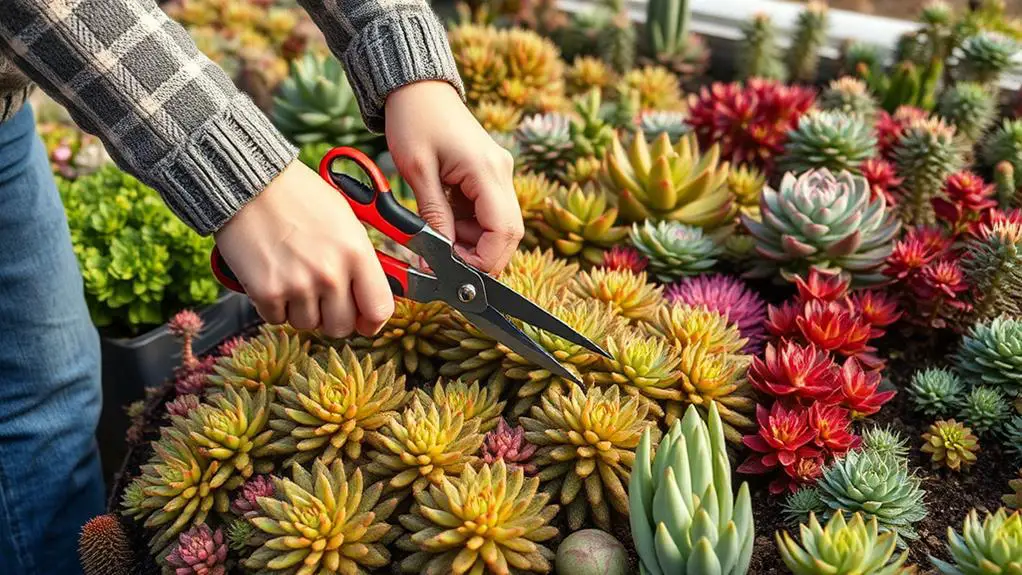
Pruning stonecrop sedums is essential for maintaining their shape and encouraging robust new growth. To keep your sedums looking their best, you should prune regularly, especially in spring or summer. This practice not only promotes healthy new growth but also helps to prevent leggy plants.
Start by cutting back old flower heads in February or March. This technique, known as the Chelsea Chop, encourages fresh blooms and keeps your plants from becoming too tall and floppy. Removing these old flower heads also enhances airflow around your plants, reducing the risk of pest infestations and diseases like root rot.
If you notice any damaged or diseased branches, prune them immediately to keep your sedums healthy. After your sedums finish blooming, give them a light trim to maintain a tidy appearance. This will help prevent the plants from sprawling and looking messy as they mature.
Pinching flower heads just before they fade is another useful tip. This action strengthens the stems and encourages bushier growth, resulting in a more vibrant and attractive garden display.
With these pruning tips, your stonecrop sedums will thrive, adding beauty and resilience to your cold hardy succulent garden.
Propagate Effectively
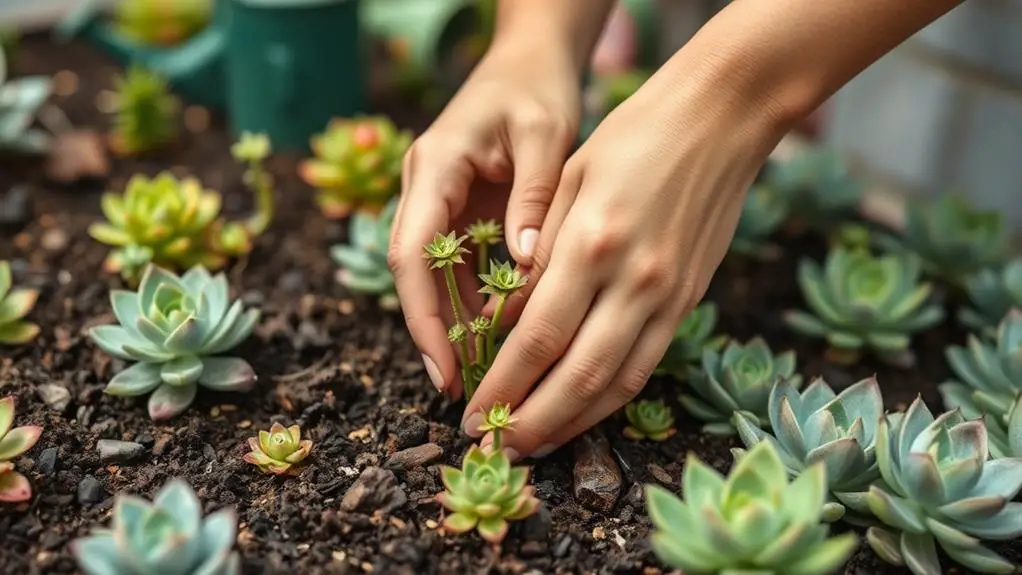
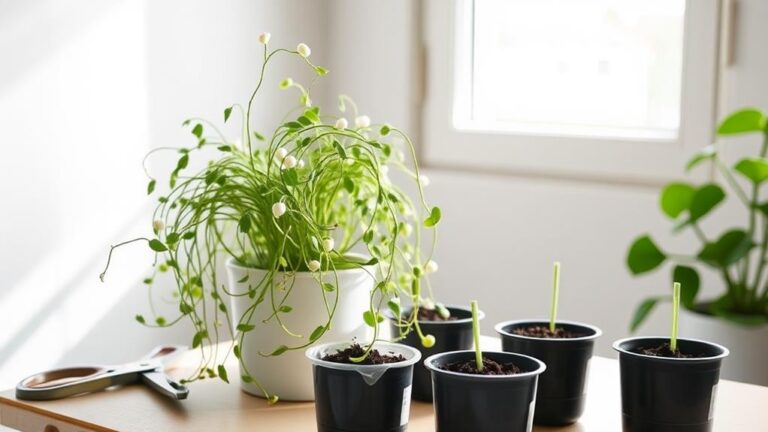
Propagating stonecrop sedums effectively guarantees your garden remains lush and vibrant. To propagate sedum, you have three main options: division, cuttings, and seeds. However, using cuttings or divisions is often best for maintaining desirable traits.
When you use division, you need to cut clumps into sections about 12 inches in diameter every 2-3 years. Replant these sections in well-draining soil, giving them plenty of space for ideal growth and airflow. This helps prevent overcrowding and guarantees your plants thrive.
For cuttings, take stem cuttings in early spring. Mist the medium to keep it moist until roots develop. Here's a quick guide to help:
- Cut a healthy stem and let it dry for a day to prevent rot.
- Plant the cutting in well-draining soil.
- Mist the soil lightly to maintain moisture without overwatering.
Keeping the soil lightly watered after planting cuttings or divisions is essential. Avoid overwatering, as sedum prefers dry conditions.
Space new plants 12-18 inches apart to guarantee they've room to grow and breathe. By following these steps, you'll enjoy a beautiful, healthy sedum garden that's easy to maintain.
Overwinter Successfully
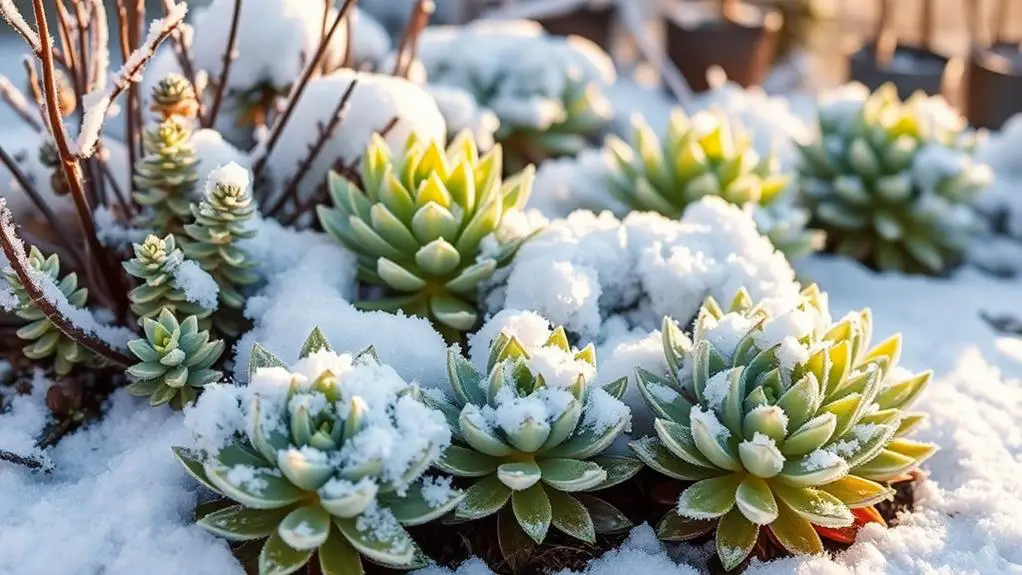
Wondering how to guarantee your stonecrop sedums thrive through the winter? Start by planting them in well-draining soil. This prevents root rot from too much moisture during the cold months. Cold-hardy sedums usually need minimal winter care, making them a great choice for your garden.
For potted sedums, wrap the pots in burlap and bubble wrap. This insulation helps protect the roots from freezing. Using mulch around the base of your plants, like straw or shredded leaves, can retain warmth and moisture, and even suppress weeds.
Here's a quick reference to help you:
| Task | Why It's Important | How to Do It |
|---|---|---|
| Use well-draining soil | Prevents root rot | Mix sand or gravel into the soil |
| Insulate potted sedums | Protects roots from freezing | Wrap pots with burlap and bubble wrap |
| Mulch around plants | Retains warmth and moisture | Use straw or shredded leaves |
| Check for dead foliage | Promotes healthier spring growth | Remove damaged or dead leaves |
Monitor your container sedums in spring. Fluctuating temperatures might require extra protection during unexpected cold snaps. By following these tips, your stonecrop sedums will be ready to flourish when warmer temperatures return.
Frequently Asked Questions
What Is the Cold Tolerance for a Stonecrop?
Stonecrop sedums can tolerate temperatures as low as -30°F (-34°C), making them ideal for cold climates. Their fleshy leaves and stems store water, helping them endure frost and drought. Choose well-draining soil to prevent rot.
How Do You Care for Sedum Stonecrop Succulents?
You care for sedum stonecrop succulents by planting them in well-draining soil, watering only when the top two inches are dry, and lightly pruning in spring or summer. Monitor for pests and diseases, ensuring good drainage.
Where Is the Best Place to Plant Stonecrops?
You'll want to plant stonecrops in sunny spots with at least 6 hours of direct sunlight. Choose well-drained, coarse-textured soils like sandy or gravelly mixes. Ideal locations include rock gardens, stone steps, or containers. Avoid moisture-retaining areas.
How Do You Take Care of Stonecrop in the Winter?
You'll want to protect potted stonecrops from strong winds and insulate the pots. Don't water them unless the soil is very dry. Remove spent blooms and debris to improve airflow and keep an eye on early spring temperature changes.
Conclusion
By following these tips, you're well on your way to growing healthy stonecrop sedums in your cold hardy succulent garden. Remember, choose the right varieties, give them plenty of sunlight, and water them just enough. Don't forget to check for pests and prune when needed. With a bit of care and attention, your garden will thrive. You've got this! Enjoy the process, and soon, you'll see your hard work blossom. Happy gardening!

