DIY Guide to Planting Succulents in a Bird Bath
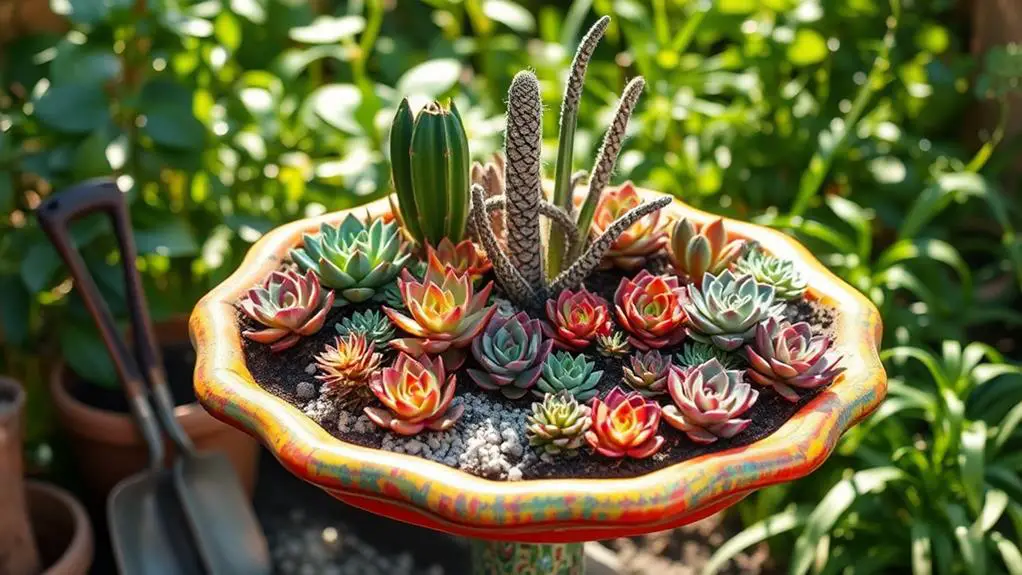
Transforming an old bird bath into a succulent planter is a rewarding DIY project that combines creativity with gardening. First, you'll need to choose the right bird bath, considering factors like size and material. Then, gather all necessary materials, including succulents, soil mix, and decorative elements. Before you start planting, it's essential to clean the bird bath and guarantee proper drainage using a diamond tip drill bit. Once prepped, selecting cold-hardy succulents and mixing textures will add visual appeal. But how do you make sure your planter thrives? Let's explore the steps to maintain a vibrant, healthy succulent display.
Choosing the Right Bird Bath
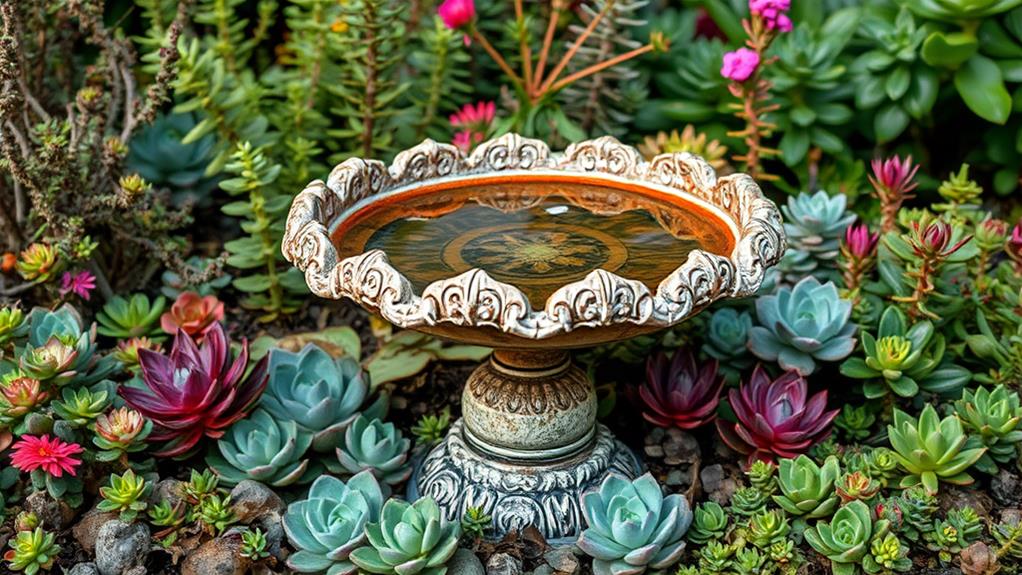
When repurposing a bird bath as a succulent planter, start by selecting one that's broken, unused, or simply needs a new purpose. A bird bath with a shallow basin is ideal because succulents thrive in containers with limited root space.
It's important to look for bird baths made of durable materials like ceramic or stone. These materials can withstand outdoor conditions, ensuring your succulent planter lasts for a long time.
Next, consider the bird bath's design and size. You want it to complement your garden aesthetic while providing enough space for planting succulents. A well-chosen bird bath can become a beautiful focal point in your garden, enhancing its overall look.
Drainage is essential for succulents, so check if the bird bath already has drainage holes. If not, you'll need to drill one to prevent water from accumulating. Excess water can cause root rot, which is harmful to succulents.
Gathering Your Materials
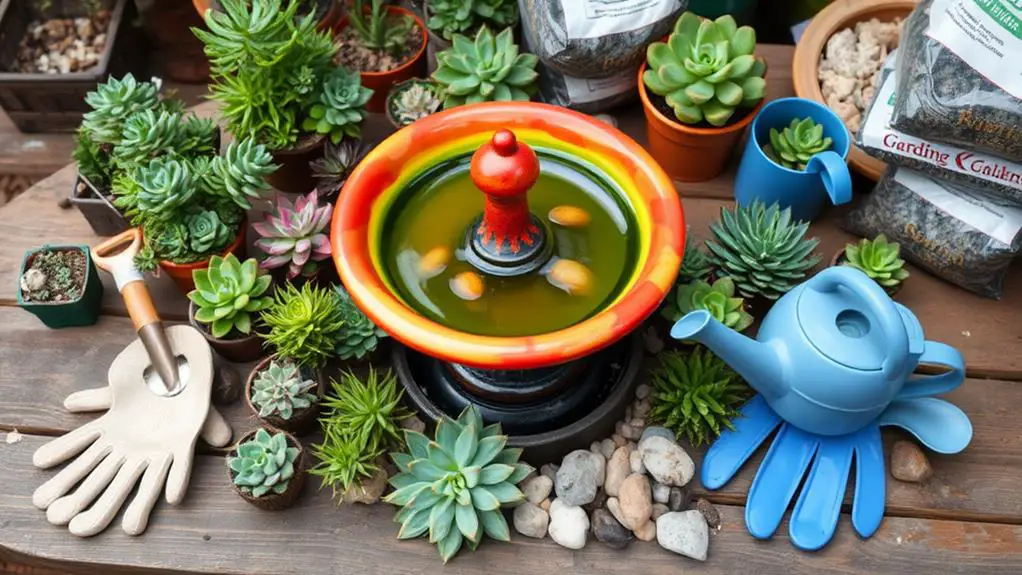
To start, you'll need an old bird bath with enough depth for planting succulents.
Next, gather a high-quality succulent soil mix and choose cold-hardy varieties like Sempervivums and Sedums.
Don't forget a diamond tip drill bit to create a drainage hole, along with flexible screening and small rocks for proper drainage and decoration.
Essential Planting Supplies
A successful succulent planting project starts with gathering the right supplies. You'll need a few key items to guarantee your bird bath garden thrives. Here's a simple list to get you started:
- Bird Bath: Choose an old or unused bird bath as your primary container. Make certain it's clean and free of debris before use.
- Succulent Soil: High-quality succulent soil is vital for excellent drainage. This helps keep your succulents healthy and prevents root rot.
- Cold Hardy Sempervivums and Sedums: Gather a variety of cold-hardy succulents like Sempervivums and Sedums. These will create a visually appealing arrangement that's also resilient.
- Diamond Tip Drill Bit: Use this to create a drainage hole in your bird bath. Proper drainage is critical to avoid water buildup and root rot.
Additionally, think about adding decorative elements like small rocks or moss. These can enhance the visual appeal of your succulent arrangement, making it more attractive.
Choosing Succulent Varieties
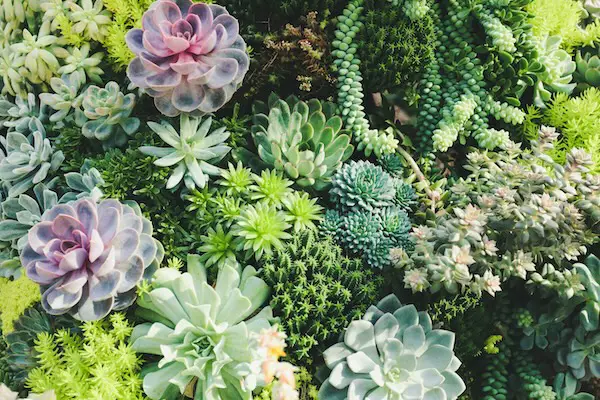
Choosing the right succulent varieties is essential to creating a vibrant and resilient bird bath garden. Start by selecting cold-hardy succulents like Sempervivums and Sedums. These types can handle temperature changes and thrive in shallow soil, making them perfect for repurposed bird baths.
Next, think about visual interest. Mixing different textures and colors will make your bird bath garden stand out. For instance, combining trailing Sedums with upright Sempervivums adds a dynamic and layered effect. This approach not only looks great but also supports healthy growth by allowing each plant to have its space.
It's vital to pick succulents that suit your climate. If you live in an area with harsh winters or extreme heat, make sure your chosen varieties can withstand these conditions.
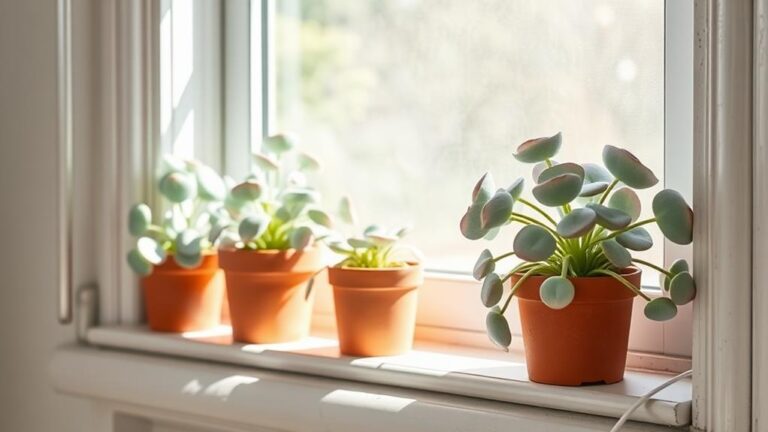
Resilient plants that require minimal care are ideal for low-maintenance gardening, letting you enjoy your garden without much fuss.
Cleaning the Bird Bath
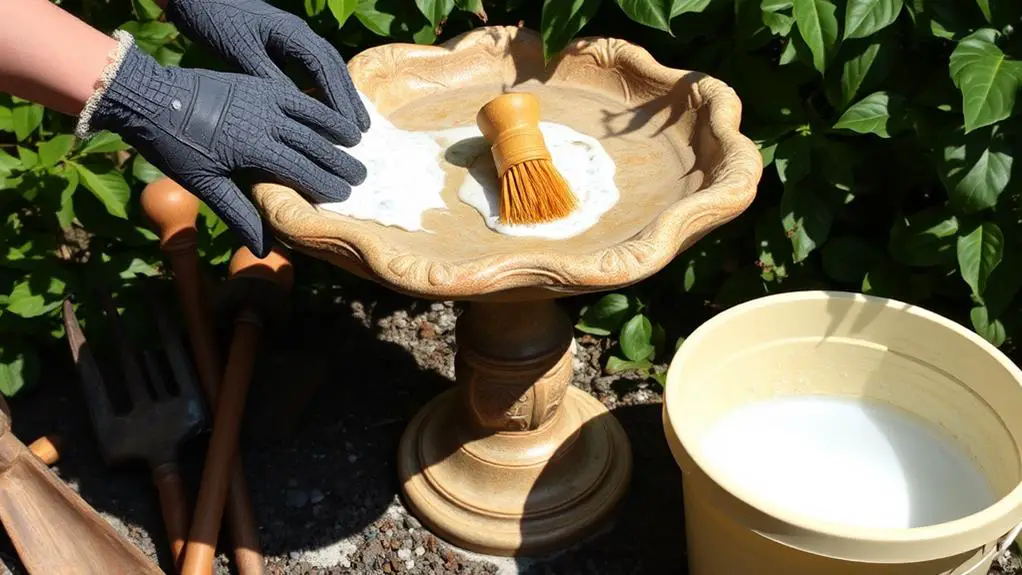
Before planting succulents in your bird bath, you'll need to verify it's thoroughly cleaned. A clean bird bath guarantees a healthy environment for your plants. Here's how you can do it:
- Removing Debris: Start by removing any debris, dirt, or algae using a scrub brush. Mix warm water and mild soap for effective cleaning. Scrub well to get rid of all the grime.
- Rinse Thoroughly: After scrubbing, rinse the bird bath thoroughly with clean water. This step is essential to eliminate any soap residue, which could harm your succulents.
- Inspect for Cracks: Carefully inspect the bird bath for any cracks or damage. It's important to repair any issues you find to verify a stable environment for your succulents.
- Sanitize: If the bird bath has been used by birds before, sanitize it using a diluted bleach solution (1 part bleach to 9 parts water). This will help eliminate any harmful bacteria. Remember to rinse thoroughly afterward.
Lastly, allow the bird bath to dry completely before proceeding with planting. Verifying the bird bath is dry helps create the perfect environment for your succulent soil.
Following these steps will set a solid foundation for your beautiful succulent garden.
Drilling for Drainage
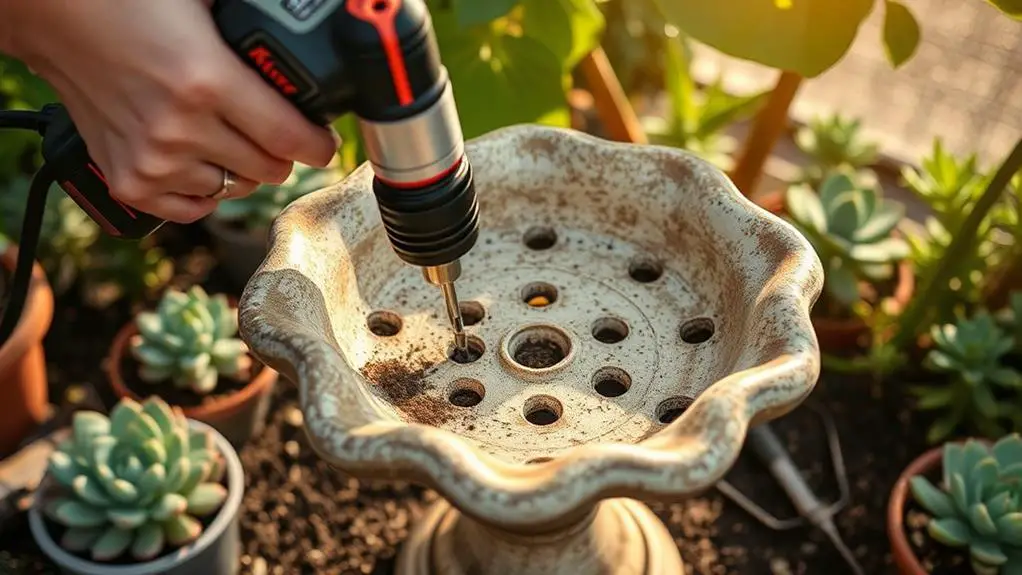
To make sure your succulents thrive, you'll need to drill a drainage hole in your bird bath.
Use a diamond tip drill bit, and keep both the surface and the drill bit wet to reduce friction and avoid overheating.
Start at an angle and straighten as you go to prevent cracks and achieve a clean hole.
Proper Drill Bit Selection
When drilling for drainage in ceramic or stone bird baths, a diamond tip drill bit is your best bet. This type of drill bit can cut through hard materials efficiently, ensuring you get a clean and precise hole.
Before you get started, make sure to wear safety goggles to protect your eyes from flying debris.
Steps to Drill a Drainage Hole:
- Choosing the Right Drill Bit: Use a diamond tip drill bit. It's perfect for drilling into ceramic or stone and will help you create a neat drainage hole.
- Starting the Drill: Begin drilling at an angle. This helps the bit grip the surface better. Once you've started the hole, straighten the drill to penetrate deeper.
- Water Flow Management: For shallow bird baths, limit yourself to one drainage hole. This prevents excessive water flow and soil loss, keeping your succulent garden healthy.
- Safety Precautions: Always put on safety goggles before you start drilling. It's crucial to keep your eyes safe from any debris.
Cooling During Drilling
Maintaining proper cooling during the drilling process is essential to preventing damage to your bird bath while creating a drainage hole. To start, you'll want to keep both the surface of the bird bath and the diamond tip drill bit wet with water. This helps to cool them down and prevent heat buildup, which can compromise the structural integrity of your bird bath, especially if it's made of ceramic.
When you begin drilling, do so at an angle and gradually straighten the drill as you go deeper. This technique allows you to maintain control and reduces the risk of cracking. Remember, it's best to limit yourself to one drainage hole because bird baths are typically shallow, and more holes could weaken the structure.
As you're drilling, work slowly and carefully. Ceramic and glass materials are more prone to cracking, so taking your time is vital. Regularly check for heat buildup by touching the drill bit and the hole. If they feel warm, pause and apply more water. This will help maintain a safe working temperature and prevent any damage.
Following these steps will guarantee that your bird bath stays intact and ready to house your beautiful succulents.
Preventing Bird Bath Cracks
Drilling drainage holes in a bird bath requires precision to prevent cracks that could ruin the project. You'll need to use a diamond tip drill bit, which is perfect for making clean holes without damaging the material. To prevent overheating, keep the surface and the drill bit wet while you work. Overheating can cause cracks, so this step is essential.
Follow these steps to guarantee success:
- Start at an Angle: Begin drilling at a slight angle to stabilize the drill bit. Gradually straighten it as you go deeper.
- Limit Holes: Stick to one drainage hole, especially since most bird baths have a shallow depth and can't support multiple holes.
- Utilize Existing Cracks: If there are existing cracks, use them as extra drainage points. This can help improve water flow and prevent soil retention.
- Monitor Heat: Keep the drill bit and surface wet to prevent overheating. This will help avoid new cracks.
Preparing the Soil
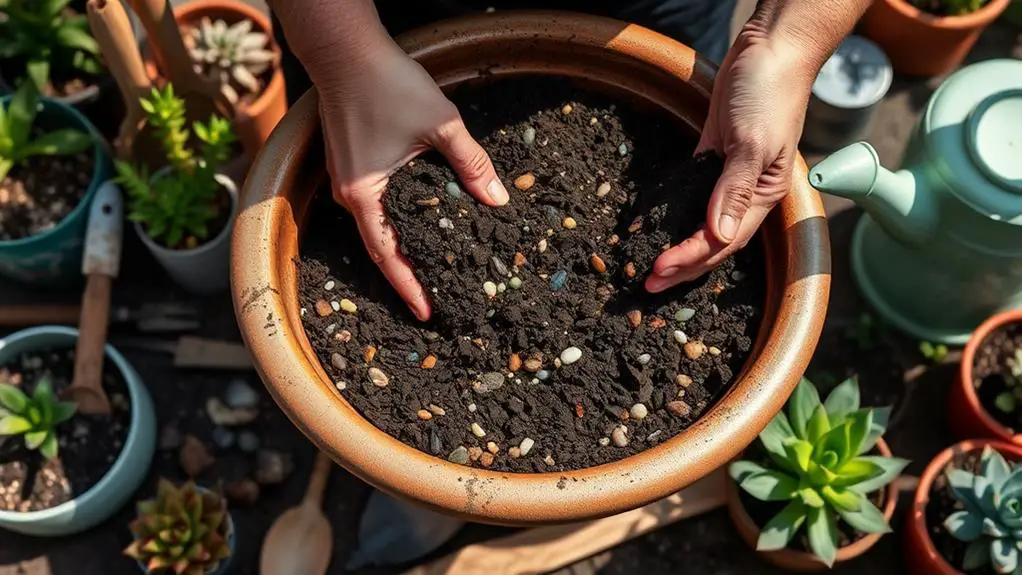
To guarantee your succulents thrive, start by preparing the soil with a well-draining mix, ideally a specialized succulent or cactus potting mix to prevent root rot. You can amend the soil with materials like sharp sand, pumice, or perlite to enhance drainage and aeration, especially if your soil is heavy. This will help confirm your succulents get the right amount of water without becoming waterlogged.
Incorporate some organic matter into the soil to improve its structure and nutrient content. This fosters better root development, which is essential for healthy plants. Mound the soil in the center of the bird bath to create a visually appealing height and a natural look for your plants.
Before planting, fill the bird bath halfway with the prepared soil mixture. Make sure the soil is loose and crumbly for peak root penetration. This will create a hospitable environment for your succulents to establish strong roots.
Here's a quick summary in table form:
| Step | Action | Purpose |
|---|---|---|
| Soil Mix | Use well-draining succulent/cactus mix | Prevents root rot |
| Amendments | Add sharp sand, pumice, or perlite | Enhances drainage and aeration |
| Organic Matter | Incorporate organic material | Improves structure and nutrient content |
With these steps, you're well on your way to creating a thriving succulent garden in your bird bath!
Planting Succulents
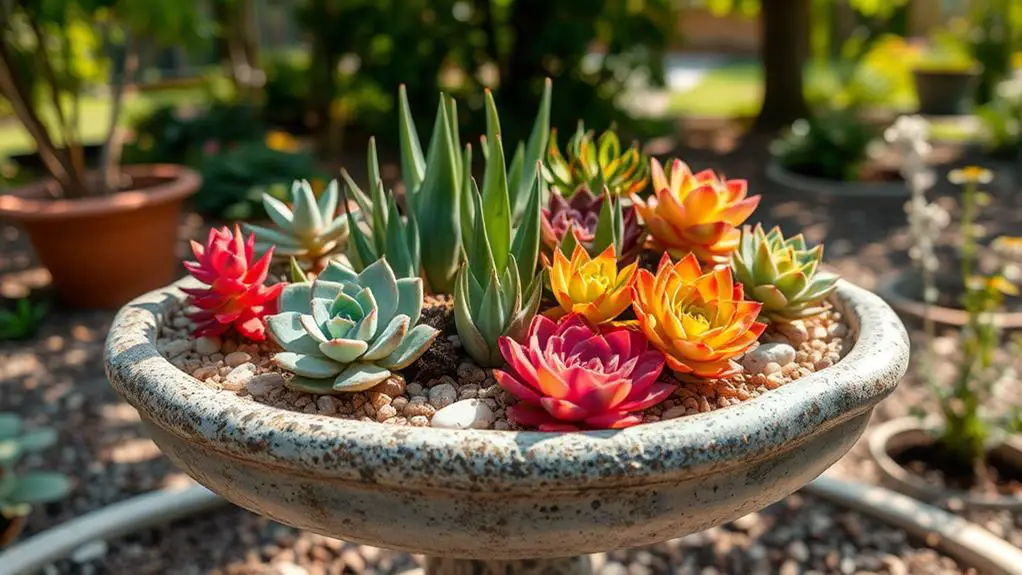
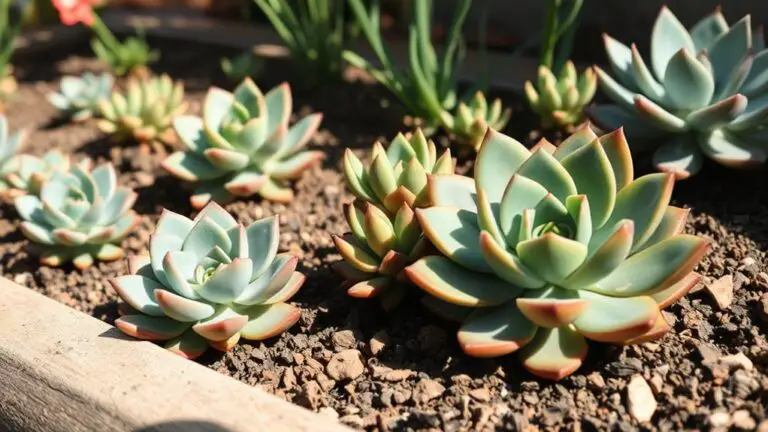
When you're ready to plant your succulents, start by selecting a well-draining succulent soil and mounding it in the center of your bird bath for added visual interest. This helps guarantee the soil is suitable for the specific succulents you've chosen.
Begin with a larger Sempervivum as your focal point. Place it in the center of the mound. Next, surround it with smaller Sedums. Make certain to space them adequately to allow for growth and airflow. This setup not only looks great but also keeps your plants healthy.
After arranging your succulents, apply a top dressing like small rocks or decorative moss. This enhances the look and helps retain moisture in the soil.
Remember, a single drainage hole in the bottom of the bird bath is essential to prevent water accumulation and root rot.
Here's a quick checklist to guide you:
- Select well-draining succulent soil: Mound it in the center.
- Choose a larger Sempervivum: Place it in the center, surrounded by smaller Sedums.
- Apply a top dressing: Use small rocks or decorative moss.
- Guarantee proper drainage: Drill a single drainage hole.
Adding Decorative Elements
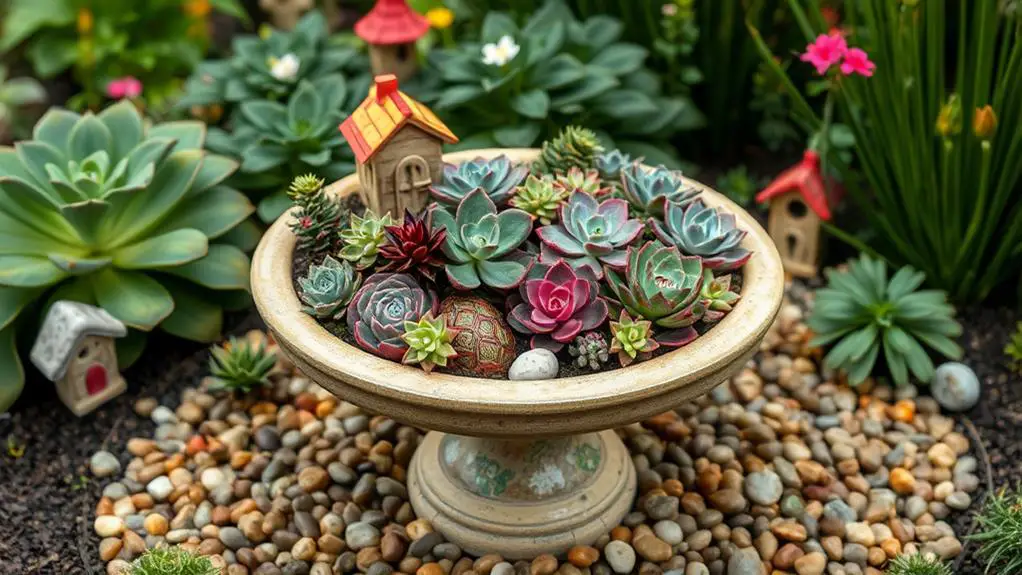
Often, the finishing touches make all the difference in creating a stunning succulent display. Adding decorative elements to your bird bath planter can transform it into a visual masterpiece.
Start by placing small decorative rocks or pebbles around the base of your succulents. This not only enhances drainage but also adds visual texture to your arrangement.
Next, think about incorporating miniature garden figures like gnomes or tiny animals. These whimsical pieces create focal points that draw attention and add personality.
Layering different colored sands or gravels on the soil surface can provide contrast and highlight the unique shapes and colors of your succulents.
Don't overlook the power of natural elements. Adding driftwood or rustic branches introduces an organic feel that complements the garden aesthetic. These pieces can also serve as support for trailing succulents.
To create a lush, green ground cover, consider low-growing moss or lichens around your succulents. This not only enhances the overall appearance but also helps with moisture retention.
Maintaining Your Planter
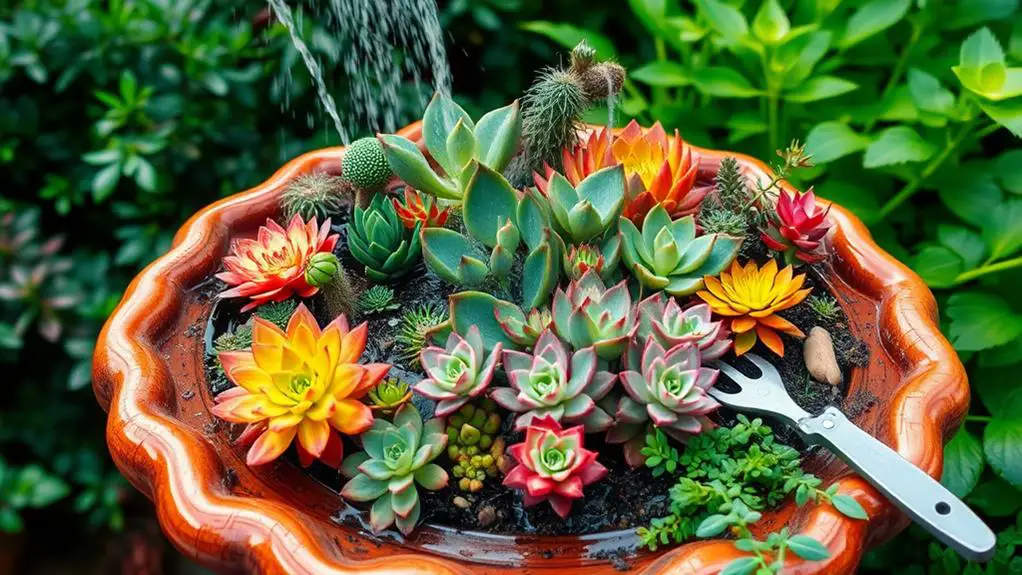
After adding those delightful decorative elements, it's equally significant to pay attention to the ongoing care of your succulent planter to keep it looking its best. Regular maintenance guarantees your succulents stay vibrant and healthy. Here are some key steps:
- Monitor moisture levels: Check the soil regularly and water only when it feels dry to the touch. This helps prevent overwatering and root rot, which are common issues with succulents.
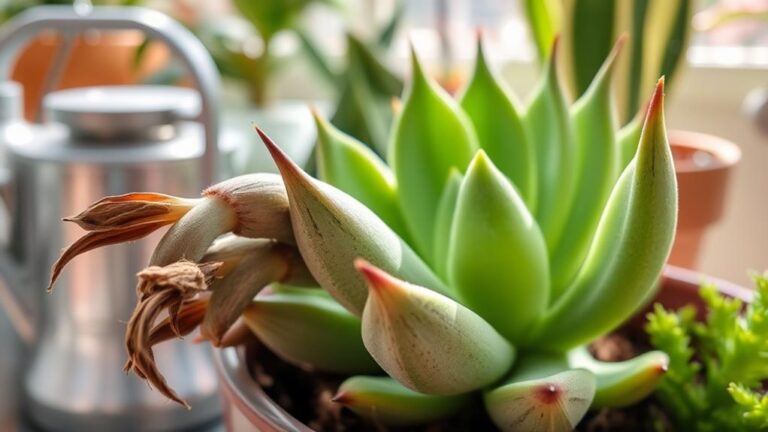
- Remove dead leaves: Promptly take out any dead or dying leaves. This not only keeps your planter looking tidy but also helps maintain plant health and prevents disease spread.
- Adjust positioning: Confirm adequate space for each succulent by adjusting their positions if they start to overcrowd. This allows for proper growth and airflow, which are essential for healthy plants.
- Protect your planter: Shield your planter from extreme weather conditions. Move it to a sheltered spot during heavy frost or intense heat to protect your succulents from damage.
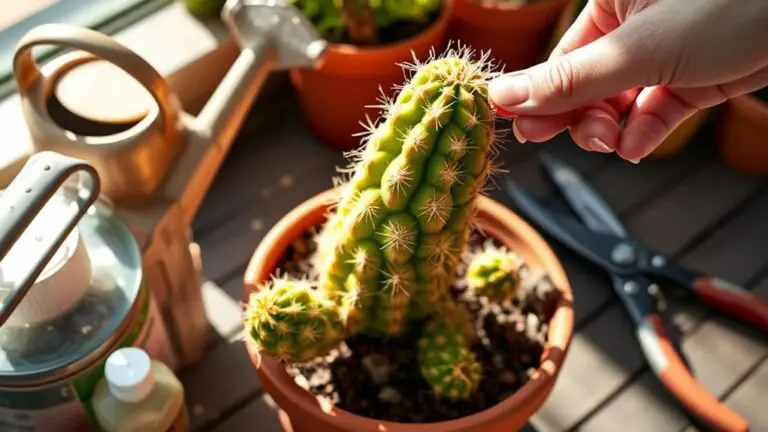
Additionally, always check for pests and diseases. Addressing these issues immediately will help maintain the liveliness and appearance of your succulent arrangement.
Frequently Asked Questions
How Do You Plant Succulents in a Bird Cage?
To plant succulents in a bird cage, use a solid base or container for soil. Choose well-draining soil, arrange plants with larger ones in the center, and water sparingly. Place the cage in indirect sunlight for best results.
How to Plant in a Bird Bath?
Clean the bird bath thoroughly. Drill a drainage hole. Fill it with well-draining soil, mounding in the center. Arrange larger succulents in the middle, smaller ones around. Add decorative top dressing like rocks or moss.
How Do You Plant Succulents in a Trough?
To plant succulents in a trough, verify it has drainage holes. Fill with succulent soil mix, arrange plants with larger ones in the center, and water lightly. Let the soil dry out completely between waterings to avoid root rot.
When Planting Succulents What Should You Avoid Because It Holds Water?
You should avoid using regular potting soil when planting succulents because it holds too much water. Succulents prefer well-draining soil to prevent root rot. Always choose a cactus or succulent mix for best results.
Conclusion
You've turned an old bird bath into a charming succulent planter! With your hard work cleaning, drilling, and planting, you've created something beautiful and unique. Remember to keep an eye on moisture levels and remove any dead leaves to keep your succulents thriving. Don't be afraid to try new decorative touches as your garden grows. Enjoy your new planter, and take pride in your gardening skills. You've got this! Happy gardening!

