Tips Before Installing Diy Above Ground Sprinkler System
When I decided to install my own above ground sprinkler system, I quickly realized there are several critical steps to guarantee everything goes smoothly. First, evaluating the water source for adequate pressure and flow rate can't be overlooked; it's the backbone of the entire system. Local regulations might also play a significant role, so checking for any necessary permits is a must. Planning the layout with precise yard measurements and selecting the right sprinkler types can make a huge difference in coverage. Curious about the next steps? Let's discuss the materials you'll need and how to set up the sprinkler heads effectively.
Assess Your Water Source
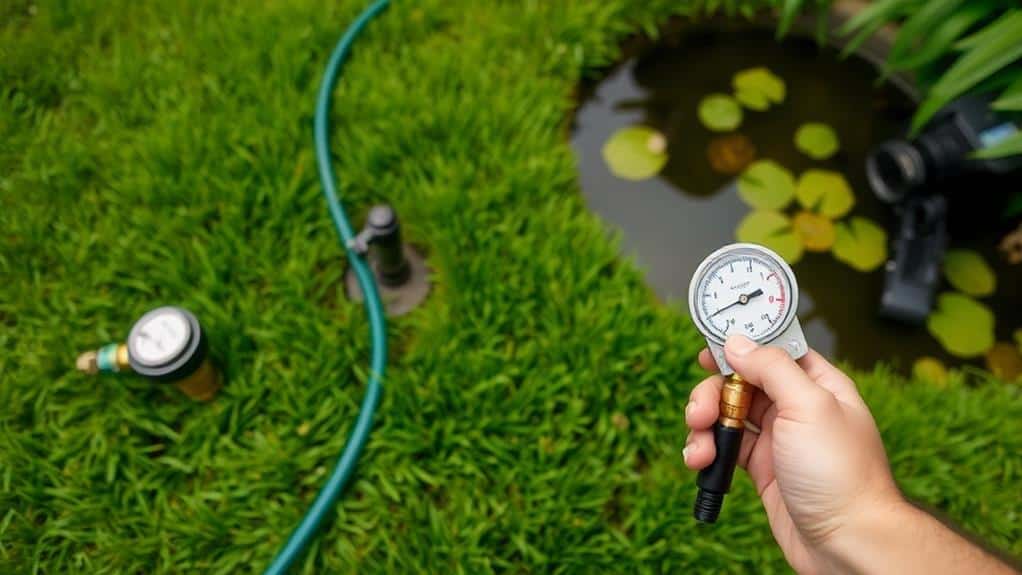
Before you start installing your DIY above ground sprinkler system, it's crucial to assess your water source. First, check water pressure using a pressure gauge attached to a hose bib; you'll want around 40-60 PSI for ideal performance.
Next, determine how much water your system can handle by calculating the flow rate. Time how long it takes to fill a 5-gallon bucket; a good rate is 6-10 gallons per minute.
Verify your water source can support the number of sprinklers you plan to use. If you have a well, confirm its recovery rate to avoid running dry.
Check Local Regulations
After evaluating your water source, the next step is to check local regulations to confirm your DIY above-ground sprinkler system complies with all rules and requirements. This part is essential to avoid any legal issues and guarantee your system runs smoothly.
Here are some key points to take into account:
- Permits: Check if you need any permits before starting. Some areas require you to notify local water authorities.
- Water Usage: Be aware of any restrictions, especially during drought conditions.
- Watering Schedules: Learn about local watering schedules to avoid fines.
- Backflow Prevention: Verify you have the necessary devices to protect the public water supply.
- Material Compliance: Ensure your materials meet local building codes for safety and efficiency.
Always consult with local experts to stay informed!
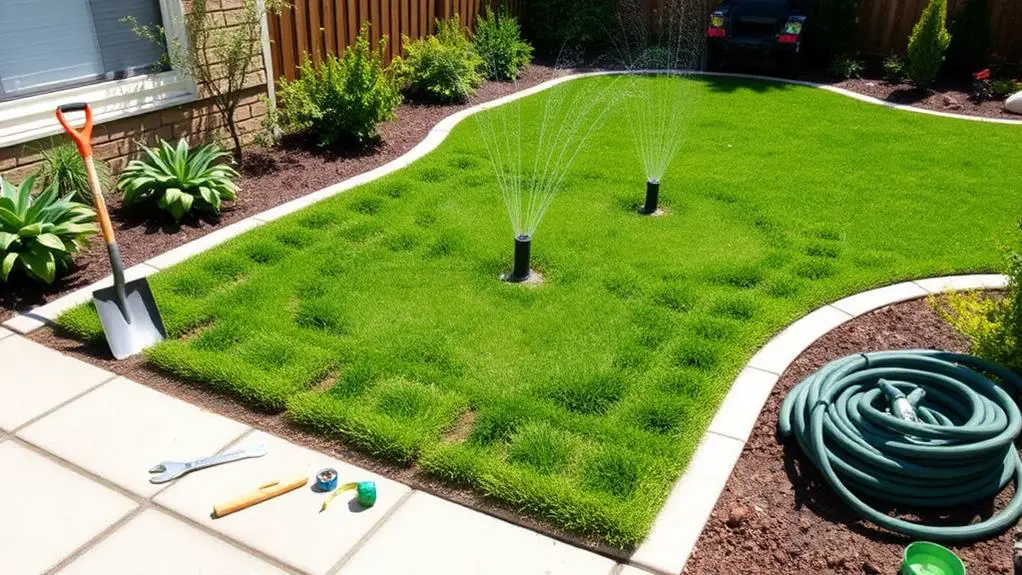
Plan Your Layout
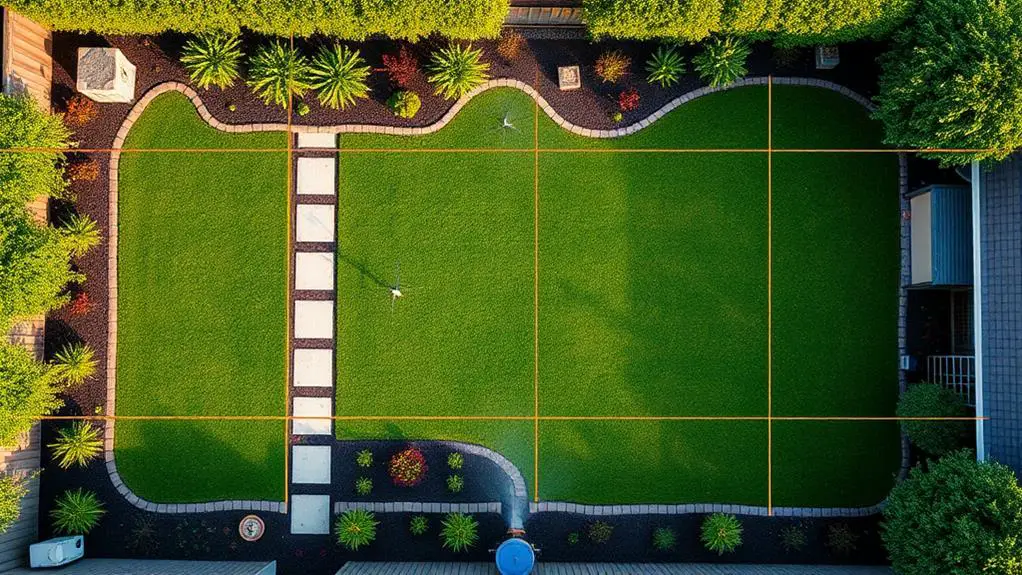
To start planning your layout, let's measure your yard's dimensions to figure out the total area needing coverage.
Begin by sketching a detailed map of your yard. Mark existing plants, flower beds, and hardscapes to see where sprinklers should go for ideal watering.
Plan your layout to include overlapping spray patterns between sprinkler heads, aiming for a 50% overlap. This guarantees even coverage and no dry spots.
Divide your yard into watering zones based on plant needs and sprinkler types. Note spigot locations to keep hose lengths short and setup simple.
For large lawns, you might use oscillating sprinkler heads, while stationary heads can be perfect for smaller flower beds.
This careful planning will make your system efficient and reliable.
Choose Sprinkler Types
Once you've got your layout planned, it's time to choose the right sprinkler types for your DIY above-ground system.
Picking the right sprinklers guarantees your lawn sprinkler system works efficiently. Here are some options to take into account:
- Stationary Sprinklers: Great for small areas like flower beds and tiny lawns.
- Oscillating Sprinklers: Perfect for medium-sized lawns and gardens with a rectangular shape.
- Impact Sprinklers: Ideal for larger lawns, needing high water pressure to cover wide distances.
- MP Rotators: Best for irregularly shaped areas, providing efficient water use with lower flow rates.
- Soaker Hoses: Excellent for targeted watering at the soil level, making them perfect for gardens and flower beds.
Gather Necessary Materials
Let's start by gathering the necessary materials for your above-ground sprinkler system.
You'll need high-quality pipes, either PVC or polyethylene, for durability, and the right sprinkler heads based on your lawn's size and shape.
Don't forget fittings, connectors, and a timer to automate your watering, plus a pressure gauge to guarantee everything works perfectly.
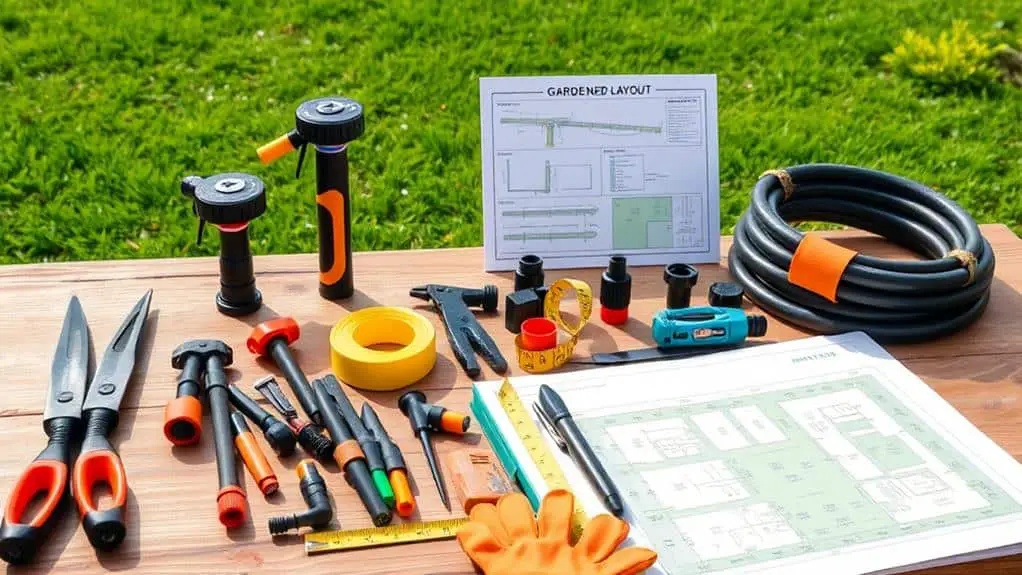
Essential Tools Checklist
Getting ready to install your DIY above ground sprinkler system starts with gathering the right tools and materials.
You'll need a few essential items to make certain your irrigation system works smoothly.
Here's a checklist to help you get started:
- Poly pipe: Choose 3/4 inch for mainlines and 1/2 inch for branch lines.
- Sprinkler heads: Select types like oscillating, stationary, or impact for even water coverage.
- Connectors and fittings: Get male and female adapters to join pipes securely and avoid leaks.
- Timer: Automate your watering schedule for consistent irrigation.
- Pressure gauge: Measure water pressure to keep it around 57 PSI for peak performance.
Having these tools will make your installation process easier and make certain your system runs efficiently.
Pipe and Fittings Selection
Selecting the right pipes and fittings is essential for your sprinkler system's efficiency and durability.
Start with high-quality PVC pipe for underground and polyethylene (poly) for above-ground setups. For the mainline, choose between 1/2 inch or 3/4 inch diameter pipes—1/2 inch works well for small areas, while 3/4 inch is better for larger zones needing more water flow.
Make sure you have the right fittings like elbows, tees, and connectors matching your pipe size to avoid leaks. If you're connecting to a garden hose, use hose-end adapters with a 3/4 inch inlet.
Don't forget to include a shut-off valve for easy water control and maintenance.
Follow these tips, and you'll have a reliable sprinkler system!
Install Main Water Supply
Making certain your main water supply is set up correctly is vital for a successful DIY above-ground sprinkler system.
First, check that your water supply has adequate pressure, ideally around 40-60 PSI, using a pressure gauge attached to an outdoor spigot.
Next, install a backflow preventer to protect your water supply from contamination and comply with local regulations.
It's also important to add a shutoff valve near the main water supply line. This will let you control water flow easily during maintenance or emergencies.
Choose appropriate piping materials like PVC or polyethylene that can withstand the water pressure and are suitable for outdoor use.
Finally, verify the main water supply line is easily accessible for future adjustments or repairs.
- Check water pressure (40-60 PSI)
- Install backflow preventer
- Add shutoff valve
- Use suitable piping materials
- Ensure accessibility for maintenance
Set Up Sprinkler Heads

When setting up sprinkler heads, it's crucial to choose the right type based on your yard's needs. Stationary heads are perfect for small sections, while oscillating heads cover larger spaces.
Pay attention to the coverage area and guarantee proper spacing between sprinkler heads for a 50% overlap in watering patterns. This overlap helps prevent dry spots and guarantees even moisture distribution.
You'll need to adjust the height of the sprinkler heads to match your grass height, usually 2-3 inches for cold season grasses. Use risers to securely attach sprinkler heads to your hoses, preventing leaks.
Don't forget to regularly test and adjust the angle and distance settings on each sprinkler head for excellent coverage.
Connect Hoses and Pipes
When it comes to connecting hoses and pipes, start by measuring the total length you'll need, making sure it reaches from the water source to the farthest sprinkler head.
Use the right connectors and fittings, usually 3/4-inch for garden hoses, to keep everything secure and leak-free.
Don't forget to check all connections regularly and use hose clamps to prevent leaks, especially where pressure is higher.
Essential Connection Supplies
Installing a DIY above ground sprinkler system often requires a careful selection of essential connection supplies to guarantee everything runs smoothly.
First, choose high-quality Hoses and Connectors with a standard 3/4-inch diameter to assure good water flow.
Next, add Hose Manifolds to create multiple watering zones, so you can control different areas independently.
Use Timers and Controllers to automate your watering schedule, saving both time and water.
Make certain to pick the right Adapters and Fittings to avoid leaks and inefficiencies.
Finally, protect your investment with Protective Covers to shield hoses and connections from UV rays and wear.
- High-quality hoses and durable connectors
- Hose manifolds for multiple zones
- Timers and smart controllers
- Appropriate adapters and fittings
- Protective covers for longevity
Proper Pipe Assembly
Now that we've gathered all our essential connection supplies, it's time to focus on proper pipe assembly to confirm our DIY above ground sprinkler system works effectively.
First, check that all hoses and pipes are compatible, usually with a 3/4 inch diameter for maximum flow. Use weather-resistant connectors and fittings to guarantee durability.
Apply PVC cement or thread seal tape at joints to create a watertight seal, following the manufacturer's instructions carefully. This prevents water loss and boosts system efficiency.
Regularly inspect connections for wear and tear, replacing any damaged parts as needed.
Leak Prevention Tips
Every gardener knows that leaks can be a pesky problem in an above ground sprinkler system. To help you out, I've got some key leak prevention tips.
First, always use high-quality connectors and fittings made for garden hoses and PVC pipes. This minimizes leaks at joints. Before connecting, make sure hose threads and fittings are clean. Dirt can mess up the seal.
Tighten connections by hand, ensuring they're snug but not overly tight. Regularly inspect hoses and connections for wear, like cracks or fraying, and replace damaged components immediately.
For extra support, use hose clamps at critical connection points, especially when dealing with high water pressure.
- Use high-quality connectors
- Clean hose threads and fittings
- Tighten connections by hand
- Inspect hoses and connections for wear
- Use hose clamps for extra support
Test the System
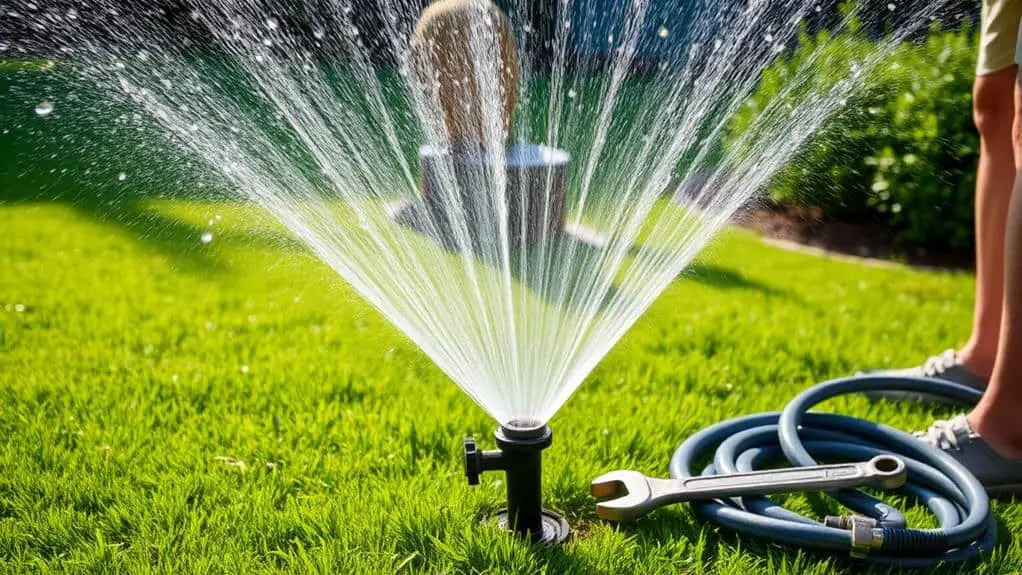
Before finalizing your above-ground sprinkler system installation, it's crucial to test everything to guarantee peak performance.
Start by conducting a water pressure test using a pressure gauge, ensuring it reads between 40-60 PSI. Next, measure the flow rate by timing how long it takes to fill a 5-gallon bucket; aim for 6-10 gallons per minute.
Run each sprinkler head individually to check for proper coverage and adjust them for a 50% overlap. Use a tuna can test to monitor the water output, making sure the cans receive similar amounts of water.
Regular Maintenance
Maintaining your above-ground sprinkler system regularly is essential to confirm it runs efficiently and saves water.
By staying on top of regular maintenance, you'll not only save on water bills but also guarantee your lawn stays healthy.
Here are some key tasks to keep in mind:
- Check hoses and connections for leaks to prevent water waste.
- Clean sprinkler heads monthly to avoid clogs and guarantee even water distribution.
- Monitor watering schedule and adjust it seasonally to conserve water and avoid over-saturation.
- Inspect and replace any worn or damaged parts each season to keep your system running smoothly.
- Conduct a full system audit twice a year to assess coverage and make necessary adjustments for system efficiency.
Following these tips will help your sprinkler system perform its best!
Frequently Asked Questions
What to Consider Before Installing a Sprinkler System?
When considering a sprinkler system, I assess water pressure, soil type, system layout, and budget. I also check local regulations, plan a maintenance schedule, and make seasonal adjustments to guarantee efficient and effective watering.
Can I Install a Sprinkler System Myself?
Yes, you can install a sprinkler system yourself. You'll enjoy installation benefits like cost savings and customization. Just guarantee you have necessary tools, avoid common mistakes, plan your design layout, follow maintenance tips, and check local regulations.
What Is the Best Pipe for an Above Ground Irrigation System?
I think the best pipe for an above-ground irrigation system depends on your needs. I prefer Polyethylene tubing for its flexibility and cost, but PVC pipes offer better durability. Don't forget compatible pipe fittings and check water pressure.
Can You Run a Sprinkler Line Above Ground?
Yes, you can run a sprinkler line above ground. I recommend using durable sprinkler line materials. The above ground advantages include easier DIY installation and seasonal adjustments. Remember maintenance tips, consider water pressure, and guarantee landscape compatibility.
Conclusion
You've got this! By evaluating your water source, checking local rules, planning carefully, and choosing the right materials, you're on your way to a fantastic DIY above-ground sprinkler system. Don't forget to test everything and keep up with regular maintenance. With some effort and attention to detail, your garden will thrive. Remember, each step you take brings you closer to a lush, green yard. Happy gardening, and enjoy the results of your hard work!