Tips For Keeping Your Fall Mums Alive This Season
When it comes to keeping your fall mums alive and vibrant, there are a few key strategies you should follow. First and foremost, selecting healthy mums from the start is essential, as they'll have a better chance of thriving. Ensuring they get proper sunlight and maintaining the right watering practices can make a significant difference. But there's more to it than just light and water; the type of soil and how you mulch plays a role too. Curious about how to handle frost and pests or maybe looking for creative ways to arrange your mums? Let's explore further.
Select Healthy Mums
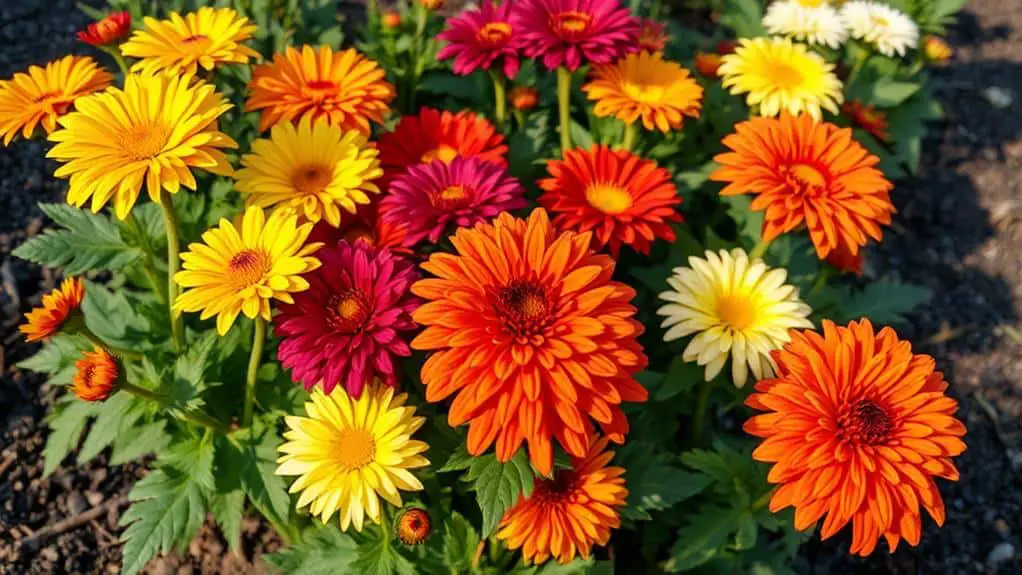
When selecting healthy mums for your fall garden, it's crucial to choose potted plants with tight buds rather than those with fully open flowers. This guarantees a longer blooming period and healthier plant longevity.
Inspect the leaves carefully; they should have a fresh, green color and strong stems. Avoid any mums with yellowing leaves or broken stems.
Also, choose hardy varieties that thrive in your local climate, especially those resilient in Zones 5-9. Confirm the pot is in good condition, without cracks, to support root health.
Finally, buy your potted mums from reputable nurseries. This increases the chances of getting a healthy plant that will bloom beautifully throughout the season.
Happy gardening, and enjoy your vibrant fall mums!
Ideal Planting Techniques
How do you guarantee your fall mums thrive in their new home? Start with ideal planting techniques.
First, choose well-drained soil to prevent root rot, mixing in compost for essential nutrients.
Dig holes twice the width of the root ball, spacing plants 12-18 inches apart to assure proper air circulation.
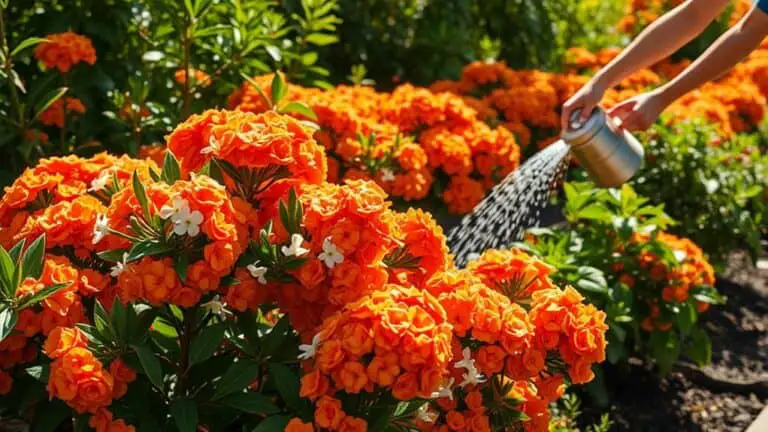
After planting, water thoroughly to help establish the roots, keeping the soil consistently moist but not soggy.
For potted mums, select containers at least twice the size of the root ball, made from durable materials like ceramic or terracotta.
Position your mums in an area that gets at least 6 hours of full sunlight daily.
With proper care, your fall mums will bloom beautifully.
Proper Sunlight Exposure

To make sure your mums have the best chance to thrive, they need at least 6 hours of direct sunlight every day.
Place them where they can get full sun in the morning and some shade in the hotter afternoons to keep them from getting too stressed.
If you notice your mums looking weak or leggy, it might be due to not enough light, so adjust their location or rotate potted mums to give all sides equal exposure.
Optimal Sunlight Hours
Ensuring your mums get the right amount of sunlight is essential for their health and blooming potential. Mums need at least six hours of direct sunlight daily to thrive. Full sun exposure is key for their robust growth and ideal blooming.
If they don't get enough light, they may become leggy and less attractive. When caring for chrysanthemums, place them in a spot that receives morning sun with some afternoon shade to protect them from the harshest rays, especially in warmer areas.
Always monitor the sunlight exposure as seasons change. For potted mums, make sure they're in a sunny window or outdoor spot that meets their sunlight requirements. This way, you'll keep your mums healthy and vibrant.
Preventing Leggy Growth
Getting chrysanthemums to grow strong and compact rather than tall and weak involves guaranteeing they get the right amount of sunlight. Mums need at least six hours of full sun each day to promote robust growth and prevent leggy stems.
If they don't get enough light, they'll stretch, becoming weak and producing fewer blooms. It's important to monitor the sunlight and position your mums where they get full sun in the morning and partial shade in the afternoon to balance light exposure.
For potted mums, rotate the pots regularly to guarantee even light distribution. This will help keep your mums balanced and compact.
Keep an eye on the changing seasons, as daylight variations can impact growth and blooming potential.
Managing Partial Shade
While mums thrive with at least six hours of bright sunlight daily, managing partial shade is vital to guarantee they still grow healthy and bloom abundantly.
If your mums are in partial shade, be sure to monitor light conditions closely. Partial shade can lead to leggy growth and fewer blooms. Aim to position your mums where they get morning sun and afternoon shade to avoid extreme heat.
Using reflective surfaces like white walls or decorative stones can help maximize sunlight exposure. If your mums are in a shaded area, consider rotating the pots or relocating them during essential growth periods, especially in spring and early summer.
Watering Best Practices
To keep your fall mums thriving, it's essential to follow proper watering practices. Mums need consistently moist soil, so check moisture levels daily. If the top inch feels dry, water thoroughly.
Always water at the base of the plant to avoid wetting the leaves and prevent fungal diseases. Make certain your pots have adequate drainage holes to avoid soggy soil, which can lead to root rot.
In hot, dry weather, aim for at least an inch of water per week, adjusting for rainfall. Try bottom watering by placing a saucer under the pot, allowing the plant to absorb moisture without excess water on the leaves.
With these steps, your mums will be properly cared for and flourish beautifully.
Soil and Mulch Tips
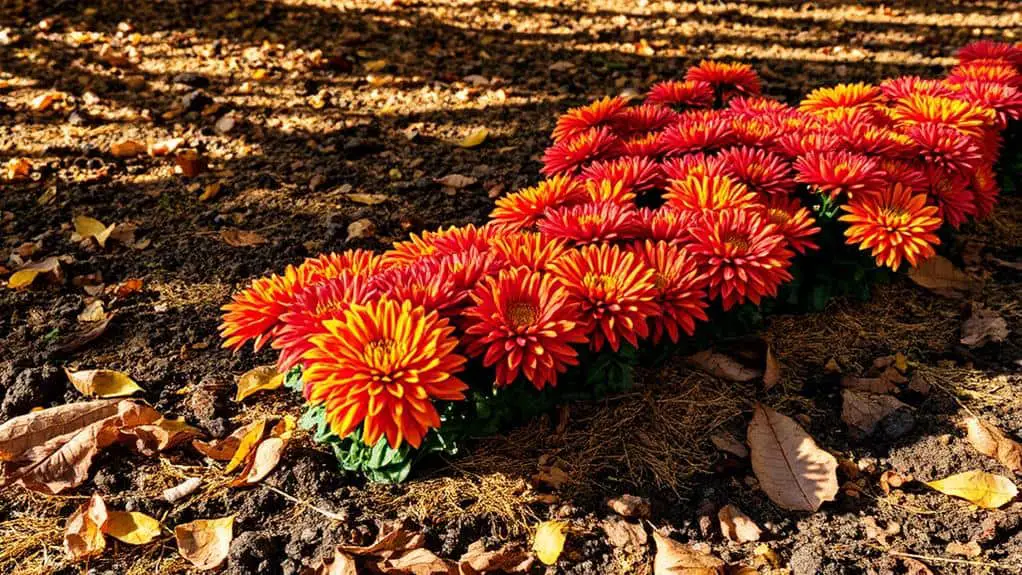
Let's start with the soil.
For your mums to thrive, make sure you're using well-draining, organic-rich soil, which helps prevent root rot and keeps them healthy.
After planting, adding a layer of mulch like straw or shredded hardwood around the base after the first hard frost will help insulate the soil and retain moisture, making a big difference in your plant's health.
Well-Draining Soil Importance
A key aspect of growing healthy mums is ensuring they've well-draining soil. This helps prevent root rot, which can occur in overly saturated conditions.
I recommend amending soil with compost to enhance drainage and provide nutrients. When planting, dig holes twice the width of the root ball and amend heavy soils with sand or perlite to improve drainage.
Regularly check soil moisture, as mums prefer moist soil without being soggy. Try to balance it for healthy root development.
Also, plant mums in soil rich in organic matter for good aeration and moisture retention. By focusing on well-draining soil, you'll create an ideal environment for your mums to thrive this fall.
Effective Mulching Materials
One thing I've found incredibly beneficial for fall mums is applying a 2-4 inch layer of organic mulch like shredded hardwood or straw. This effective mulching material helps in retaining soil moisture and regulating soil temperature during those unpredictable fall days.
Mulch also protects the shallow roots of your mums from freezing temperatures, giving them a better chance to survive the winter.
When choosing mulch, opt for materials that decompose over time, enriching the soil and improving its structure. Avoid heavy, compact materials as they can cause root rot. Instead, go for well-aerated mulch.
Regularly check mulch levels and add more as needed to guarantee consistent protection and moisture retention. This simple step can make a big difference in your mums' health.
Effective Deadheading
When we talk about effective deadheading for fall mums, it's all about timing and technique. Deadheading means removing spent blooms to encourage new growth. You should do this every 1-2 weeks during the blooming season.
To deadhead properly, cut at a slight angle just above healthy leaves or buds. This helps the plant focus its energy on flower production rather than on dying blooms.
It's best to deadhead in the morning when your mums are hydrated, making it easier to spot spent blooms. By keeping track of which flowers you've deadheaded, you can maintain consistent blooming.
This guarantees your mums stay vibrant and beautiful throughout the fall. Keep at it, and you'll see lovely results!
Pest Monitoring
While deadheading keeps your fall mums blooming beautifully, it's equally important to keep an eye out for pests that can damage your plants. Regular pest monitoring is essential.
Look for common pests like aphids, spider mites, and whiteflies. These insects can cause an infestation, weakening the plants and affecting those healthy blooms. If you spot any, use a forceful stream of water to dislodge them. This method is effective and chemical-free.
Keep an eye on soil moisture too; overwatering can invite fungal diseases and pests. Small fences can help deter larger animals.
If pests persist, consider organic insecticides that are safe for flowering plants and beneficial insects. This way, your mums stay vibrant and strong all season.
Frost Protection
As the crisp autumn air settles in, it's crucial to think about frost protection for your fall mums. Frost can be a big threat, but there are simple steps you can take to keep your mums safe:
- Cover them: Use a frost blanket or burlap during cold nights to insulate and maintain warmth.
- Bring potted mums indoors: When frost warnings are issued, indoor temperatures prevent freezing and damage.
- Apply mulch: A thick layer (about 4 inches) around garden-planted mums insulates roots and prevents soil from freezing.
- Use cloches or plastic covers: If you can't move your plants indoors, cloches trap heat and protect from frost damage.
Monitor weather forecasts closely to stay ahead of sudden temperature drops.
Winter Preparation
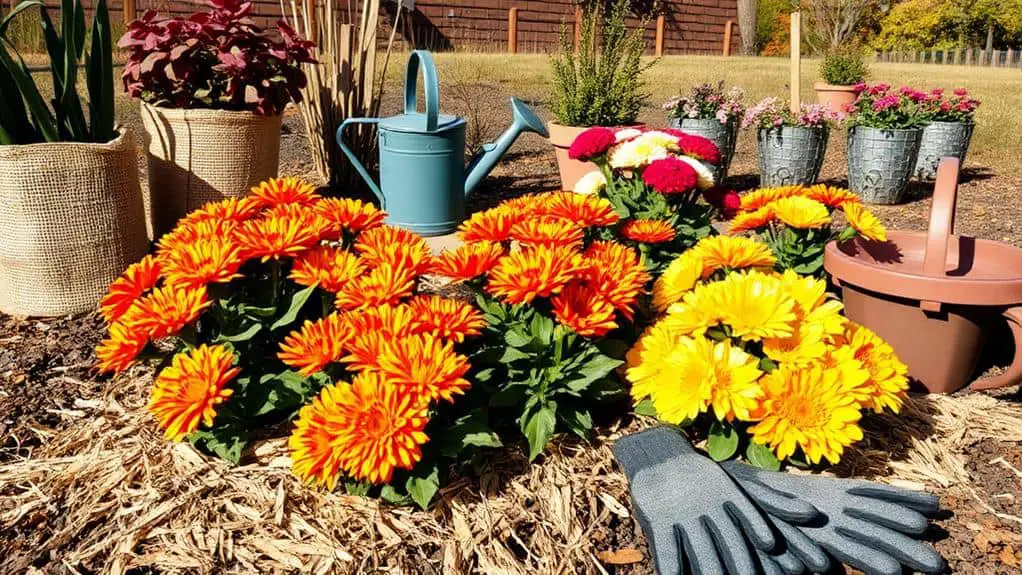
As winter approaches, it's important to get your mums ready for the cold months ahead.
Start by letting them naturally shed their leaves and cutting back the stalks to just a few inches above the soil.
To protect them from freezing temperatures, add a thick layer of mulch around the base and consider bringing potted mums indoors or covering outdoor ones during extreme cold snaps.
Frost Protection Measures
Preparing your mums for winter is essential to guarantee they survive the cold months ahead. Here are some practical steps to help you protect your outdoor mums from frost damage:
- Mulch: Apply a heavy layer of mulch around the base to insulate the roots and retain moisture during cold weather.
- Monitor: Keep an eye on weather forecasts and bring potted mums indoors during extreme cold to prevent damage.
- Cover: Use burlap or frost blankets to shield outdoor mums from freezing temperatures on particularly cold nights.
- Prune: After the first hard frost, prune back dead stems to about 3-4 inches above the ground, leaving the mulch intact for added protection.
These steps will help your mums withstand the winter chill.
Indoor Storage Tips
Storing your mums indoors for the winter requires a bit of strategy to guarantee they thrive come spring.
First, find a cool, dark location to prevent exposure to freezing temperatures. This helps reduce stress on your plants.
Make sure the soil stays slightly moist; you don't want it too dry or too wet. Check moisture levels weekly and only water when the top inch of soil feels dry.
Keep an eye out for pests, as the indoor environment can attract insects. Inspect your mums regularly to catch any issues early.
Mulching for Insulation
One of the key steps in preparing your fall mums for winter is applying a thick layer of mulch around their base. This helps insulate the roots and retain soil moisture.
Here's a quick guide to get you started:
- Apply mulch: Spread about 4 inches of mulch, like straw, shredded leaves, or hardwood chips, around the base of your mums before the first hard frost.
- Use organic materials: They break down over time, enriching the soil.
- Timing: Apply mulch after the ground has frozen to offer the best protection against extreme cold.
- Maintain levels: Check the mulch regularly throughout winter and add more as needed to guarantee consistent coverage.
Don't pile mulch directly against the stems; it can cause rot and hinder healthy dormancy.
Creative Uses and Arrangements
When it comes to fall decorations, mums can be the star of the show by blending them with seasonal elements like pumpkins, gourds, and ornamental grasses to create a vibrant and eye-catching display.
I love arranging mums in creative ways to enhance their visual appeal. For stunning centerpieces, combine cut mums with other fall flowers and foliage.
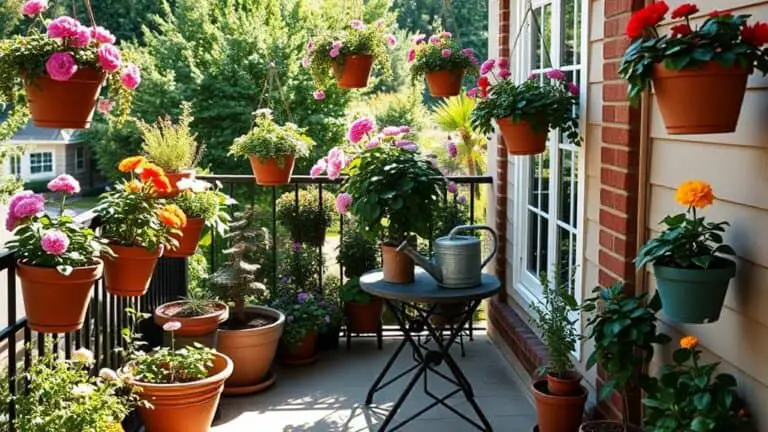
Try using ceramic or terracotta containers to showcase different mums on your porch or garden. Compact Pom Pom mums are perfect for borders or containers, adding rich colors and texture.
Grouping bold-colored mums together in large quantities can make a strong visual statement. These creative uses will help you make the most of your mums this season.
Frequently Asked Questions
What Is the Trick to Keeping Mums Alive?
To keep mums alive, I guarantee they get six hours of sunlight, use well-drained soil, and water consistently. I deadhead regularly, mulch for frost protection, monitor pests, and follow seasonal care with proper fertilization.
How Do You Make Potted Fall Mums Last Longer?
To make your potted fall mums last longer, I focus on proper watering techniques, guarantee they get enough sunlight, choose the right pot size and soil type, follow a fertilization schedule, manage pest control, and monitor temperature tolerance.
How Do I Bring My Mums Back to Life?
To revive my mums, I check soil drainage and use proper watering techniques. I make certain they get enough sunlight, control pests, fertilize regularly, and prepare for winter. Repotting also helps if needed.
How Do I Save My Mums for Next Season?
To save my mums for next season, I focus on winter care: ensuring proper soil requirements, using correct watering techniques, and practicing pruning methods. I provide the right sunlight, manage pest control, and follow fertilization tips for healthy growth.
Conclusion
Taking care of your fall mums doesn't have to be tricky. Follow these simple tips: give them enough sunlight, keep their soil moist, and watch out for pests. Don't forget to mulch after the first frost and bring potted mums inside if it gets too cold. With a bit of attention and care, your mums will thrive and brighten your garden all season. You've got this—your garden will look amazing!

