Ways To Prevent Transplant Shock When Moving Perennials
When you're moving perennials, preventing transplant shock is essential for their survival and growth. Start by choosing the right timing, ideally early spring or fall, when the plants are less stressed by extreme weather. Prepare the new site with well-draining, nutrient-rich soil, and make sure it's adequately watered before and after the move. Gradually acclimate your plants to their new environment by shielding them from harsh sun and wind. But how do you handle rootbound plants and make sure they thrive in their new home? Let's explore some effective strategies that can make a significant difference.
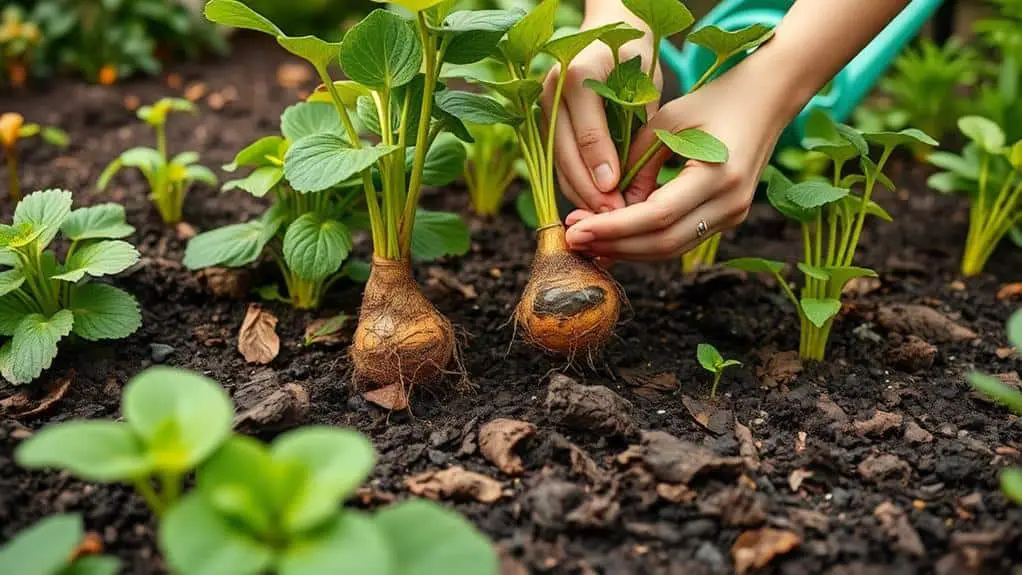
Understanding Transplant Shock
Transplant shock, an acute stress response in plants, manifests through symptoms like yellowing leaves, wilting, and stunted growth after they're relocated.
When you move a plant, its root system gets disturbed. This can severely affect the plant's ability to absorb water and nutrients.
Poor site preparation and sudden changes in temperature or sunlight can worsen transplant shock. Your plants might enter a survival mode, closing their stomata to conserve moisture, which reduces photosynthesis and growth.
If you don't address this, it could even lead to plant death. However, with proper care and monitoring, plants can recover from transplant shock, although their growth may be delayed.
Understanding these factors will help you support your plants through the change.
Ideal Timing for Transplanting
Choosing the right time to transplant your perennials can make a big difference in their health and growth.
Aim to transplant in early spring or fall when the temperatures are milder, and plants are in a dormant or semi-dormant state.
This timing helps your plants recover more easily and reduces the risk of transplant shock.
Optimal Seasonal Windows
Early spring and fall are the best times for transplanting most perennials, aligning perfectly with their natural dormancy periods. These ideal seasonal windows help in preventing transplant shock, making the process smoother and more successful for you.
Transplanting during these times allows roots to settle in without the stress of active growth or blooming.
To guarantee success:
- Monitor soil temperatures: Aim for 50°F to 70°F (10°C to 21°C).
- Avoid blooming periods: Transplant after flowers have faded.
- Check for dormancy: Wait until the plant shows signs of rest.
- Prepare the new site: Make it welcoming for new roots.
Dormancy Period Considerations
Understanding the ideal seasonal windows sets the stage for another vital aspect: the dormancy period.
Transplanting perennials during their dormancy, usually in early spring or fall, minimizes stress and promotes successful establishment. Most perennials enter dormancy in late fall and early spring, making these times perfect for moving them without disrupting growth cycles.
Avoid transplanting when your plants are blooming; it redirects energy away from root development, increasing the risk of transplant shock. When plants are dormant, they've reduced metabolic activity, making them less susceptible to shock.
Timing your transplanting to align with the plant's natural dormancy cycle guarantees peak conditions for root growth and recovery. You'll find your perennials thriving in their new spots!
Preparing the Planting Site
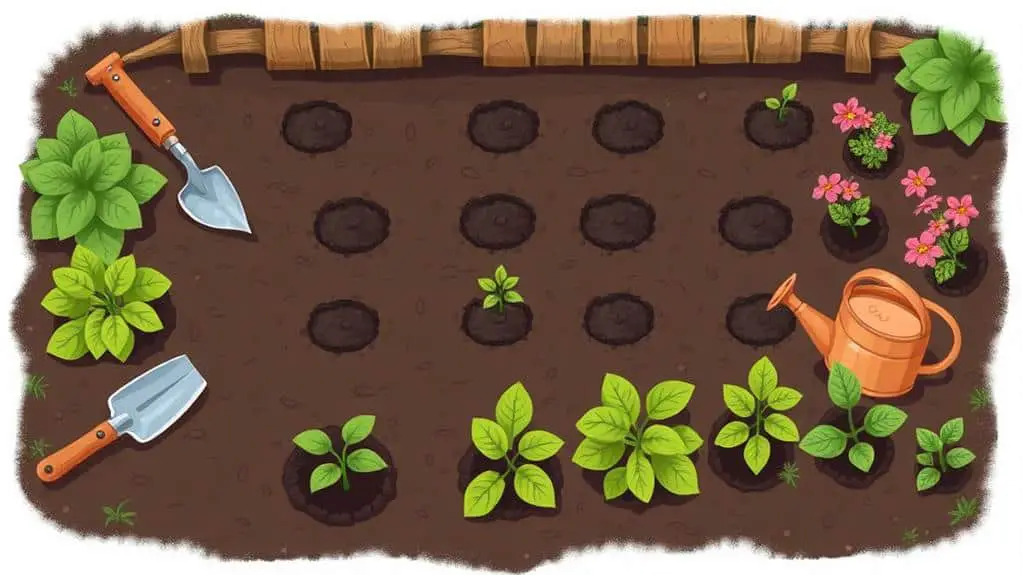
To give your perennials the best start, make sure their new planting site is loose, well-draining, and nutrient-rich.
Begin by removing weeds and debris to reduce competition. Next, incorporate organic matter, like compost or well-rotted manure, into the soil, enriching it for better root development.
Follow these steps for a successful transplant:
- Test the soil for pH and nutrient levels to meet your plants' specific needs.
- Dig a hole at least twice the width of the root ball to guarantee ample space for roots to grow.
- Loosen the soil in and around the hole to prevent compaction and promote root expansion.
- Add organic matter to improve soil structure and fertility, supporting plant recovery.
These steps will help your perennials thrive!
Managing Moisture Levels
When managing moisture levels, start by watering your perennials thoroughly 1-2 days before transplanting to guarantee the roots are well-hydrated.
After moving, give them a deep soak to saturate the soil and extend moisture to a 6-12 inch radius around the roots, reducing stress.
Keep the soil consistently moist for 3-6 weeks, adjusting based on the weather to avoid drought or overwatering.
Pre-Transplant Watering
Guaranteeing your perennials are well-hydrated before transplanting is essential for their survival and growth. Water your plants thoroughly 1-2 days before moving them. This helps keep the root ball moist and reduces stress.
Aim for an even moisture level in the soil, about 3-4 inches deep. This promotes healthy root establishment once transplanted.
Here's how to manage pre-transplant watering:
- Deeply water the root ball: This guarantees moisture reaches the roots.
- Check soil moisture: Make sure it's evenly moist, not soggy.
- Prepare the planting hole: Water it deeply before placing the perennial.
- Monitor after transplanting: Adjust watering based on weather conditions.
Following these steps will help your perennials thrive in their new location.
Consistent Moisture Maintenance
Consistent moisture levels are essential for preventing transplant shock in perennials, especially during the first 3-6 weeks post-transplanting.
Start by watering deeply right after transplanting to saturate the planting hole and extend moisture around the roots. Make sure to monitor the root zone daily, keeping it moist but not waterlogged.
Water your plants thoroughly 1-2 days before the move to reduce stress. Adjust your watering schedule based on the weather; hot or windy days might require more frequent watering.
Mulch around the base of your perennials to retain soil moisture, regulate temperature, and reduce weed competition.
Protecting Plants During Transition
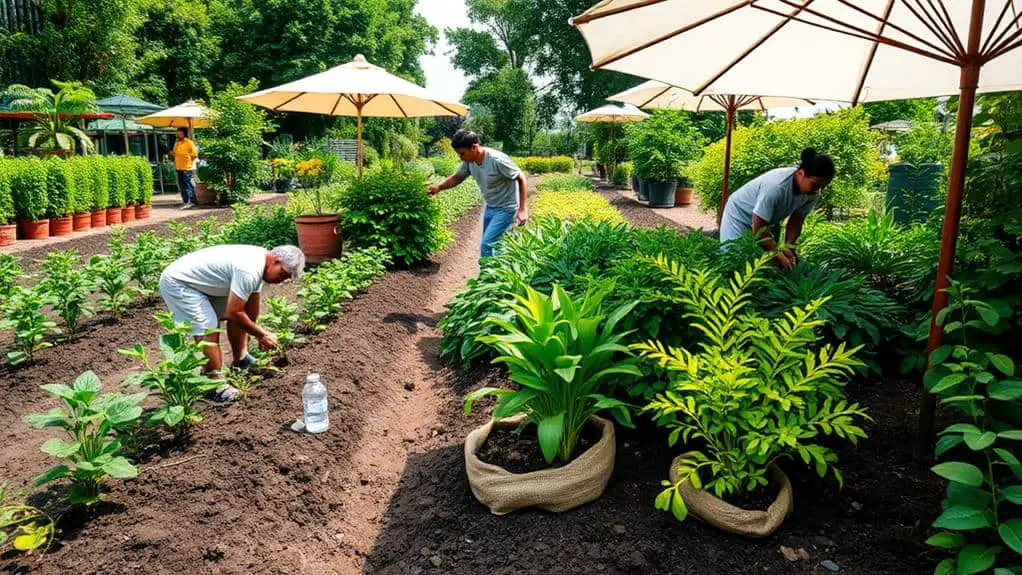
Successfully protecting plants during their shift to a new environment hinges on several critical steps.
When you transplant perennials, they can suffer from water stress if not handled properly. To guarantee a smooth change, follow these essential steps:
- Gradual Acclimatization: Harden off your plants over a week or two, starting with a few hours in shady areas and slowly increasing sunlight exposure.
- Protective Coverings: Use row covers or shade cloth to shield your plants from harsh sun and wind immediately after transplanting.
- Optimal Timing: Transplant in the early morning or late evening to minimize heat exposure.
- Apply Mulch: Mulch around the base of your plants to maintain soil temperature and retain moisture.
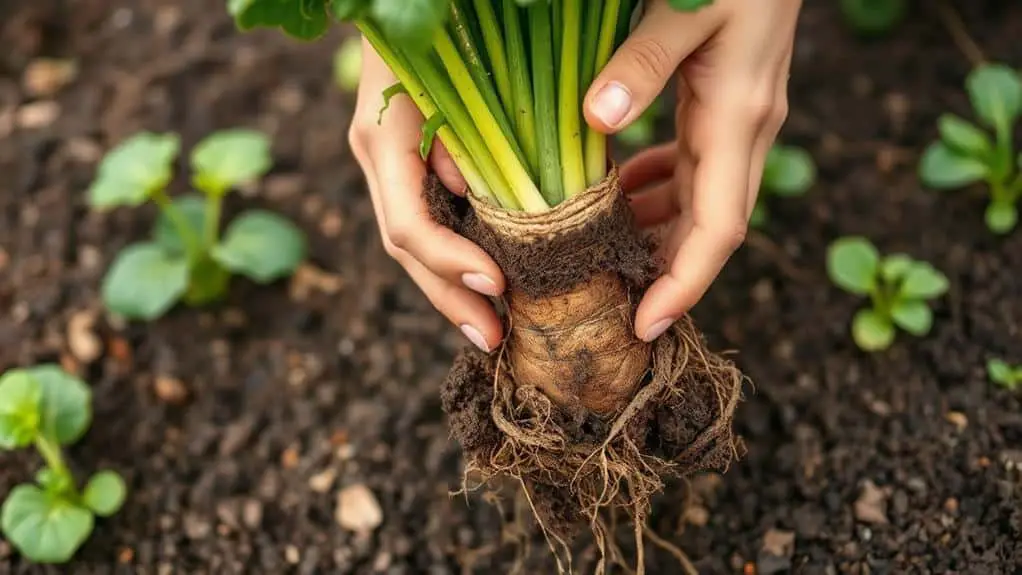
Handling Rootbound Plants
Rootbound plants, with their roots poking out of drainage holes or tightly circling around the pot, need meticulous handling to minimize transplant shock.
First, gently detangle the roots, especially if they form a spiral. This helps the root zone spread out in the new soil. Prune any rotten or damaged roots to encourage healthy regrowth.
When removing the plant from its container, keep the root ball intact and moist. This maintains moisture levels, reducing transplant shock.
It's also a good idea to up-pot rootbound plants into larger containers before moving them outdoors. This gives the roots more space to develop, making the shift smoother.
Handling rootbound plants with care guarantees they thrive in their new home.
Encouraging Root Growth
To guarantee your perennials flourish after transplanting, focus on encouraging robust root growth.
Start by ensuring a larger root ball during transplanting to retain more roots. This helps the plant adjust better.
Prune the top growth of your perennials, so the energy focuses on root development.
Consistent soil moisture is critical for 3-6 weeks post-transplant to help roots grow into the new soil.
Here's what you can do:
- Ensure a larger root ball: Retain more roots during transplant.
- Prune top growth: Direct energy to root growth.
- Maintain soil moisture: Keep soil consistently moist.
- Use organic soil amendments: Improve soil structure and nutrients.
Following these steps will set your perennials up for success.
Post-Transplant Care
Once you've focused on encouraging robust root growth, it's time to pay attention to post-transplant care. First, deeply water your perennials, ensuring the water solution reaches a 6-12 inch radius around the roots. Keep an eye on soil moisture for 3-6 weeks, adjusting based on the weather to avoid drought stress or overwatering. Mulching around the base helps maintain soil temperature and moisture.
| Action | Purpose |
|---|---|
| Deep Watering | Promotes root establishment |
| Monitor Soil Moisture | Prevents drought stress or overwatering |
| Mulching | Maintains soil temperature and moisture |
| Check for Stress | Detects wilting or yellowing leaves early |
| Light Fertilization | Encourages recovery without over-stressing |
Avoiding Soil Compaction
To avoid soil compaction, it's essential to understand the importance of soil texture and aeration.
When you plant your perennials, backfill the hole gently and press down only around the trunk to keep the roots free to grow.
Remember to mix organic matter like compost into the soil; it keeps the soil loose and helps your plants thrive.
Soil Texture Importance
Soil texture's essential role in preventing transplant shock can't be overstated.
Loose, well-aerated soil at the correct soil level helps roots grow stronger and absorb water more efficiently. Compacted soil can cause issues, restricting root expansion and limiting moisture infiltration.
To guarantee your perennials thrive, focus on the surrounding soil and maintain a structure rich in organic matter. This improves drainage and nutrient availability.
Remember these key points:
- Aerate the soil: Keeps roots healthy.
- Avoid heavy compaction: Roots need room to grow.
- Enrich with organic matter: Boosts drainage and nutrients.
- Lightly backfill: Prevents soil from becoming too packed.
Proper Backfill Techniques
When you're transplanting perennials, proper backfill techniques are essential for avoiding soil compaction and ensuring healthy root development.
Start by using loose, well-aerated soil to fill the planting hole. This type of soil provides excellent drainage and oxygen flow.
Lightly pack soil around the central trunk to stabilize the plant without compacting the surrounding area. Avoid using heavy tools or putting too much pressure; instead, gently firm the soil with your hands.
Backfill gradually, layering soil and lightly tapping it down to remove air pockets without compacting it. Monitor moisture levels to prevent waterlogging.
These proper backfill techniques help you avoid transplant shock, giving your perennials the best chance to thrive in their new location.
Aeration Benefits
While proper backfill techniques play a significant role in preventing transplant shock, the benefits of aeration can't be overlooked either.
Aeration improves root growth by allowing essential oxygen to penetrate the soil. This is vital for healthy plant development and minimizing transplant shock. Compacted soil restricts water movement, preventing roots from accessing moisture and nutrients. Loosening soil before planting encourages better drainage and reduces waterlogging.
To guarantee your perennials thrive, consider these steps:
- Use a garden fork or aerator to create air pockets.
- Loosen the soil to enhance root expansion.
- Maintain aerated soil for immediate and long-term plant health.
- Promote beneficial microbial activity by keeping soil well-aerated.
These practices will make a significant difference!
Acclimating Plants
To successfully prevent transplant shock in perennials, it's crucial to acclimate your plants to their new environment gradually.
Begin the hardening-off process 1-2 weeks before transplanting. Start by placing your plants in a protected environment, such as a shaded area, for a few hours each day. Gradually increase their exposure to sunlight over time.
Withhold fertilizer during this period to help them focus on adapting. Keep an eye out for signs of stress like wilting or yellowing leaves. Adjust their water and sunlight exposure as needed.
After transplanting, protect your newly acclimated plants from extreme weather conditions for the first few weeks.
This careful process guarantees your perennials adjust smoothly and thrive in their new home.
Frequently Asked Questions
How to Avoid Plant Transplant Shock?
To avoid plant transplant shock, focus on soil preparation and proper watering techniques. Loosen the soil, add compost, and hydrate your plants well before and after moving them. Consistent, deep watering helps roots establish in their new spot.
What Products Prevent Transplant Shock?
You can prevent transplant shock by using root stimulants with mycorrhizal fungi and transplant solutions containing seaweed extract. These products enhance root development and provide essential nutrients, helping your plants adjust and thrive in their new environment.
Does Epsom Salt Prevent Transplant Shock?
Yes, Epsom salt can help prevent transplant shock. Its magnesium benefits promote root development and nutrient uptake, aiding plants during the stressful changeover. Just mix 1/2 teaspoon per gallon of water and apply while watering.
How Long Do Plants Stay in Shock After Transplanting?
You'll notice transplant symptoms like stunted growth or wilting. Typically, recovery time varies, but most perennials bounce back in 3 to 6 weeks with proper care. Severe cases might extend recovery up to several months.
Conclusion
Remember, moving perennials doesn't have to be stressful. With the right timing, proper site preparation, and careful handling, your plants can thrive in their new home. Don't forget to water them well and protect them from harsh conditions. Keep an eye on their progress and give them a little extra care as they settle in. You've got this! By following these steps, you'll guarantee your garden stays beautiful and healthy. Happy gardening!