10 Steps to Master Using a Moisture Meter
Mastering the use of a moisture meter involves more than just turning it on and taking a reading. You'll start by thoroughly understanding the device itself and its manual, a step often overlooked but essential. Calibration comes next, making sure your readings are accurate. Choosing the right type for your specific material can make all the difference. Once you've got the basics down, there's a lot more to reflect on, from recording data correctly to interpreting those numbers within acceptable thresholds. Curious about the finer details and common pitfalls? Let's explore each step to guarantee you're getting the most out of your moisture meter.
Understand Moisture Meters
Moisture meters are invaluable tools that measure the water content in various materials, offering readings in percentage (%) to help prevent mold growth and structural damage. Understanding these tools is the first step to mastering them.
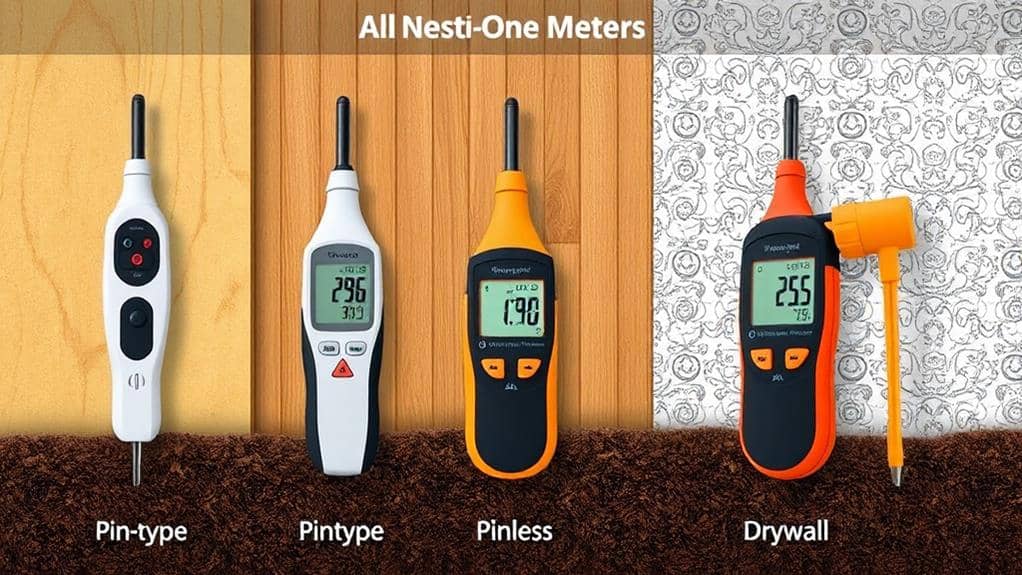
Moisture meters come in different types, each suited for specific materials and uses. Pin-type meters use electrodes to measure moisture levels directly, making them great for materials like wood and drywall. On the other hand, pinless meters use electromagnetic signals for non-invasive testing, which can be handy for delicate surfaces.
Accurate calibration is vital for getting reliable moisture meter readings. Always follow the manufacturer's instructions to guarantee your meter is properly calibrated. This helps you get dependable readings across different materials.
Soil moisture meters, for instance, need precise calibration to provide accurate data for your gardening needs.
To keep your moisture meter working effectively, regular maintenance is essential. Clean the probes and check the battery conditions frequently. This guarantees your meter's longevity and accuracy.
Choose the Right Type
When choosing a moisture meter, it's important to pick the right type for your needs.
Use a pin-type meter for accurate measurements in wood and drywall, while a pinless meter is perfect for checking moisture beneath surfaces without causing damage.
For gardening, a soil moisture meter helps maintain healthy plants, and a relative humidity meter is great for keeping ideal air conditions.
Pin vs. Pinless
Choosing between a pin and pinless moisture meter hinges on the material you're evaluating and your need for precision versus non-invasiveness.
Pin-type moisture meters use electrodes to penetrate the material, providing highly accurate readings. They're ideal for wood and drywall, where you can make direct contact. However, they might require species correction charts for different types of wood, ensuring you get precise results.
Pinless meters, on the other hand, use electromagnetic signals to measure moisture without penetrating the surface. This makes them great for materials like tiles and laminate, where you want to avoid surface damage. They're quicker and less intrusive, perfect for scanning larger areas swiftly, though they may not offer the same level of detail in dense materials.
When deciding, keep these points in mind:
- Material Compatibility: Pin meters are best for precise readings in wood, while pinless meters suit various surfaces.
- Accuracy Needs: Pin-type meters usually provide more accurate readings in dense materials.
- Surface Preservation: Pinless meters allow non-destructive testing.
- Speed and Area: Pinless meters enable rapid assessments across larger areas.
Material Specificity
Selecting the right moisture meter depends considerably on the material you're working with. Different materials require different types of moisture meters for accurate readings.
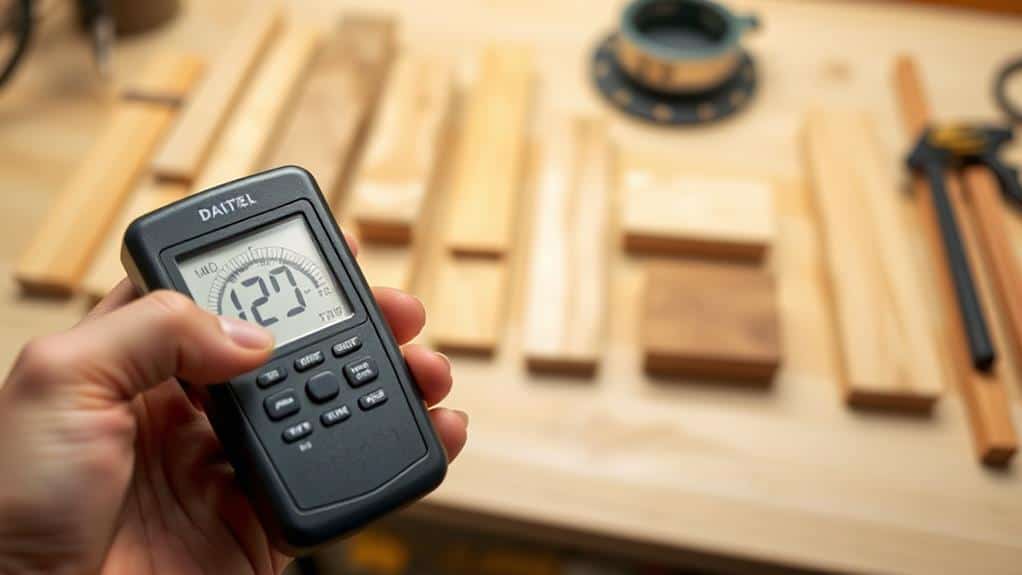
For wood, pin-type moisture meters are a great choice. They use electrodes that penetrate the wood, giving you precise data on the moisture content. This can be especially important for various wood species, as each may have different moisture holding capacities.
If you're dealing with surfaces like tile or laminate, a pinless moisture meter is your best bet. It takes non-invasive measurements, so you won't damage the material. This is handy for checking moisture levels beneath the surface without any mess.
For gardening or agricultural tasks, soil moisture meters come into play. These are designed specifically for soil, helping you ascertain your plants get the right amount of water. Accurate soil moisture readings can make a big difference in plant health and growth.
Combination moisture meters offer versatility. They can measure moisture in multiple materials, making them a valuable tool for diverse projects.
Understanding what your material needs will help you choose the right moisture meter, guaranteeing you get accurate and helpful readings every time.
Calibrate Your Meter
Making certain your moisture meter is accurately calibrated is crucial for obtaining reliable readings. Calibration is the first step to verify your moisture readings are precise, leading to better decisions in your gardening or woodworking projects.
To start, always refer to the manufacturer's instructions before using your moisture meter. This helps you follow the correct procedures for calibration and guarantees you get accurate readings.
Here are some key steps to keep in mind:
- Use a moisture content standard (MCS): This tool helps you verify that your moisture meter's readings fall within an acceptable range for the material you're testing.
- Recalibrate pin-type meters regularly: If your readings deviate markedly from expected moisture content levels, especially after physical impacts or transport, it's time to recalibrate.
- Check pinless meters with a sensor calibration block: A reading of 999 usually indicates proper calibration, confirming your meter is ready to use.
- Calibrate every six months: Regular calibration helps maintain the meter's accuracy and reliability across various materials.
Proper Usage Techniques
Proper usage techniques are vital for getting the most accurate readings from your moisture meter. First, always check the calibration of your device. Following the manufacturer's instructions guarantees that your moisture meter works correctly and provides precise measurements.
Before testing, make sure to select the appropriate setting based on the material you're examining, whether it's wood, soil, or another substance. This step is significant for measuring the moisture content accurately.
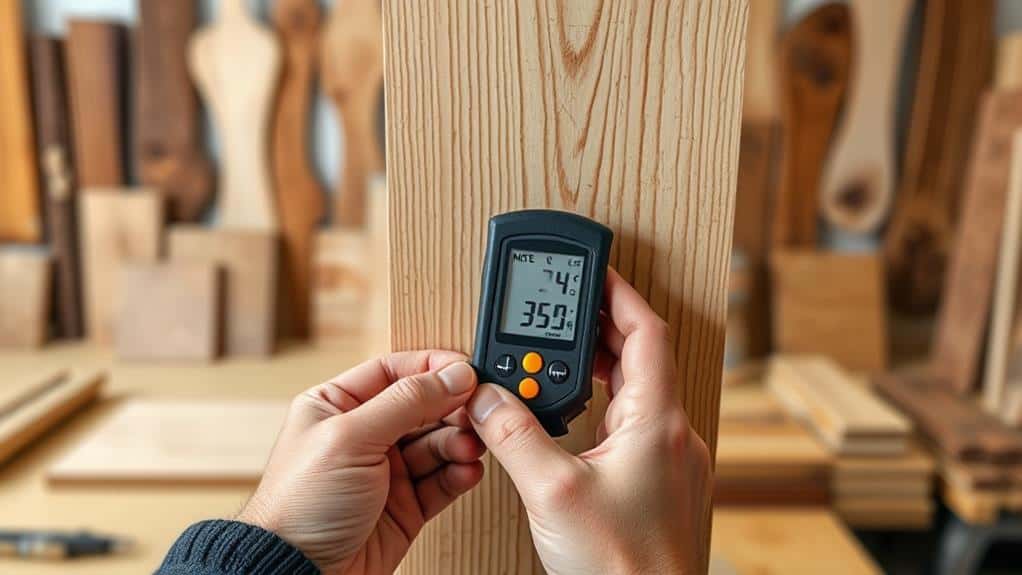
If you're using a pin-type meter, insert the probes gently. Avoid jamming them into the material, as this can damage the probes and lead to inaccurate readings. For pinless meters, verify the surface is flat and clean. This optimizes sensor contact, giving you reliable data.
To get a thorough understanding of the moisture levels, conduct multiple measurements in different areas of the material. This will help you identify any variations and guarantee you're collecting detailed data for analysis.
Record Your Readings
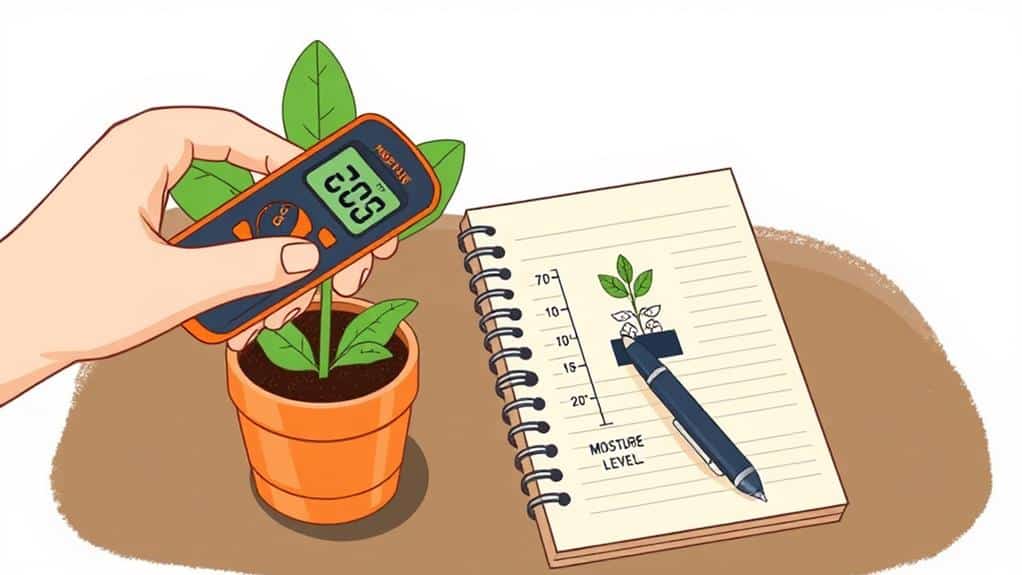
To truly master your moisture meter, recording your readings meticulously is vital. Keeping accurate records helps you understand the moisture levels in your soil over time, making it easier to care for your plants.
Start by using a dedicated notebook or a digital spreadsheet to systematically document your moisture meter readings. Be sure to include the date, time, and specific locations where you measured the soil. This way, you can track changes and identify patterns more easily.
It's essential to record readings immediately after taking them. This prevents loss of information and guarantees accuracy. Don't forget to note any observations about the environment, like temperature and humidity, as these can influence your readings.
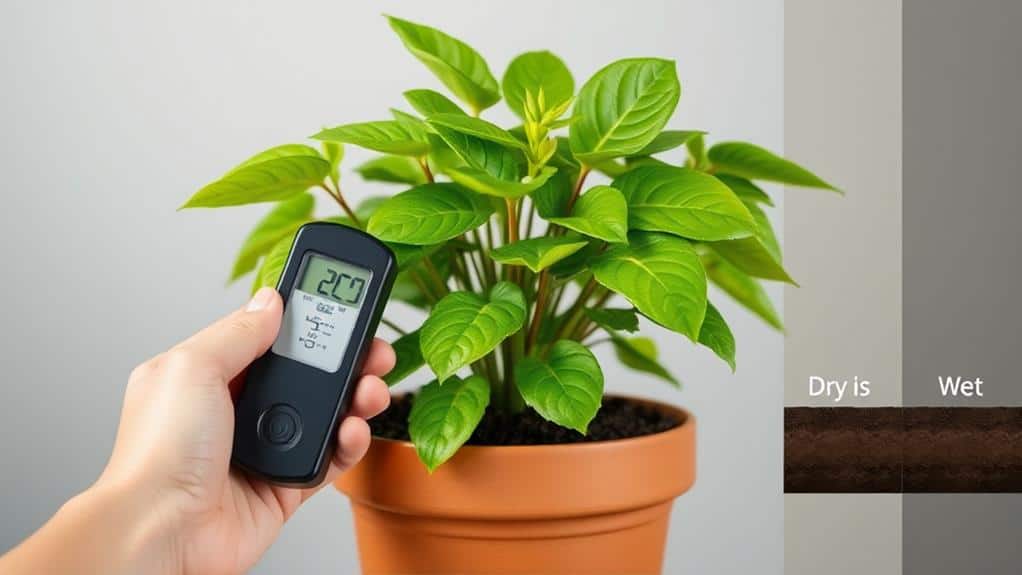
To make your records useful, use a consistent scale or terminology such as "dry," "moist," or "wet." This consistency helps when you analyze trends and decide on watering schedules.
Here's a quick checklist to keep your records organized:
- Document date, time, and location for each reading.
- Record readings immediately to guarantee accuracy.
- Note environmental conditions like temperature and humidity.
- Use a consistent scale or terminology to categorize moisture levels.
Maintain Your Equipment
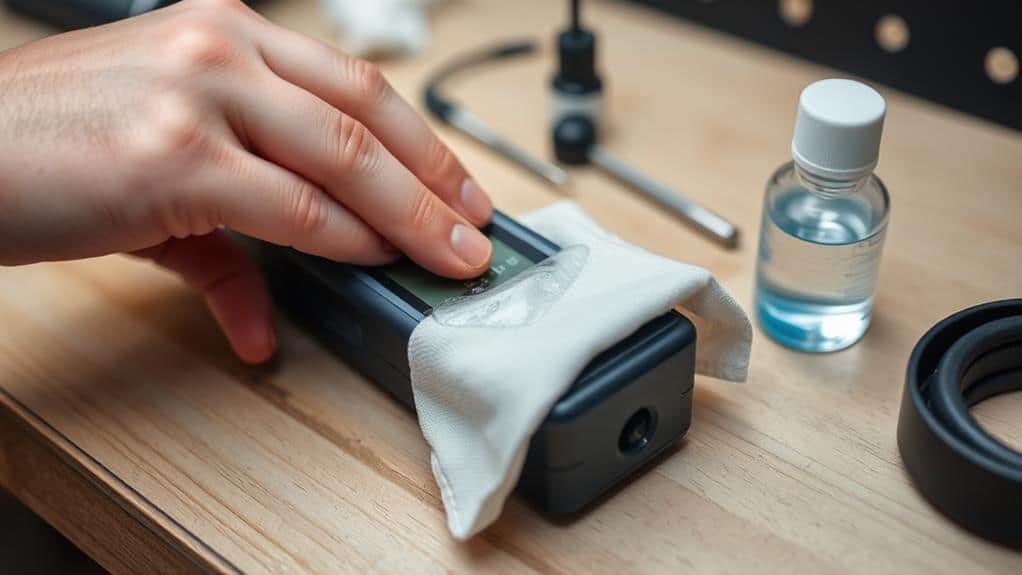
Taking care of your moisture meter is essential for maintaining its accuracy and longevity. First, always clean the probes after each use. This prevents corrosion and guarantees your readings stay accurate. Use a soft cloth or a gentle cleaner recommended by the manufacturer. By doing this, you'll keep your meter in top condition.
Next, store your moisture meter in a dry, safe place. Moisture and physical impacts can damage the device, leading to faulty readings. A protective case can be helpful, especially if you use your meter frequently.
Don't forget to check the battery regularly. A weak or dead battery can cause your meter to malfunction. Replace the batteries as needed to guarantee it functions properly every time you need it.
Additionally, follow the manufacturer's guidelines for calibration and maintenance. Typically, you should calibrate your meter at least every six months. This keeps your equipment accurate and reliable.
Lastly, inspect your moisture meter for any physical damage before each use. Cracks or other damages can affect its performance.
Analyze Measurement Data

To effectively analyze your measurement data, start by organizing your records to easily compare readings across different areas of your material or soil.
Make sure you document baseline moisture levels to spot any changes over time.
Organize Measurement Records
Keeping track of moisture readings is essential for understanding and managing the moisture levels in your materials over time. By organizing measurement records, you can analyze measurement data effectively and make informed decisions.
Start by maintaining a systematic log of your moisture readings. Note the date, location, and specific material tested. This helps you identify trends and see how moisture levels change over time. Use a spreadsheet or digital tool to categorize and analyze this data. It makes visualizing moisture fluctuations and patterns easier.
Consider these tips:
- Log environmental conditions: Record details like humidity and temperature during each measurement. These factors can influence moisture content.
- Compare against thresholds: Know the acceptable moisture content limits for different materials. Compare your readings to these thresholds to see if they're within the safe range.
- Review regularly: Go through your organized data often. It'll help you make decisions about watering schedules, material use, and address any moisture-related issues.
- Use graphs and charts: Visual tools can help you spot trends and understand your data better.
Compare Area Readings
By maintaining organized measurement records, you can now turn your attention to comparing area readings for a deeper analysis of moisture data. Start by conducting multiple readings across different areas of a single material or plant. This helps you identify variations in moisture content and guarantees you understand the moisture distribution thoroughly.
Record these measurements systematically. Doing so allows you to track trends and spot anomalies over time. This can help you identify patterns in moisture retention or drying rates in specific locations.
When you compare readings from similar materials or plants, you can establish a baseline moisture level. This baseline helps you make informed watering decisions based on the relative moisture content.
Use moisture content charts or guidelines specific to the material being tested to interpret readings accurately. These charts can tell you what the appropriate moisture levels should be.
If you notice discrepancies in your readings, consider environmental factors like proximity to heat sources or humidity levels. Analyzing these discrepancies can help refine your measurement strategies and improve accuracy.
Comparing area readings gives you the insight needed to maintain ideal moisture levels, guaranteeing healthy growth for your plants or materials.
Apply in Different Fields
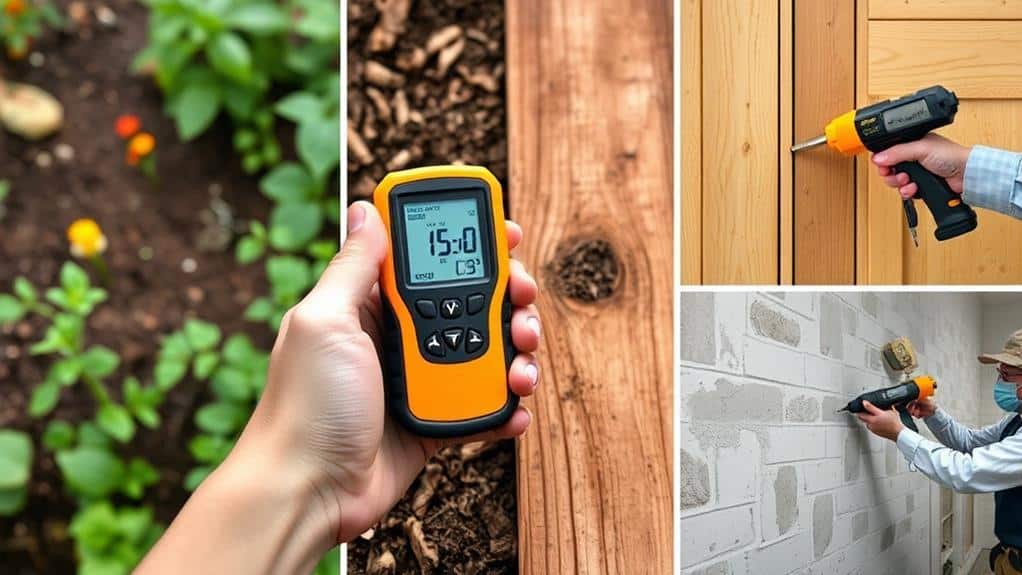
Moisture meters are versatile tools that find applications across various fields, enhancing efficiency and accuracy. One of the primary moisture meter uses is in agriculture. By measuring soil moisture levels, you can determine if the soil is dry, helping prevent overwatering or under-watering. This guarantees your crops get just the right amount of water, promoting healthy growth and improving yield.
In construction, a moisture meter is essential for evaluating the moisture content of wood before any installation. This step is vital to avoid future problems like warping or mold growth caused by excess moisture. By using a moisture meter, you can secure the structural integrity of your projects.
Home inspectors also rely on moisture meters to identify hidden water damage or leaks in walls and ceilings. This tool provides valuable information, helping homeowners address potential repair needs before small issues become big headaches.
During restoration projects, moisture meters are indispensable for monitoring the drying process of water-damaged areas. Confirming materials are appropriately dry prevents mold growth and further structural damage.
- Agriculture: Ideal irrigation scheduling
- Construction: Preventing wood warping and mold
- Home Inspection: Detecting hidden water damage
- Restoration: Monitoring water-damaged areas
Using a moisture meter in these fields can make a significant difference, enhancing efficiency and accuracy in your work.
Avoid Common Mistakes
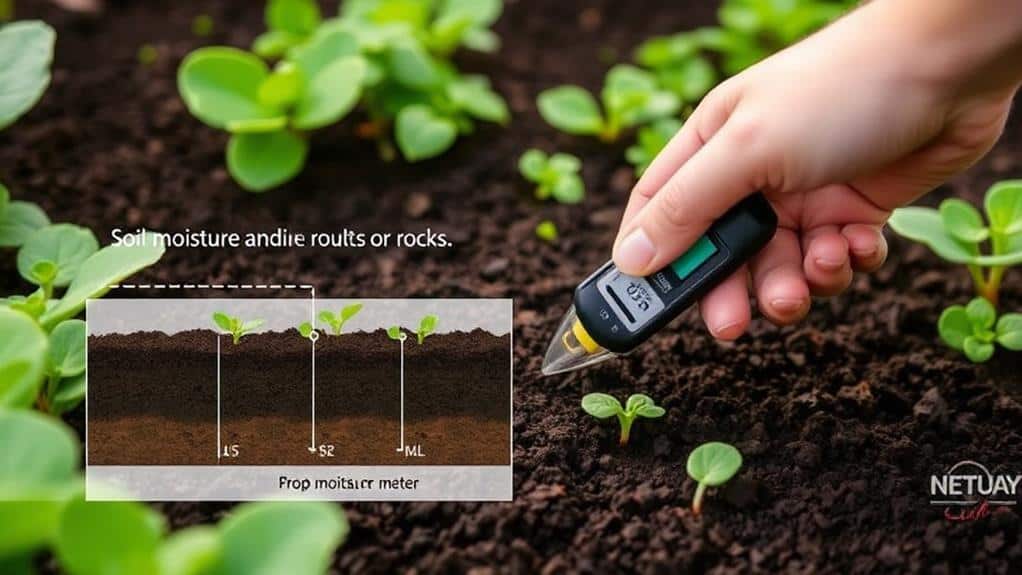
To get the most accurate results from your moisture meter, you need to sidestep some common pitfalls. First, make certain you insert the probe deeply enough into the soil. Aim for 4-6 inches to avoid shallow readings. Shallow readings can give you a false sense of moisture levels, leading to overwatering or underwatering.
Regularly clean your probe. Dirt buildup can cause false readings, affecting the meter's accuracy. A clean probe guarantees your readings are reliable.
Another common problem is forgetting to check the calibration of your moisture meter. Calibration confirms that your device is providing accurate readings. Always check this before use.
Avoid measuring in areas with metal fasteners or objects. Metals can interfere with the meter, giving misleading results. Take a moment to scan your area for any potential metal objects before measuring.
Lastly, don't rely solely on the moisture meter. Complement your readings with visual checks of the plant and soil condition. This helps you account for specific watering needs and environmental factors that the meter mightn't catch.
Utilize Manufacturer Resources

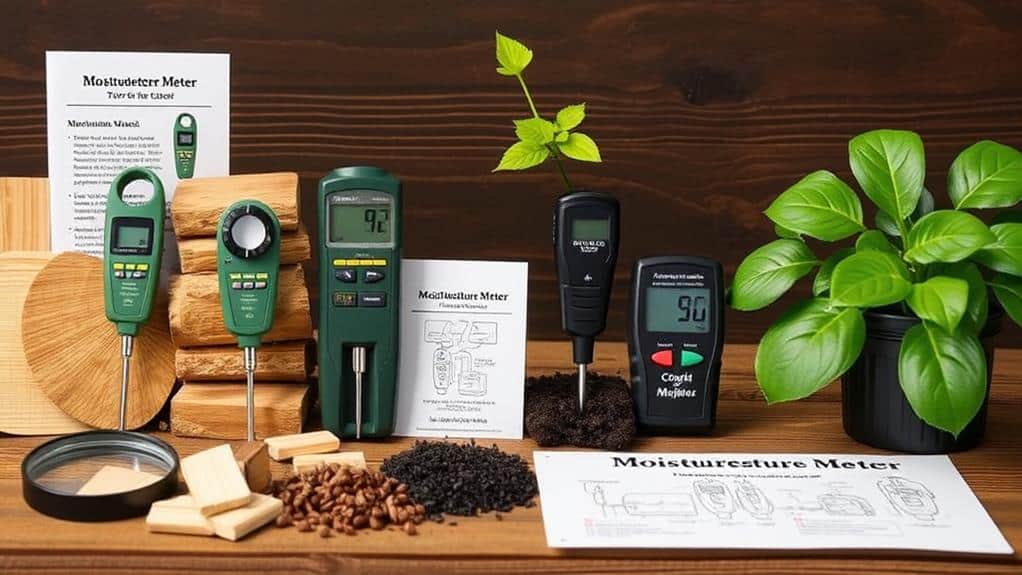
To get the most out of your moisture meter, start with the manual for specific features, settings, and troubleshooting tips unique to your model.
Manufacturers often provide calibration tools to keep your device accurate and reliable.
Don't forget to check out online resources or customer support for any questions you might have.
Calibration and Usage Guidelines
When calibrating and using a moisture meter, always start by consulting the manufacturer's manual for specific instructions. This manual is your go-to resource for understanding the unique calibration procedures required for your specific device. Proper calibration is essential for obtaining accurate moisture readings.
Verify the calibration of your meter at least every six months, especially if it has been dropped or moved around. This guarantees your readings remain reliable.
Utilize any calibration verification tools provided by the manufacturer. These tools help you confirm the meter's accuracy each time you use it.
Follow these guidelines for effective calibration and usage:
- Verify Regularly: Check calibration every six months or after any impact.
- Use Provided Tools: Employ manufacturer-supplied verification tools to confirm accuracy.
- Maintain Proper Care: Clean probes after each use to prevent corrosion.
- Learn Your Meter: Familiarize yourself with any brand-specific features that could enhance your measurement techniques.
Product Manuals and Tools
Frequently, the product manual is your best friend when mastering your moisture meter. Each model can have its unique features and requirements, so always refer to the product manual for specific instructions on calibration, operation, and maintenance. By doing so, you'll guarantee you're using your device correctly and getting accurate readings.
Make certain to utilize any calibration verification tools provided by the manufacturer. These tools are designed to help you keep your moisture meter performing at its best. Accurate calibration is essential for reliable results. If you encounter issues, check the manufacturer's guidelines for troubleshooting common problems. These guidelines often include solutions tailored to your specific model, saving you time and frustration.
Don't forget to take advantage of online resources or support forums offered by the manufacturer. These platforms can provide additional insights and tips from other users and experts, enhancing your understanding and use of the device.
Also, register your moisture meter with the manufacturer. This way, you'll receive updates on product enhancements, warranty coverage, and exclusive offers related to your device. Utilizing these resources guarantees you get the most out of your moisture meter, making your gardening efforts more successful and efficient.
Frequently Asked Questions
How to Use a Moisture Meter Properly?
First, calibrate your moisture meter. For pin-type meters, gently insert the probes. For pinless meters, place them firmly on a flat surface. Clean probes after use and store the meter properly. Record readings for accurate tracking.
How Long Do You Leave a Moisture Meter In?
Leave a pin-type moisture meter inserted for about 10 seconds. For pinless meters, place them on the surface for 5 to 10 seconds. Always refer to the manufacturer's instructions for model-specific guidance and avoid prolonged contact.
How Deep Should I Insert a Moisture Meter?
Insert the moisture meter probe 6 to 12 inches deep for accurate readings, as this reaches the root zone of most plants. For potted plants, aim for about 2/3 down, avoiding the pot's bottom to prevent damage.
How Far Do You Push in Pins on a Moisture Meter?
Push the pins of your moisture meter about 1/4 to 1/2 inch into the material. For wood, aim for 1/2 to 3/4 of the thickness. Always follow the manufacturer's guidelines for the best results.
Conclusion
You've got all the tools you need to master your moisture meter! Follow these steps, and you'll be reading moisture levels like a pro in no time. Remember to practice regularly and don't hesitate to use manufacturer resources if you run into trouble. With patience and consistency, you'll become more confident and skilled. So, get out there, start measuring, and watch your plants thrive! Happy gardening, and keep up the great work!